How to create an amazing Human Resources site in SharePoint
This must be one of the most frequent requests for SharePoint Intranets out there. Whether you are a small or large business, you have someone responsible for the “HR” stuff. While most of the sites in your SharePoint environment will be collaboration-type team sites, accessible from SharePoint or Teams, Human Resources always needs a place for employees to obtain the latest policy, download the employee handbook, look up company holidays, or other HR information. So, in today’s article, I would like to explain how to create a nice-looking and functional Human Resources site in SharePoint. Or, if you are short on time, you can just hire me to do so for you as well 😊.
Step 1: Decide on a Separate site vs. an existing Intranet site
The first decision you must make is whether you will create a new Human Resources site or use an existing one. If you are a small business (just a few users), and already maintain the Main Intranet site, you might not need a separate site at all. You can just add appropriate HR links, documents, and policies, directly on that existing main site. However, if your organization has tens, hundreds, or thousands of employees, creating a separate Human Resources site makes sense. This will also assure the actual ownership of content. This way, you can have one individual (i.e., Marketing/Communications) responsible for the content on the main site, and you will be responsible for the content on your own Human Resources site. Each site will have its own content, look and feel, and security/permissions.
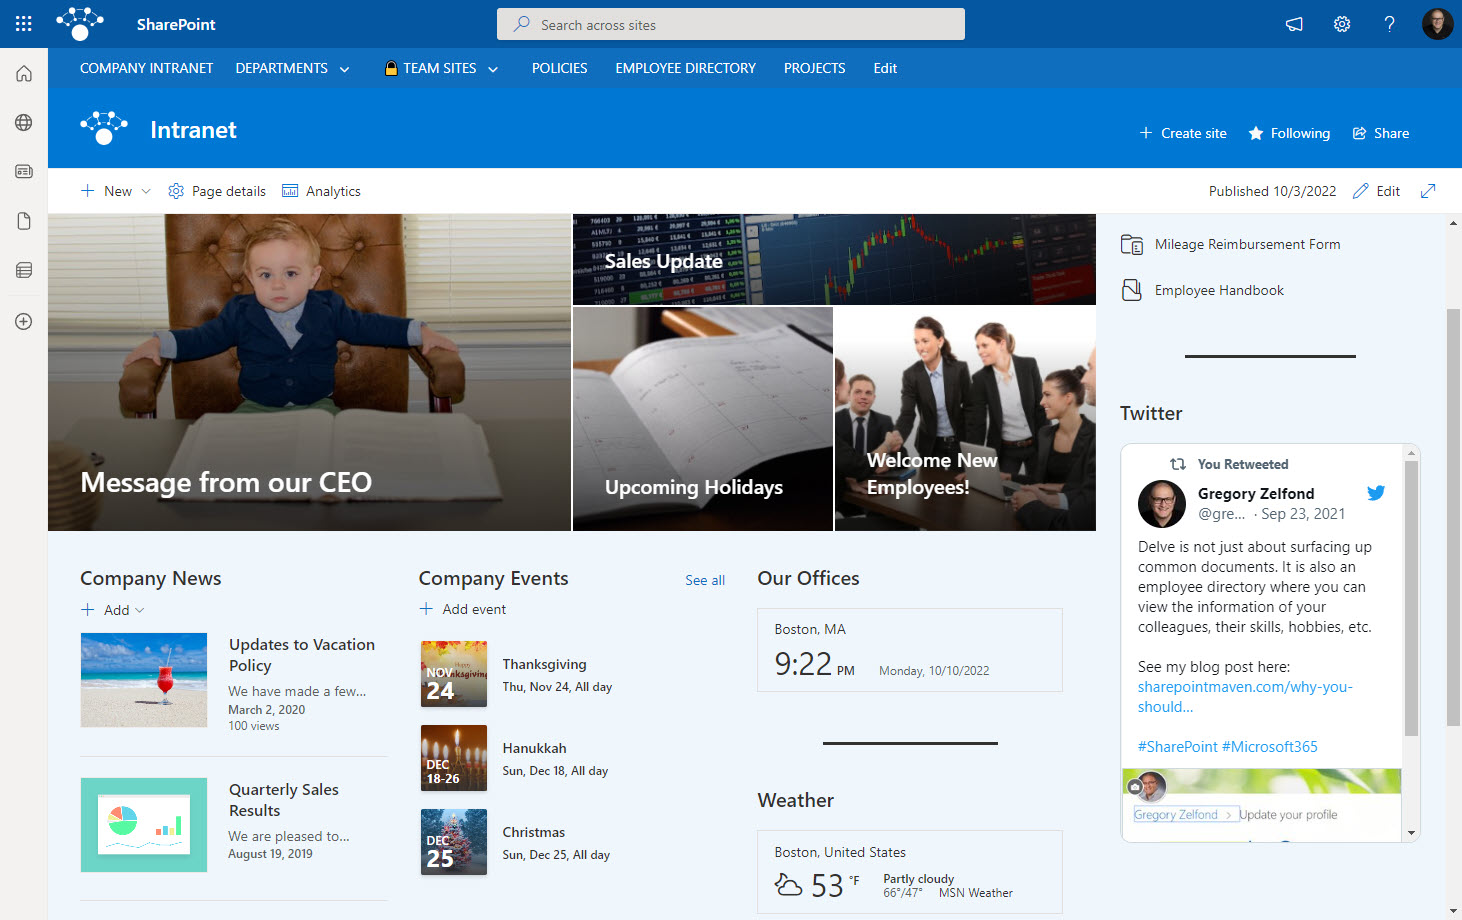
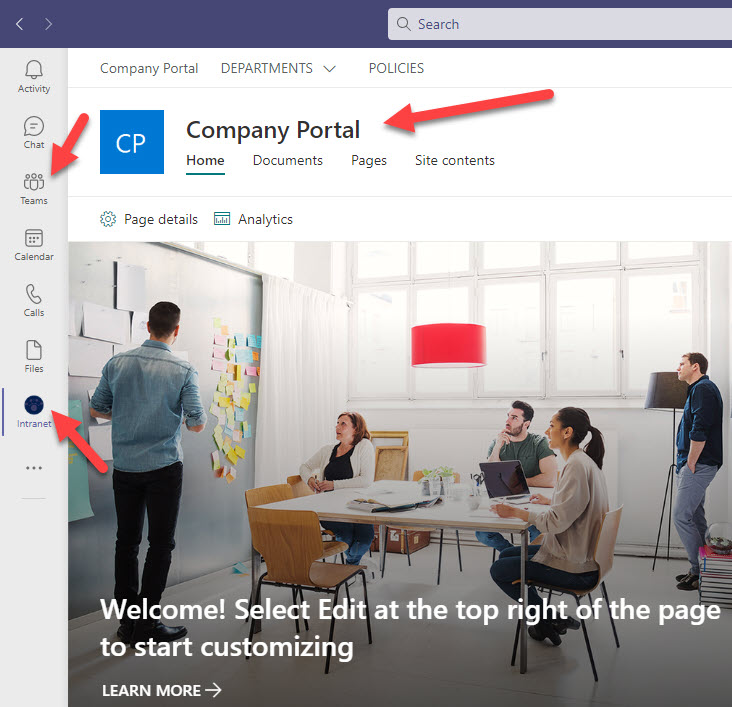
Example of SharePoint Intranet Home Site
Step 2: Decide on the Design approach
The second decision you must make is how to approach the site design. We have two ways to approach it in SharePoint:
- Start from scratch
- Start from one of the pre-built templates
I documented both options in this earlier article.
With the first option, you would need to design everything yourself, edit pages, add web parts, and make your own decisions about layout and look and feel.
With the second option, you can start with one of the pre-built templates, available from Microsoft.
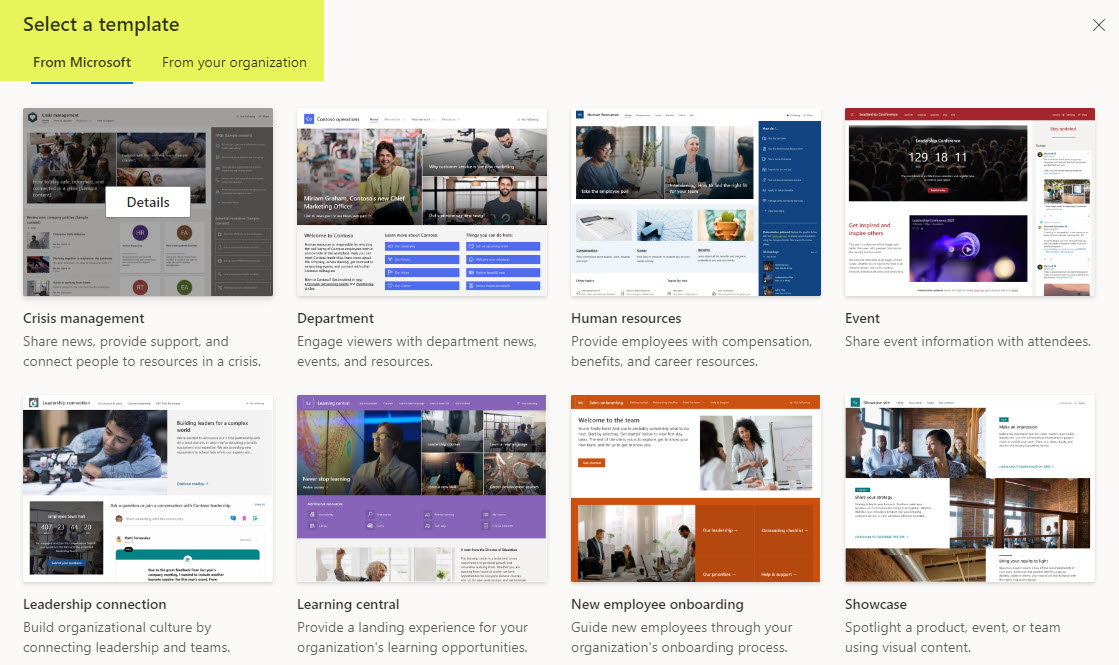
The second option is great if you have no clue where to start and need some ideas. Luckily, there is even a Human resources template that exists. You can apply one of the pre-built templates using your site’s Apply Site template feature.
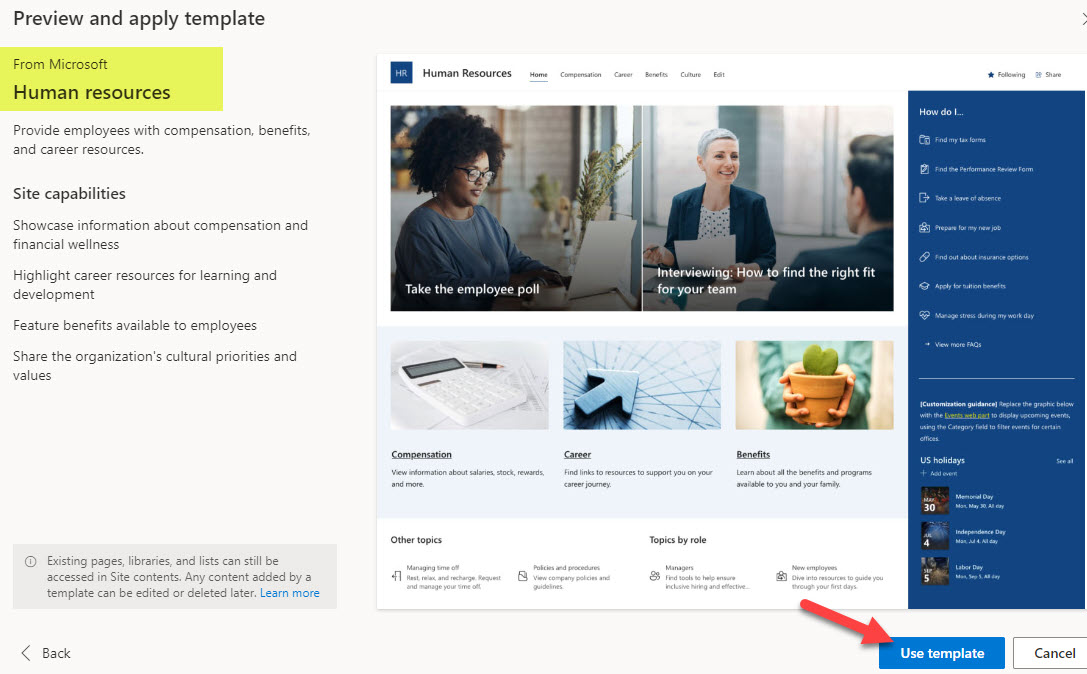
Example of Human Resources Site template available in SharePoint Online
Another option to consider is to utilize one of the Lookbook templates by navigating to Microsoft Lookbook. For this option, though, you must have friends in IT, since this requires a global Microsoft 365 Admin role.
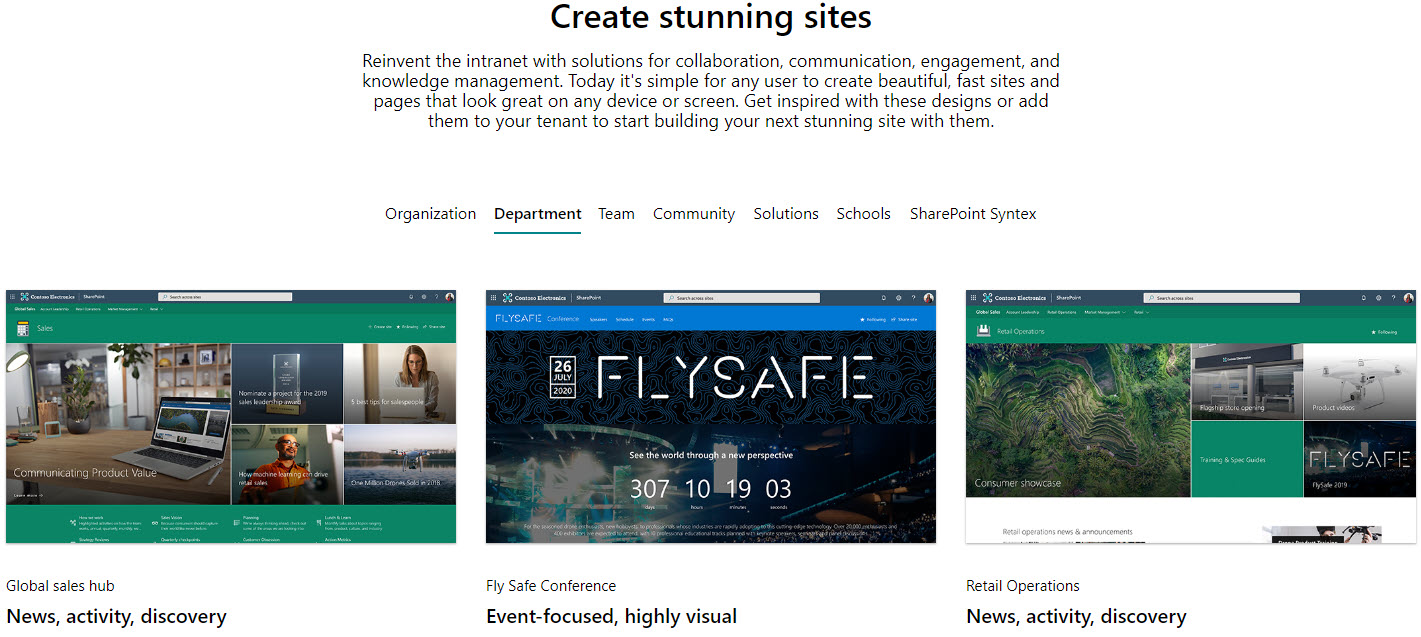
Example of Microsoft Lookbook templates
Step 3: Decide on the content of the Human Resources site
In this step, you must decide on the content you want to add to your site. Later in this article, I will explain how to choose specific web parts to match your content. But for now, we must decide what content will go onto our sites. Below I list some common content my clients have used on their HR sites. Later, I will explain how to address this in SharePoint via specific web parts.
- News & Announcements
- Events/Company Holidays
- Images/Photos
- Videos
- Links to other sources
- FAQ (Frequently asked questions)
- Knowledge Base
- Contact Us section
- Welcome to the Team section
- Policies & Procedures
- Deadline notification
Step 4: Create a Communication Site
The next step is to create a site itself. Since the site we are creating is employee-facing, we will create a Communication site here. The other site type we have is a Team Site. However, this is meant for a two-way collaboration. You would be using a Team Site for internal, private HR stuff, but for an employee-facing one, we will use a Communication one. To understand the difference between the two site types, check this article.
You can create a Communication Site from SharePoint Start Page or SharePoint Admin Center.

Step 5: Decide on Web Parts
To build a Human Resources site in SharePoint, we must match the requirements/content from Step 3 to the corresponding web parts available in SharePoint Online. So what I would like to do here is explain how each of the requirements could be addressed using the proper SharePoint Web Part/functionality.
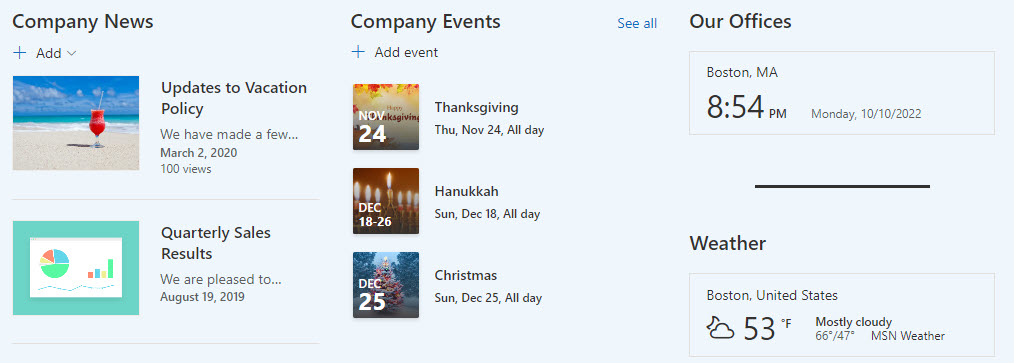
News & Announcements
For this one, we just use the News Web Part added by default to all the SharePoint sites. This is one of the most configurable web parts we have in SharePoint. You can schedule news posts, expire them, add links to outside sources, filter, sort, etc. In addition, you can also set up audience targeting on the news post, displaying specific news posts to certain groups of users based on their role or location.


Events/Company Holidays
There are a few ways to tackle calendars in SharePoint, but for this one, I recommend the out-of-the-box Events Web Part. It is pretty basic and somewhat limited in its capabilities. However, it does what it is meant to do (i.e., display events/company holidays in SharePoint).
Just like with News, you can also set up audience targeting on the Events Web Part. And, as a bonus, you can also have multiple calendars on the same site.
Images/Photos
If you have several images you want to display on your site, you can store them within a regular document library and then use the Image Gallery Web Part to surface up on a page. There are a few layout options available as well.

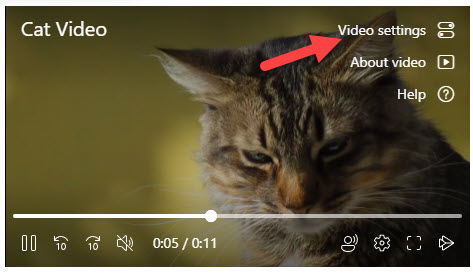
Videos
Once again, you would use a document library to store videos, but then if you need to display them on a page, you can use either a File and Media (formerly called File Viewer) Web Part or an HCWP Web Part to display multiple videos. I explained both options in an earlier article.
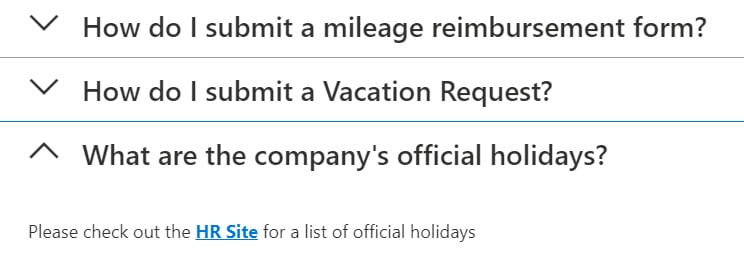
FAQ (Frequently asked questions)
Many HR sites also need some sort of frequently asked questions database. There are a few ways to tackle this in SharePoint. If you have a pretty extensive list of questions, you might want to create a list and group it by questions – something I described in this article.

However, if you just have a handful of questions, you can add them via the Collapsible sections feature of a page. Click here for instructions on how to achieve this.
Knowledge Base
If you need to build a Wikipedia-style knowledge base, you can use the power of SharePoint pages once again. You can create a page template and tag the pages with metadata, just like you can tag documents. I described the mechanism in this article.

Contact Us section
Most HR Sites need a place with contact information – so site visitors know who to contact for further questions. This is easily possible with the People Web Part. It allows you to display users from your employee directory. When site visitors click on the profile from a page, they will see the basic contact info (name, title, phone #, emails, etc.,) among other pieces of information. For instructions on how to add People Web Part, click here.

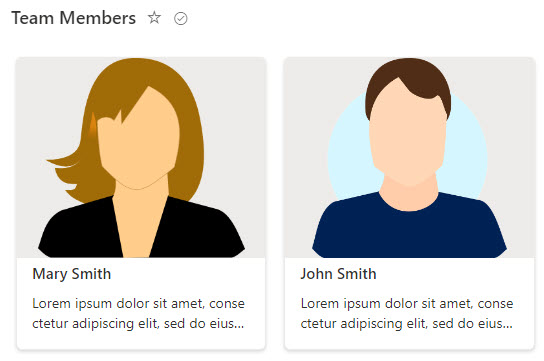
Welcome to the Team section
When you hire new people in your organization, you might want to let everyone know and share some basic information about them on your Intranet. There are quite a few ways to achieve this in SharePoint, and I documented them in this post.
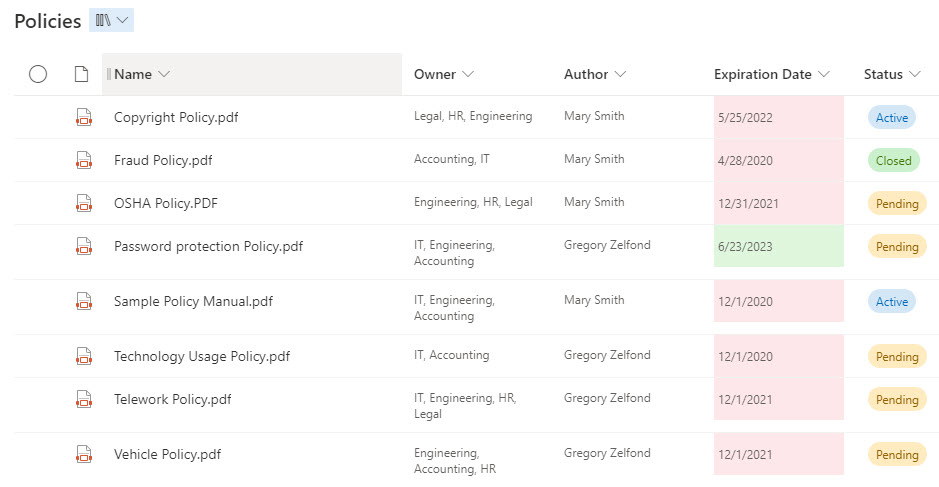
Policies & Procedures
I am sure you also have some policies you want to share with your employees as well. If you have a small number of documents, you can just link to them from the main site. However, suppose you have lots of policies and procedures. In that case, you might want to consider utilizing a dedicated document library for this and add some metadata to help users find the specific policy that applies to them.
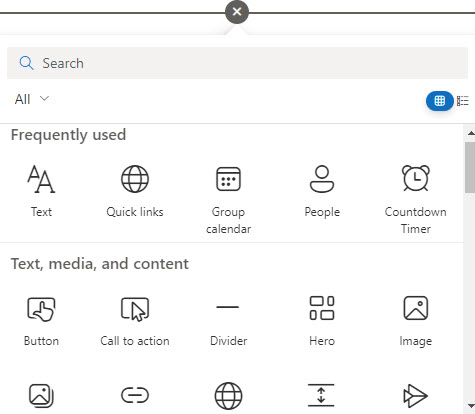
Deadline notification
Sometimes you might need to convey essential dates and deadlines to your site visitors. For example, benefits enrollment deadline, or some date employees might sign and complete a particular form by. In this case, you can utilize the Countdown Timer Web Part. It allows you to set a specific date and time, and it will count down the time live on your page. As a bonus, you can add some graphics/images for the background. I explained this web part in this article.

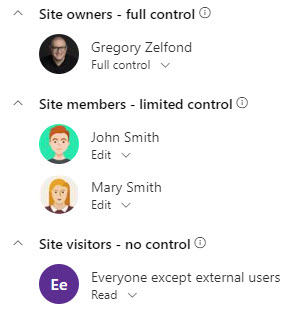
Step 6: Set up site security
Once the site and web parts are created, it is time to set up security. This is a relatively simple exercise, you just need to decide who can do what at a site level. If you click Gear Icon > Site Permissions, you will see three permission groups: Visitors, Members, and Owners. Typically, for an HR Communication site, you will add Everyone except External users to the Visitors Groups (Read Only), then add some team members who will help you maintain content to the Members Group (Add/Edit/Delete) and then have yourself or whoever else is the Owner in the Owners (Full Control) group. For additional instructions on permissions, please check out this article.
Step 7: Create Employee Folders Library
This specific requirement is optional, but I see it requested by my clients all the time, so I figured I would explain this here as well. While the Human Resources Site is read-only to all the employees, sometimes you want to have a dedicated place for employee folders where employees can add/edit/delete documents in their owner folders, without seeing anyone else’s folder. In contrast, HR can see/access all the folders. This will give HR a dedicated place to exchange certain documents with employees (i.e., annual review documents).
If you need this capability, you must create a dedicated library for employee folders. Then, create a folder for each employee and set up individual permissions for each folder. I described the mechanism of doing so in this article.

Step 8: Decide on a communication channel
Another thing I recommend is determining the proper communication channel for your HR Department. The HR Employee site we discussed so far is more of a static content repository. However, you might want to have a two-way channel where employees can ask questions, and you can answer them.
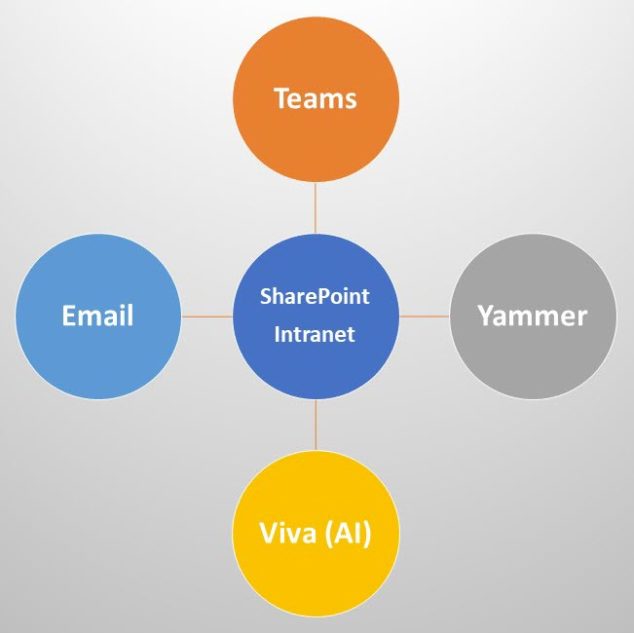
There are a few ways to achieve this. You can either create a Public Team in Teams, or you can create Yammer Community for HR. The added benefit of Yammer Community is that you can embed the conversations right onto the HR SharePoint site page. I compare Teams and Yammer in this post.
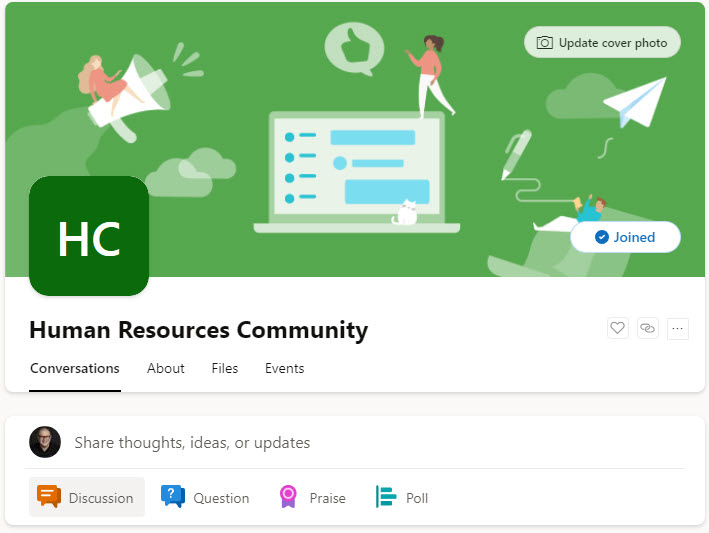
Example of a Human Resources Yammer Community you can create
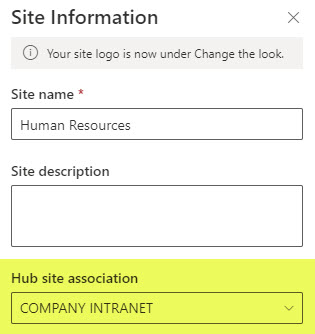
Step 9: Add the site to the Company/Intranet Hub
Once the HR site is fully built, do not forget to associate it with the Intranet Hub, so users can easily navigate to it. I explain the concept of Hub and how to associate a site with the Hub here.
Step 10: Promote the site and its content
Now that we have built the Human Resources site in SharePoint, it is time to promote it and ensure everyone knows about it. There are a few ways to achieve this.
Roll up content to the main Intranet site
To promote content from your HR site, you can roll it up onto the Main Intranet Site. If your HR Site is part of the Intranet Hub, you can configure News and Event web parts on the main Intranet site and roll up the content from HR Site. This way, the users will see the content as soon as they visit the main site; they do not even have to navigate specifically to the HR Site.

You can do the same with documents as well, thanks to the HCWP web part.
Use Viva Connections
Another thing you can do, if you didn’t already, is set up Viva Connections. This will add a link to the Homesite right into the Teams application, allowing users to access and consume content right within the Teams application.

Share Article