How to embed Stream Videos on a SharePoint Page
If you regularly follow my blog, you might wonder why I am writing this post. In August 2021, I published a detailed article about all the ways to store and organize videos in SharePoint. However, a significant development occurred soon after I wrote this article. Microsoft totally revamped its Stream application, making some of the options mentioned in that old article invalid. So today, I wanted to explain what had changed and how to display and embed Stream Videos on a SharePoint Page.
The change that occurred
The major change that triggered this post was the total revamp of the Microsoft Stream application and its shift from a standalone app within Microsoft 365 to SharePoint/OneDrive. I documented this in great detail in this article.
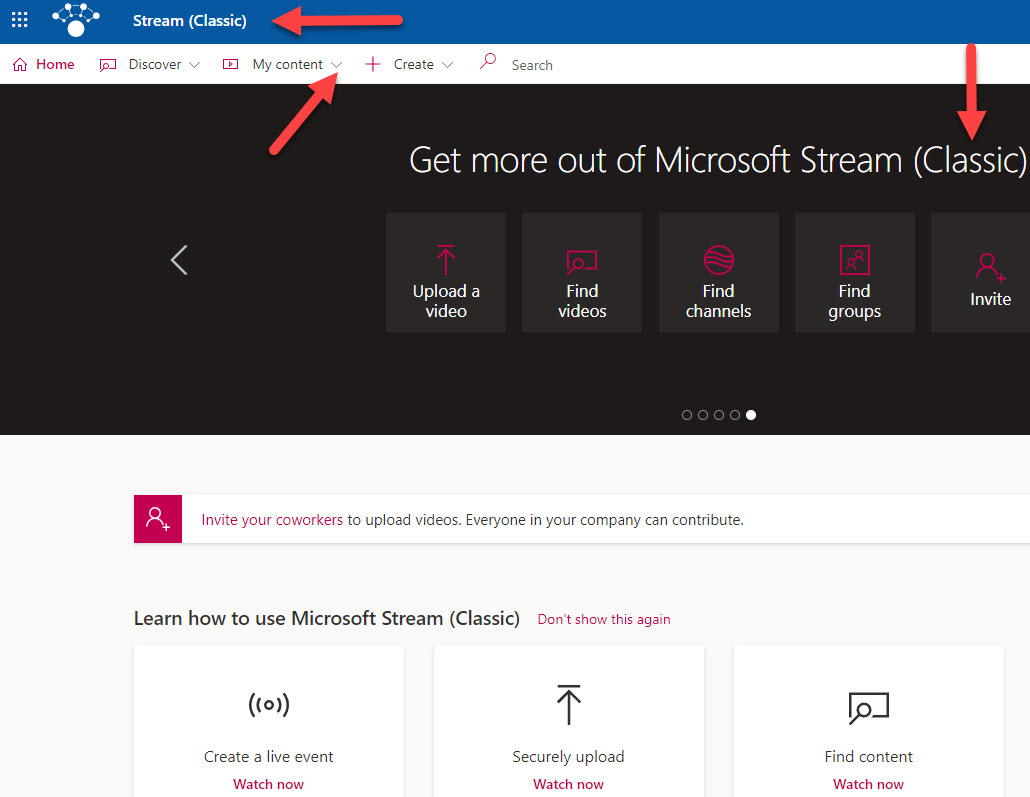
An example of a Stream Classic Landing Page
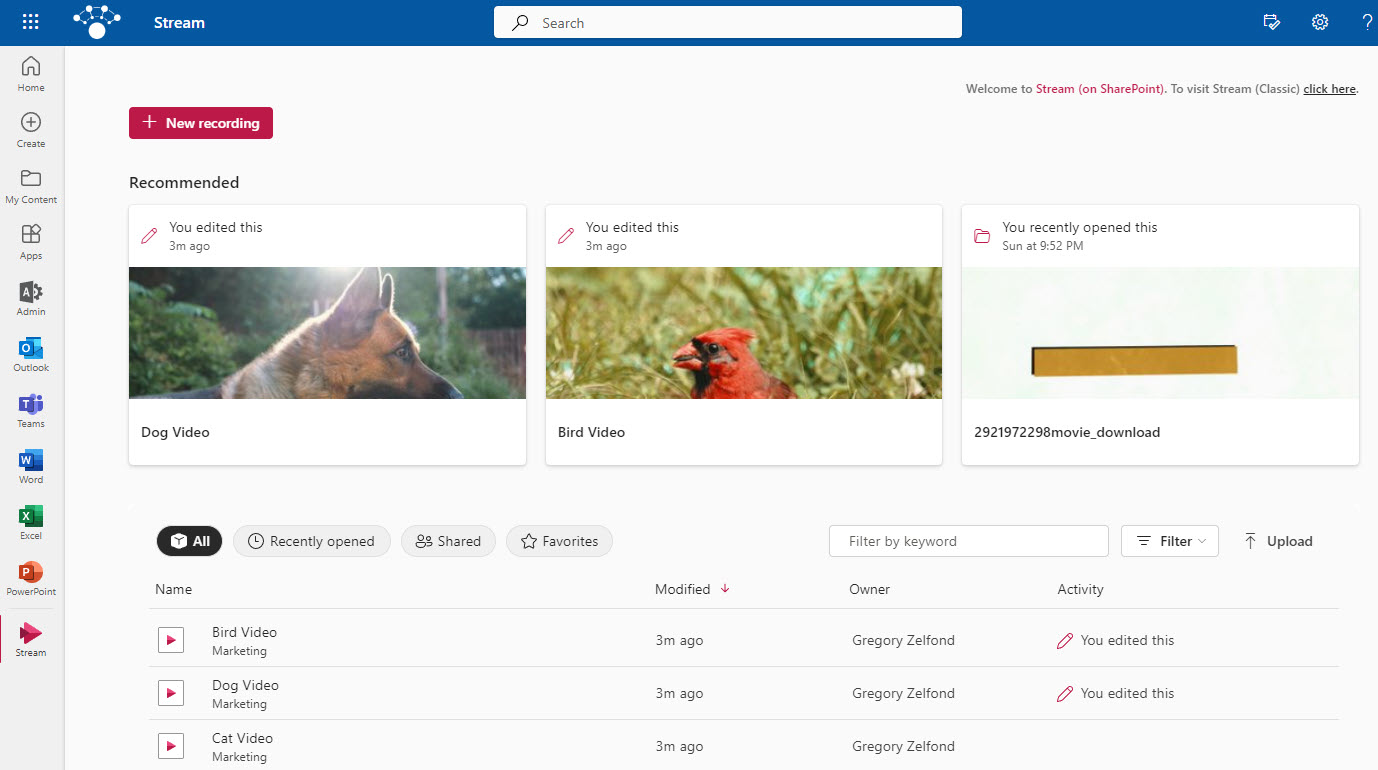
An example of a Stream on SharePoint Landing Page
An old way to display videos on a SharePoint page
When the videos were stored in the Stream App, the primary way to surface them on a SharePoint page, was via the Stream Web Part.
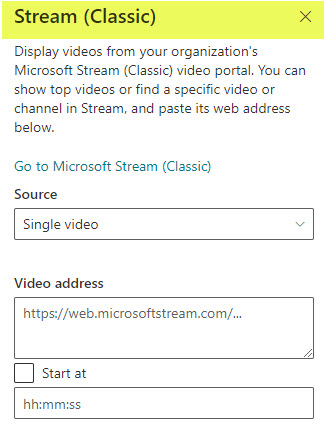
According to Microsoft, Stream Classic will be deprecated, so this option is not valid anymore.

With the new Stream, the videos are no longer stored in the Stream Application – they are now stored in SharePoint/OneDrive, just like the other types of files. So how do we now display the videos on a SharePoint page? There are a few ways to do so; the method you choose depends on your scenario/use case.
Display a single video on a SharePoint Page
If you need to display just a single video on your SharePoint Site, you have two options to choose from.
Option 1: File and Media Web Part (File Viewer Web Part)
The first option to display a single video on a SharePoint page would be to use File and Media Web Part. Up until recently, it was called File Viewer Web Part.
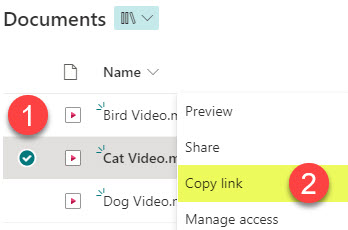
- Generate a link to the video you would like to embed on the page, by right-clicking on the video file and choosing Copy
- Edit the SharePoint Page

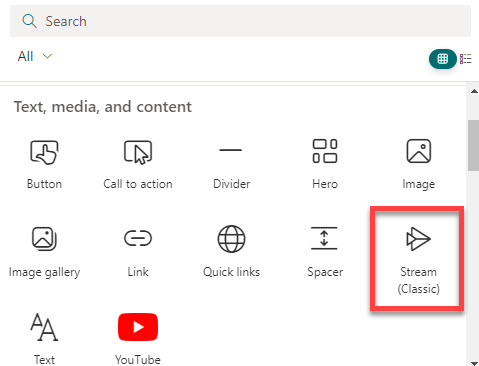
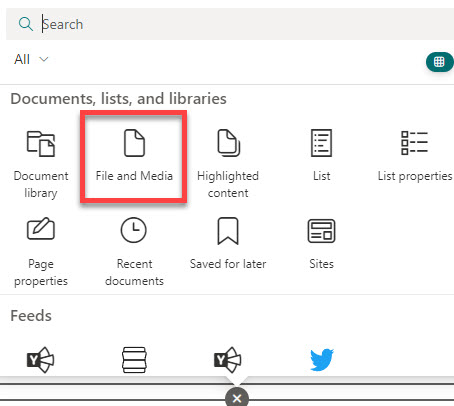
- Click the “+” button where you want to add your video, then choose File and Media from the list of available web parts
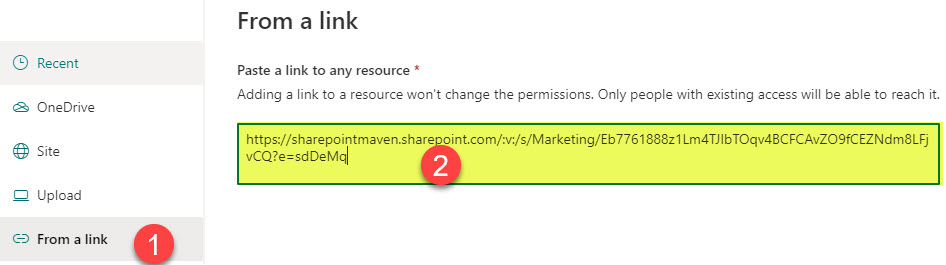
- It will prompt you to add a link to the video. Paste the URL from Step 1. Click Add.
- Republish the Page
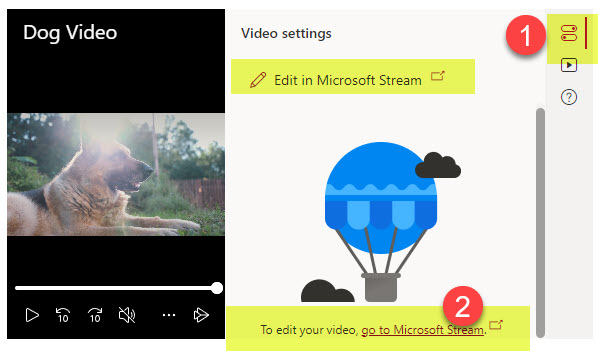
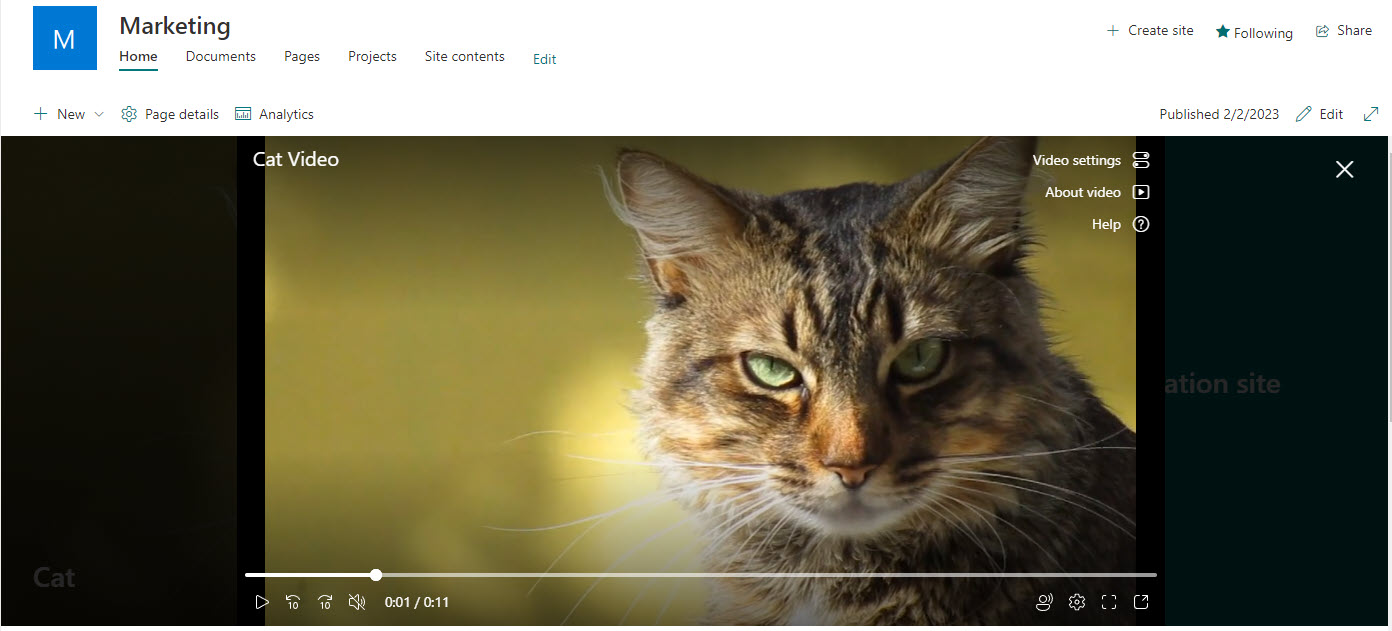
- You will now see the video/video player embedded on the SharePoint page. You can configure further settings by clicking on the Video settings in the upper-right-hand corner.
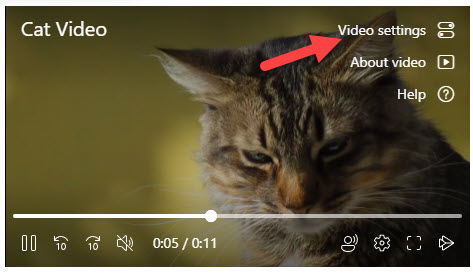
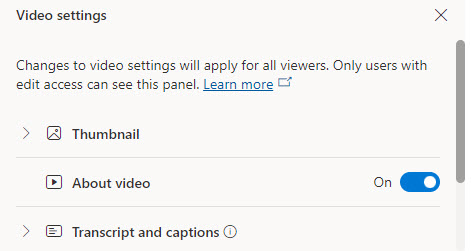
- Once you click on Video settings, you can adjust other settings about your video, like Transcript and captions, Thumbnail, etc., just like you can on YouTube.
Option 2: Embed Web Part
Another option to embed a single video on a SharePoint page would be to use an Embed Web Part. I blogged about it in the past.
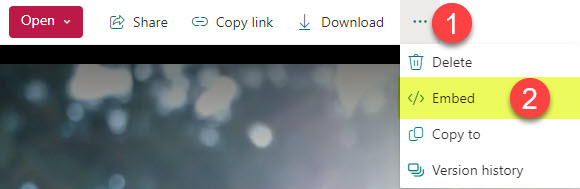
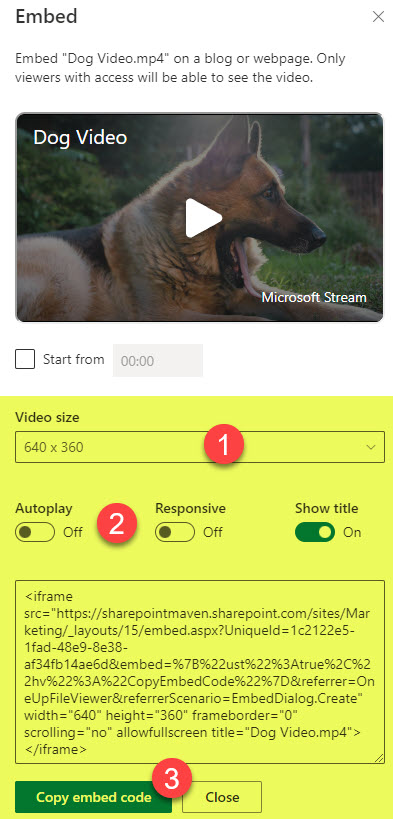
- First, click on the video you want to embed and obtain the Embed code by clicking three dots > Embed
- You can configure some settings related to the video in the pop-up that appears. Adjust as necessary, then click Copy embed code.
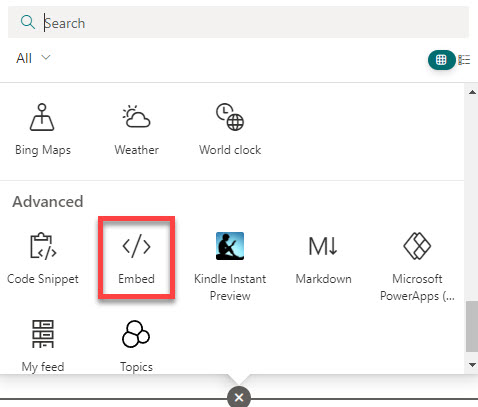
- Next, edit the page, then choose Embed Web Part
- Paste the Embed code from the previous step
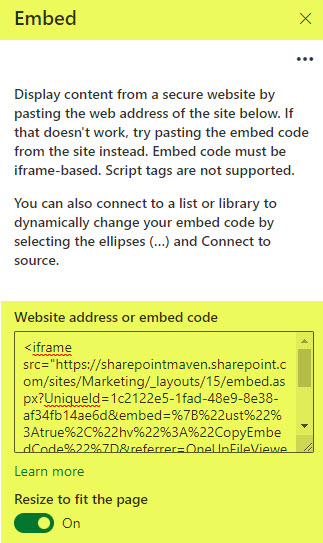
- Republish the page.
- Just like with the File and Media option, it will embed the video on the page; however, to adjust the Video settings (Transcript and captions, Thumbnail, etc.), it will ask you to open the video in Stream (SharePoint) first and adjust them there. So it will be an extra click for you to access those settings. Other than that, the video player experience for the visitors is the same.
Display multiple videos on a SharePoint Page
In case you need to embed multiple Stream Videos on SharePoint, there are a few ways to do so as well.
Option 1: HCWP Web Part
The first option would be to use the mighty HCWP (Highlighted Content Web Part).
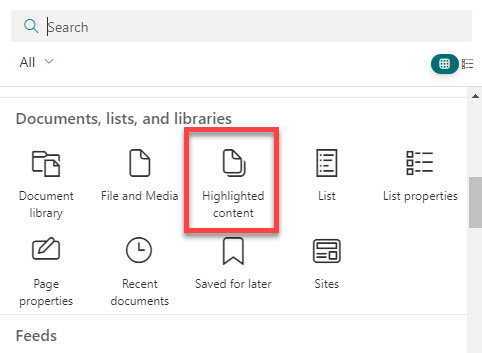
- Edit the page, then choose Highlighted Content Web Part
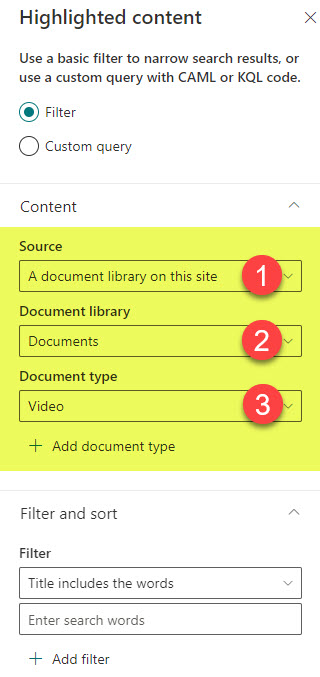
- Choose the source of the videos, then specify the document library where the videos are located in and Document Type = Video (in case the library also contains other types of files as well)
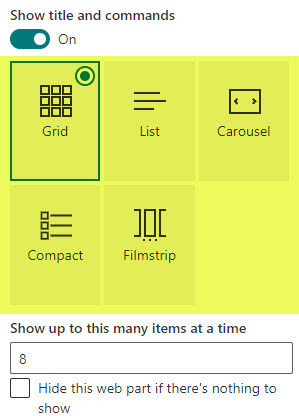
- You can then configure the layout as well
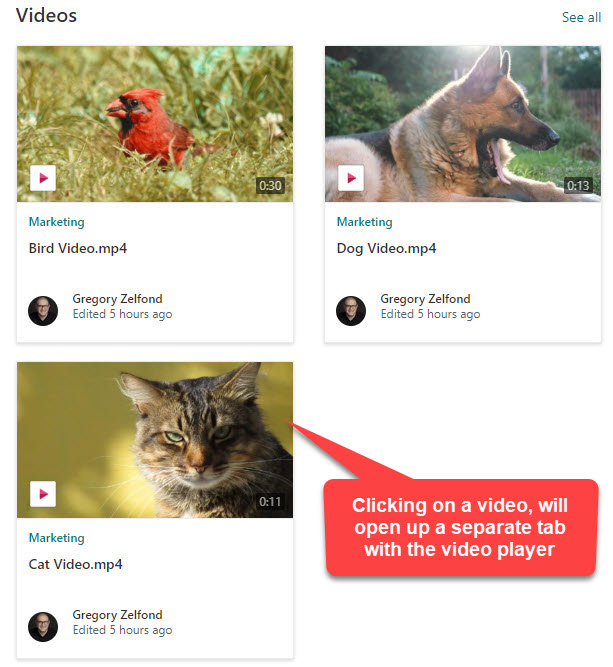
- Republish the page. You will now see multiple videos from the source embedded on a page. Unlike with the single video options I mentioned above, when you click on a video to play it, it will not play the video inline. Instead, it will open up a separate tab in the browser where it will play the video.
Option 2: Document Library Web Part with the Tiles View
Another excellent option to embed multiple Stream Videos would be to embed a Document Library (with videos) on a SharePoint page. We are taking advantage of the fact that with the new Stream, videos reside in SharePoint, in a regular document library. Here are the steps:
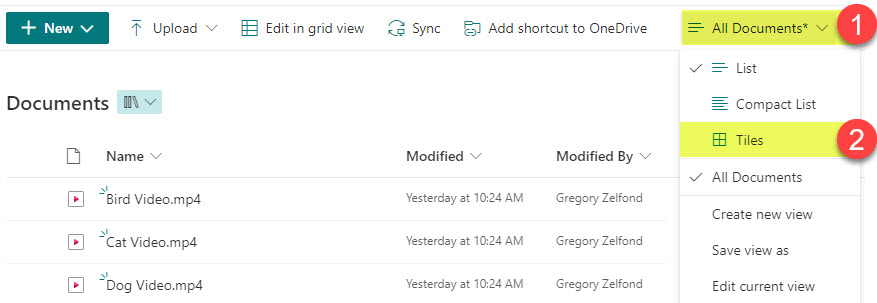
- First, navigate to the document library where the videos are located in, click on the All Documents view drop-down, then click on Tiles. This is necessary so that the videos show up nicely when we embed them on the SharePoint page later on,
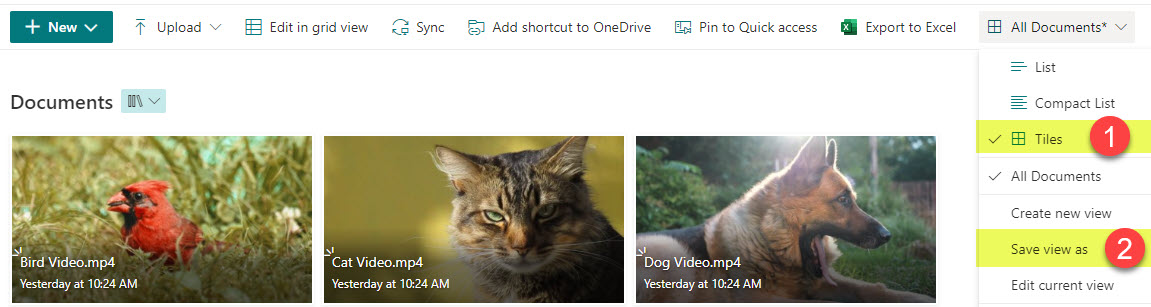
- Once you click on Tiles, then click the Views drop-down again and click Save view as
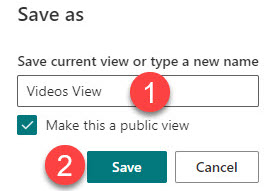
- Give the view a name and click Save to save it
- Now it is time for the magic. Edit the page, and embed a document library web part
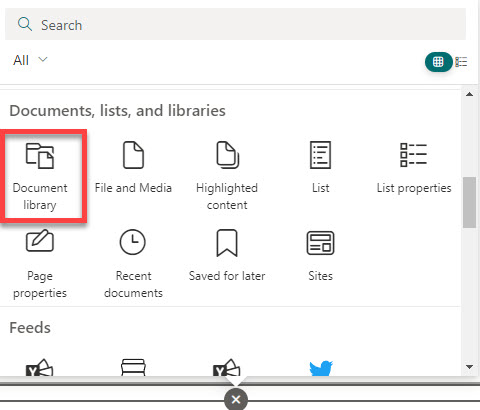
- Choose the Document Library where the videos reside
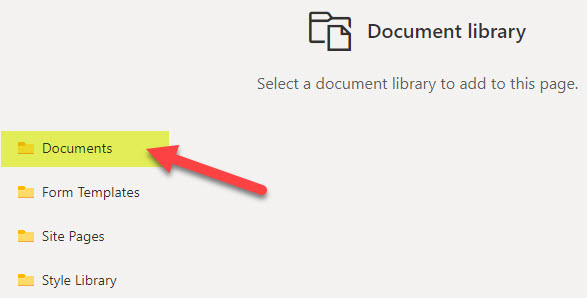
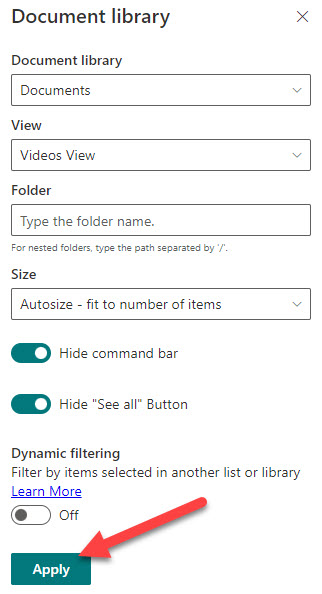
- Once the library appears on a page, click the Pencil Edit button, then on the right, choose the Tiles view we created previously. For optimal look and feel, you can then Hide command bar and Hide “See all” Button.

- After you make the changes, make sure to click Apply button at the bottom
- Republish the page
- And this is the end result!

- Once again, when you click the video, it won’t play it inside of a page, but rather will open up another tab with the video player

Option 3: Hero Web Part
You are going to love this final option! Another cool way to display multiple videos on a SharePoint page is to use the Hero Web Part. I blogged about it previously as well. It is primarily used to display large images with links to catch users’ attention. However, you can also use it to embed videos too!
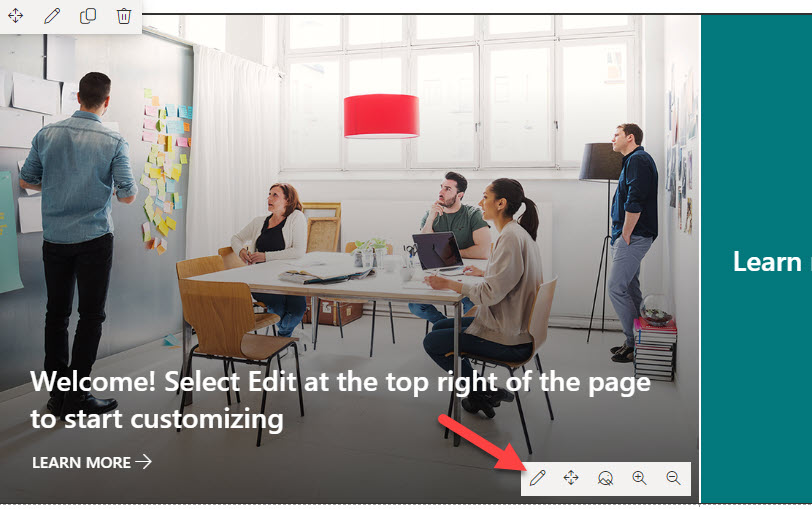
- Edit the SharePoint page and click the pencil icon on one of the tiles
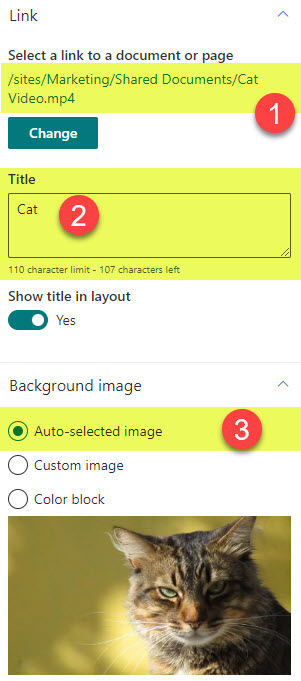
- Change the link of a tile to the video file link, and give it a title. Make sure to choose the Auto-selected image option. This way, it will grab the screenshot of a video and use it for the player interface.
- Republish the page
- And this is what it will look like to the users!
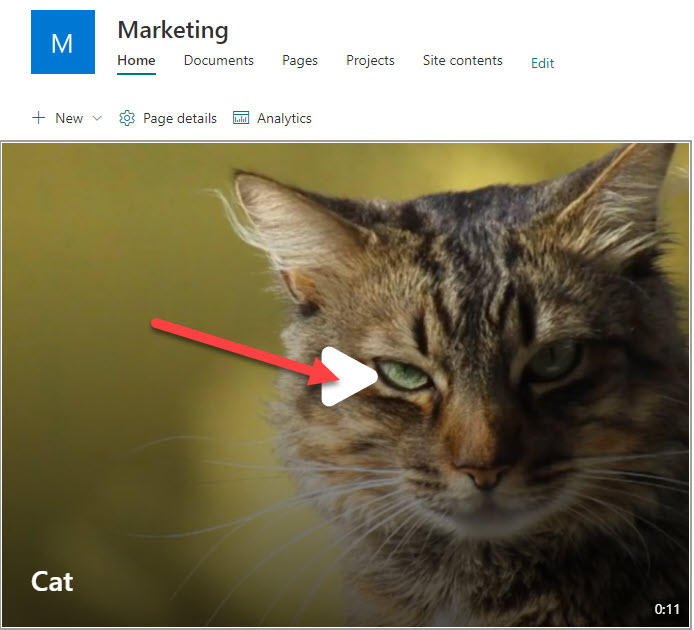
- Once the users click the Play button, it will play the video right on the page, without opening another tab!

Share Article