How to set Audience Targeting on the Events Web Part
Audience Targeting happens to be one of my favorite features. It allows you to target content to specific groups of users. You can set Audience Targeting on Navigation, Quick Links, News, and Highlighted Content Web Part. I summarized most of these options in this article. One of the latest web parts to take advantage of Audience Targeting is the SharePoint Events Web Part. There are several steps involved if you want to set Audience Targeting on the Events Web Part in SharePoint Online, so that is what I want to outline below.
What is the purpose of Audience Targeting on the Events Web Part?
Audience Targeting allows you to target different content to different groups of users. For example, say you have a global organization and publish all sorts of events on the shared calendar. Perhaps some events apply to employees from one country, and others apply to employees from another country. Setting audience targeting will allow the users only to see events that apply to them only.

SharePoint Calendar vs. Group Calendar
First, it is necessary to highlight that Audience Targeting can only be set on the SharePoint Calendar, not Outlook or Group Calendar. I compare both options here. So essentially, what that means is that we can set Audience Targeting on Events List (Web Part) only.

How to set Audience Targeting on the Events Web Part
There are three steps involved if you want to set Audience Targeting on the Events Web Part in SharePoint Online.
Step 1: Enable Audience Targeting in the Events List
The Events Web Part is pretty much a list behind the scenes. The first step you need to do is enable Audience Targeting within the List Settings. To do this:
- Gear Icon > Site Contents

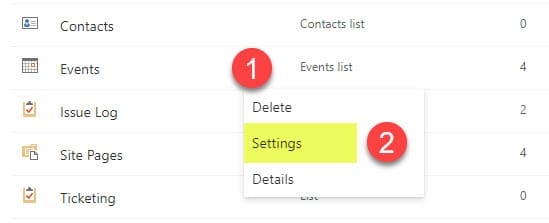
- Find the Events list (calendar) where the Events Web Part events are stored (Events is the default name usually). Click three dots next to it, then Settings.
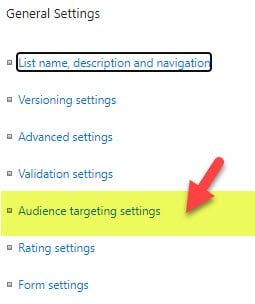
- Click on Audience Targeting Settings
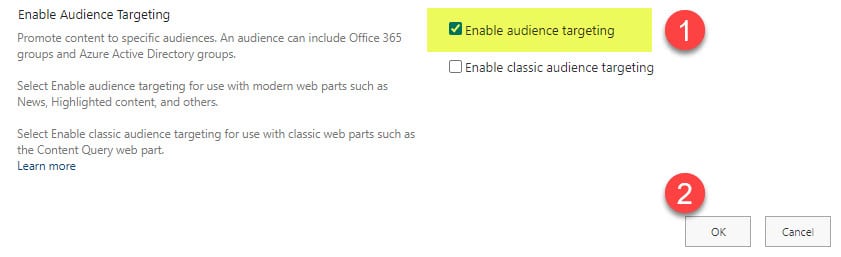
- Check the box next to Enable audience targeting, then click OK


Step 2: Enable Audience Targeting in the Events Web Part itself
Next, you need to enable Audience Targeting on the Events Web Part itself. To do this:
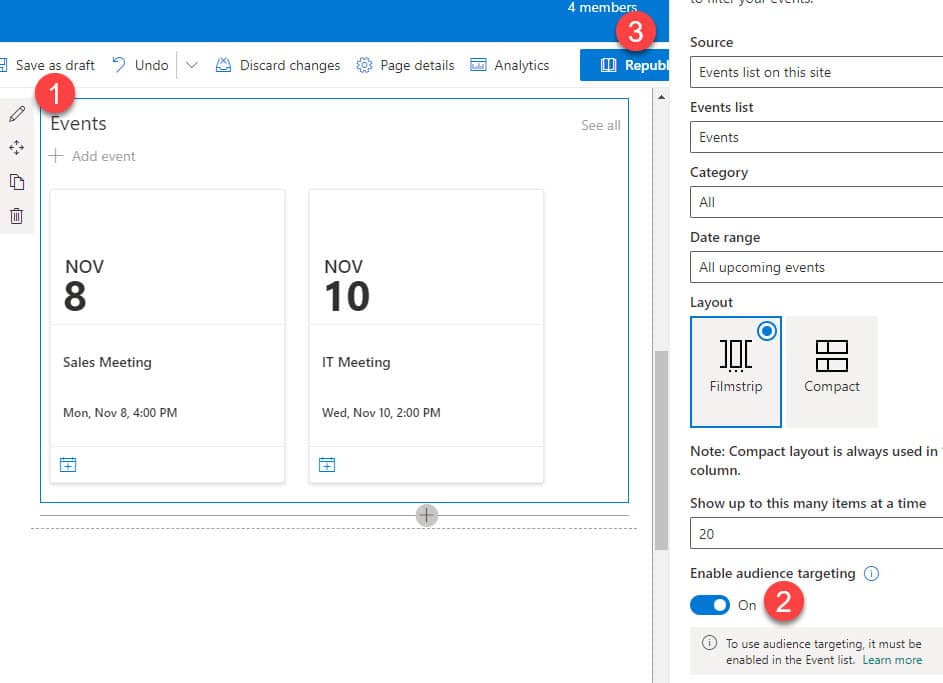
- Edit the Page
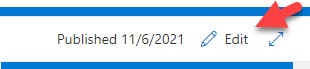
- Click the pencil icon next to the Events Web Part, then Enable Audience Targeting in the panel on the right-hand side, then Republish the page


Step 3: Set Audience Targeting for an event
Finally, we are ready to set Audience Targeting on the Events themselves.
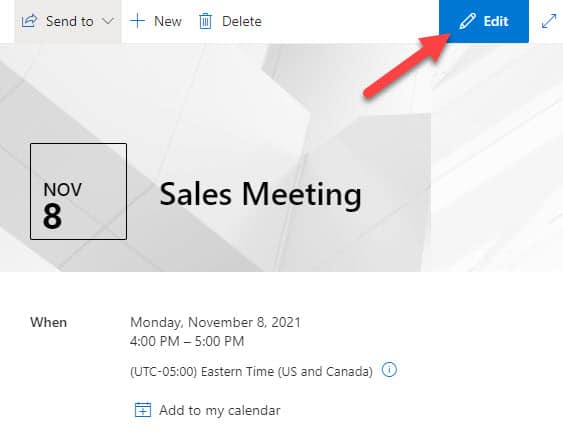
- Edit the Event you want to set Audience Targeting on
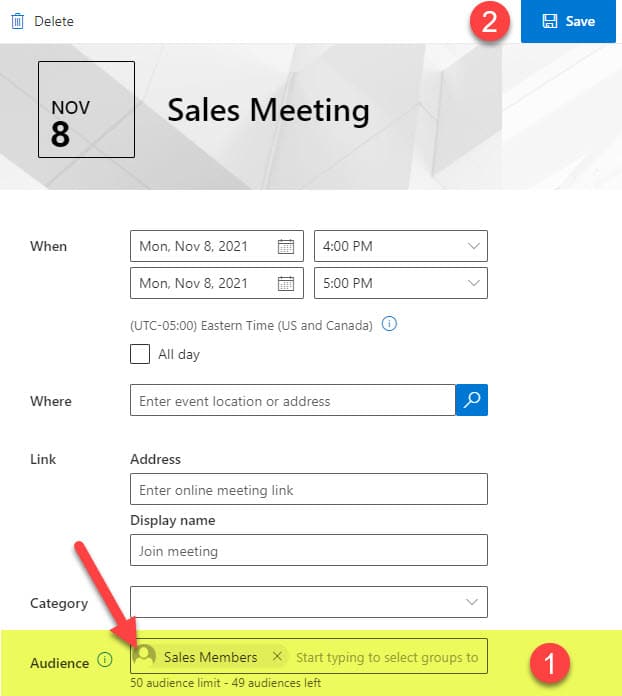
- You will now notice an Audience Box where you can list up to 50 security groups. Very important to note that you can’t specify people. You have to type in either AD Security groups or Microsoft 365 security groups (no distribution lists). If you leave the box blank, the event will be visible to everyone. If you specify one or more groups, only those groups will see the event. After adding the group(s), click Save.


This is a view for the user who is not part of the Sales Members Group added above (sees just one event, not two).

Share Article