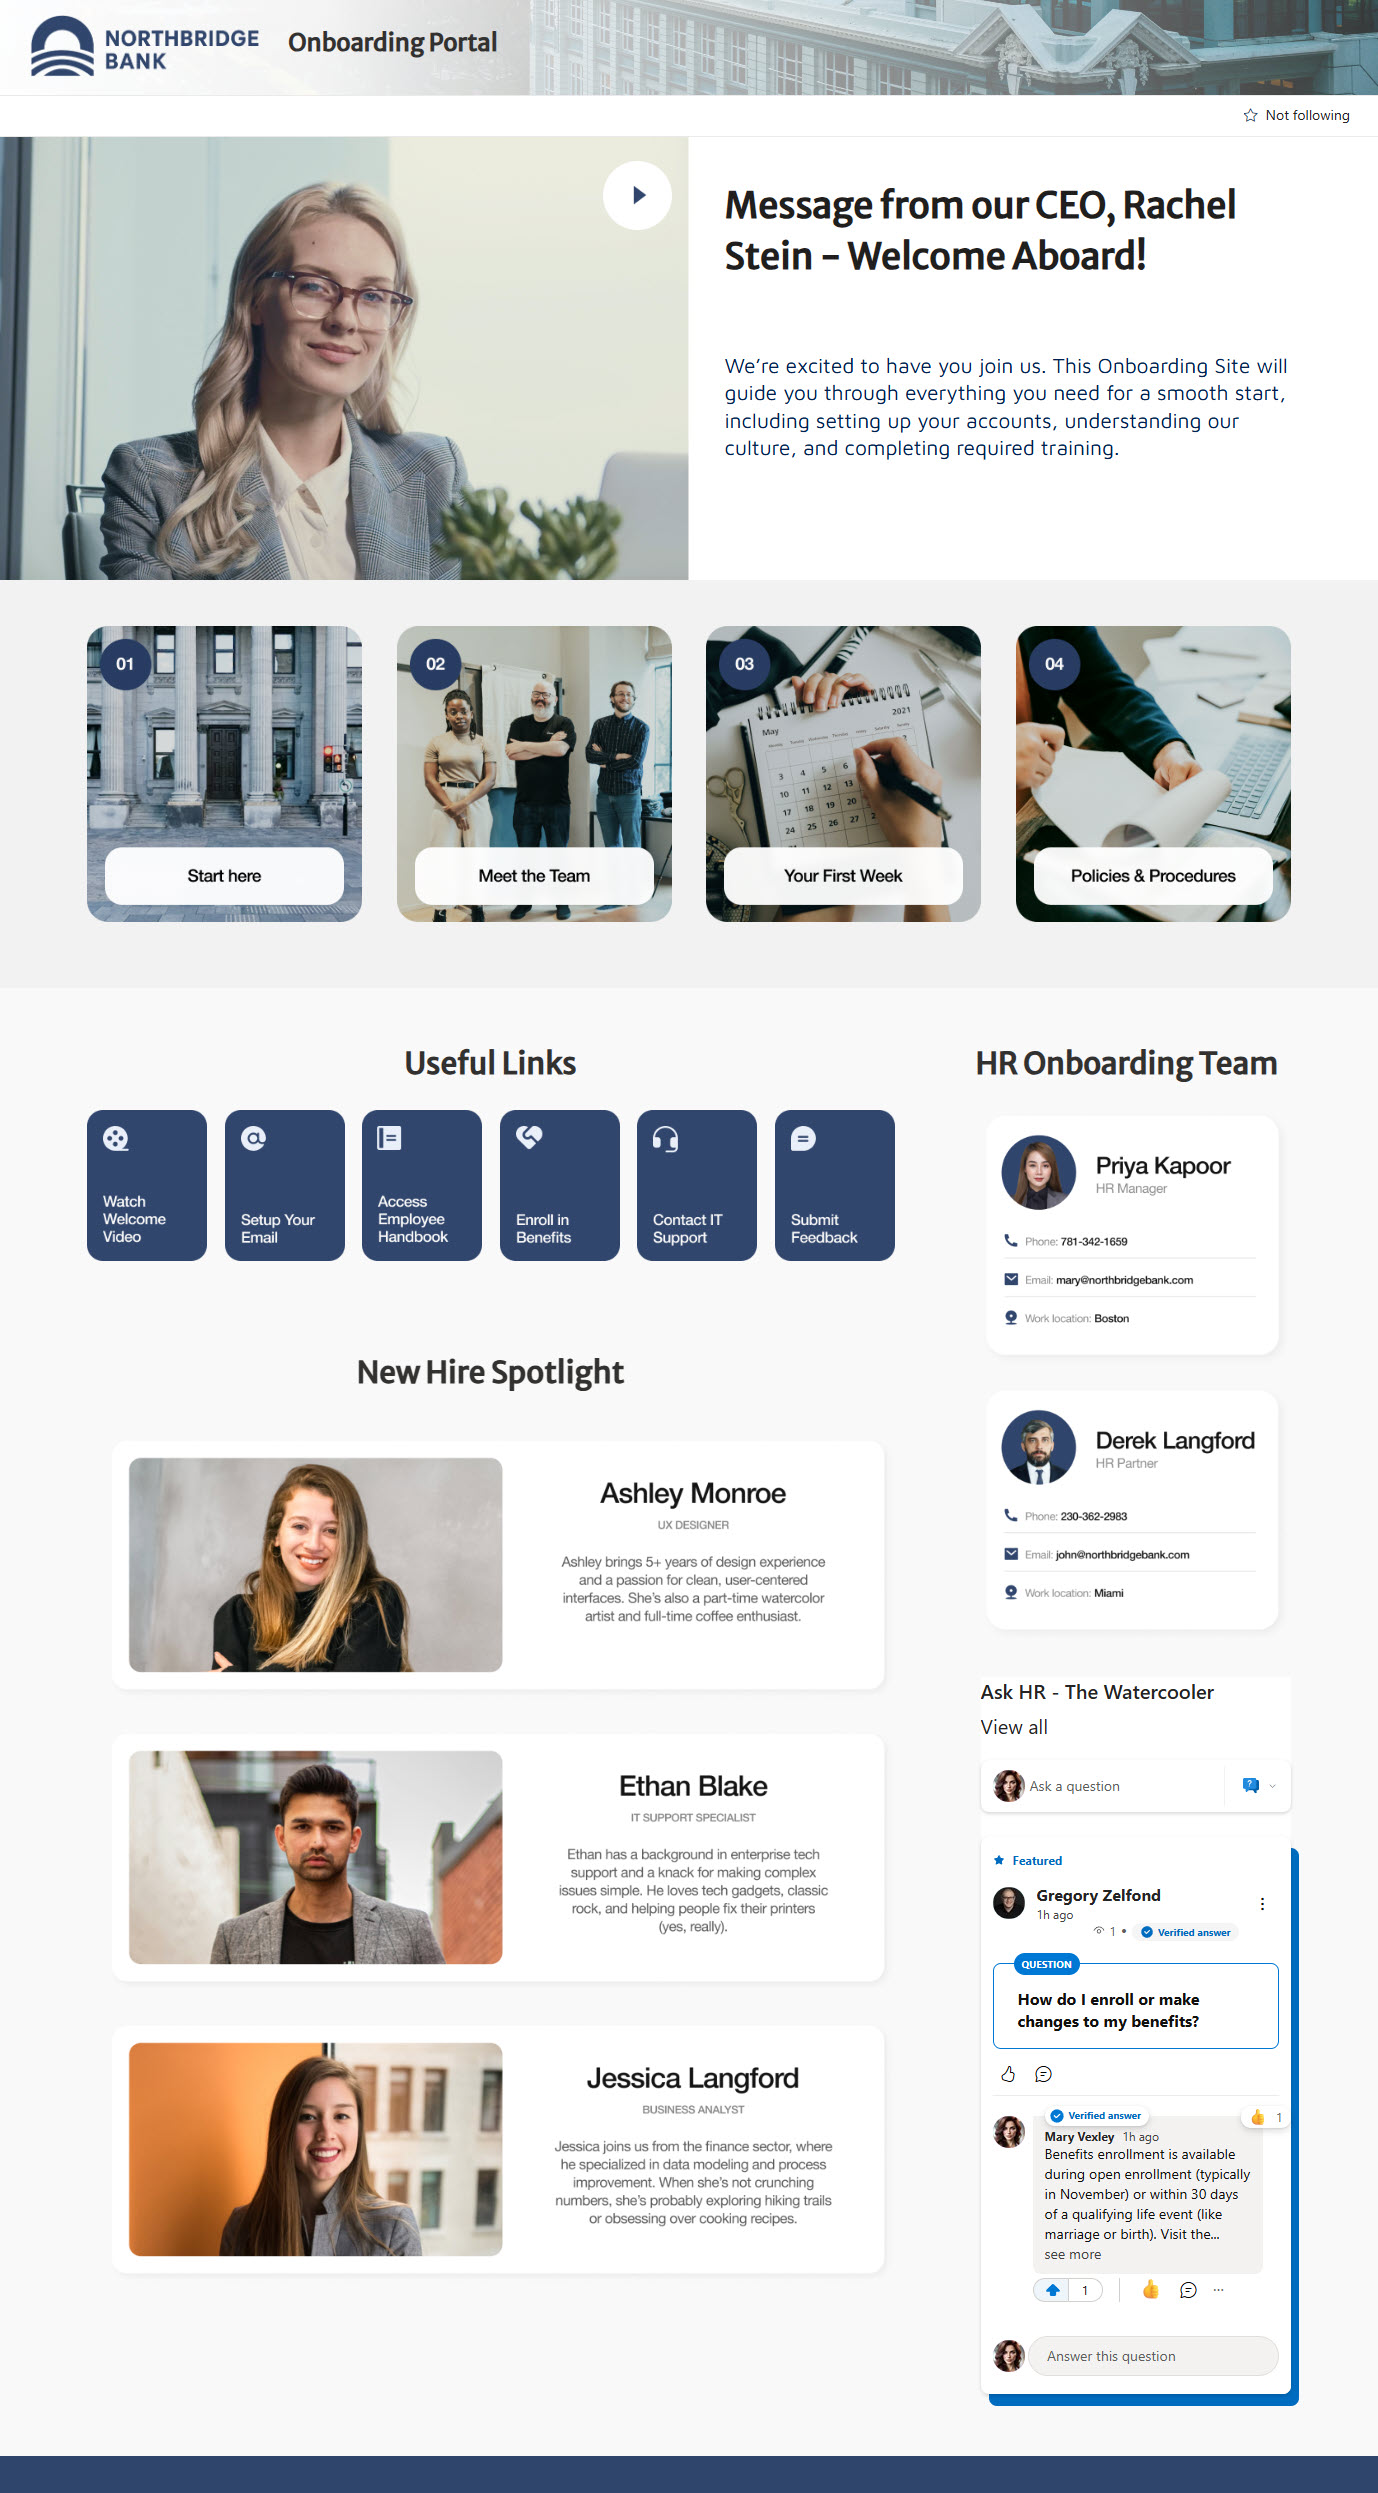
How to create an amazing Onboarding Site in SharePoint Online
One of the most frequent types of sites that medium to large organizations need is the Onboarding site to welcome new employees and help with information gathering and processes often associated with Onboarding. SharePoint makes it a perfect fit since it allows for a single location to aggregate and display appropriate information. So in this post, I would like to show and present a few ideas and help with selecting proper components to help you shape up a fantastic Onboarding site in SharePoint Online.
Step 1: Decide on the Template for the Onboarding Site
You pretty much have two choices when it comes to the selection of the template. You can either start with the blank site and create all the components yourself or start with the free Onboarding site template available in Lookbook.
If you opt for creating the Onboarding site from scratch, you would just create a Communication Site and customize the page and add web parts yourself. If you opt for the available template, you would need to apply that template to your site via the Apply the template feature. Once you choose the Onboarding Site Template, it will look like this:
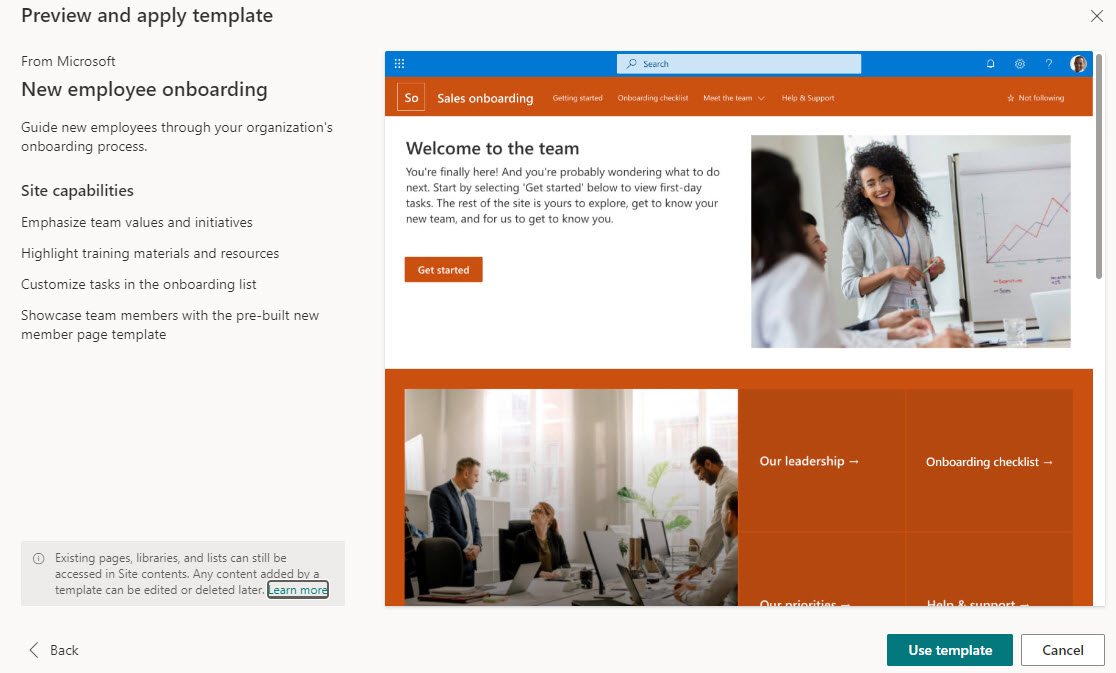
Example of the Onboarding Site Template available from Microsoft
One important thing to note is that the Onboarding Site template above is not a complete Onboarding solution. It gives you ideas and some design elements you typically find on the Onboarding site. You would still need to customize the site/page look and feel, add your own web parts, configure other applications, and set up security. All of the above stuff does not come with the template and requires lots of manual effort anyway.
Step 2: Decide on the components you want to show/create on your Onboarding Site
This is probably the most crucial step in creating the Onboarding Site in SharePoint Online. Every organization is different and has unique needs when it comes to Onboarding. So below, I would like to outline some common elements/requirements I have seen my clients have over the years.
- Requirement 1: Ability to store links to websites, documents
- Requirement 2: Ability to store and display videos
- Requirement 3: Ability to display contact information of key HR personnel
- Requirement 4: Ability to store and present documents organized by various categories
- Requirement 5: Ability to create Knowledge Base/FAQ for employees
- Requirement 6: Ability to present key dates/calendar
- Requirement 7: Ability to present news and announcements
- Requirement 8: Ability to display information based on the user logged in
- Requirement 9: Ability to share some information externally
- Requirement 10: Ability to collect information from employees, submit surveys
- Requirement 11: Ability to automate some processes/approvals after data collections
Step 3: Map the requirements to SharePoint Web Parts and Microsoft 365 Apps
This next step is equally important. This is where we translate the above requirements into the specific web parts/apps and functionality in SharePoint. So I would like to take the above list and explain the specific functionality that will satisfy the above requirement.
Requirement 1: Ability to store links to websites, documents
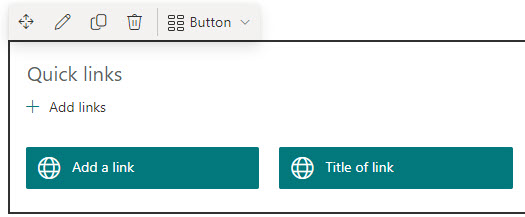
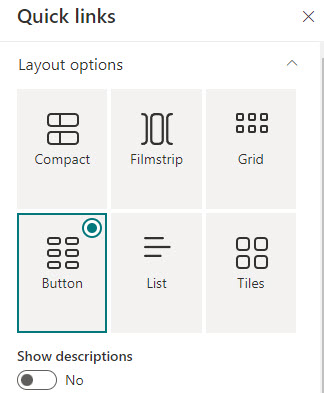
There are a few options available when it comes to linking to content on a SharePoint site. You can, of course, use Quick Links web Part, which allows for some nice personalization options:
The other alternative would be to use the Hero Web Part that allows you to add large clickable images for attention grab and a Call to Action (CTA).
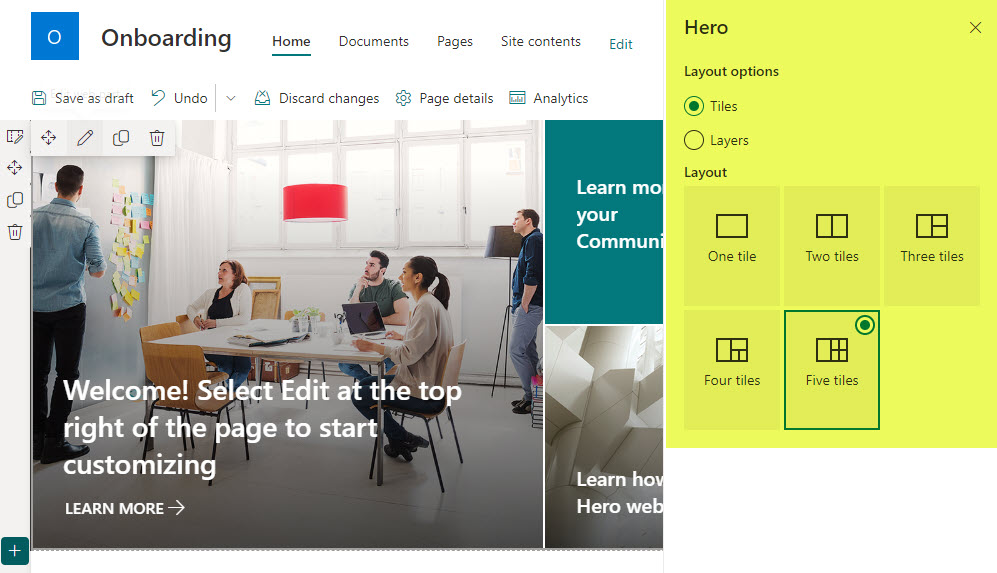
Another bonus is the new capability to embed and play videos inline, right inside the Hero Web Part, making the user experience very intuitive.
Requirement 2: Ability to store and display videos
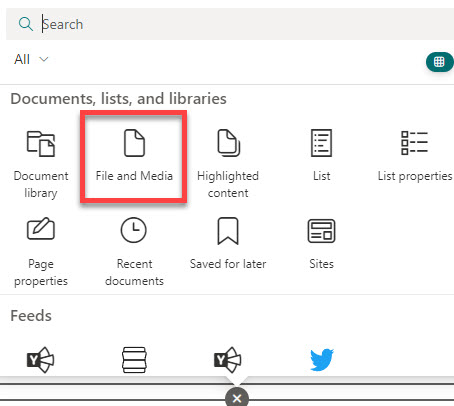
This requirement is also achieved easily within SharePoint, thanks to the recent changes to the Stream application. Videos are stored within SharePoint itself (just like images and other types of files), and when embedded on a SharePoint page, videos have a nice player/video experience similar to that of YouTube.

Requirement 3: Ability to display contact information of key HR personnel
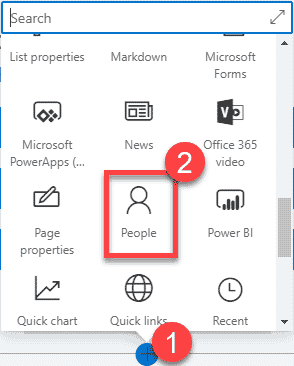
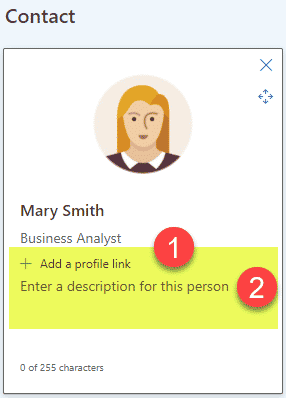
When you need to display the contact information of the key HR personnel on a page, your best would be to utilize the People Web Part. It allows you to list users from your employee directory, and when users hover over the person’s name, they will see the photo, name, role, and contact information like email and phone number. Moreover, this web part allows you also to add some custom text to make the introduction a bit more user-friendly.
Requirement 4: Ability to store and present documents organized by various categories
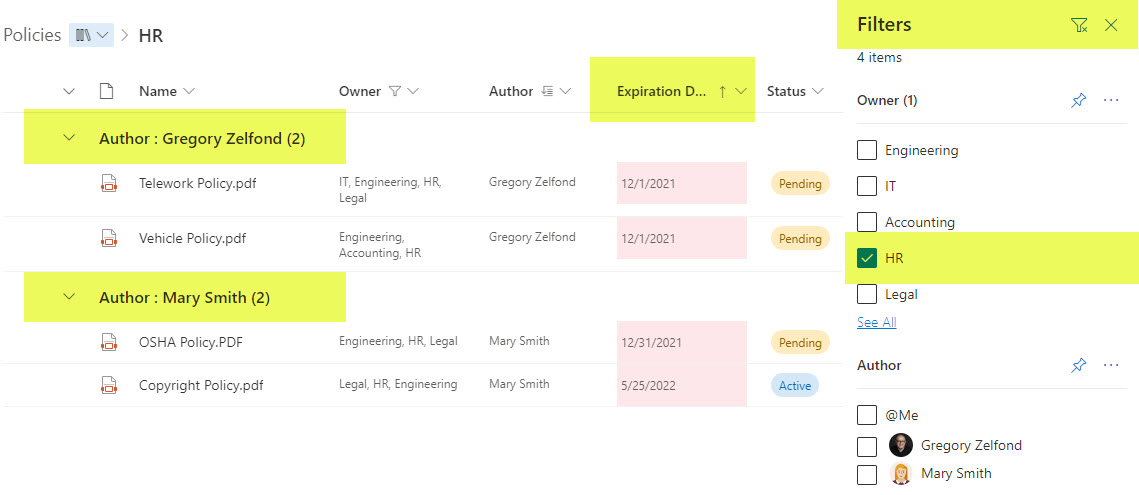
A common requirement is also the ability to organize documents (policies, procedures, templates, forms) and present them to users in a user-friendly and easily searchable format. This is where I like to utilize the power of metadata. It allows the HR staff to group documents into various categories and allows those who search to filter/group/sort the information in any way they wish.
Requirement 5: Ability to create Knowledge Base/FAQ for employees
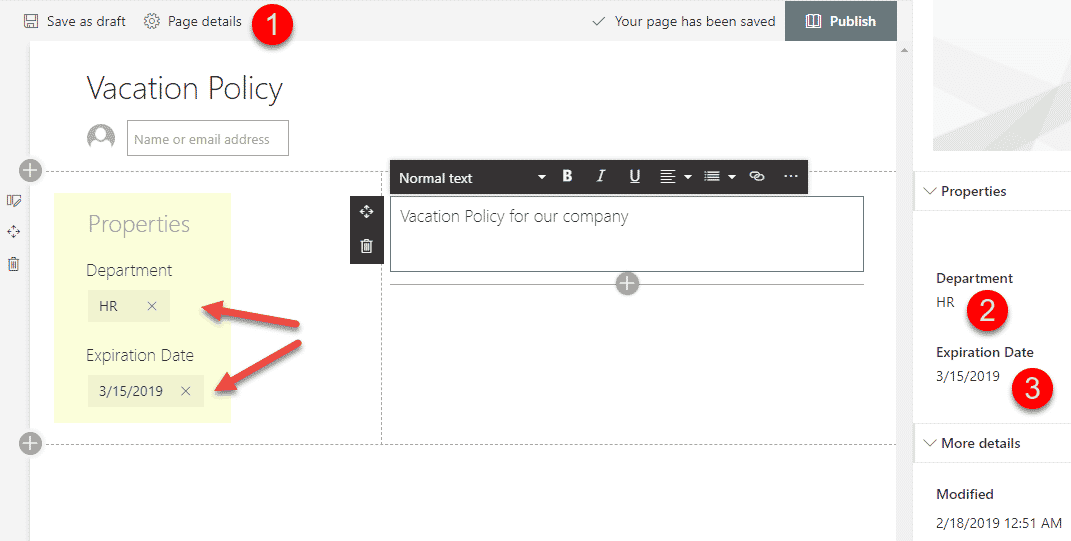
Another common requirement is some sort of FAQ/Knowledge Base. This could be achieved in many different ways in SharePoint. If you have lots of information to share, you can create a Wiki Page Template and utilize the power of metadata once again to make them easily searchable. I explained this concept in this article.
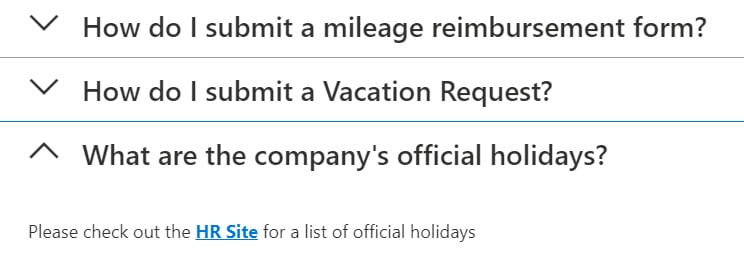
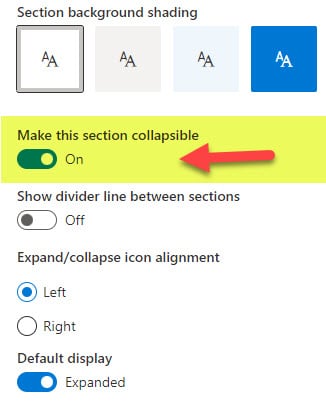
If you only have a few questions to display, another technique would be to build FAQ using the collapsible section feature.
Requirement 6: Ability to present key dates/calendar
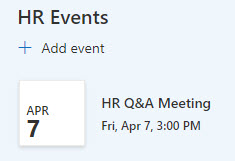
This requirement can easily be achieved with an Events Web Part, available out of the box. The downside is that the monthly view of this web part is still in classic mode.
To mitigate this, you can always create a custom list with a calendar view, as I described in this article.
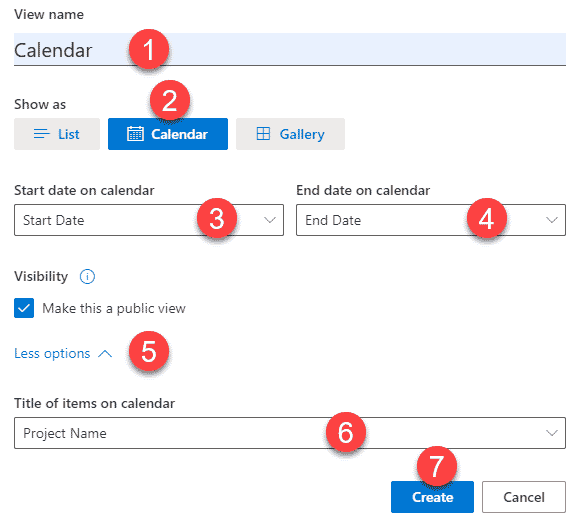
Added bonus – you can also apply color formatting to it as well.
Requirement 7: Ability to present news and announcements
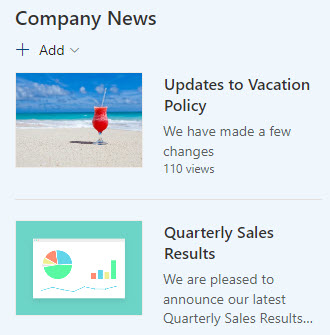
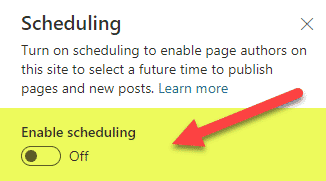
This is also easily possible in SharePoint Online, thanks to the mighty News Web Part. You can use it to post your own news and announcements and create links to news from outside sources as well. On top of it, you can schedule news posts and expire them as necessary.
Requirement 8: Ability to display information based on the user logged in
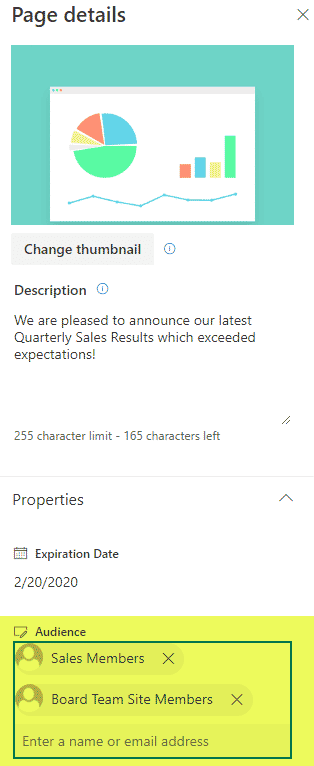
This is another typical requirement of the Onboarding Site in SharePoint Online. Often, especially in larger organizations, you need to target content to specific users. For example, you might need to show links and news posts geared toward full-time users, not contractors. Or, in a global organization, you might want to show certain documents or events to the users from one country but not the other.
This is easily possible with proper audience targeting feature configuration. As documented in an earlier post, you can audience-target events, news posts, quick links, navigation, and documents.
Requirement 9: Ability to share some information externally
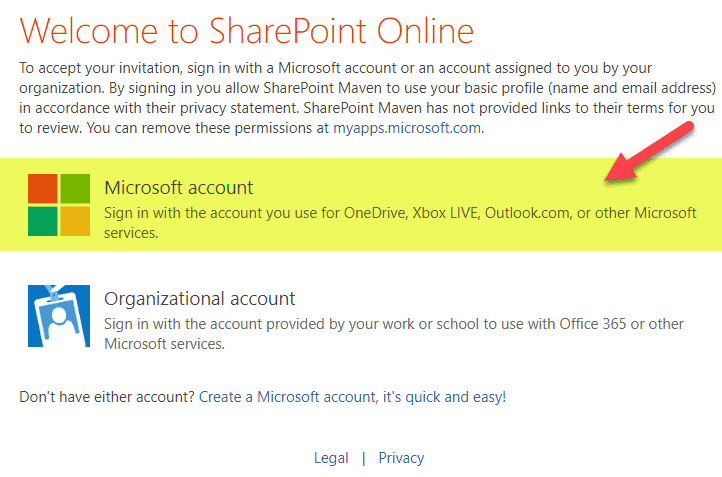
Another need that often exists with Onboarding and similar types of sites is the ability to share some of the content externally. There are a few ways to achieve this. You can either share a whole site or specific files and folders. I described all the options in this post.
Also, depending on the amount of content you wish to share externally, it might make sense to create a totally separate site just for external users.
Requirement 10: Ability to collect information from employees, submit surveys
A common Onboarding requirement is data collection. It could be data collected from potential hires, new hires, as well as their managers and other department heads. This is where the Forms application comes in. It allows you to build easy and simple surveys and output the information into an Excel document.
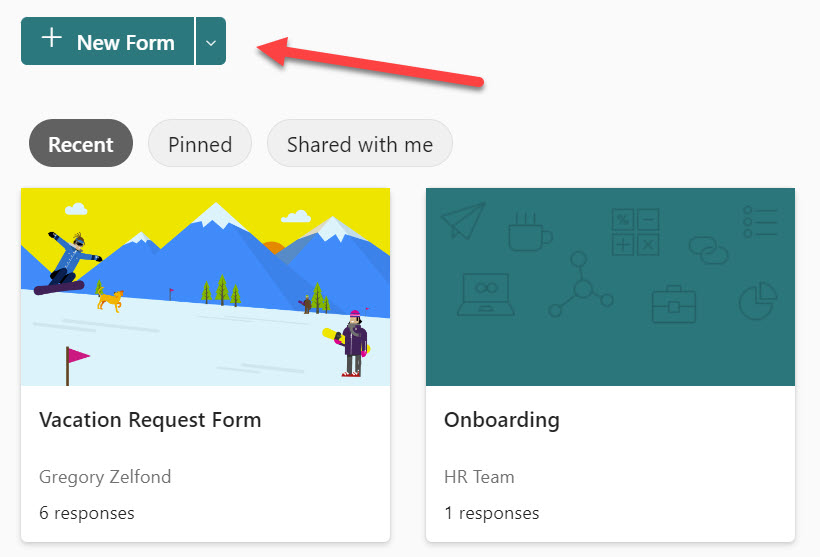
The bonus here is that you can also automate these Forms submissions and get email notifications or data populated into lists or other databases for further processing.
Requirement 11: Ability to automate some processes/approvals after data collection
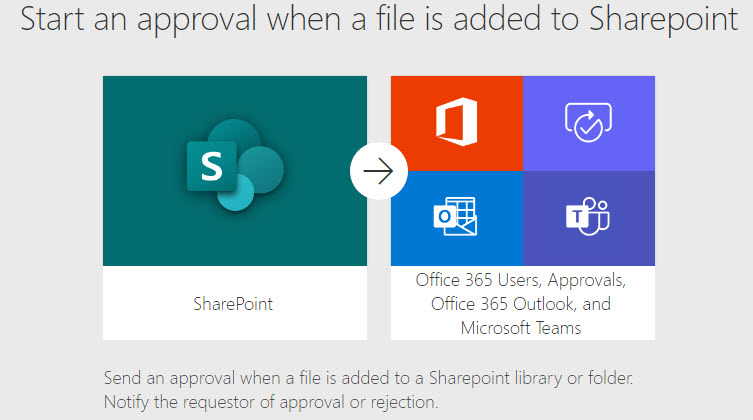
Kind of related to the above, you can also use the Power Automate application to automate approval processes associated with Onboarding. Sky is the limit when it comes to automation, really.
Step 4: Create the Onboarding Site in SharePoint Online
Now that we have gone over the main requirements and mapped them to the corresponding web parts and applications in SharePoint and Microsoft 365, it is time to roll up our sleeves and start building/creating a site and the various components outlined above. By the way, if you need assistance with completing an Onboarding Site in SharePoint Online, I will be happy to help.
And if you would like to see an example and some images of the onboarding site in SharePoint and get some inspiration, check out my LookBook 365 portfolio.
