9 ways to create a List in SharePoint
Boy, have the times changed. Custom lists have transformed so much in the last 10 years that they are barely recognizable. Back in the classic days of SharePoint, we just had a few list types we could create, like a contact list, a task list, and a custom list. The creation experience and the look and feel of them left a lot to be desired… Lists were completely revamped back in 2021, and with the recent changes and new features, they are now more user-friendly.

An example of a Modern List with an Image Column (Gallery View)
One of the capabilities that changed tremendously was the ability to create a list. In the past, we had only one way to do so – build it from scratch. If you wanted to import it from Excel, it was such a painful experience that it made many people cry (just for the record, I’m not the crying type – my coping mechanism involves large amounts of alcohol instead) 😊
As I write this post, we now have 9 (nine!) ways to create a custom list. Let me document them all in this article.
Option 1: Create a Custom List from Scratch
The first option for creating a list is probably the most common: creating a custom list from scratch. This is where you define your column names, types, etc. I explain how to do so in this article. By the way, since we are here, this post might also be worthwhile. This is where I explain the different types of columns we have in Lists.


Option 2: Create a Custom List from Excel
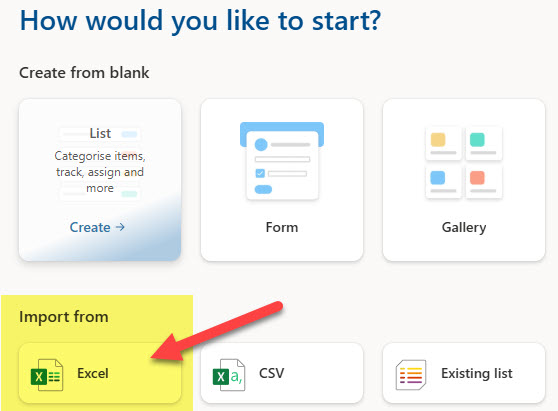
Another way to create a Custom List is to import an existing Excel file. In theory, it is a great option, but I have had some hiccups with large Excel docs in the past. There is a bit of a process involved when you import an Excel list; I explained it here.

Option 3: Create a Custom List from a CSV File
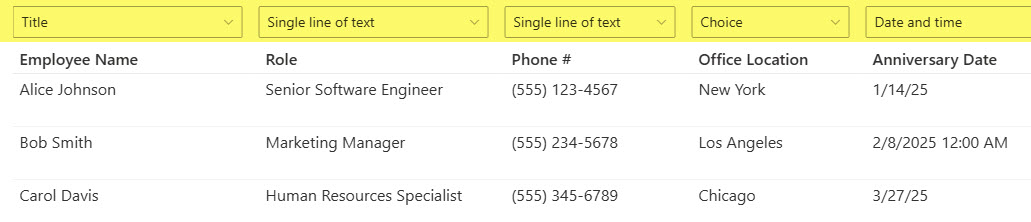
If you do not want to go through the pain of formatting an Excel document necessary for the previous option, you can create a custom list by importing a CSV file. I also have instructions for this option in this article.

Option 4: Create a Custom List from a Template
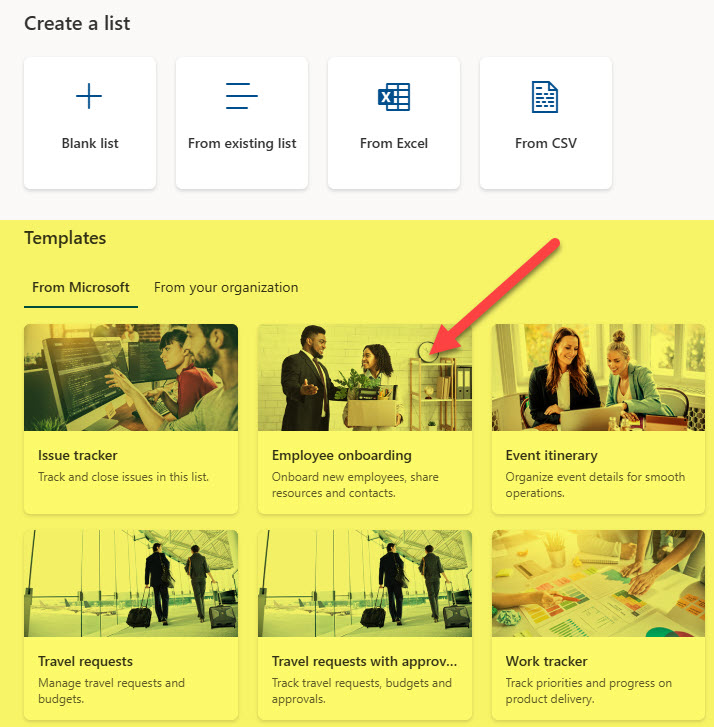
This is another excellent option if you are a lazy type. 😊 Microsoft has created several list templates you can start with that let you create lists for specific business scenarios, like an issues log, an event, or a travel tracker. They have already built in columns, values, and color formatting. I personally never use these templates, as many of them are not tailored to the business processes used by my clients. But they do give you a starting point and a good idea of what is possible out of the box. I haven’t yet seen a client use the Recipe list in their SharePoint 😊. Nevertheless, I also blogged about this method, and you can find the instructions here.
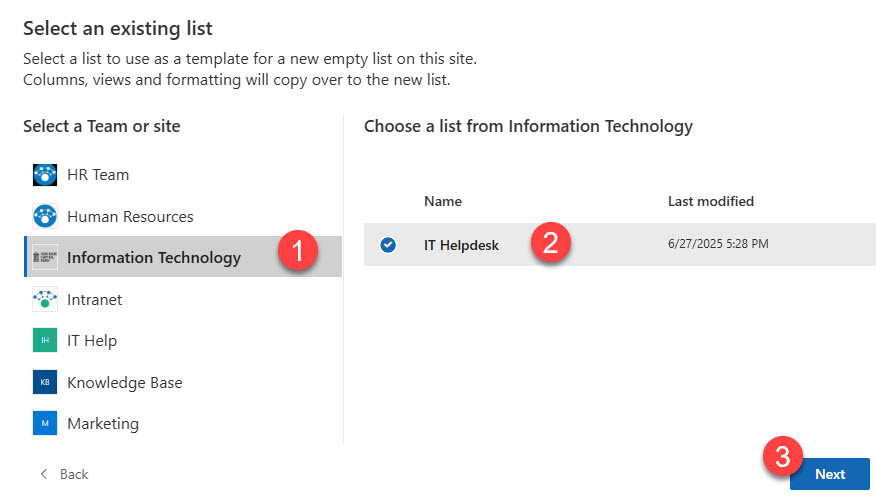
Option 5: Create a Custom list by copying an existing list
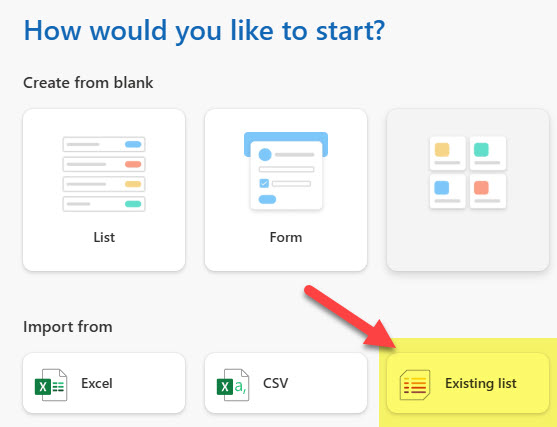
We also have an option to create a custom list by copying an existing list. This is really handy if someone did an amazing job building a list with all the columns, views, and formatting, and you just want to steal it 😊. Important to note that this method copies the structure only and not the list content. I explained all the other nuances of this method and the steps in this post.
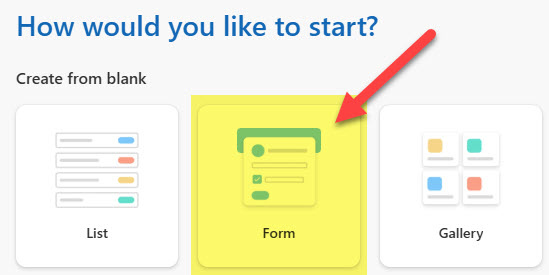
Option 6: Create a Custom list from a Form
This is a new way to create lists, and it makes sense if you are developing an intake form of some sort that will serve as the data aggregator for your list. This option is great when you want users to submit entries/data via a form, without giving them access to the list itself. Check out this article to learn more.
Option 7: Create a custom list by creating a Gallery
You can also create a list by creating a gallery. This is where users can visualize the data in a card-style view. Check out this post for instructions.

Option 8: Create a custom list by creating a Calendar
Calendar is another fun option to create and visualize a list. It only makes sense if you have at least 1-2 data fields on your list (which will translate into start and end dates on the calendar). I explained how this works here.

Option 9: Create a custom list by creating a Board
And finally, we can create a Board view. This is like a Gallery view, but the cards are grouped by another column. A board might make sense if you want to visualize the data in Kanban-style board format. Check out this article for instructions.


Share Article