SharePoint Tutorial for Beginners
Most of the articles I write on my blog focus on the specific, technical issues and how-tos of SharePoint and its many capabilities. However, I often get frequent requests from my loyal followers who are new to SharePoint and are looking for some basic guidance, guidelines, and best practices when it comes to starting to use SharePoint. So what I thought I would do today is provide some basic but super important best practices on how to properly get started with SharePoint Online.
Step 1: Understand the high-level capabilities of SharePoint
The first step to success in SharePoint Online is to get familiar with its many wonderful capabilities. Often, I see people assume that SharePoint is just another file share, but it is much more than that. SharePoint is like a Swiss army knife – it can do it all if you wish. Obviously, document management is one of the strongest features of SharePoint, but it can also be a great communications vehicle, can be used to create an Intranet portal and landing pages, can serve as a repository of data for workflows and custom apps, and can also become a solid knowledge base as well. I described the many capabilities of SharePoint in this article. Still, you can also get familiar with it by watching YouTube videos and checking other articles/videos you may find on the Internet.
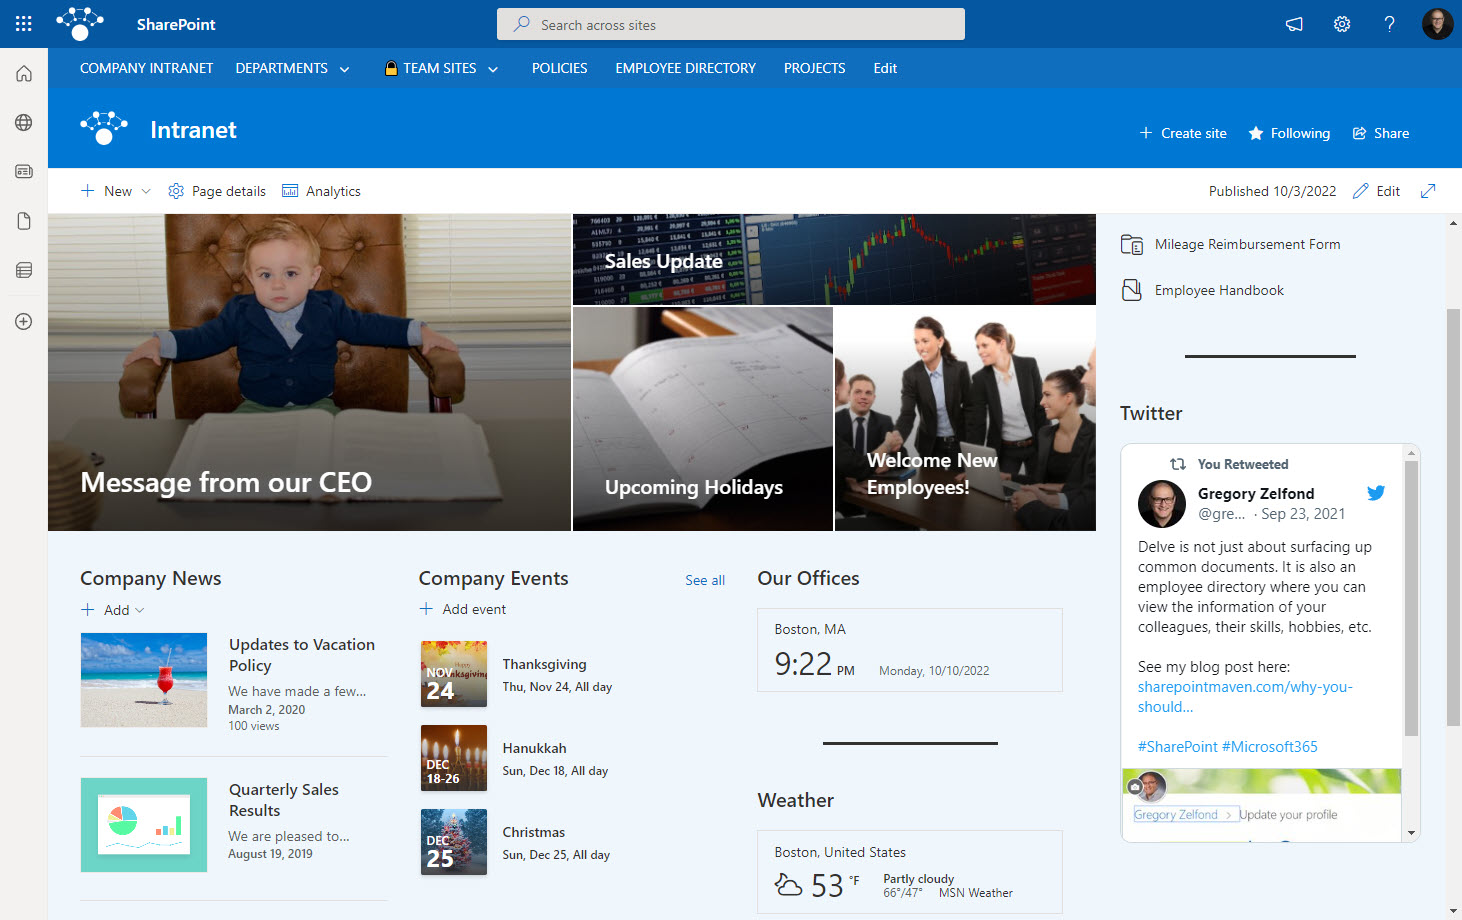
Example of a corporate Intranet built in SharePoint Online

Example of Version History Document Management feature
Step 2: Understand the difference between SharePoint and OneDrive
All right, this is one of the most common misconceptions and misunderstandings for the new users of the SharePoint and Microsoft 365 ecosystem. Quite often, users discover OneDrive first, upload files and folders from file shares, and try to collaborate with colleagues and external users. The problem is that OneDrive is essentially a user’s personal repository and is not meant for team collaboration. It is meant to be a private workspace allowing the employee to store and organize docs privately and share occasionally. However, to grant access to the team members, the user constantly has to share and assign permissions for OneDrive files and folders.
This is where SharePoint comes in. Unlike OneDrive, SharePoint, by design, is a team collaboration workspace. A given SharePoint site has multiple team members, and as long you have access to the site, you have access to all the content the site has to offer (documents, news, links, pages, lists, and so on).
I published a separate article on the topic, but to summarize it here for you – using OneDrive instead of SharePoint is a very costly mistake from both a security and information architecture standpoint.
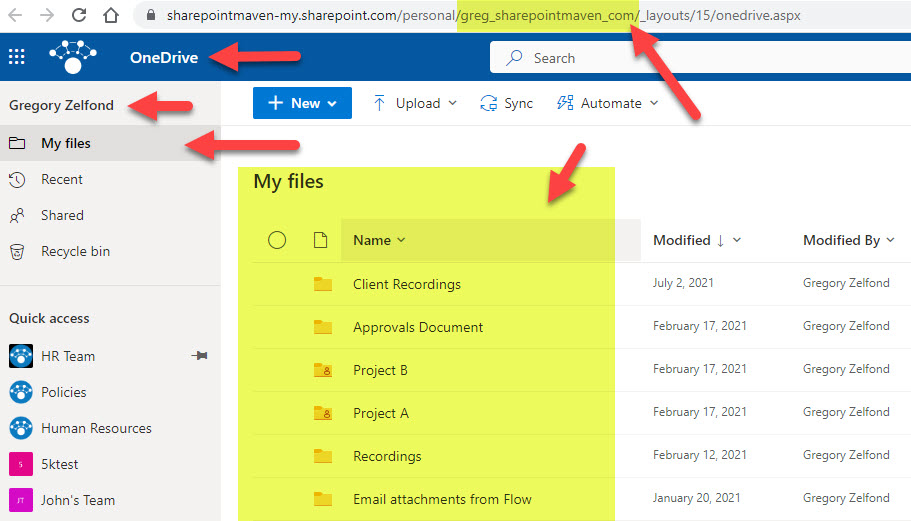
Example of a user’s OneDrive account accessible by the user (owner) of the account
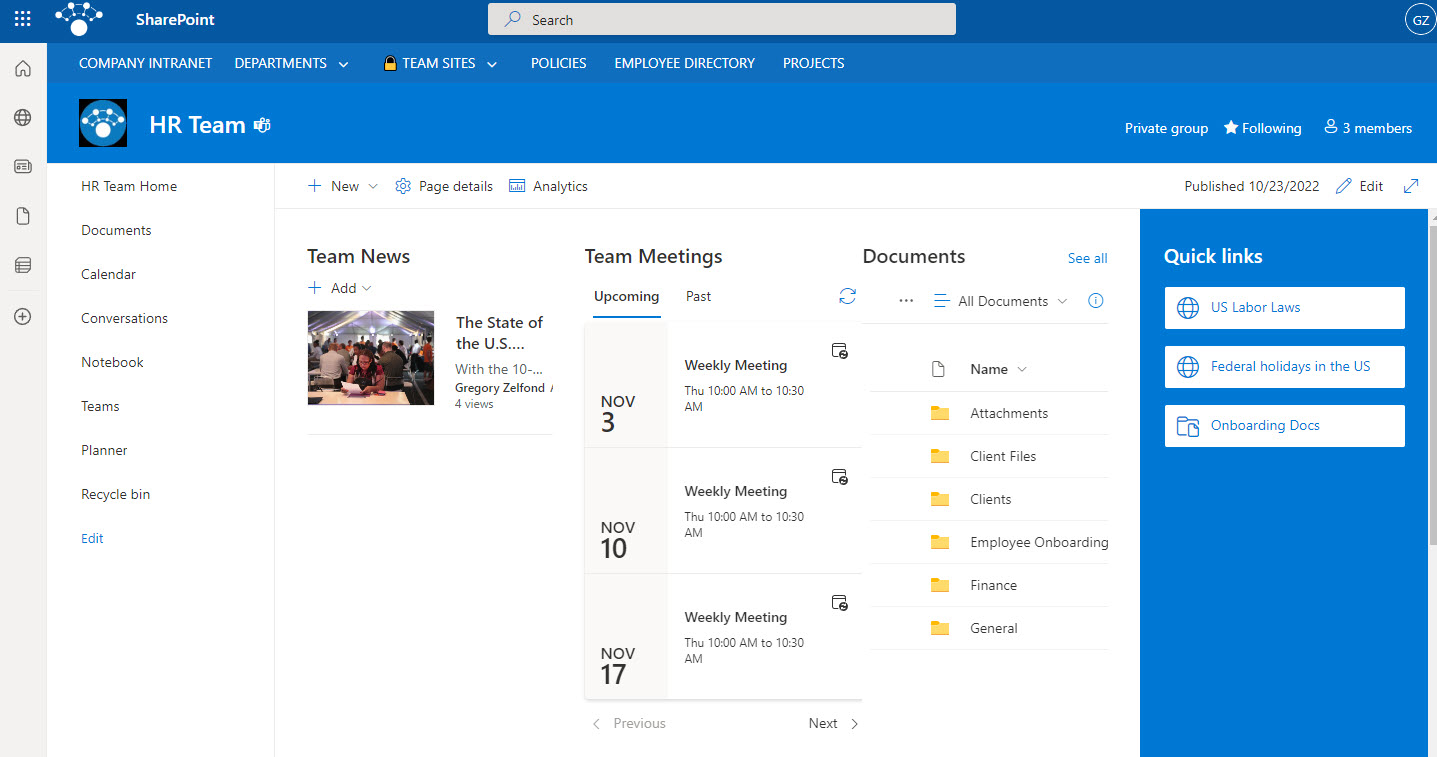
Example of a SharePoint Team Site accessible by multiple team members
Step 3: Familiarize yourself with the concept of sites and document libraries
This is probably the biggest and hardest concept to understand for those who are new to SharePoint. We do not have this level of complexity with file shares and many other cloud document management platforms like Dropbox and Google Drive. We just have folders and subfolders, and more subfolders, and users understand how they work. However, in SharePoint, we have the concept of sites. And on those sites, we have document libraries. And when you migrate files and folders to SharePoint, they end up in those libraries.
I explained the difference between sites and libraries here. But in summary, a site is a workspace where you organize documents, links, news, events, and other types of content, and libraries are filing cabinets that allow you to organize files and folders.
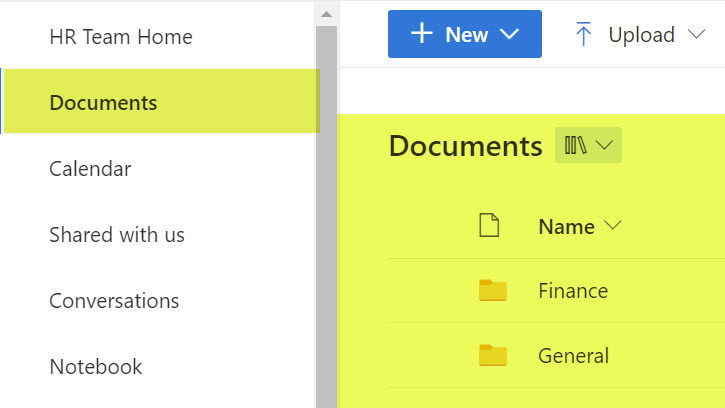
Example of a Document Library located on a SharePoint Team Site
Step 4: Familiarize yourself with the concept of sites and pages
Another pair of terms that confuse the hell out of people. I often see users use both terms interchangeably, but in reality, they are two different things.
A site, as explained above, refers to the workspace where you organize all sorts of content and manage security/access. A Page is just a way to display information on a SharePoint site. When a new site is created in SharePoint Online, it only gets one (1) page, but you can create additional pages as necessary. It all depends on the content you need to present on a site.
Very important to note is that in SharePoint, we manage security at the site level. We do not manage security at the page level (considered not the best practice). To learn more about the difference between sites and pages, check out this article.
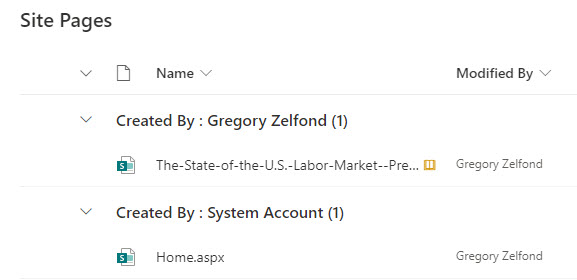
Example of Pages on a SharePoint Site
Step 5: Understand how SharePoint security works
This is probably one of the most complicated things to understand and implement in SharePoint Online. While SharePoint processes some really robust security/permissions capabilities, implementing those capabilities correctly is beyond many users. The reason for this is the more complicated structure of SharePoint. We are not dealing with just files and folders. We also have the concept of document libraries and sites. While the best practice is to manage security at the site level, you can also break inheritance and create unique permissions for each and every level mentioned above. For example, you can create unique permissions for a library, folder, and even a file.

Example of the ability to manage access (create unique permissions) for a folder in SharePoint Online
On top of this, we also have the concept of permission levels. They allow you to specify what the users can do with given content (i.e., read-only or add/edit/delete). And you can also create custom permissions levels if need be.

To learn more about security and permissions, check out this recent blog post of mine.
Step 6: Get familiar with the concept of Microsoft 365 Group
If you think you understand now how security and permissions work, think again. Because now, we also have the concept of Microsoft 365 Groups as well. This introduces another wrinkle in the security/permissions hierarchy. While the Microsoft 365 Group aims to simplify security management for the users, the fact that you can create unique permissions for the associated site or document library makes it a bit overwhelming in terms of maintenance.
I explain the concept of Microsoft 365 groups here.

Microsoft 365 Group concept
Step 7: Understand the interaction between SharePoint and Teams
If your organization is using or planning to use Teams, you would need to educate yourself about this wonderful application. However, you also need to understand the interaction between Teams and SharePoint. Teams as an app, does not exist out there in space by itself – it is very tightly integrated with SharePoint. All the files you collaborate on and store within Teams Channels end up on SharePoint sites, inside of the document libraries we went over a bit earlier. Not to mention the Teams video recordings – they also get stored in SharePoint as well.
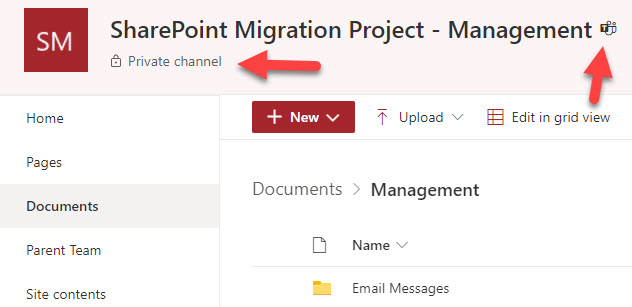
Example of a SharePoint site created as a result of a Private Channel in Teams
It does get a bit more complicated than this. Depending on your channel type in Teams, you might have the files stored in folders (for standard channels) or separate sites (for private and shared channels). I explained this concept in this article.

Step 8: Get familiar with external sharing features
Where SharePoint gets bonus points – is the ability to share content externally. You can share individual files and folders externally; you can share the whole site or even a Team (if you have a Microsoft Team attached to the site). I documented all the methods in this article.

External sharing by itself is pretty straightforward, but for it to work properly, you need to configure it correctly. For example, you can enable or disable external sharing at the site level and prevent external sharing to certain domains (i.e., yahoo.com).

The ability to limit external sharing to certain domains
Step 9: Get familiar with the concept of metadata
What makes SharePoint unique and different document management systems is the fact that SharePoint allows you to store documents not just via folders but also via metadata. The idea is that instead of dumping files into folders and subfolders, you will create and apply metadata tags (labels) to the documents.
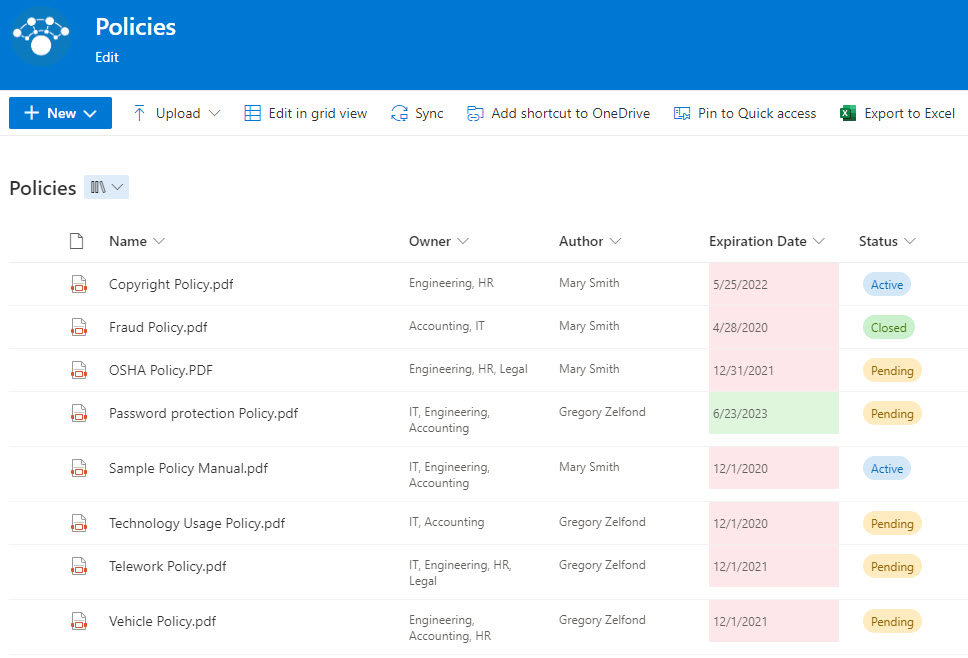
Example of a Document Library configured with metadata
You might be wondering what the benefit of the above approachis? Great question. Metadata tags allow you to achieve two significant benefits:
- Benefit # 1: Everyone sticks to the same naming (tagging) convention when organizing documents in the library. Users can’t just come up with their own tags and labels – they have to choose the tags configured for them.
- Benefit # 2: When you need to find something in the document library, it is almost as simple as shopping on the Amazon® website. You just click the filters pane and you can filter and group and sort the document library any way you wish.

In addition, metadata also allows you to get around some of the technical limitations of SharePoint (i.e., 400 URL character limit) that users often run into with very deep folder hierarchies. By the way, I offer live and on-demand course options if you want to learn more about Metadata.
Step 10: Don’t skip training
One of the facts with SharePoint is that you can’t really use it to its full extent unless you undergo formal training. True, if you want to use it as a file share, you might get away without any training. But then again, without training, you probably would not know the dangers of the 400-character limit mentioned above.

400-character URL error message in SharePoint Online
Or the fact that you have limitations on how much you can sync using the OneDrive sync client (in case you did not know, it is 300K files – link).

Example of Microsoft recommendation for max limit on OneDrive Sync
Without training, you would not know that you have only 93 days to restore documents from the Recycle Bin. And this is just the beginner/end-user stuff. If you plan to have department owners manage their own sites in terms of site design and security, once again, formal training is recommended.
I have gathered various training courses and sources for you to consider in a previous article.

Share Article