2 ways to manage row-level security in a SharePoint list
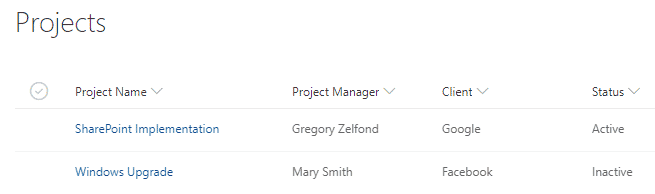
I had an interesting request from one of my clients the other day. They created a custom list in SharePoint that served as a dashboard of projects with various columns (metadata) carrying information on a project (location, project type, project manager, status, etc.) and one column (hyperlink type) linking to the project site. Since the list (dashboard) was accessible by a large project team, the requirement was to maintain row-level security in a SharePoint list (in other words, only show rows of projects applicable to specific team members).

The site security itself was controlled at the site level of a project site. So even when users clicked on the row (project name hyperlinked to the project site), they got an “access denied” message. However, my client wanted to make the row invisible to those who should not be peaking there in the first place. When we capture links via the site navigation, we tackle this through Audience Targeting. However, how do we address this with a list? So that is essentially what I am going to explain here in this article.
How to manage row-level security in a SharePoint list
Option 1: Row-level security
Just like we can maintain individual security for files in a document library, we can also maintain individual security for each row in a SharePoint list. By default, of course, all rows in a SharePoint Custom List inherit security from a site. But just like with files and folders, you can break the inheritance. I documented this mechanism here.

Option 2: Folder-level security
No, this was not a typo. Yes, we can have folders in a SharePoint list. Form my blog, you know me, I am the last guy to choose folders given my love for metadata, but in this case, they can help us. The idea is to organize the rows (project records in our example) in folders and then set security on a folder. This way, it is less maintenance for you as you do not need to set unique security for each and every row in a list. Lastly, to display all the entries to the user without folders, we would use the same folder-less view trick as we have on a document library.
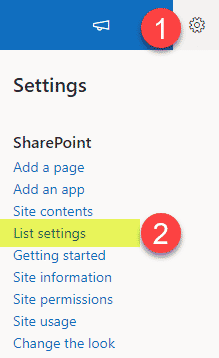
- Navigate to List settings Gear Icon > List settings
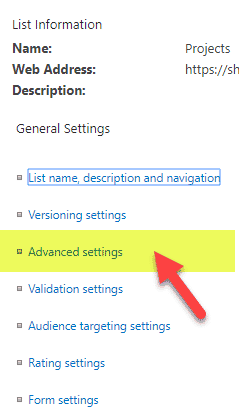
- Click on Advanced settings
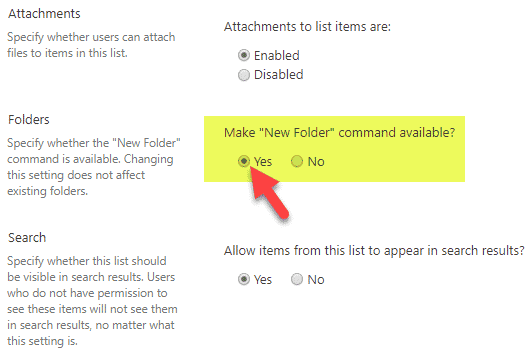
- Scroll down and under Make “New Folder” command available? change it to Yes. Click OK
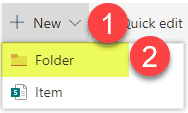
- You will now notice a Folder option under New drop-down (just like in a document library!). Go ahead and create a new folder
- You can create new rows right within a folder or move existing rows right into the folder (just like documents)
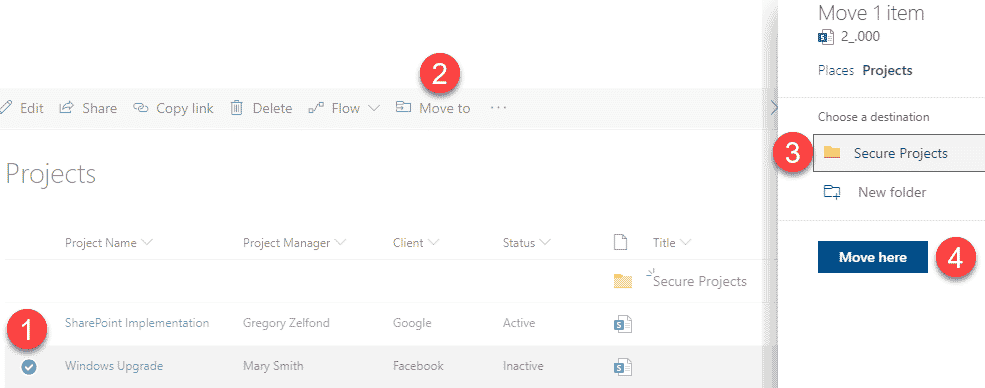
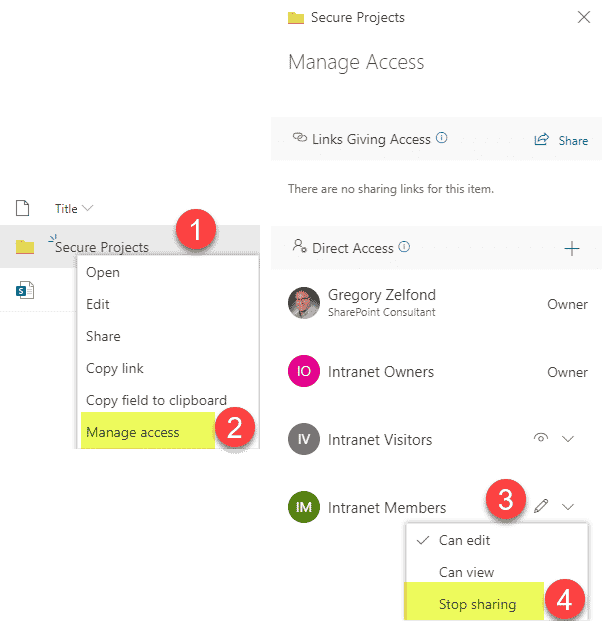
- Next, you can set the folder-level permissions just like you usually would. I blog about this in greater detail here.
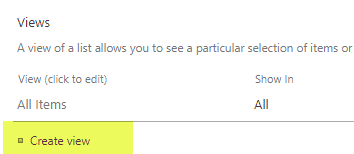
- The above step would make all the rows in a given folder secure and invisible to those who do not need to see them. However, others, who do have access might not want to see a folder appear in a list and would like to see the rows by themselves. In this case, we can suppress the folder on a list in a similar way we can do this in a document library. Navigate back to List settings, then Create view at the bottom
- Next, create a view and under Folders section, hit Show all items without folders radio button. Click OK
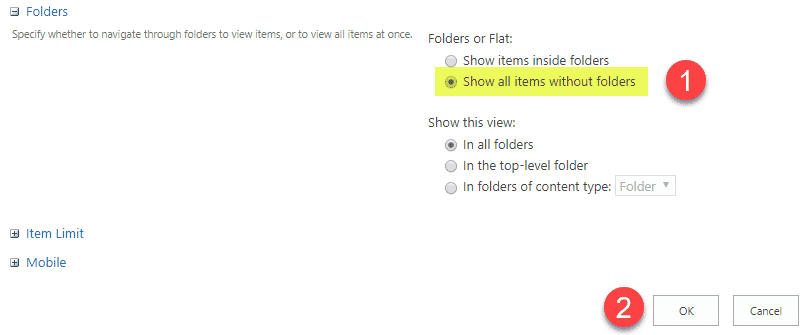
- Your users will now see all rows with folders suppressed (based on permissions)!


Share Article