< All Articles
Start Copilot and Workflows with the Button Web Part
I never thought I would blog about the Button Web Part primarily because it was so simple and primitive. I always preferred similar web parts like Quick Links or Editorial, which offered more customization. But all of a sudden, we got news that the Button Web Part got an upgrade. And not just a visual one, but a functional one too. Let me explain.
The old Button Web Part
The old Button Web Part was as bland as a bagel purchased at Newark Airport. It was literally just a rectangle with text that pointed to a URL. That’s all!

Example of old Button Web Parts on a SharePoint page
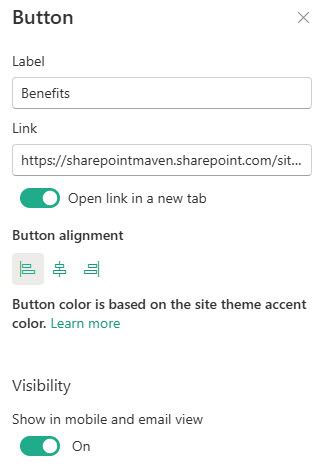
Old Button Web Part Settings screen
The updated Button Web Part
The new Button Web Part got a significant makeover. Let me walk you through all the features.
- To add a web part, just edit the page and select the Button Web Part
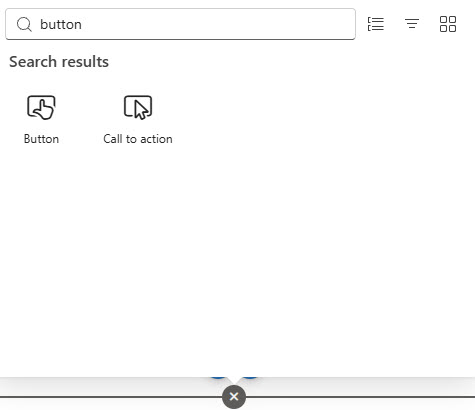
- This will add the Button Web Part to the page. To edit its properties, click the properties icon.

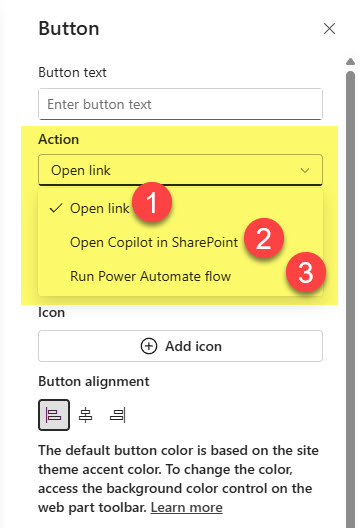
- You will then see the 3 available options that can be triggered by the button. The first one is a link URL (essentially what we had in the past). The other two choices are to trigger Copilot in SharePoint or start a Power Automate workflow.
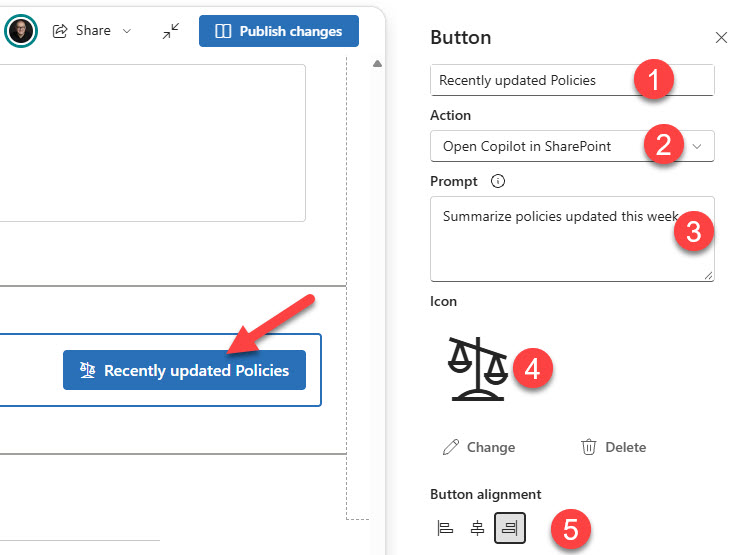
- If you choose the Copilot option, you can either type in a prompt or trigger a particular skill using the “/” command. The skill must, of course, be created upfront and available on the site.
- Alternatively, you can also trigger an existing Power Automate workflow by providing its ID.

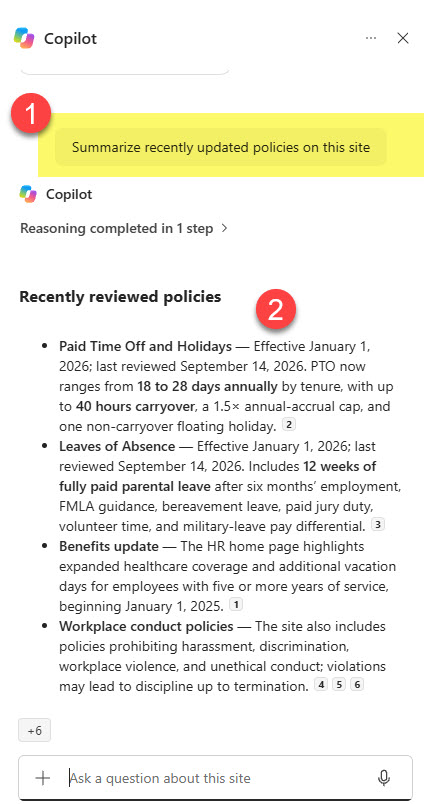
- After you make your choices and publish the page, clicking the Button Web Part triggers the configured option. In the example below, it triggered the Copilot chat based on the prompt provided.
Nuances
- If you configure the button to start Copilot in SharePoint, but the user visiting the page where the button resides doesn’t have a Copilot license, that button will not even appear for them!
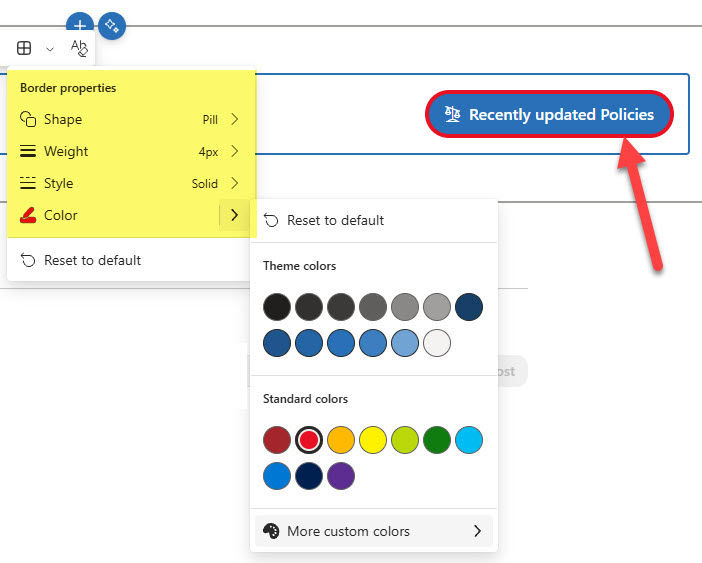
- In addition to the trigger improvements, you can also configure the button with additional styling (colors, icons, and rounded corners).

Share Article