How to create sites and site collections from a SharePoint Site Template
I have blogged numerous times previously about the benefits of the site templates in SharePoint. Templates allow users to “lock” a particular look and feel and structure of a site and quickly replicate it in their environment. This is quite handy when you want to quickly replicate and roll out a few project sites or department sites based on the same look and feel. So today I want to explain how to take advantage of the above and provide you with step by step instructions on how you can create sites and site collections from a SharePoint Site Template.
How to create a SharePoint site template
No matter whether you want to create a subsite or a whole new site collection from the template, you first need to create a template itself. This step is the same in both instances. So to create a SharePoint site template:
- Navigate to the site you want to create a template from (i.e., Department Site)
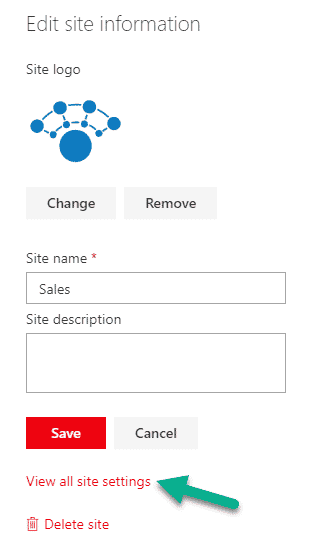
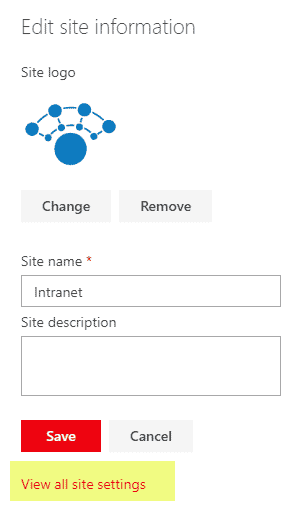
- Gear Icon > Site Settings (in case you use modern page experience, it will be Gear Icon > Site Information > View all site settings
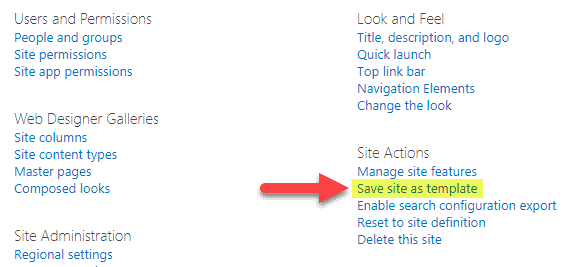
- Under Site Actions click on Save Site as Template. By the way, in case you do not see this option, check out this post for possible reasons
- On the next screen, give your template a File Name and Template Name. You can optionally check Include Content checkbox – this will also include documents and any content you have on the site (news, events, links, etc.) and make them part of the template as well. In case you just need the structure/look and feel of the site/page only – leave it unchecked. Click OK

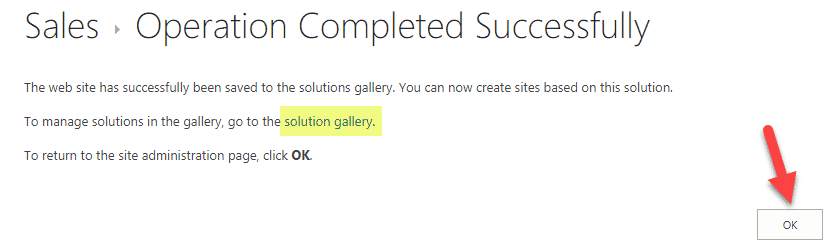
- On the next screen, you will get a confirmation message that template has been created. It will also point out where the template is stored (in something called Solution Gallery). This will become handy when we create a site collection from the template later on. Just click OK to close the message.


NOTES:
- You cannot create a template from the site connected to an Office 365 Group
- You can not create a template from the Communication Site
How to create a SharePoint site from the site template
Now that we created a site template, let’s go ahead and create a new site from it. Just to be clear, by the site I mean a subsite, not a separate site collection. I will cover how to create a site collection from a template in the next step. To learn the difference between a site and a site collection, click here.
An example of a subsite based on the site template could be a project site in your Project/PMO Portal or a department site in your Intranet.
To create a new subsite based on the site template, follow these steps:
- Make sure you are in the right place to create your subsite. You need to be at the parent site as the site you will create will be a subsite (reside 1 level below where you are). For example, if you are creating a Project Subsite, you want to be at the PMO Portal Main Site. If you are creating a department site, you might want to be at the root of your Intranet site collection (the very top-level site). Check out this post and diagrams to see what I am talking about.
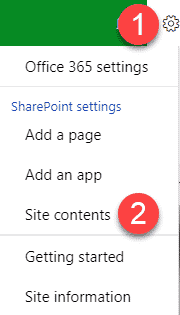
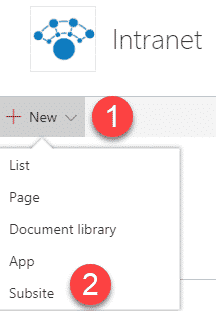
- From the parent site, click Gear Icon > Site Contents
- Click New > Subsite
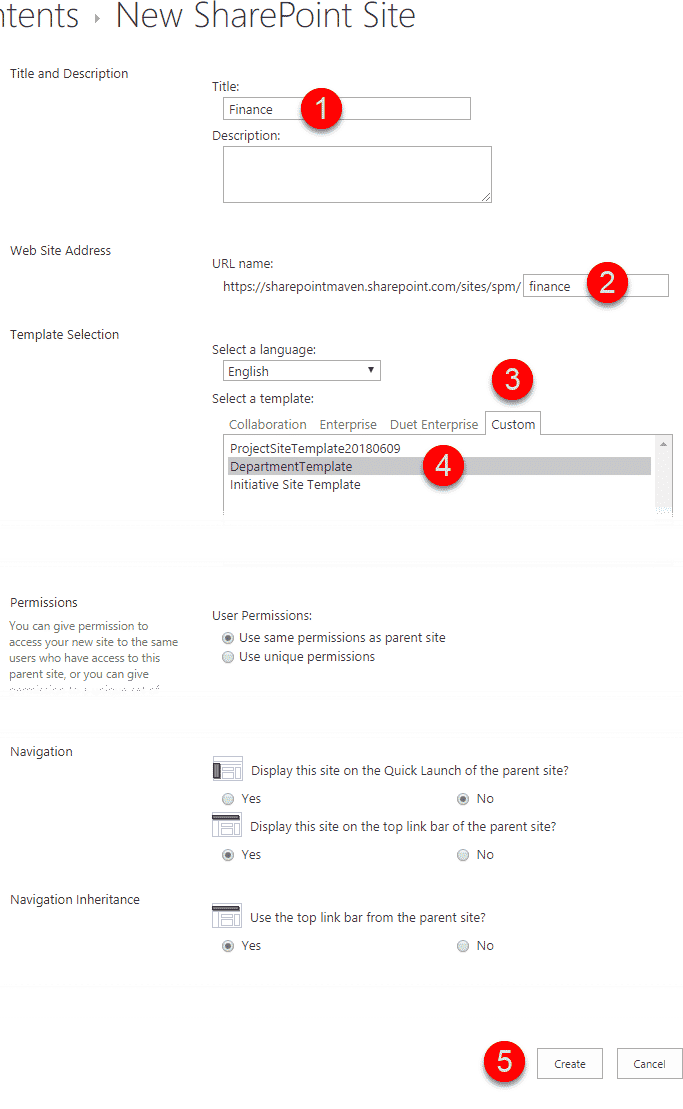
- Give your new site a Title and URL (Both can be changed later on). Then click on a Custom tab. That’s where you select the template we created in the previous section. I will skip permissions and navigation sections as answers to those will be dependent on the site you are building. For reference check out this post to learn more about security and this one about navigation. After making appropriate choices, click Create
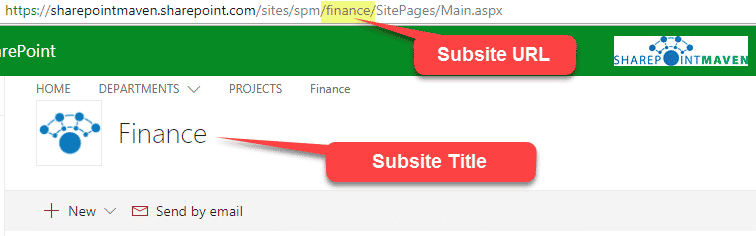
- Mazel Tov, your new site has now been created! Congrats on saving all this time!


How to create a SharePoint site collection from the site template
Did you know that you can create a whole site collection based on the site template as well? Now to be clear, it does not replicate the whole site collection with subsites based on the template, just the top-level site. There might be a few applicable cases for this method. For example:
- You decide to create a site collection for every single project or department, instead of a subsite (Option 1 in this post)
- You have several business units, and you quickly want to replicate a landing page for all of them (assuming every Business Unit has its own site collection)
- You have multiple organizations residing in your Office 365 tenant, and you want to quickly replicate a main Intranet landing page
- You are trying to follow a flat Information Architecture that is becoming more and more popular
The process of creating a new site collection based on the template involves a few more steps than the process above. Here they are:
- Navigate to the root (top-level site) of the site collection where you created a site template in Section 1. We will need to download our template to the computer first.
- Gear Icon > Site Information
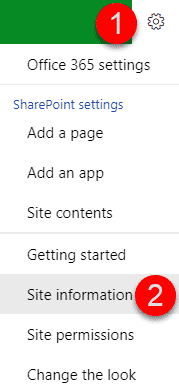
- View all site settings (The last two steps apply to modern sites/pages. For classical pages, it is just one step – Gear Icon > Site Settings
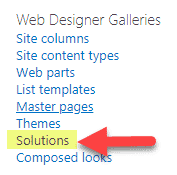
- Under Web Designer Galleries, click on Solutions (this is the same Solutions I referenced in Section 1) This is where all the site templates reside
- Left-click on the template – it will download to your computer

- This is what it looks like once downloaded to your PC

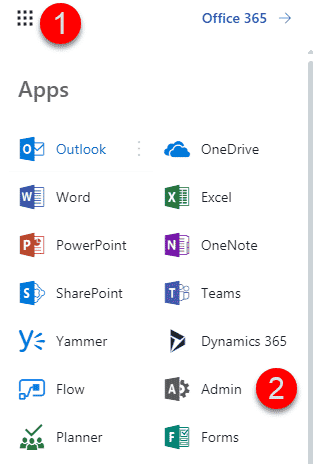
- Now that we completed the above necessary steps, let’s go ahead and create a new site collection. For this, we will need to go to the SharePoint Admin Center. Click on Admin from Office 365 App Launcher
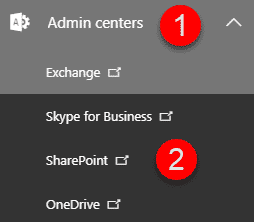
- Click on SharePoint Admin Center from Admin Centers
- Now let’s go ahead and create a new site collection. Click on New > Private Site Collection

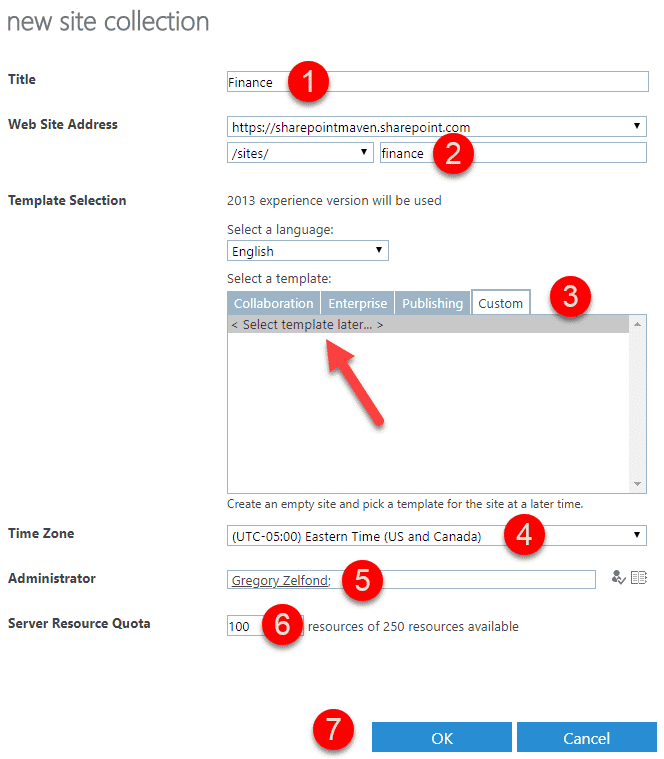
- On the next screen, we have to provide some details for the new site collection. It has some similarities to the subsite form. Fill in the Title and URL (NOTE: Unlike with subsites, this URL cannot be changed!). Next, under Custom tab choose <Select template later…> (we will upload it next). Choose your timezone, make yourself an Admin and give it at least 100 resources (does not really matter). Click OK
- You will notice a pop-up message about your site collection being created. Though it says 15 min, should be more like 1-2 minutes since it is not creating it just yet

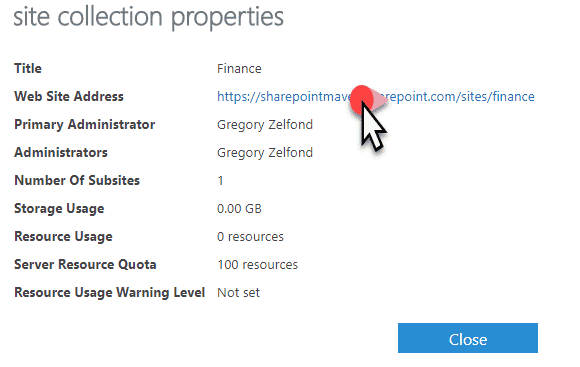
- Once completed, you will see it appear in the list

- On the pop-up, click on URL again
- The next few steps are where we will upload and associate our newly created site collection with the template
- Click on Solution Gallery
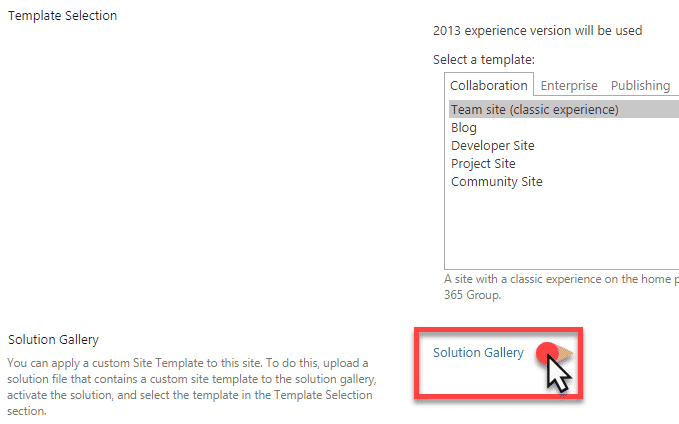
- You will see a familiar screen, this is where we have to upload our template to. Click on Upload Solution

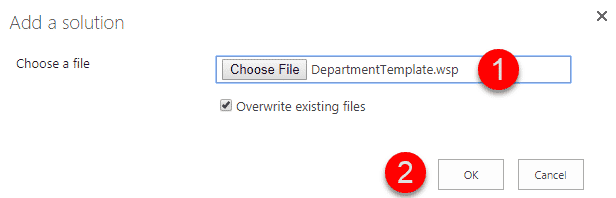
- Browse to your computer and upload a template we downloaded in Step 5. Click OK
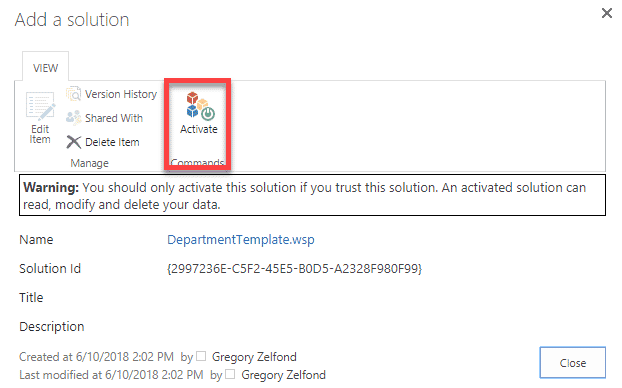
- Next, activate it by clicking on Activate
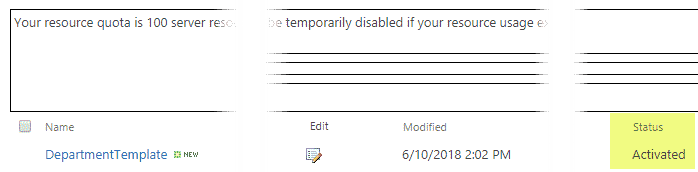
- You will now see template Activated in a list
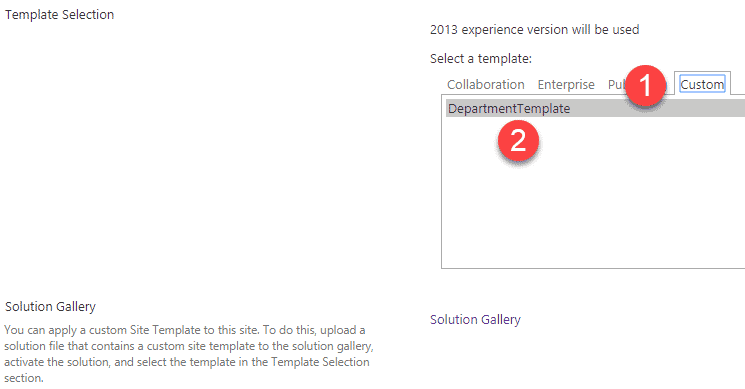
- Next, repeat Steps 12 and 13 by going to the URL of our new site collection. This time, go to Custom tab and choose the template we just uploaded and activated. Click OK
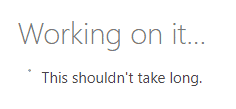
- Next, you will see the dreaded Working on it… message. It might take 5-7 min before it proceeds to the next step. To prevent anxiety at this stage, I recommend that you grab a drink.
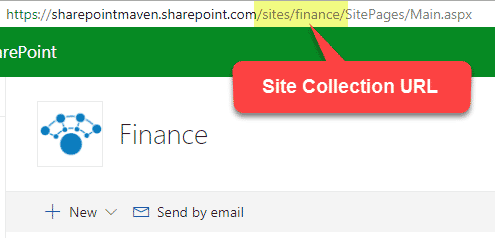
- NOTE: In some instances, you will notice that Working on it… message appear forever. If you waited 10 min and it is still Working on it…, then clearly something is not working and you need to do a small trick to fix it. Essentially you need to force it to go to the next step. Here is what you need to do: Take the site URL (omit page address) – (i.e. https://sharepointmaven.sharepoint.com/sites/finance) and add _layouts/15/permsetup.aspx at the end of the string. So it should read something like this: https://sharepointmaven.sharepoint.com/sites/finance/_layouts/15/permsetup.aspx. It will now take you to the next step and we can proceed with the setup.
- Since no site can exist without proper security, you have to either create or choose from 3 available security groups. This is kind of similar to subsite experience. Once you settled on the three groups and names, click OK

- Mazel Tov again! We now created a new site collection. It is a site collection and not a subsite since it has /sites/ prefix! Enjoy!


Share Article