Top 10 features of Microsoft Clipchamp
Microsoft Clipchamp (formerly Stream) has come a long way since its introduction in 2017. However, it did not get much love until it switched to SharePoint a few years ago. Since then, we have had lots of cool features and capabilities released that improve the user experience. In this article, I thought I would summarize what I consider the top 10 features.
1. Trim
The first cool feature we have is called Trim. It allows you to trim a video so that only users are exposed to a portion of it. True, there are plenty of video editing tools out there that do the same (including Clipchamp Video Editor), but you can do this right within SharePoint/Stream. Say you recorded a Teams meeting but just want to embed a portion of it on a SharePoint page. That’s exactly what it allows you to do. Check out this article for the instructions.

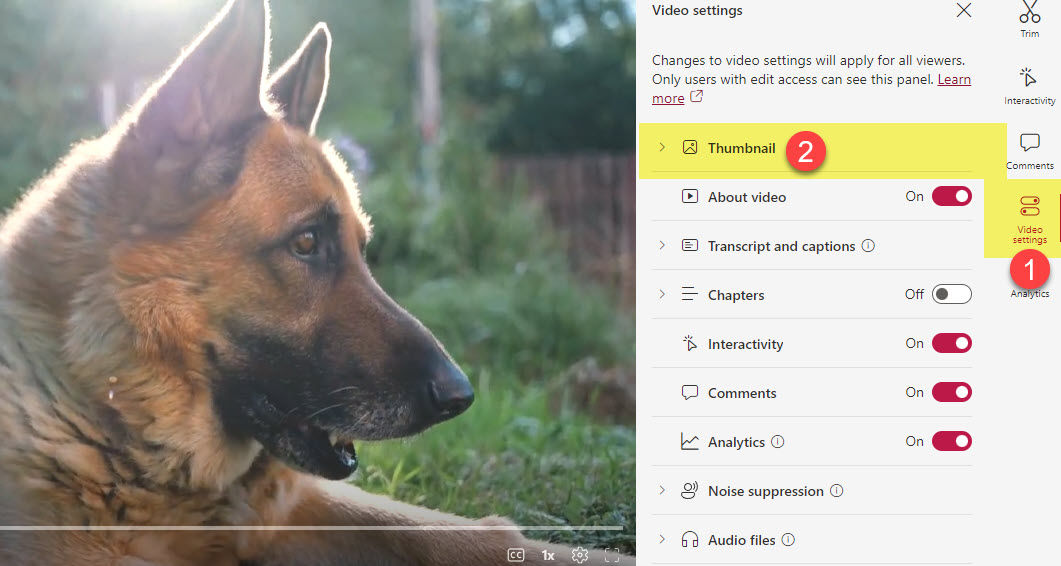
2. Thumbnail
The next thing you can do is change the video thumbnail (the image users see when you embed a video on a SharePoint page or within a playlist. It can auto-generate one, or you can upload your own JPG. Here is how to achieve this.
3. Transcribe
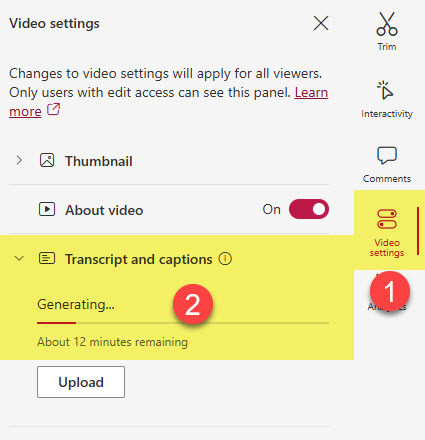
Next, we can now transcribe the videos too. When you record a Teams meeting, transcription happens automatically, but if you upload another video, for example, you can have it transcribed (converted to text). Check out this article for instructions.
4. Chapters
Next, we have the Chapters capability. This functionality lets you add clickable chapters/sections to your video for quick access to specific parts. Check out this post for instructions.

5. Interactivity – Embed Form
This next feature is a game-changer. You can also embed Microsoft Forms inside the video. This is especially handy if you have a training video and would like to embed a quiz as users watch the video. Or perhaps a questionnaire at the end. I explained how to achieve this here.

6. Interactivity – Add Callout
Just like you can embed Forms, you can also add Callouts (text overlay) at various timestamps in the video. This is really helpful to increase engagement. You can also add a clickable document as part of the callout. Here is how to do this.

7. Playlist Template
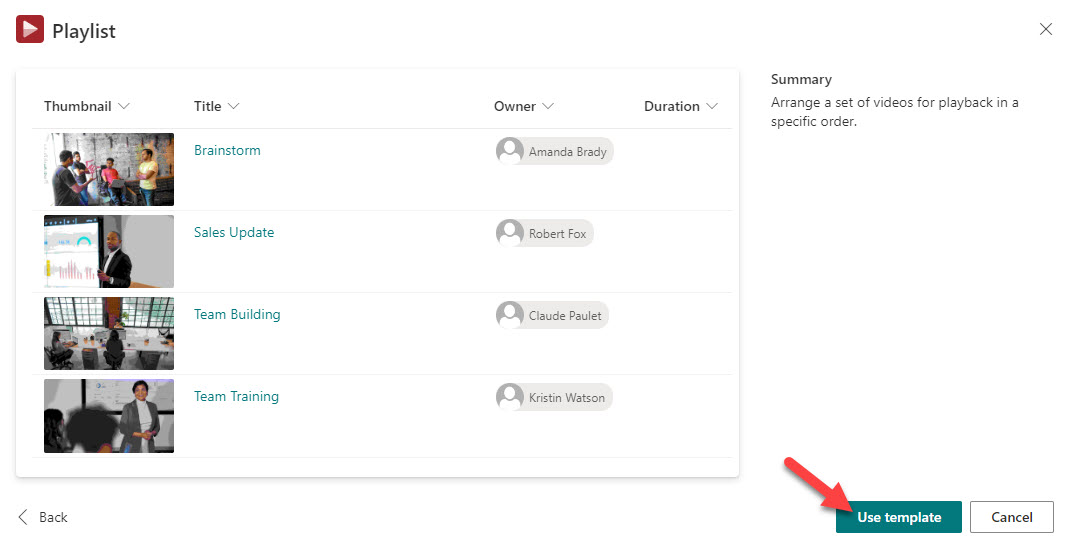
Another feature that is somewhat of a hidden gem is the ability to create a playlist from the videos – essentially, collections of videos by topic or category. This is possible with a built-in template available in MS Lists. This is super useful if you want to organize welcome videos or some training videos for your staff. Learn how to create it here.
8. Create a video with Copilot
There are many ways to create a video, but the one that is clearly very popular is to use Copilot AI. I explained how this works in this article.

9. Embed Video in SharePoint pages
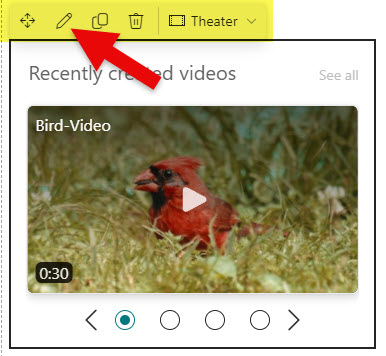
If you have multiple video files, we now have a handy Video Web Part that lets you embed one or more videos on a SharePoint page. I explain this and the nuances here.
10. Share Video at a certain timestamp
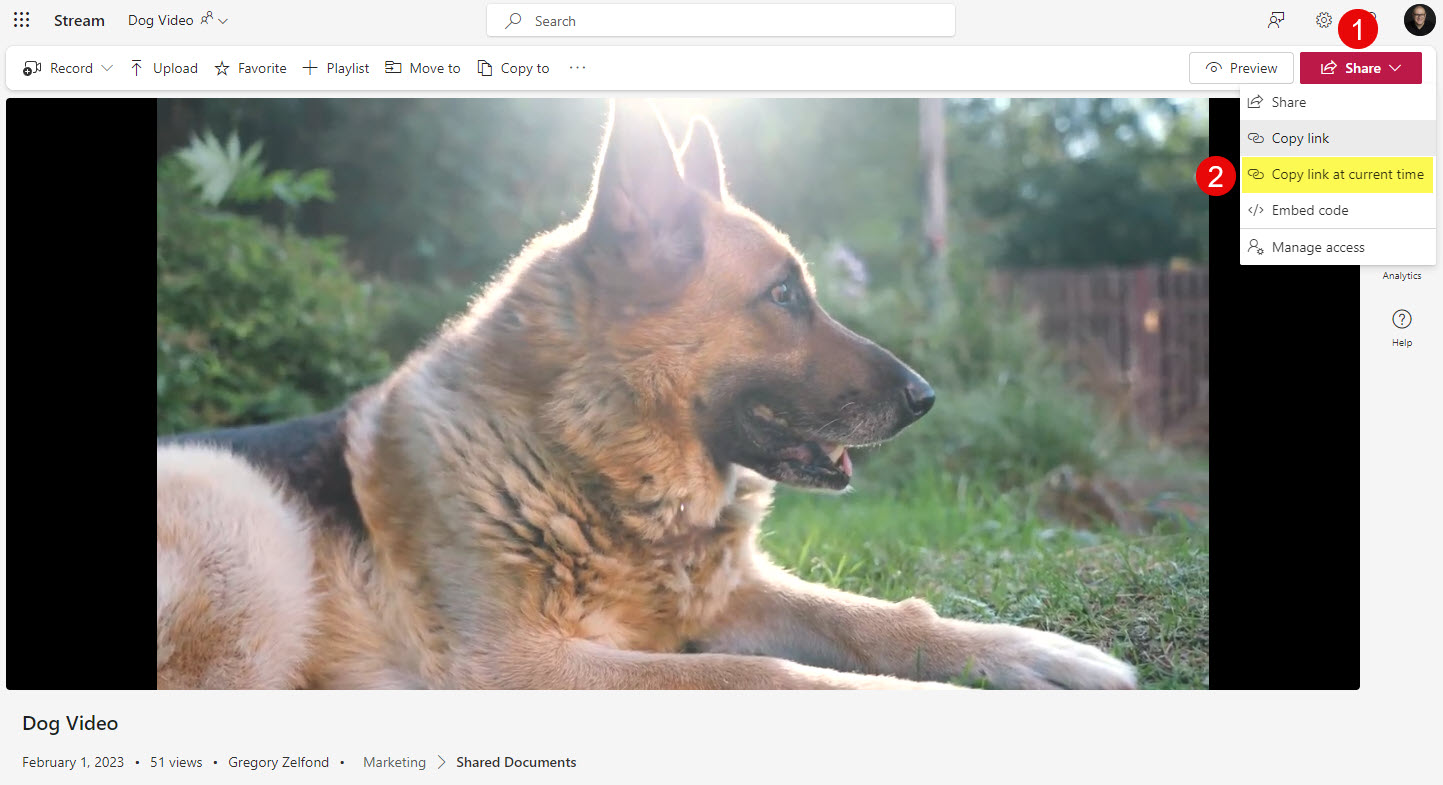
Since a video is pretty much a file in SharePoint, you can share it like any other file. However, because it is a video, you can share it at a specific timestamp. For example, if you want to highlight specific arguments discussed during a recorded meeting, you can share a link so that when others play it, it starts at a specific timestamp. A really great user experience. Here is how to share like that.

Share Article