How to prevent users from accessing old versions of a document
I had an interesting request from one of my clients the other day. They are using SharePoint Online to store various policies/SOPs and specifications for their engineering practice. As part of their industry regulation, they need to make sure that users cannot accidentally access the previous versions of the document. Out of the box, Version History allows to easily access older versions if need be. They needed it turned off somehow. Well, there are a few ways you can achieve this. Let me show you.
Option 1: Disable versioning altogether
NOTE: If you are in SharePoint Online, this trick below is now only possible if you opt out of the new minimum of 100 versions on a file. Click here to read more about the new mandate enforced by Microsoft.
This can be an easy fool-proof way to prevent old versions from accidentally being retrieved. By default, major versioning is enabled on all document libraries in SharePoint Online. When you disable versioning, you only store the latest copy uploaded or modified. To disable versioning:
- Navigate to the library where you want to disable versioning
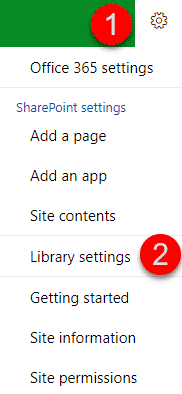
- Gear Icon > Library Settings
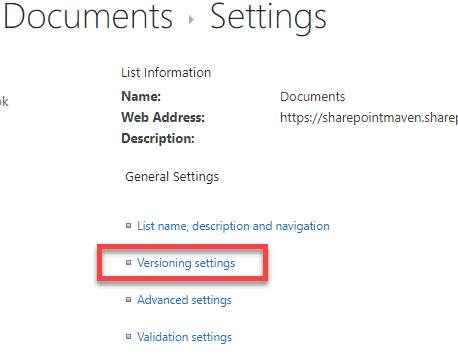
- Under Settings, choose Versioning settings
- Choose No versioning radio button, then click OK at the bottom
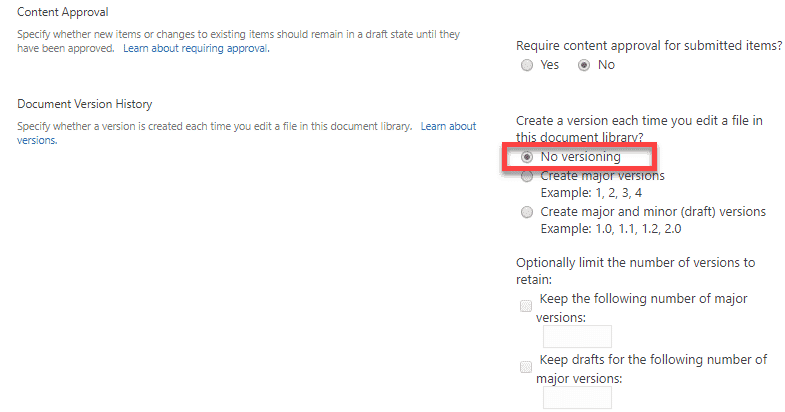
- That’s all. There will now be no version history stored or accessible on any of the documents in this document library.
Pros: Easy to set up
Cons: No versioning means NO versioning for anyone in that library
Option 2: Create a custom permissions level
To mitigate the “no versioning for everyone” scenario from above, you might want to consider this other option. It takes a bit more time to set up but is totally worth it. It deals with custom permission levels. By default, visitors and members of a site (those with Read, Contribute or Edit permission level) can access the previous versions of a document or a list item. What you can do is create a custom permission level and not allow access to the older versions. Here is how to do this:
- Navigate to the root (the very top-level site) of the site collection where your site resides
- Gear Icon > Site Settings
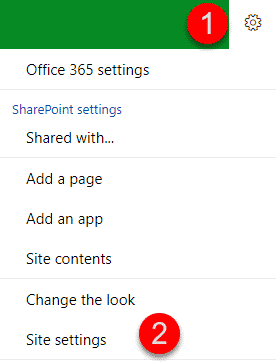
- Under Users and Permissions choose Site permissions
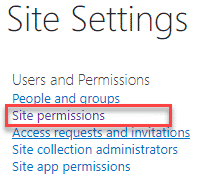
- From the ribbon, choose Permission Levels

- To create a custom permission level, I suggest we just copy an existing one and adjust it slightly. So go ahead and click on Edit Permission Level
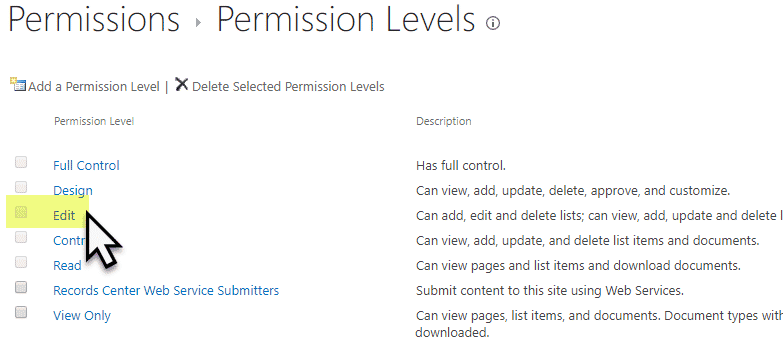
- DON’T MAKE ANY CHANGES on the screen that appears next. Otherwise, you will mess up the out of the box permission level. Instead, just scroll all the way down and choose Copy Permission Level

- Once the Permission Level has been copied, you can now make changes to it. Give it a name, you can also specify in the description the specifics of this custom permission level
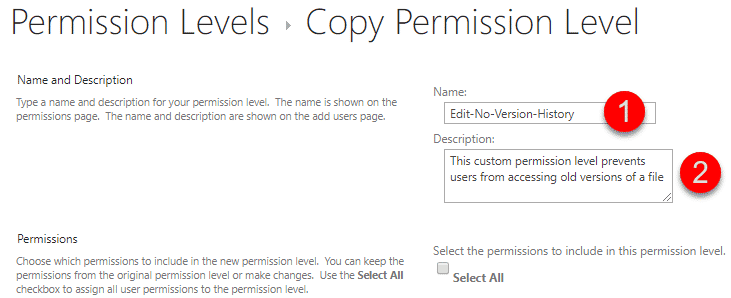
- Next, scroll down to a list of specific permissions and uncheck both View Versions and Delete Versions
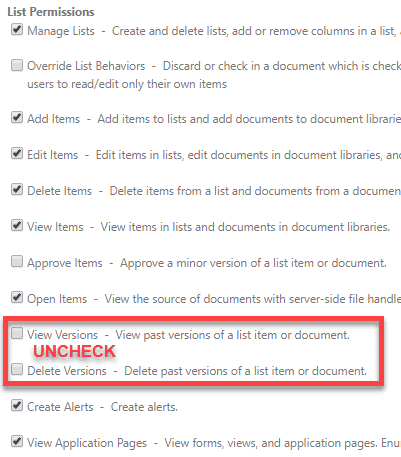
- Scroll down to the end of the page and click Create. Now, our custom permission level has been created!

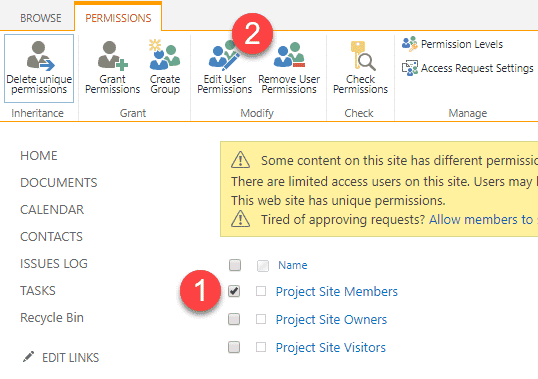
- Now, all we have to do is assign the Members Group (or Visitors Group) this custom permission level. Click the check box next to the desired Site Security Group, then Edit User Permissions
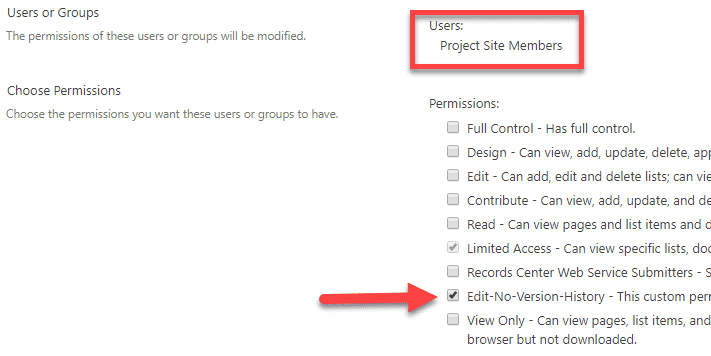
- Check the box next to the custom permission level you created, then OK
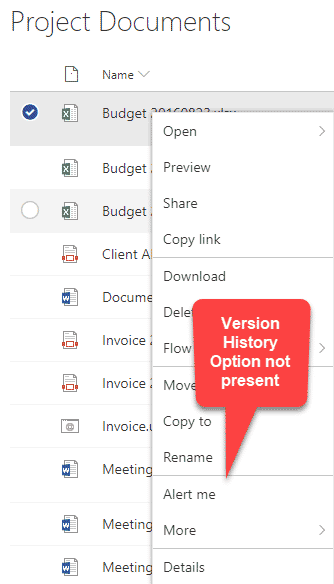
- This is it!!! Make sure though that same user is not present in Visitors Groups or any other security groups you have as those with Read-Only privileges can still access old versions of the file.
Pros: Most elegant option
Cons: Takes time to set up. Also, in case you have multiple site collections, you will need to create custom permission levels in each separately


