SharePoint Intranet Best Practices
It is hard to imagine, but I last blogged about this topic in 2016. While I have written many posts on SharePoint Intranet over the years, the last one about SharePoint Intranet Best Practices was written over eight years ago. That was when we still had SharePoint Classic; the modern experience was not even a thing. SharePoint has changed drastically over the years. We now have a modern SharePoint experience, a new way to author pages, new site types and templates, modern flat architecture, and the whole concept of Hub sites. So, it made sense for me to revisit this article and rewrite it to fit our new features and experience. You are welcome 😊.
Best Practice # 1: Keep the design nice and clean
I know this is probably obvious, but I just see many Intranet portals look like a flea market on Sunday afternoon. You really want to keep it simple for the users when they make it to your homepage so they can easily see and digest the information presented once they click on a page. The advice here is to avoid lots of vertical scroll, reduce the amount of wasted space, and keep navigation organized and logical. I prepared a separate article on Page Design summarizing all these tips, so please check it out.

Best Practice # 2: Roll up/Aggregate Content from other sites if possible
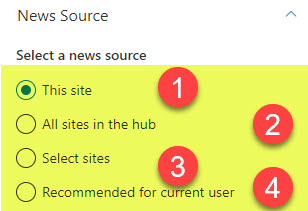
One of the benefits of building an Intranet is that it allows you to aggregate content in one location. This assures that content is always fresh on your Intranet and allows Intranet Content Managers to rely on other authors/content contributors (department owners) to rely on new content. There are 3 types of content you can aggregate in SharePoint: News, Events, and Documents. I documented all those in this article.
Best Practice # 3: Utilize Hub Navigation
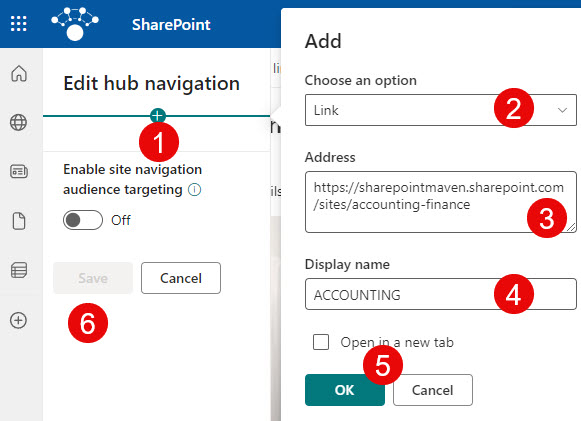
One mistake I see organizations make is limiting their Intranet to just 1 SharePoint site. In most cases, it is not even the Communication Site Type (many use the Team Site template instead). The whole idea behind the modern SharePoint Intranet is to create multiple sites and unite them via the Hub functionality. This is where you get common branding, as well as consistent navigation from site to site. This is all possible, thanks to Hub Sites. I explained how to create and set up Hub Sites in greater detail here.
Best Practice # 4: Set up proper Security
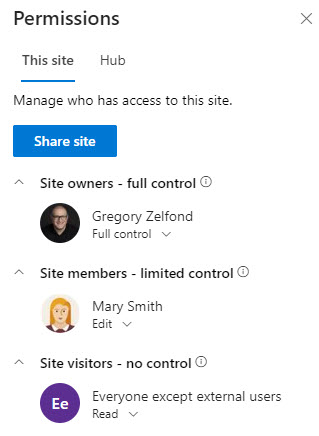
I know this seems obvious as well, but too often, Intranet Homepage security is way out of order. Users who should have read-only access have the ability to add/edit/delete. On top of that, there might be 5-10 Site Owners, which is pretty dangerous as each Site Owner has the ability to delete the entire site without warning. So make sure to define the groups of users and their access rights and make sure to add them to respective groups accordingly, using the built-in 3-group security model.
Best Practice # 5: Set up Audience Targeting
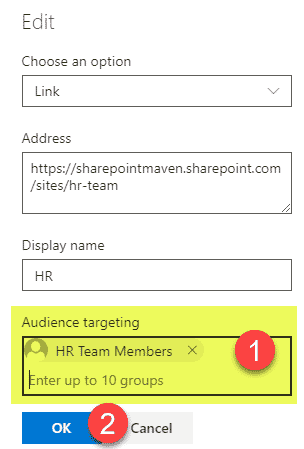
Related to several points above, make sure to utilize the Audience Targeting feature, especially if you are part of a larger organization and have content geared towards different groups of users. Audience Targeting allows you to display different content to different groups of users. You can target news, events, links, and documents. I explained how it all works here. This will make your Intranet more relevant and concise, and users will not be overwhelmed with all the extra information that does not even apply to them.
Best Practice # 6: Add Homepage URL to Microsoft 365 Bar
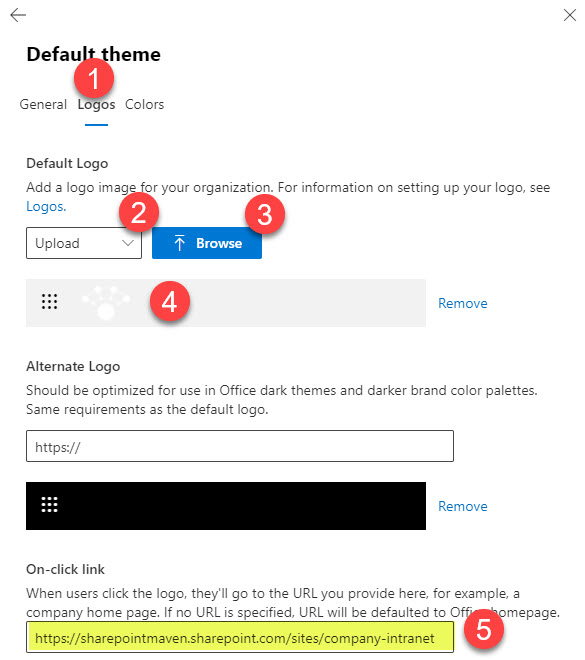
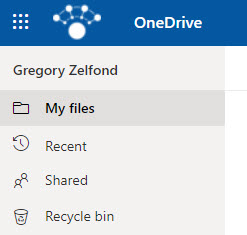
Not many know or utilize this option, but it will help drive user adoption of your new Intranet. One thing I like to configure for my clients is the Microsoft 365 App Bar. That is the bar that appears at the very top of the page when you are using Microsoft 365 applications. The beauty of this bar is that you can set a theme based on your company brand and add a logo to it. Clicking on a logo can point you to a specific URL. So, it just makes sense to add an Intranet URL to that clickable logo. This way, no matter where the users are (OneDrive, Outlook, SharePoint), they can click on the logo and get to the Intranet Landing Page. I explained how to set it up here.
Best Practice # 7: Set up SharePoint App Bar
Another thing that I would say is almost mandatory for the success of your SharePoint Intranet is the setup of the SharePoint App Bar. It is that floating bar that you see on the left-hand side of the SharePoint page that allows you to access recent sites, news, documents, etc, from any SharePoint site you land on. The idea of the SharePoint Bar is that no matter which site you are on, you can access the most recent content with a few clicks. However, by default, SharePoint App Bar is not configured. Once configured and customized, it lets you display a custom navigation menu + company logo. So, if you created a nice global hub navigation for your Intranet, I would definitely consider setting up a SharePoint App Bar as well. I explained how to do this here.

Best Practice # 8: Configure Viva Connections (integration with Teams)
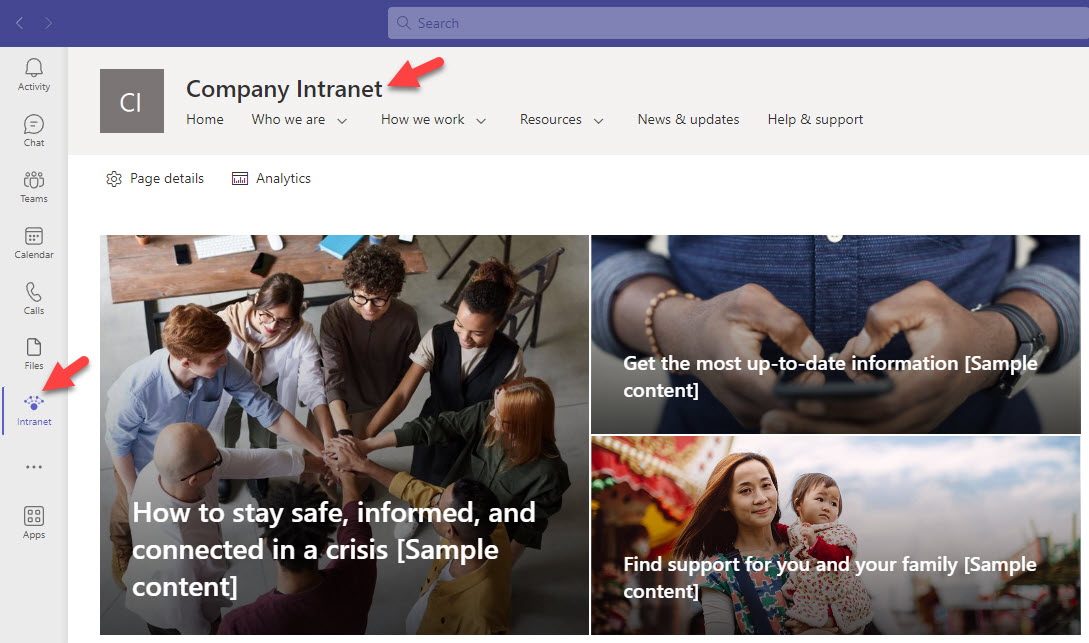
Finally, I also insist that you set up Viva Connections. If you want great user adoption for your SharePoint Intranet, then this trick would be your best Return on Investment (ROI). When you set up Viva Connections, it embeds your Intranet within the Teams Application. This greatly increases the chances your content will be easy to find, as many users spend most of the day in Teams. I explained how to incorporate the Intranet into Teams (also known as Viva Connections) here.
