How to Configure Viva Connections in SharePoint Online
A while back, I introduced you to a wonderful new feature we have in SharePoint called Viva Connections. It is an excellent addition to the Microsoft 365 suite and allows you to bridge the gap between your Intranet and Teams. While I provided some high-level instructions on configuring it back then, I want to do so in much greater detail today. Below, you will find step-by-step instructions on how to configure Viva Connections. Documenting it a way you would only find it on my blog 😊 – with step-by-step instructions and images (hey, I have to compete with ChatGPT) 😊, recording every single detail and click you would need to make to get this working in your environment. Trust me – if I could do, you can too!
What are Viva Connections?
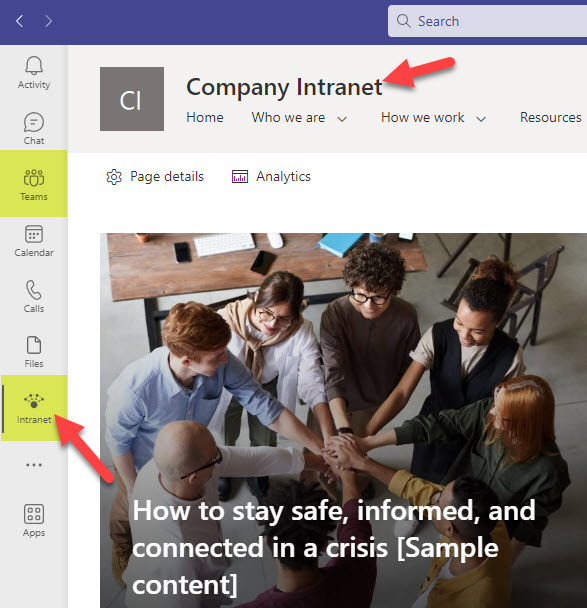
Viva Connections is a feature that allows you to display a SharePoint-based Intranet right inside of the Microsoft Teams application. So if your organization has built the Intranet portal – with a click of a button – users can access that Intranet right from within Microsoft Teams.
Viva Connections also allows you to create a user-personalized dashboard that you can embed on SharePoint Intranet or inside Teams.
Why are Viva Connections important?
Ever since we got Microsoft Teams in 2017, one of the biggest complaints from users was that SharePoint Intranet (the communication hub) and Microsoft Teams were kind of disconnected. A typical company would use Teams for daily chats, video conferencing, and file access for various departments and projects. However, if the company also had an Intranet with news, events, links, and Human Resources stuff, the users would need to explicitly navigate away from Teams, search for the link, and open that Intranet homepage in another browser. And who has time for that?
Allowing organizations to embed Intranet into Teams solves a pretty big user adoption matzo ball! While users can still navigate to Intranet from SharePoint/browser, they can now click on a button and access it from the convenience of the Microsoft Teams application. This allows them to quickly go back and forth between Intranet and their teams in Microsoft Teams.
Pre-requisites for configuring Viva Connections
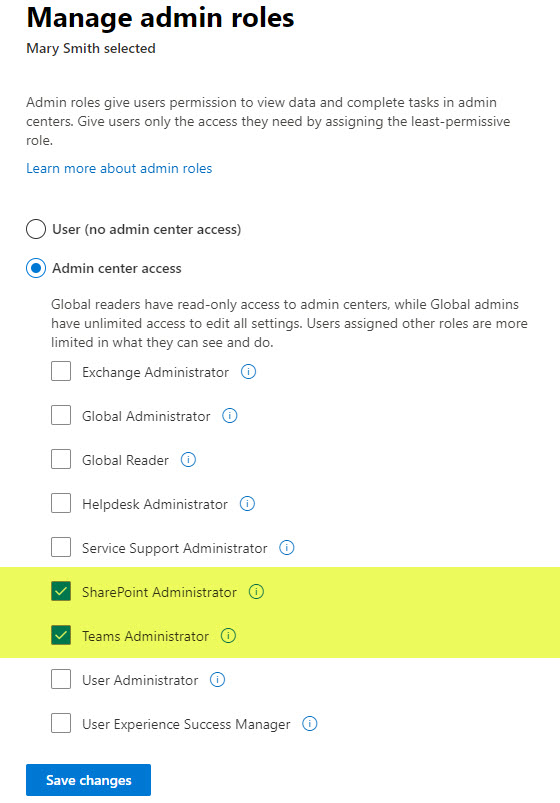
To configure Viva Connections, you need to be either a Global Microsoft 365 Administrator or have at least Admin access to SharePoint and Teams Admin Centers. We would need to change some settings in both Admin Centers, so make sure you have such privileges before you read the remainder of this article.
How to install and Configure Viva Connections in SharePoint Online
Step 1: Create an Intranet
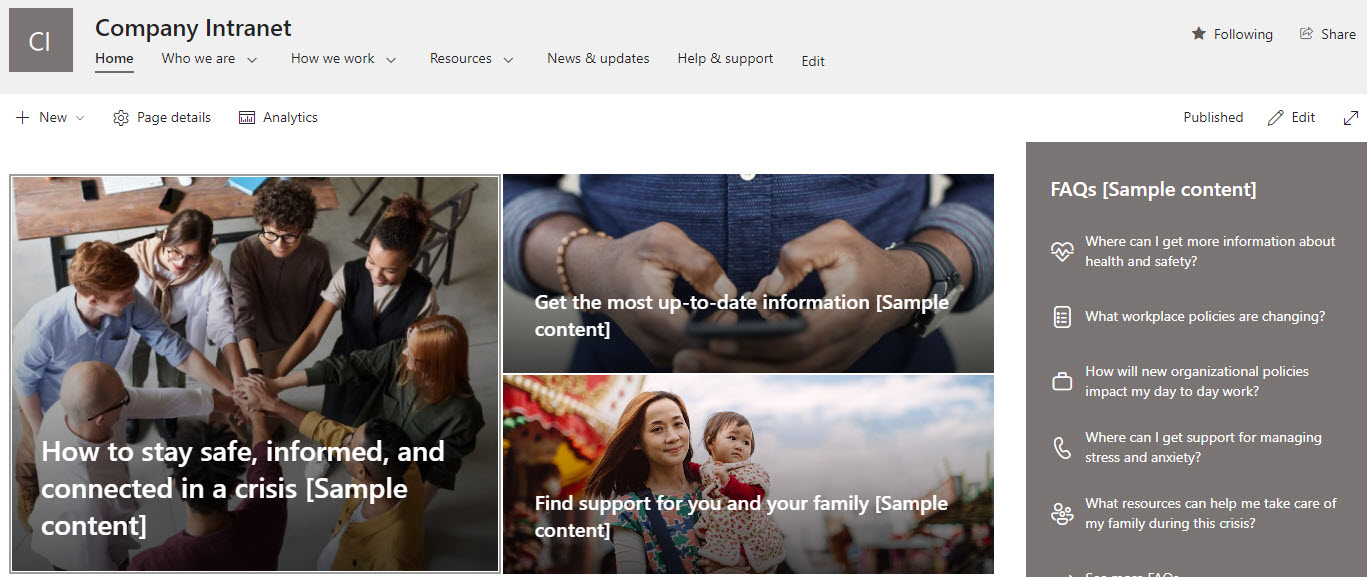
The first step is pretty obvious. To embed an Intranet portal within Teams, we need to create an Intranet in the first place. I published a number of posts in the past on how to approach Intranet Design. Whatever you do, create the main Home site as a Communication site. This is mandatory for Step # 3, where we will register that site as a Home Site. If you create an Intranet based on a Team Site, you won’t be able to configure Viva Connections.
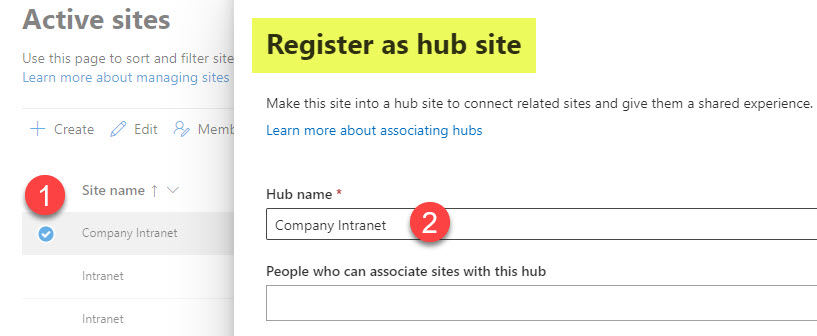
Step 2: Register main Intranet Site as a Hub Site
The second step is to register the Home Site as a Hub Site. This step is unnecessary if your Intranet consists of just one main site. However, I suspect as in any organization, you might have multiple sites that make up your Intranet. You might have a Main Site, but you also might have a few additional Communication sites for various departments, like Human Resources, Marketing, etc. In that case, you won’t rely on the Site Menu for navigation, but a Hub Menu. This will become clearer in Step 5 below.
To learn more about registering a site as a Hub Site, associating with other sites, and configuring Hub Menu, please check out this post.
Step 3: Set the Communication Site as a Home Site
OK, this is another vital step and a big prerequisite for Viva Connections. Register the Communication Site you created in Step 1 as a Home Site. A Home site is essentially the intranet’s main site, which also gets some special features and privileges unavailable on other sites. I explained all those benefits in this article. The article above also explains how to register a site as a Home site. However, we could only do so via PowerShell when I wrote that article. And now you can easily do this within the User Interface. So please follow the below instructions to register your site as a Home Site quickly and easily.
- From the Microsoft 365 App launcher, click on Admin
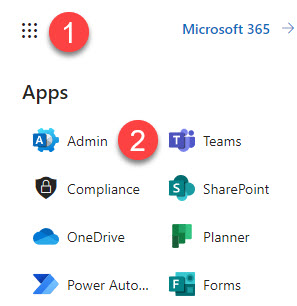
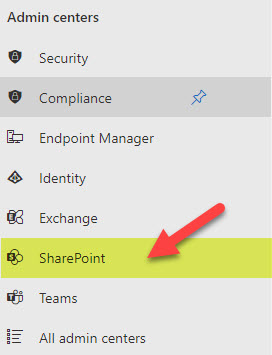
- Under Admin centers, choose SharePoint Admin Center
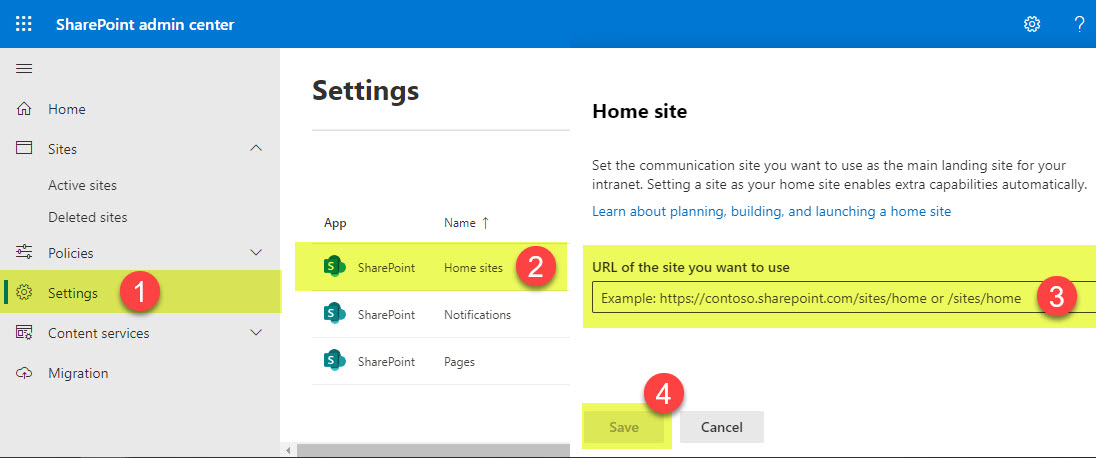
- Once in SharePoint Admin Center, click on Settings, then Home sites. Just paste the site URL you want to register there and click Save.
Step 4: Prepare the images/logos
This next step is not about the configuration, but about preparing images we will need in future steps. When configuring Viva Connections, you would need to use a few icons/images that have to be in a certain format and pixel size. You can’t just use any size image. So here is what you will need to prepare in terms of images for the next few steps:
Image 1: SharePoint App Bar Home Icon
Replaces the “home” icon within the app bar. I usually use the company logo. The logo needs to be square in size and a minimum of 20 X 20 pixels (according to this resource from Microsoft)
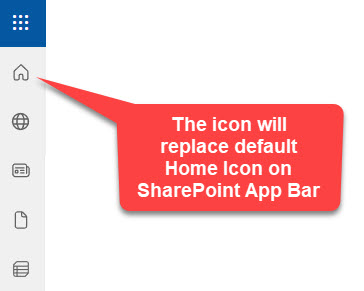
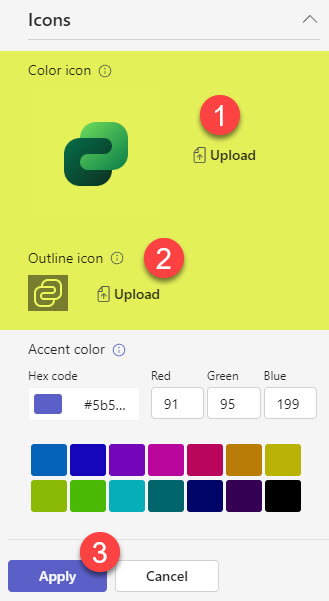
Image 2: Viva Connections Application Color Icon
Replaces default Viva Connections when users manually try to add Viva Connections application from Teams list of available apps. Has to be 192 X 192 pixels and must only be in PNG (transparent) format.
Default Viva Connections Icon
Viva Connections Application configured with Company Color Icon
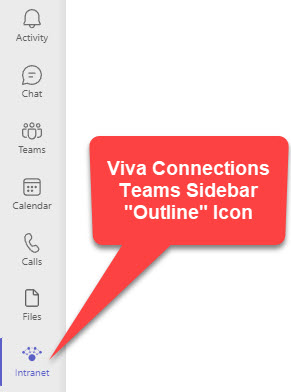
Image 3: Viva Connections Teams Sidebar “Outline” Icon
This icon will be placed on the left-hand sidebar in Teams. This is the icon users will click to access SharePoint Intranet/Home Site from Microsoft Teams. It must be 32 X 32 pixels and only be in PNG (transparent) format. The most important thing about this icon is that it has to be an “outline” icon. In other words, inverted or negative icon/image of your logo or some other image so it is blended/overlayed over the gray color of the Teams sidebar.
Step 5: Configure SharePoint App Bar
Now that we have done all the homework with preliminary steps and image prep, we are ready to do the exciting part and configure the corresponding apps. The first step is to configure the SharePoint App Bar. I documented the steps in this earlier article. This is where you will need the first image we prepared in Step 4 above. By the way, if you opted for Hub Navigation, make sure to choose that radio button accordingly.

By the way, this is the same SharePoint App Bar that will eventually appear from within the Teams app, so that is why it is important to do this step.
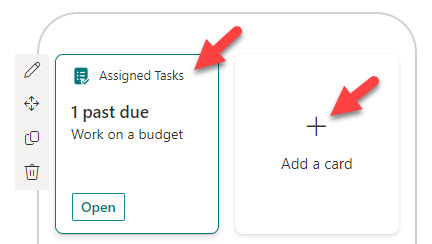
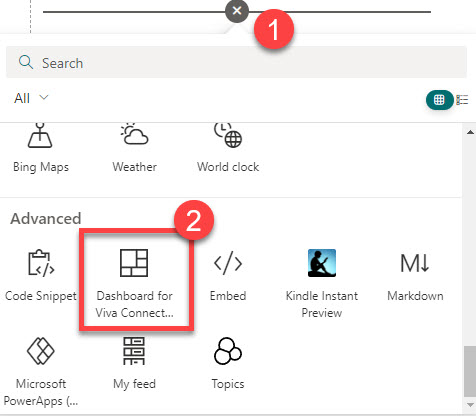
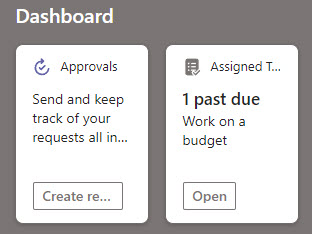
Step 6: Configure Viva Dashboard
This next step is optional as it will allow for a more personalized version of your Intranet. You can create and customize the Viva Dashboard. I outlined what it is and how to configure it here. So, if you want to proceed with it, follow these steps.
Step 7: Configure Viva Connections Application in Teams Admin Center
We are now ready to do the magic within the Teams Admin Center. The first thing to do is configure the Viva Connections application in Teams Admin Center. To do so:
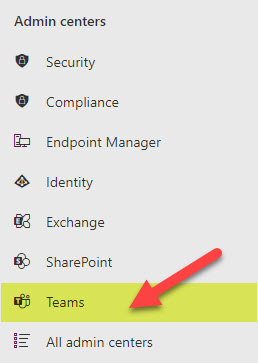
- From the Microsoft 365 App launcher, click on Admin
- Under Admin centers, choose Teams Admin Center
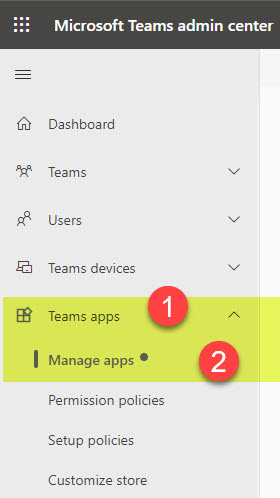
- Under Teams apps, click on Manage apps
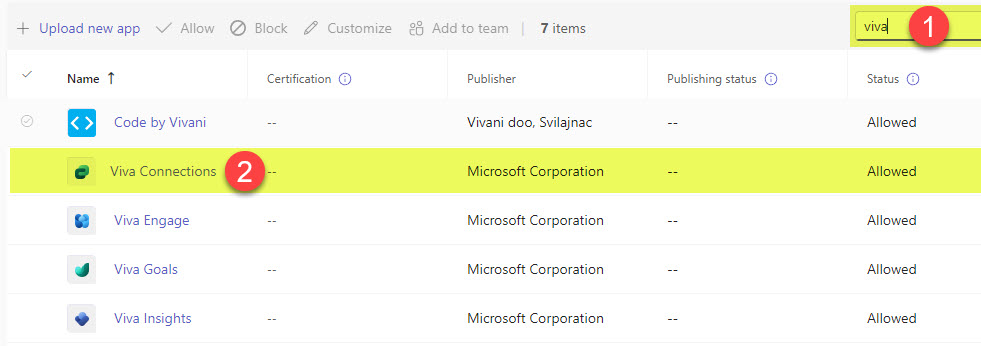
- Type Viva into the search bar to find the Viva Connections app we need to configure. Then click on Viva Connections.
- Click the Pencil edit button to customize the Viva Application

- The default name for the app is obviously Viva Connections. You can change it to whatever the name is for your Intranet.

- Scroll down. This is where you upload the logos/images 2 and 3 from Step 4. Click Apply.
- You will get a confirmation message. Click Publish.
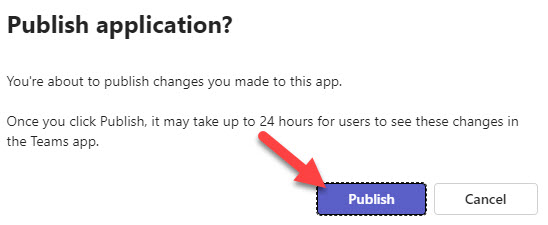
- As noted in the image above, changes might take up to 24 hours to take effect.
Step 8: Pin Viva Connections Icon via the Global Policy
Configuring the Viva Connections application in Teams is not enough. While it will be available in the list of apps now, users must manually add/pin it to their Teams’ sidebar. Since we want everyone within our organization to see it by default, we must pin it for them. To do so:
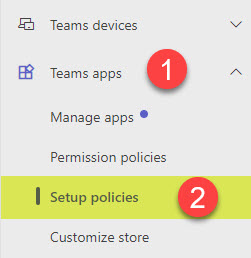
- While still in Teams Admin Center, under Teams apps, click Setup policies
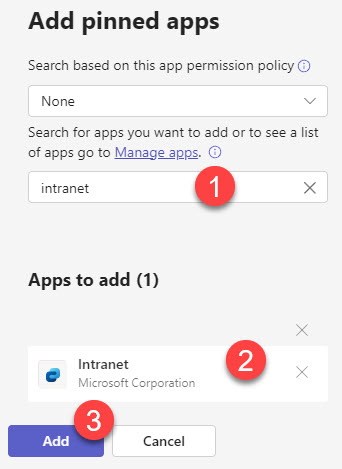
- Under the Pinned apps section, click Add apps, then type the name of the application (the name you gave your Intranet in the previous step)
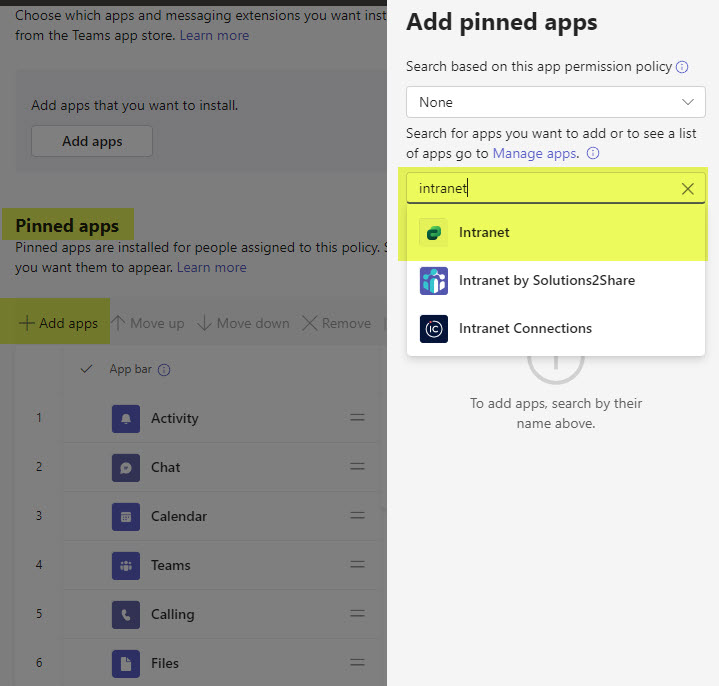
- Once found, click Add
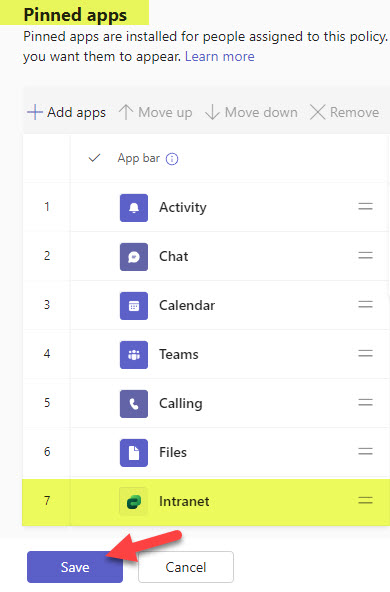
- The app will now be added to the Pinned apps section. Click Save.
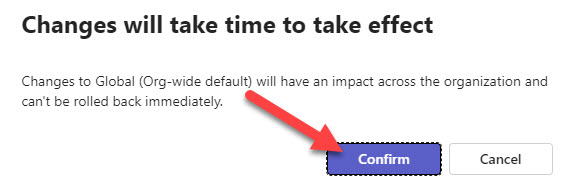
- Once you get a confirmation message, click Confirm.
- Once again, it might take some time for the change to propagate and be available to all users.
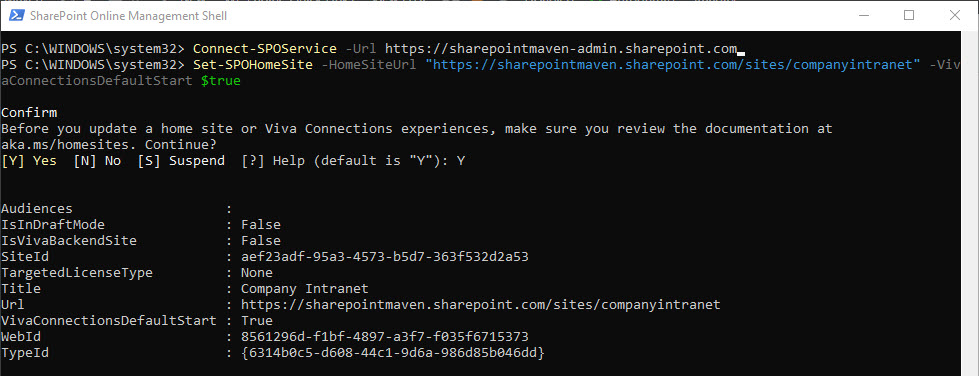
Step 9: Run a PowerShell Command to bypass Viva Connections Default Page
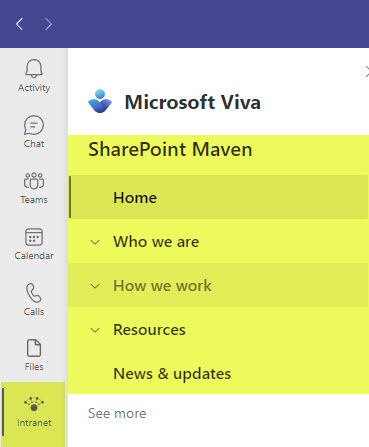
This next step is probably the most important out of all. Even though you created the Intranet Home Site in SharePoint Online, by default, when users click on Viva Connections from within Microsoft Teams, it will display a different page to the users (Viva Connections default page). Accessing SharePoint-based homesite requires an extra click. So you would need to run a PowerShell script to switch the default and display the Home Site you created. I explained all this in this article. Make sure to run the PowerShell command included in the post above.
Step 10: Add Viva Dashboard to Intranet Homepage
This is optional, but it might not be a bad idea. If you created a Dashboard in Step 6, you might want to display it right inside the Intranet you created. Again, instructions can be found here.
This is it! We are done. Give it some time (up to 24 hours), and users will see the icon pointing to your Intranet from within the Teams Application!

Share Article