How to create and customize Viva Connections Dashboard
A while back, I introduced you to Viva Connections – a feature that allows Administrators to embed Intranet Home Site into MS Teams Application. You can take it further and set up the Viva Connections Dashboard, which allows for some nice personalization of the content. So this is what I would like to explain in this article – how to create and customize Viva Connections Dashboard in SharePoint.
What is Viva Connections Dashboard?
Viva Connections Dashboard is a feature in SharePoint Online that allows for the personalization of content/tasks based on the user logged in.
Where can Viva Connections Dashboard be accessed from?
Viva Connections Dashboard can be accessed from both desktop experience (SharePoint Home Site) as well as mobile (Teams Application).
Prerequisites for configuring Viva Connections Dashboard
Before creating and customizing the Viva Connections Dashboard, you must have two things:
- You must have a Home Site in your SharePoint tenant. This is necessary for you to create the Viva Connections Dashboard in the first place. I explained the concept of a Home Site and how to register it in this article. So go ahead and create a Home Site first.
- You must configure Viva Connections in Teams. This is necessary so that users can access Viva Connections Dashboard from their Mobile Device (Teams Mobile app). I explained how to configure Viva Connections in this article.
How to create and customize Viva Connections Dashboard
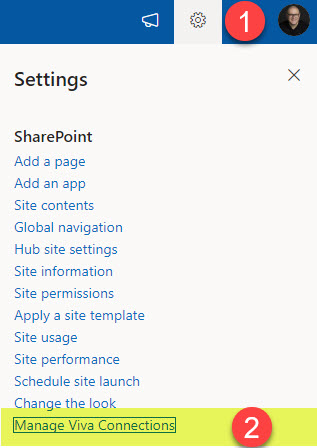
- From the Home Site, click Gear Icon > Manage Viva Connections
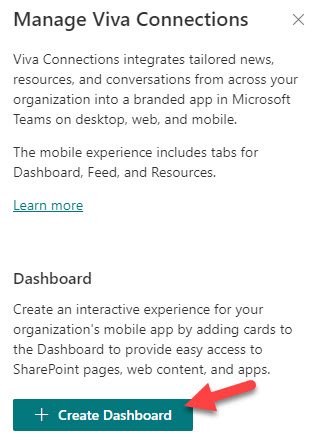
- Click + Create Dashboard
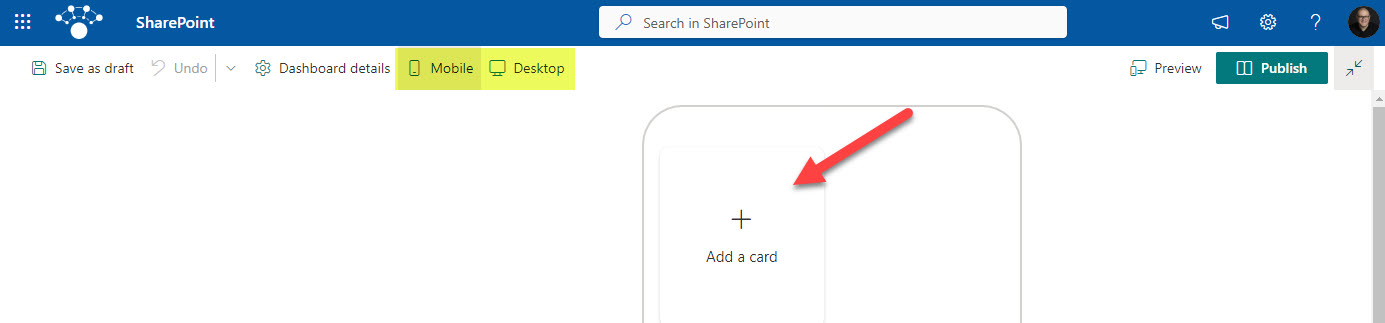
- You will get a screen similar to the one you see below. You will be able to change between the Mobile and Desktop experience here. To add a personalized card, click Add a card.
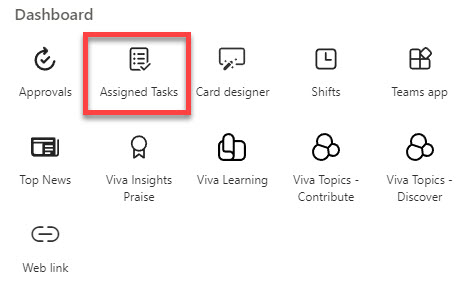
- A pop-up will appear, showing you all the cards you can add to the Dashboard
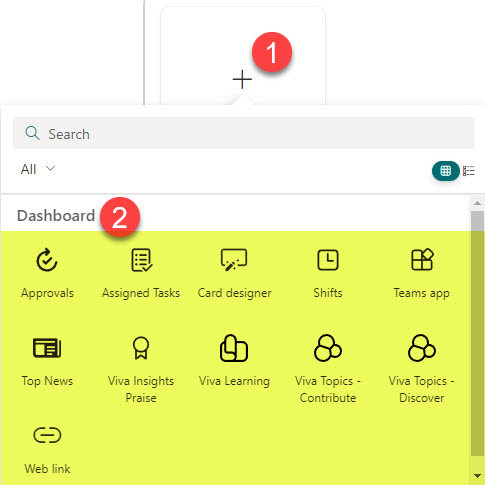
- Pick a few cards from the list. For example, below, I added an Assigned Tasks card.
- The card will appear like in the image below. It shows the past due tasks from the Task by Planner in Teams
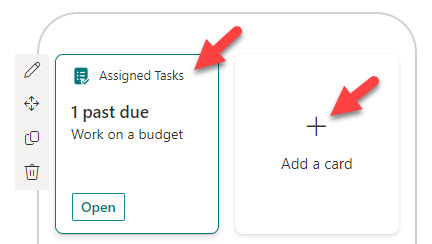
- Add other cards as necessary. In the example below, I added a card for Approvals (so that employees can easily kick off approval in Teams) and a URL link card (where I selfishly added my blog URL).
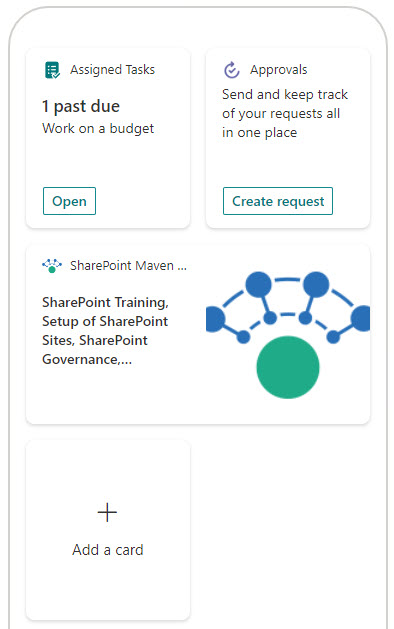
- Click Publish in the upper-right-hand-corner
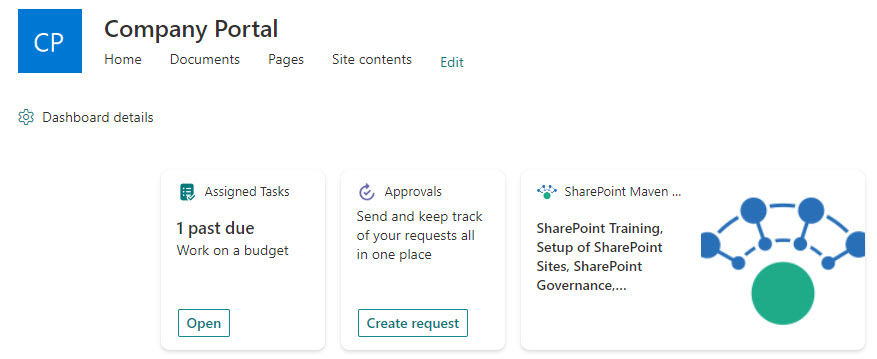
- This is what it looks like once published
How to make changes to the Viva Connections Dashboard
In case you want to make changes after you publish the Dashboard, you have two options:
- Option 1: From the Home Site, click Gear Icon > Manage Viva Connections > View Dashboard and then click Edit in the upper-right-hand corner
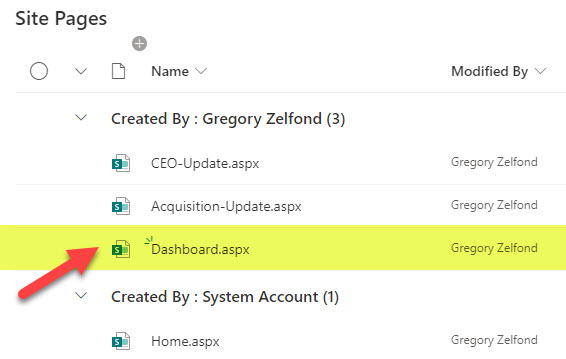
- Option 2: From the Home Site, click Gear Icon > Site Contents > Site Pages and click on the Dashboard page. From there, you can click Edit in the upper-right-hand corner.
How to display Viva Connections Dashboard on a SharePoint page
Once you create Viva Connections Dashboard, you can display it on the Home Site Home page.
- Edit the Page
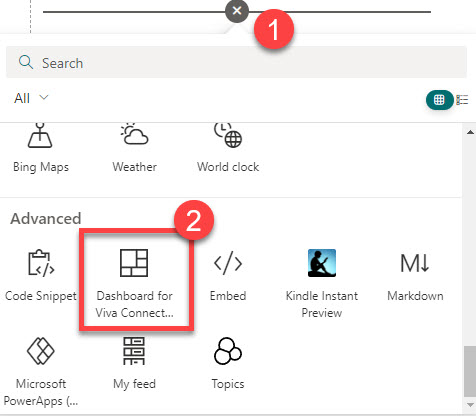
- Add the Dashboard for Viva Connections Web Part
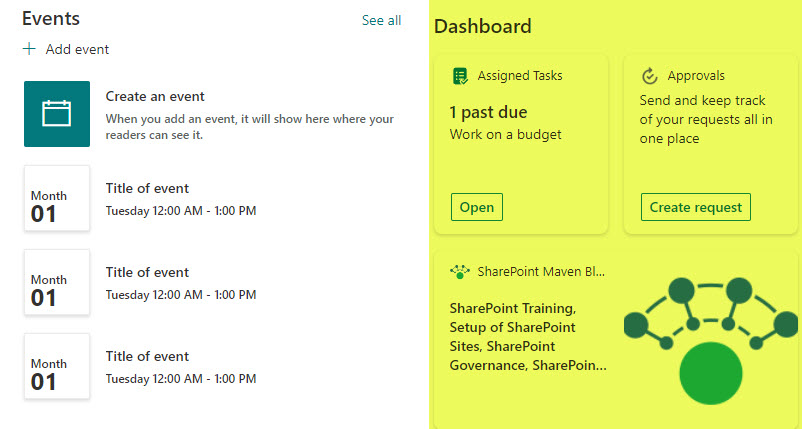
- Republish the Page. This is how it will render on the Homepage now.
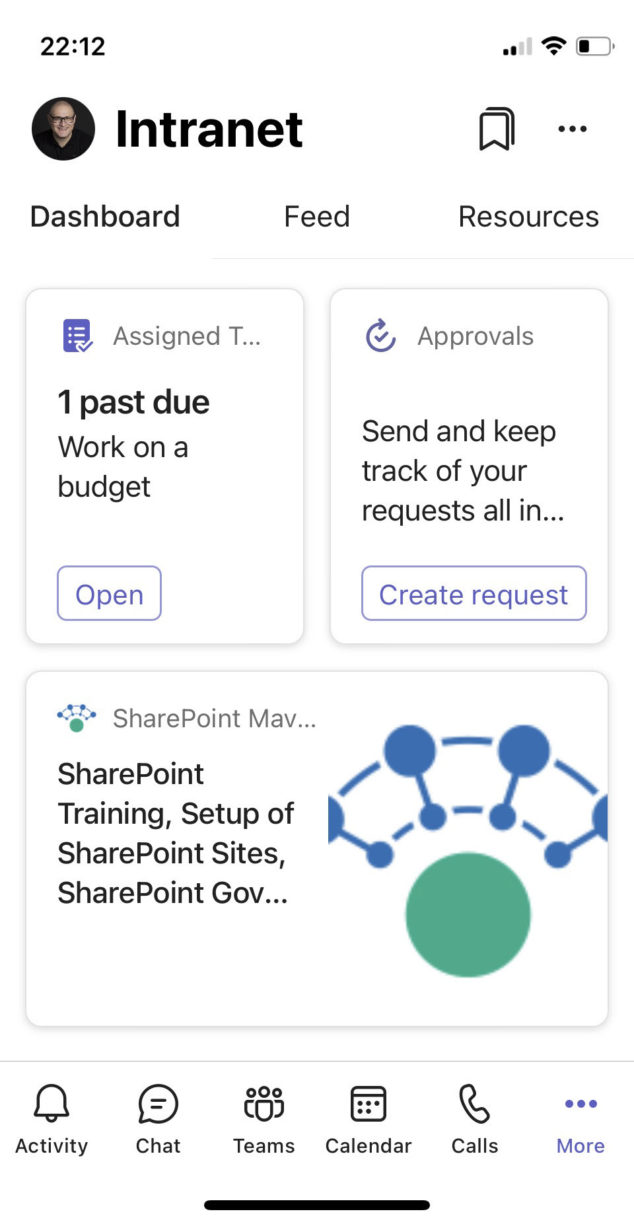
How to view Viva Connections Dashboard on a Mobile Device
In Teams mobile app, once you click on Viva Connections, you will get to see the Viva Connections Dashboard right away.

Share Article