How to compare and restore SharePoint Pages
As users edit the SharePoint pages, add and delete content and web parts, it is also necessary to restore the previous versions of the pages. We had this functionality for a long time. As a matter of fact, I even wrote a post about it. However, Microsoft has recently upgraded the experience. So I would like to explain a modern option now and show you how you can easily compare and restore SharePoint Pages without going behind the scenes as with the old method.
Undo vs. Restore
To remind you first, I am not talking about the Undo button while you edit the page – that is easily taken care of by clicking the Undo button.
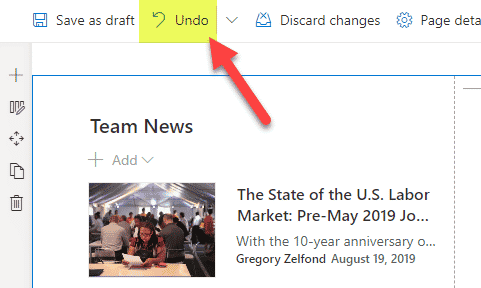
I am talking about restoring a page that was already published. Something that will allow you to restore a page from a week or month ago.
How to restore SharePoint Pages
- Click on Page Details on the top of the Page, then Version History on the right-hand-side panel
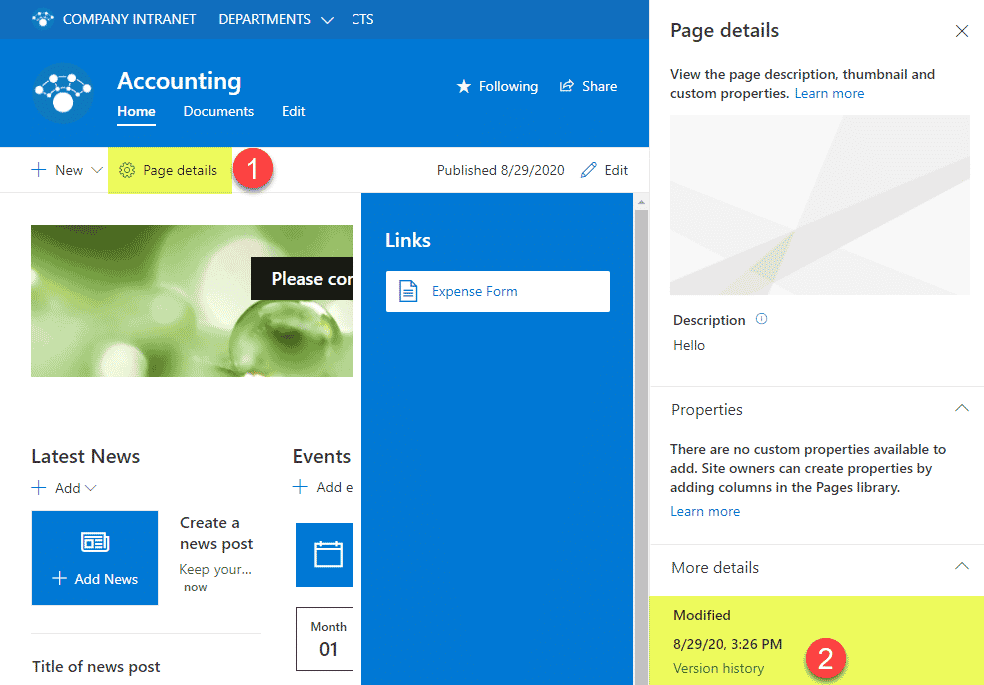
- It will then display all the versions of the page in the reverse chronological order
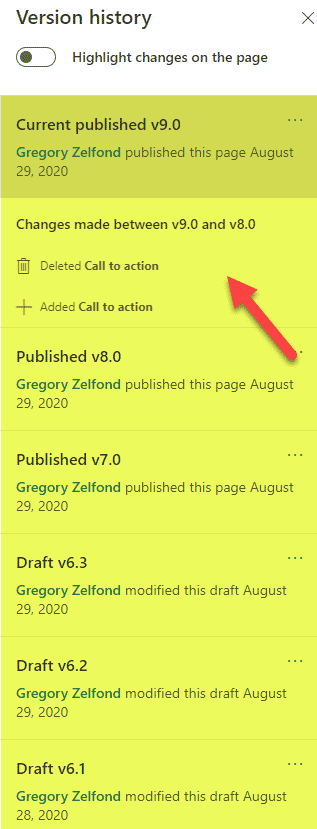
- You can click on any previous version of the page to see what it looked like then. It also mentions the changes made during that specific version.

- You can also toggle the Highlight changes on the page switch to highlight the changes made on the page for visual representation!
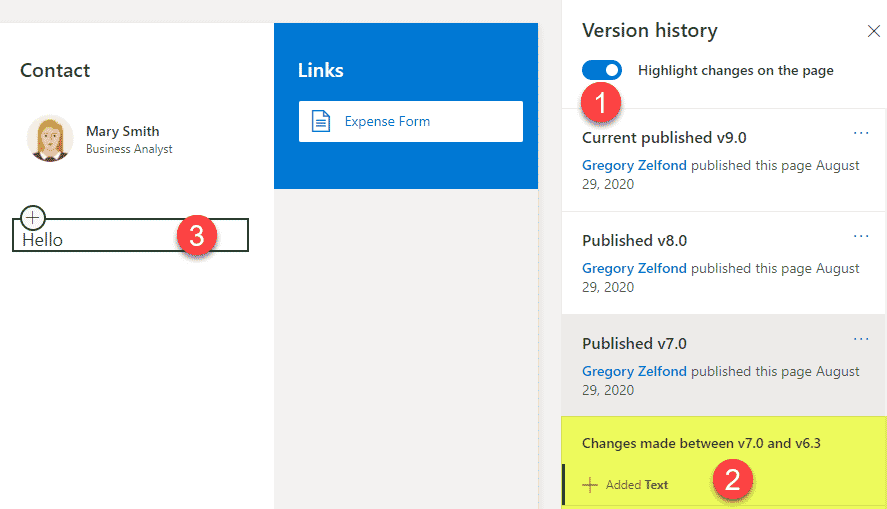
- To restore a specific version of the page, click 3 dots next to the version, then Restore
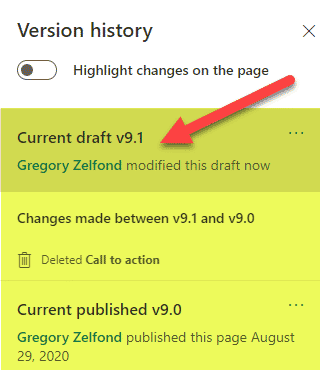
- What happens next is very important! It does restore the previous version of the page, but it DOES NOT publish it. You will notice that it gets a minor version, and the page is set to Draft. That means that the page is restored but not Published! It does it on purpose as it wants to make sure you are OK with the changes before everyone else gets to see them.
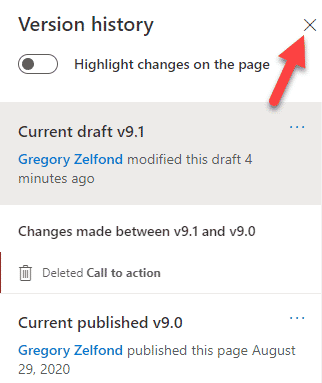
- To Publish the page, click “X” to exit from the Version History panel
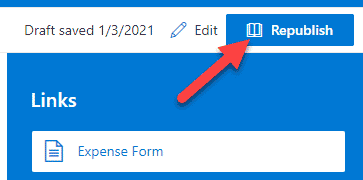
- Review the page’s changes to make sure it is all good and hit Republish to make them official!
How many versions are saved?
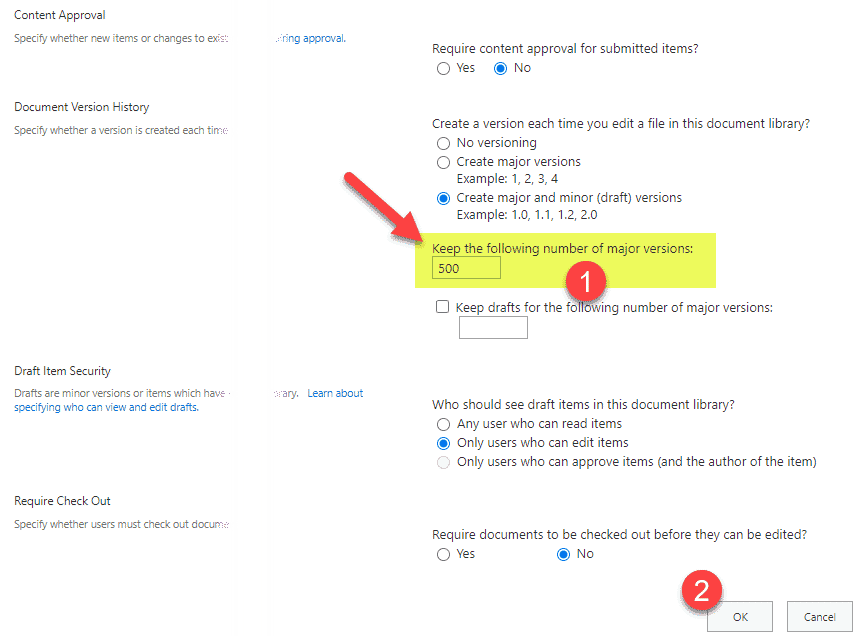
You might be wondering how many versions of each page are saved. The Site Pages Library (this is where the pages are stored), just like a Document Library, stores the last 500 versions of each page. If you are the Site Owner, you can increase it to 50,000 if you wish. To do this:
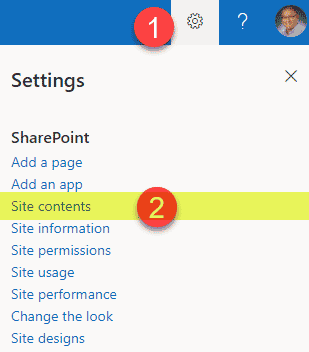
- Gear Icon > Site Contents
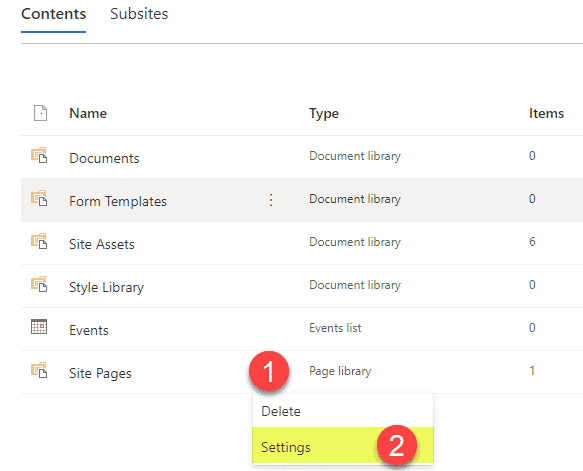
- Click 3 dots next to the Site Pages Library, then Settings
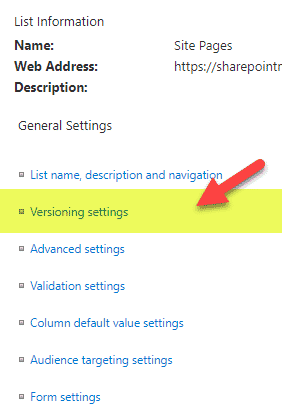
- Next, click Versioning Settings
- Change the number of versions to any other number between 1 and 50,000. Click OK
