How to migrate file shares to SharePoint Online using Microsoft SharePoint Migration Tool
Migrating large volumes of documents from files shares to SharePoint Online has always been somewhat of a matzo ball. Most organizations just had two choices: allow users to drag and drop files manually or purchase a third-party migration tool. The first option worked OK for small/ad-hoc moves of data, but for serious volumes (tens/hundreds of thousands of files and folders), you had to acquire a third-party tool. While I used those tools numerous times to migrate my clients, it did not make financial sense for small businesses looking to do a one-time migration. Luckily, Microsoft has recently come up with a tool of its own, which is entirely free. In this post, I would like to document the process of how to migrate file shares to SharePoint Online using Microsoft SharePoint Migration Tool.
Step 1: Do your homework first!
Yes, I know you just want to click that Migrate button and tell your boss you did it, but you cannot migrate the content without thinking about the information architecture through among other things. It would not be fair for me to describe everything you must do first in a single paragraph here. I devoted many posts on the topic previously. At a high-level, you need to make sure you understand how Information Architecture works in SharePoint Online. Then, you need to build the sites, document libraries, possibly create some metadata. Oh yeah, and did I mention you also have to do training?
The bottom line is:
It is not a SharePoint Migration project. It is a User Adoption project!
Step 2: Download and install the Microsoft SharePoint Migration Tool
OK, I’ll take your word here that you have completed Step 1, so let’s go ahead and perform our first migration. First, you need to download the tool.
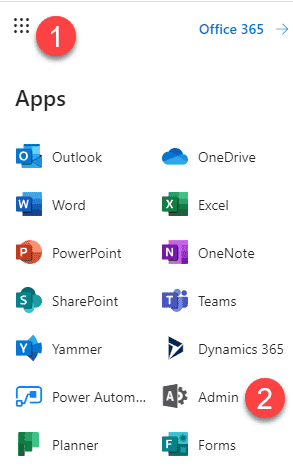
- Click on Office 365 App Launcher > Admin
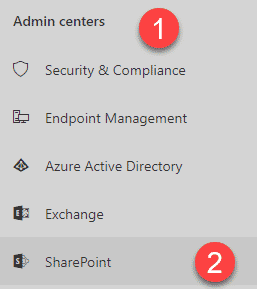
- Navigate to SharePoint Admin Center
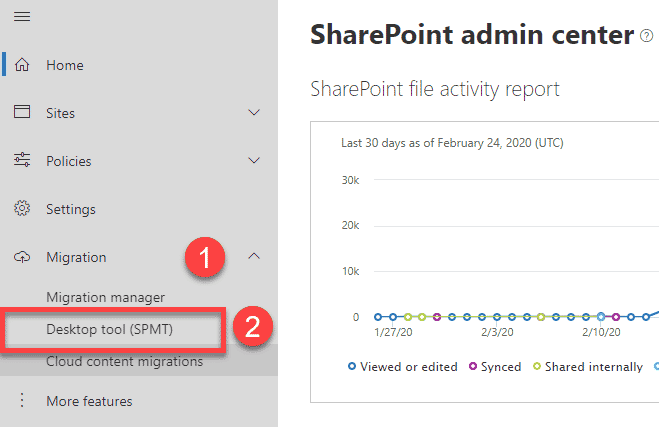
- Under Migration, click on Desktop tool (SPMT) (SPMT = SharePoint Migration Tool)
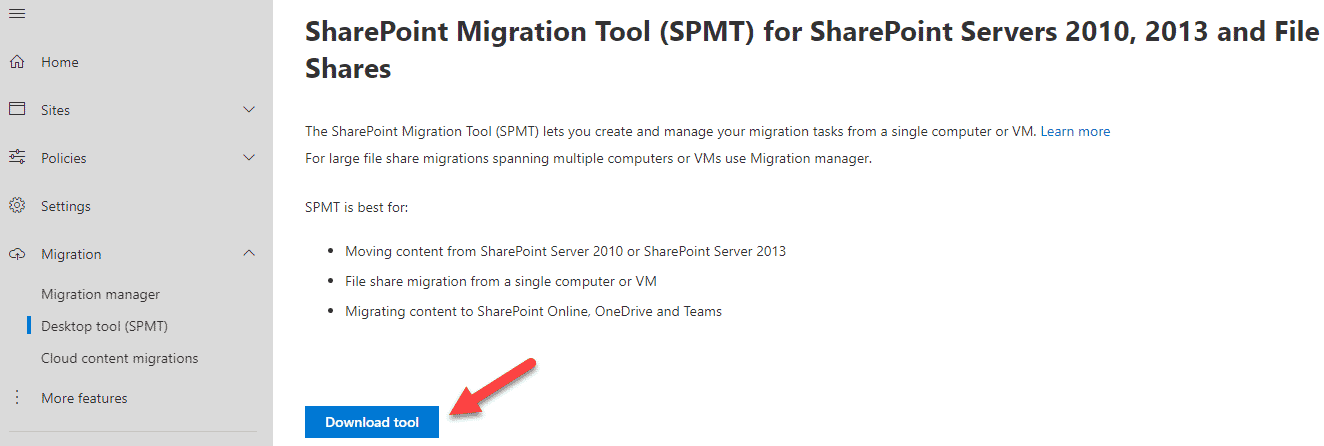
- Click the Download tool button to download the software
- Once downloaded, install Microsoft SharePoint Migration Tool on your computer by clicking on the downloaded file
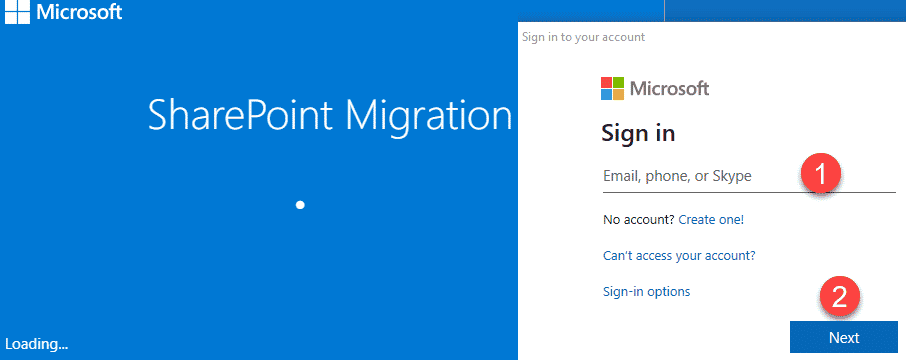
- Next, you will need to log in to to the tool using your Office 365 credentials


Step 3: Perform your first migration
What I like about the Microsoft Migration tool is that it is super simple to use and does not require a high IQ to use it. Let me walk you through the steps now on how to migrate file shares to SharePoint Online using Microsoft SharePoint Migration Tool.
- Click on Start your first migration button

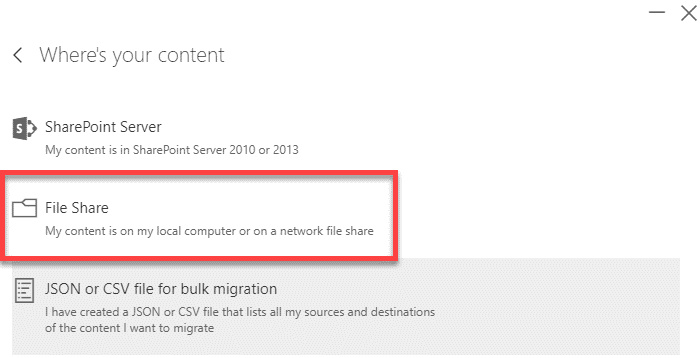
- On the next screen, you can choose the source of files. You can migrate from the old SharePoint on-prem environment too, but in our case, we want to migrate file shares to SharePoint Online (that are located on local or network drives). So on this screen, choose FileShare
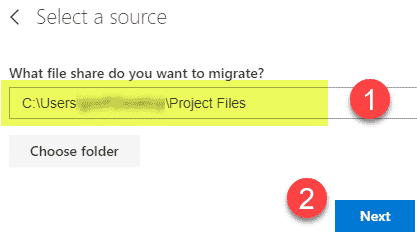
- On the next screen, select the source of your files (the top-level folder you want to migrate). This could be a folder on C:Drive or a network drive. Click Next
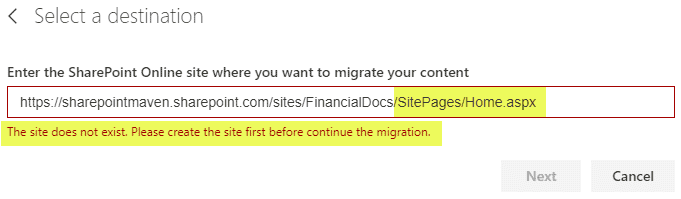
- On the Next Screen, paste the URL of the SharePoint site you want to migrate to
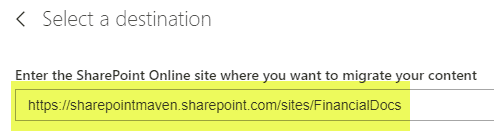
- An important note about the above URL. Make sure to paste the URL of the site and not a page. For example, if you paste full URL (the URL of the specific page), like this: https://sharepointmaven.sharepoint.com/sites/FinancialDocs/SitePages/Home.aspx, it will give you an error: “The site does not exist. Please create the site first before continue the migration.” This is because you need to drop the SitePages/Home.aspx at the end of the URL. For additional information on how to properly link to sites, please reference this post.
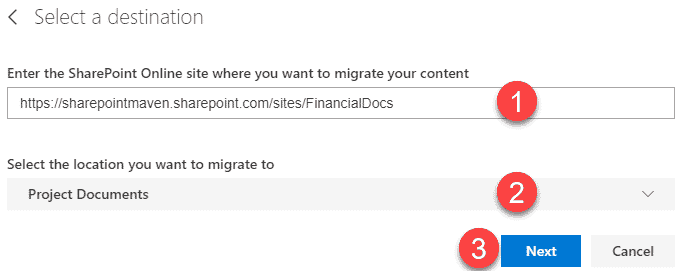
- Once you enter the proper URL, it will generate a list of all document libraries that exist on a site. Choose the library you want to migrate to
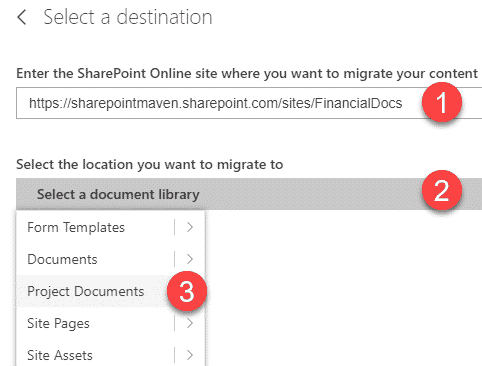
- Hit Next
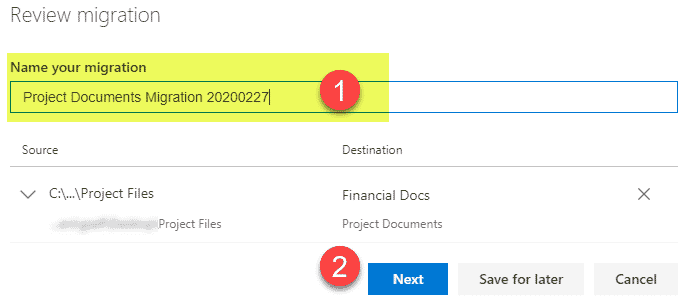
- On the next screen, you can give your migration a name and click Next
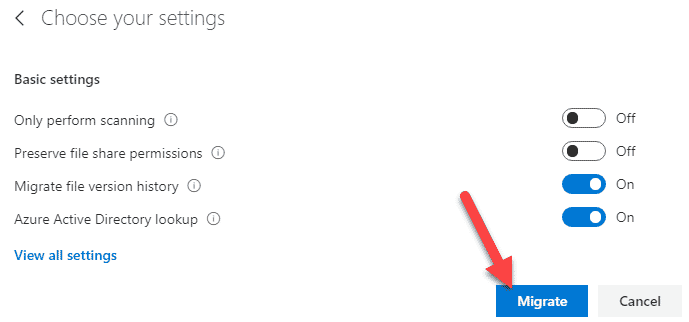
- On the next screen, all you have to do is click the Migrate button. You can also click View all settings to alter some advanced settings, but for basic migration, accept the default.
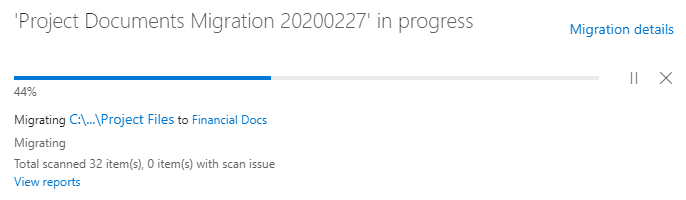
- You will now see the progress of the migration live on your screen
- When migration completes, you will get a confirmation message
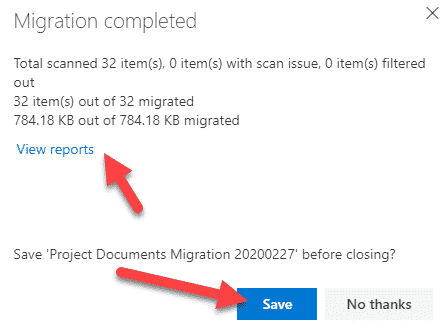
- You can Save it in case you will need to run incremental migrations later, or you can also access the detailed migration reports by clicking View reports

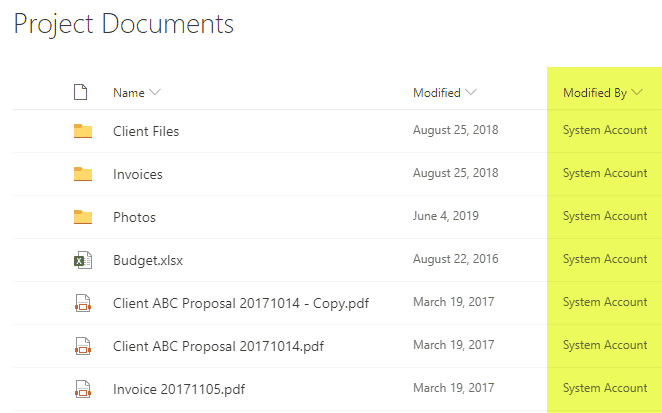
- This is how the migrated files will appear on a site (document library). You will notice that Modified Date metadata is maintained by the migration tool and does not default to today’s date (if you were to drag and drop the files manually). You will also notice System Account appearing under Modified By instead of your name (which is excellent!)
- Mazel Tov, we did it! To learn more about the SharePoint Migration Tool and its improvements and limitations, please refer to this article from Microsoft.


Share Article