How to migrate videos from Stream Classic to Stream on SharePoint
Unless you have spent the last few years in a cave, I am sure you have heard of Microsoft Stream, where you store videos in Microsoft 365, getting a new home. In the past, all the videos were hosted in a separate application called Stream, which was part of Microsoft 365. With the recent change, Microsoft decided that videos can and should be stored in SharePoint, which, by the way, totally makes sense. I explained this in great detail in this article. While new videos are now stored in SharePoint, many organizations have accumulated lots of videos in the old service. What’s very important is that they have to be moved/migrated manually by the organizations. In this article, I describe the process of migration, which is pretty seamless and straightforward. So, if you have some old videos in the old Stream, you can move them to a new location in no time!
Step 1: Access Stream Migration Tool
- You do need to be a SharePoint Admin to migrate.
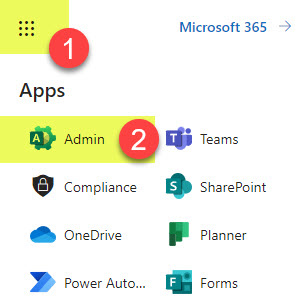
- Click Microsoft 365 App Launcher > Admin
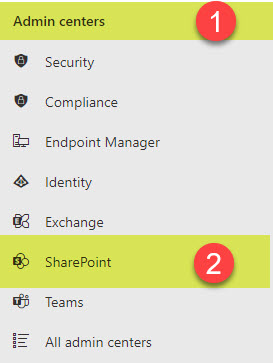
- Under Admin centers, click on SharePoint Admin Center.
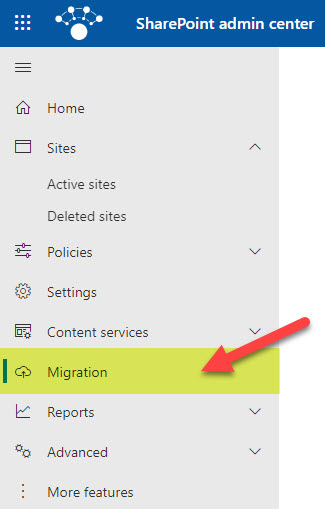
- Once in the SharePoint Admin Center, click on Migration.
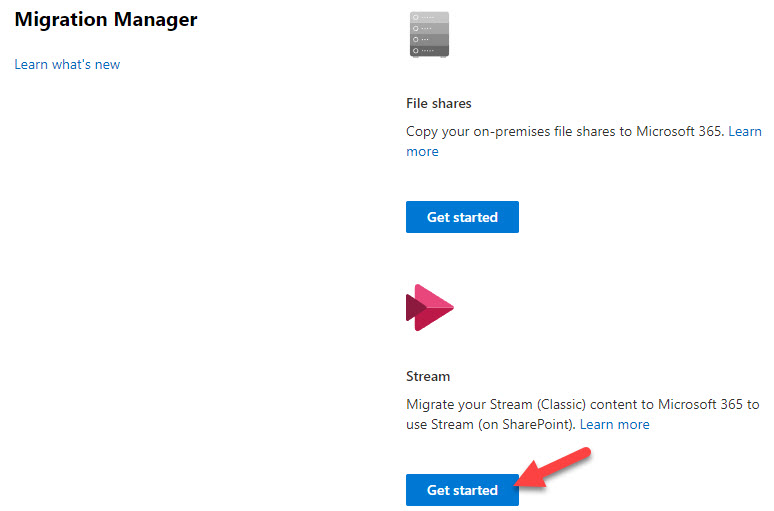
- You will then see several different migration tools/options; choose Get Started under Stream.
Step 2: Review Existing Containers
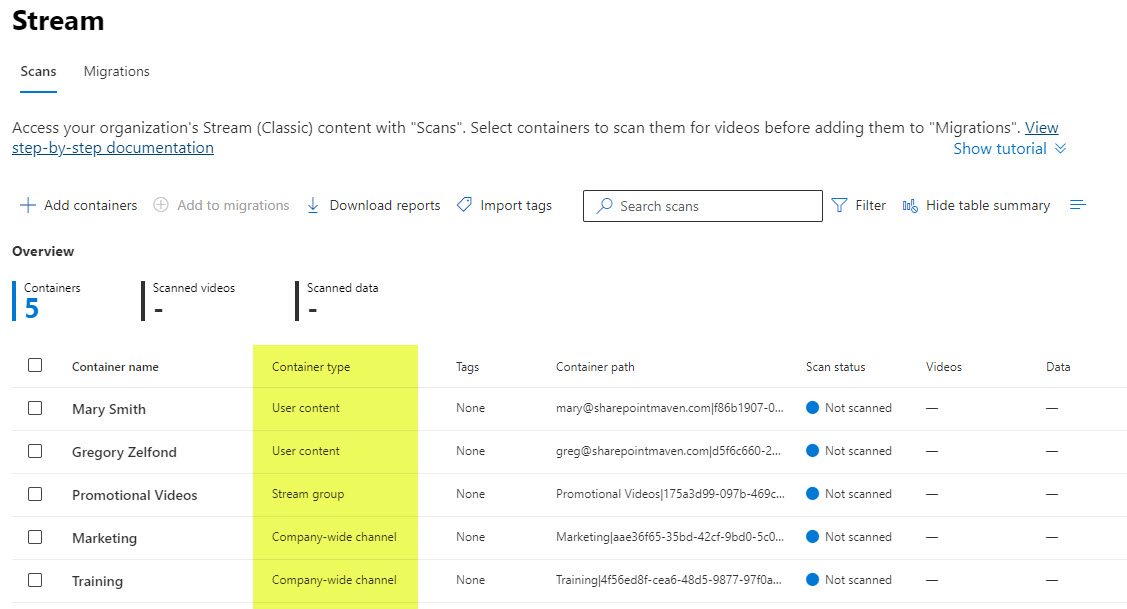
Once you access the Stream Migration tool, it will display all the existing containers of videos that exist in Stream Classic. They can be one of the following three types:
- User content – videos stored under each user’s account (i.e., Teams meeting recordings)
- Stream group – videos stored in Stream workspace created as part of a Microsoft 365 Group (i.e., Team channel meeting recordings)
- Company-wide channel – videos stored in a company-wide channel (i.e., educational/training videos created by a specific department)
Step 3: Scan the Existing Containers
To determine the number of videos in each container above, you would need to perform a scan.
- Check the boxes next to the containers you want to scan/migrate and click the Scan button.
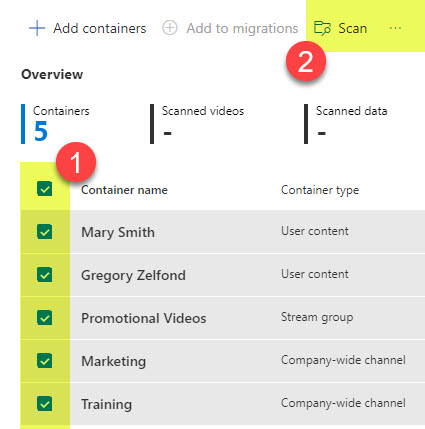
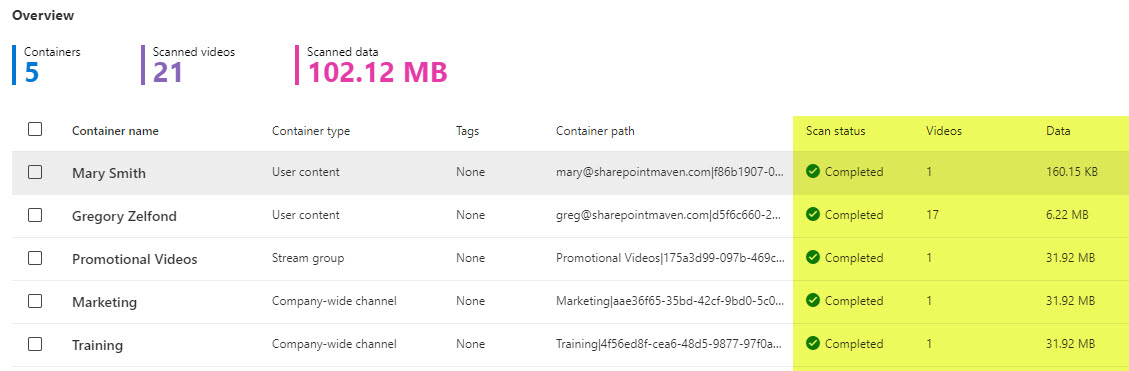
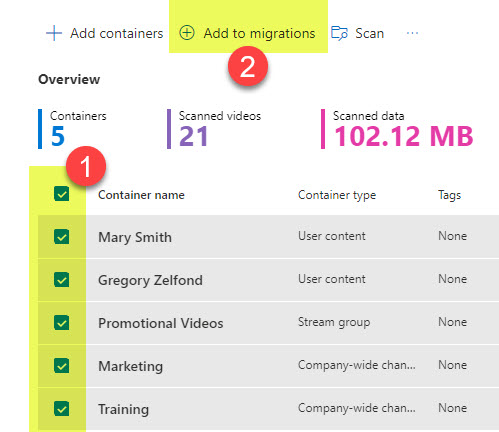
- After the scan is finished, it will show you a bit more info on the containers (number of videos, amount of data, etc.)
Step 4: Determine proper destinations for videos to be migrated
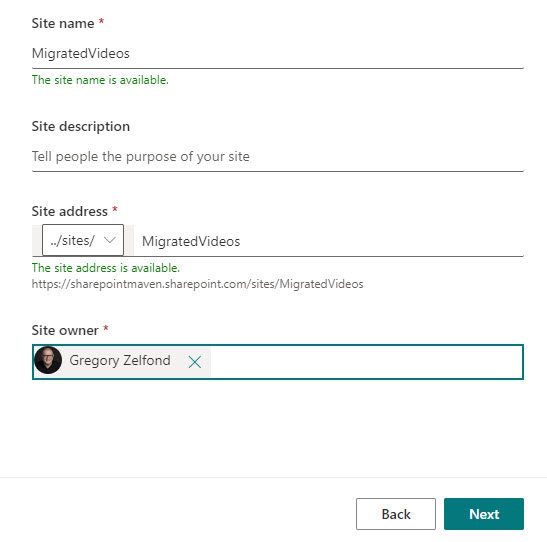
Once the scan is completed, you must decide where the content will be migrated to. All user content containers are usually migrated to the user’s respective OneDrive accounts. All the Stream Group and Company-wide channels would usually be migrated to some SharePoint sites (either existing or new ones). So make sure to have a list of existing sites or create new ones if need be to accommodate the videos.
Step 5: Set Migration Path for each Container
- To migrate containers, highlight them and click on Add to migrations
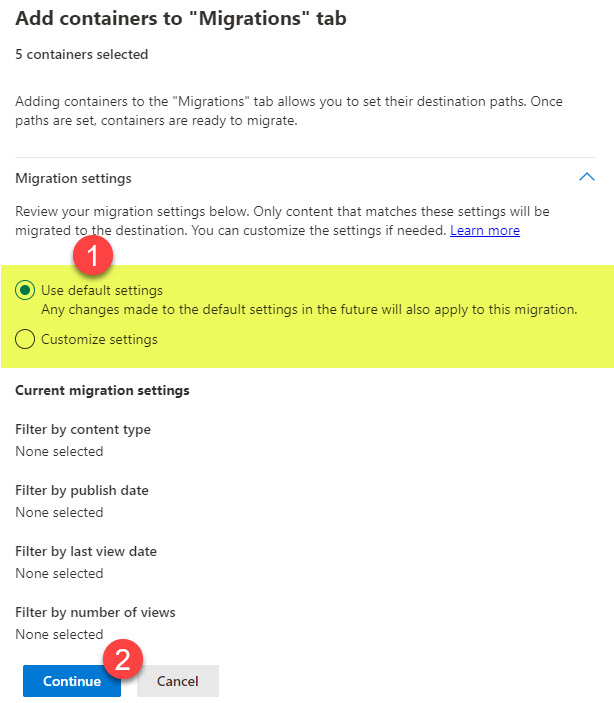
- On the next screen, you can either accept the default settings or customize settings. For example, you might want to only migrate videos after the certain published date or those with a certain number of views.
- Next, you can assign a path for each container.
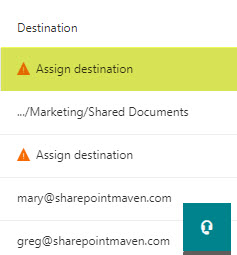
- Click the Edit link to set the path

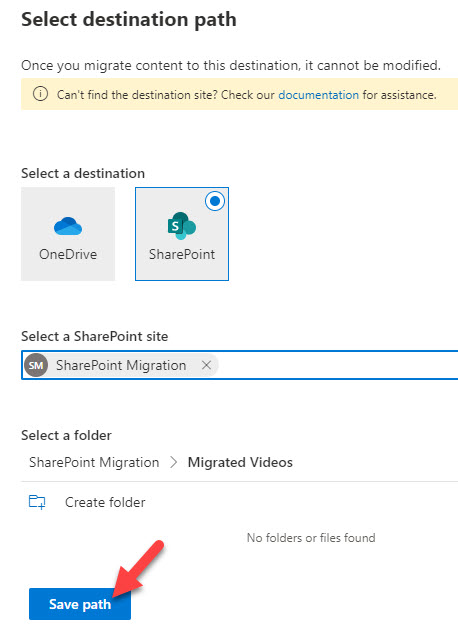
- You can either migrate to OneDrive or SharePoint. If you choose SharePoint, you must select a SharePoint site to migrate to. You can then select a library and specific folder to migrate to.
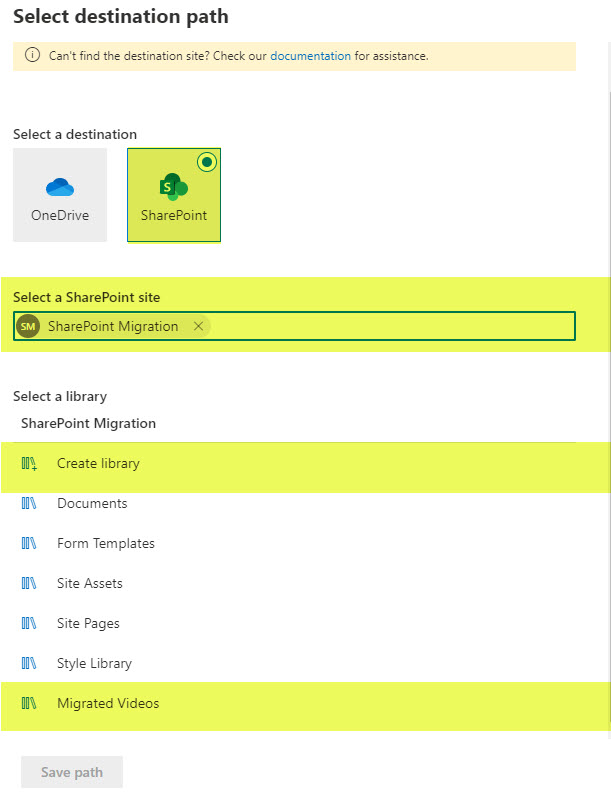
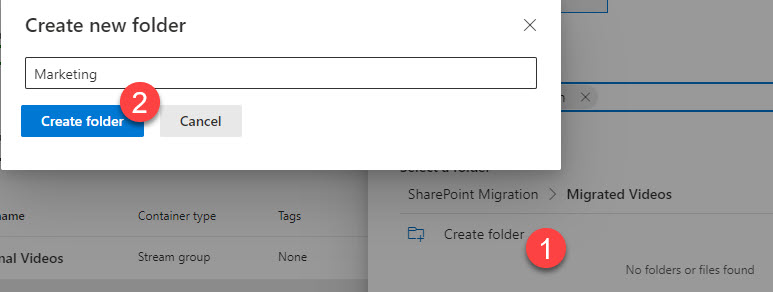
- Once you select the path, you click on the Save path button.
Step 6: Migrate Containers to SharePoint and/or OneDrive
Once the path has been set for all containers, it is time to migrate…..
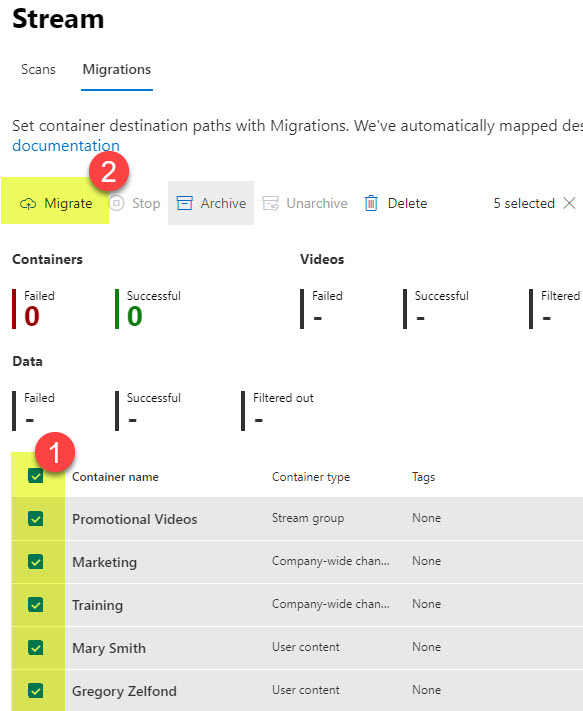
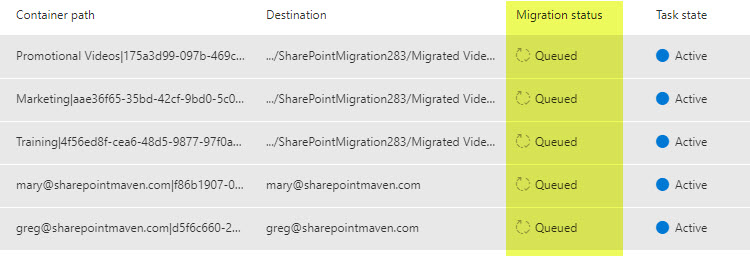
- Select the containers, then click on Migrate
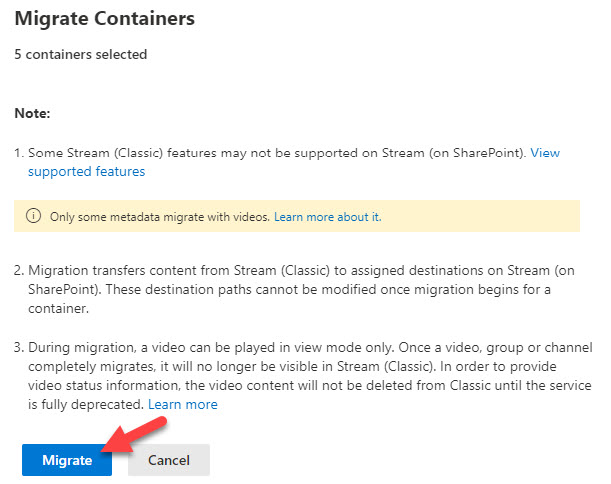
- On the next screen, click Migrate.
- The migration will be queued…
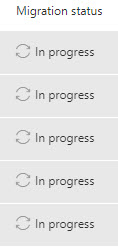
- And then, it will be In progress and completed
Step 7: Check the migrated videos
- Once migrated, you can check the destination sites to check out your migrated videos
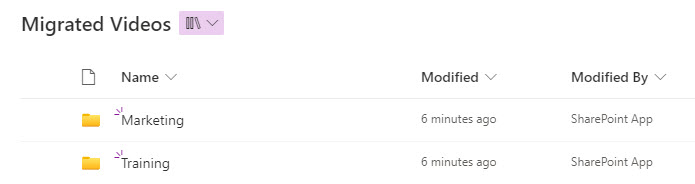
- This is how migrated videos will be organized in the document library.
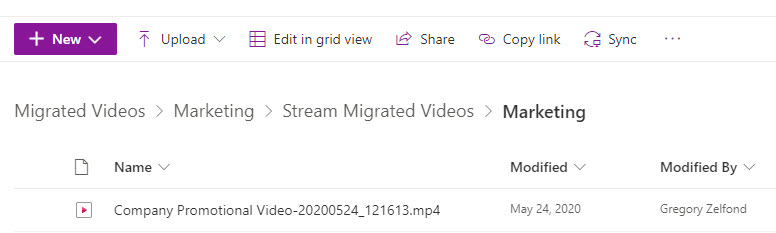
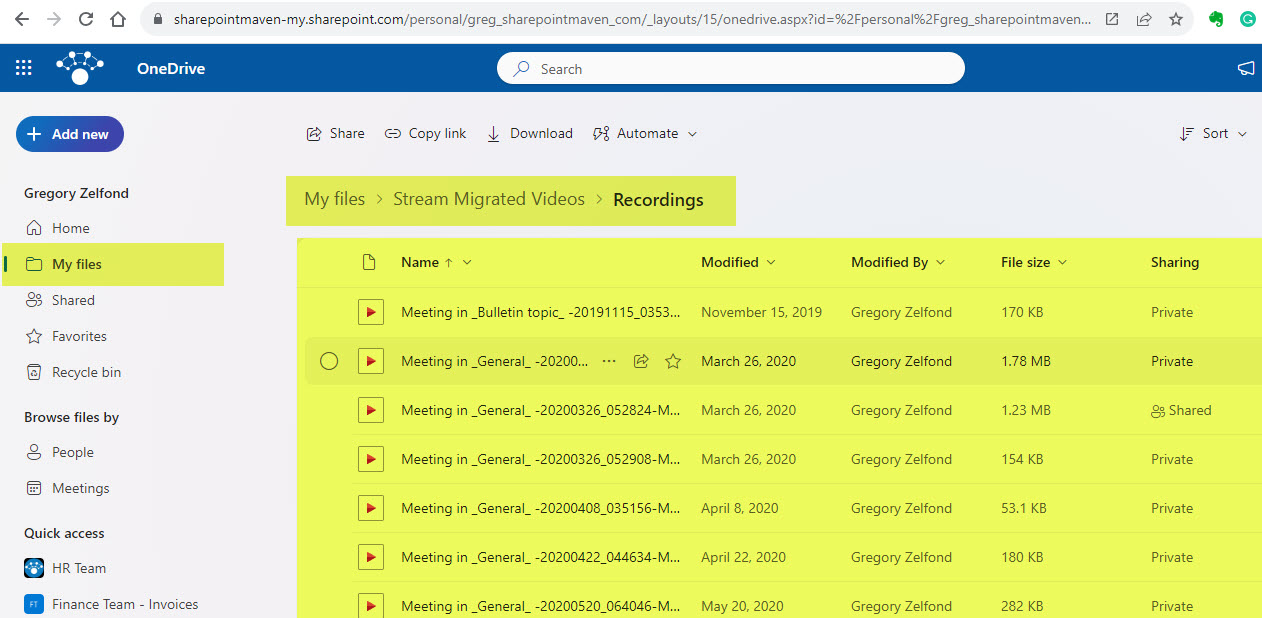
- In case you migrated User content to User’s OneDrive, this is how it will render in OneDrive (inside the Stream Migrated Videos folder)

Share Article