How to create file duplicate in SharePoint Online
Quite often we need to create a copy of the file. Say we are working on a client proposal and signed a new client. So you might want to use an existing proposal and just make a few changes. In Windows Explorer, we just copy and paste the file. But how do we do the same in SharePoint Online? Very easy, let me show you.
Step 1: Decide if you really need to duplicate a file
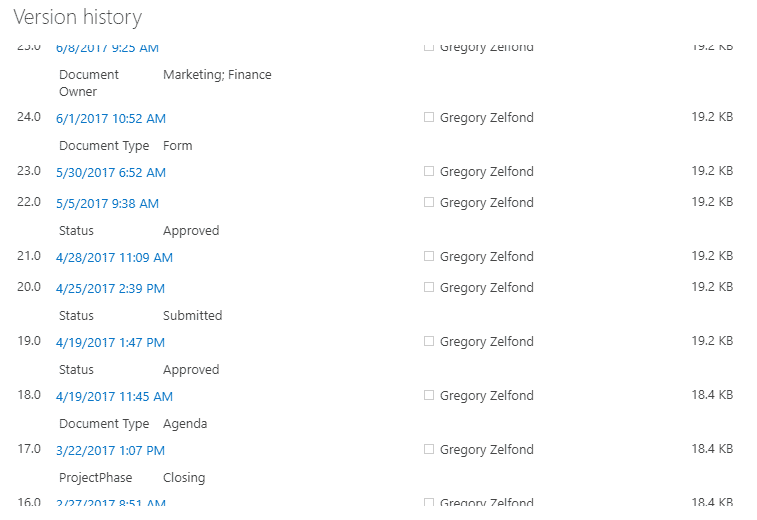
Most of the time you just need to create a new revision of the document while maintaining all the previous revisions. In that case, you do not need to create a file duplicate. You just need to utilize built-in version history feature. You file will remain with the same file name, and all the history and changes will be maintained. Check out this post to learn more.

Step 2: Copy to the same location
Assuming that you do need to create a copy of the document, just follow these simple steps.
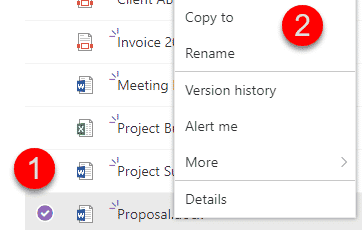
- Navigate to the document you want to duplicate, then right-click choose Copy to

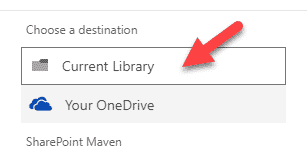
- Choose a destination (copy to location). If you choose a different library or folder, it will keep the same file name for a duplicate. If you choose the same library/folder, it will append 1 at the end.

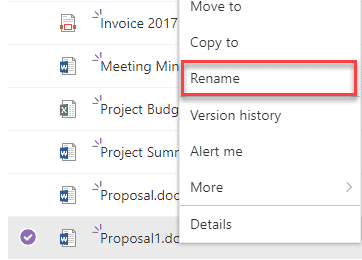
- I have chosen the same destination, so I got the copy of the file residing next to the original, with 1 appended at the end. Naturally, you might want to rename the file, to do that, right-click and choose Rename

By the way, you can apply the same duplication technique to copy and duplicate pages in your SharePoint site. I listed instructions on how to do this in this post.


