How to create a Marketing Flyers Page in SharePoint
I recently had an interesting request from a client. They maintained a PDF list of marketing flyers, organized into categories (Brand Flyers, Promotion Flyers, Event Flyers, etc.). They wanted to create a visually appealing page with embedded flyers so that users could browse and download them.
This is the final result of what I came up with. Let me share how I did – it is straightforward to build.
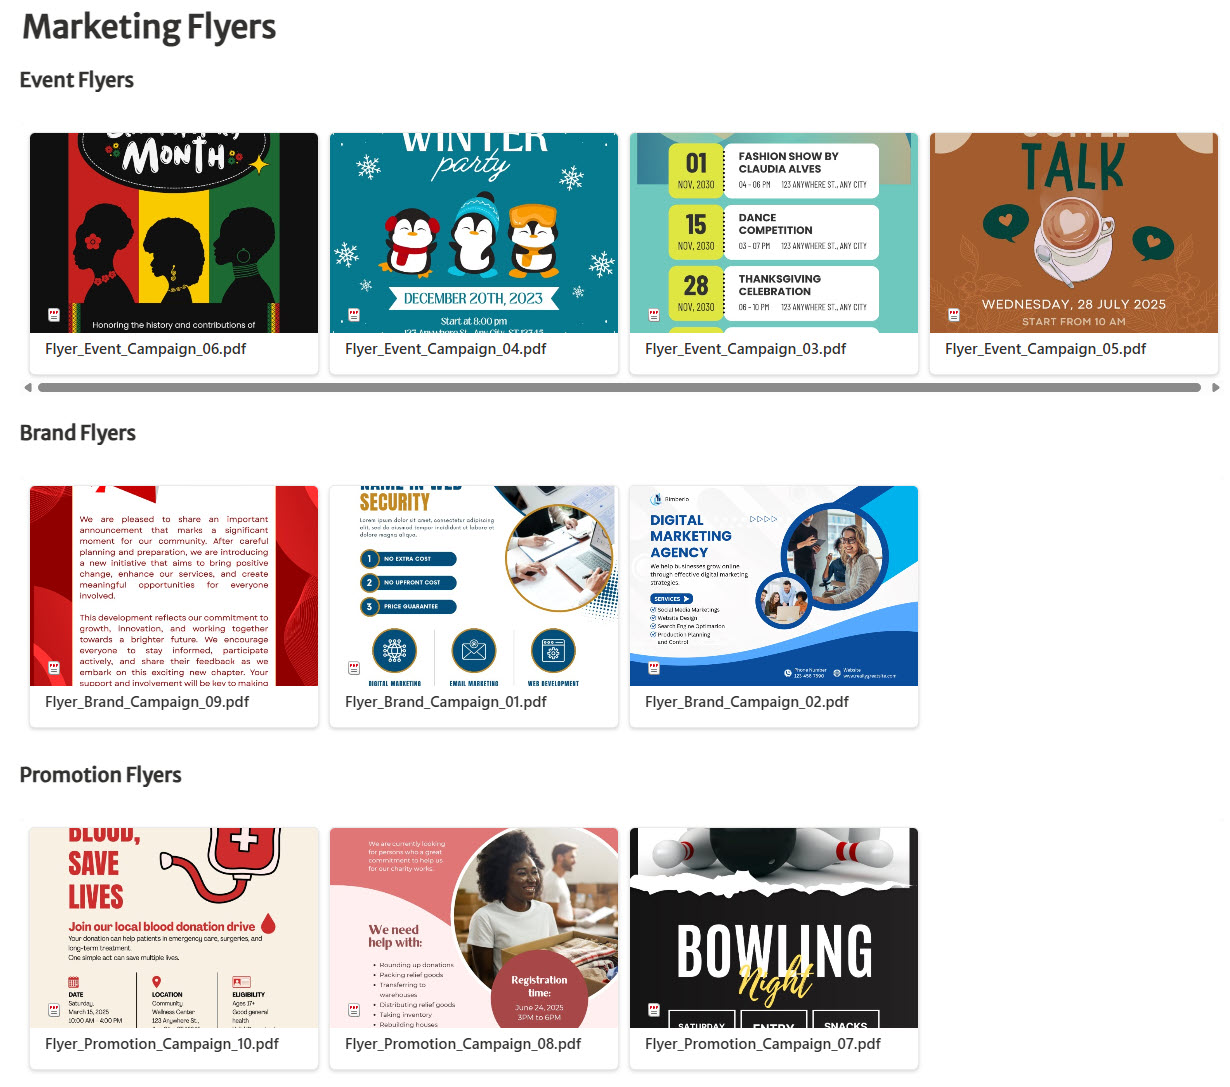
Step 1: Upload flyers into folders by category
The first step is to organize the flyers in a library using folders (this will come in handy in the next step).
-
- Create a new document library and call it Marketing Flyers
- Within the library, create folders for each category of flyers
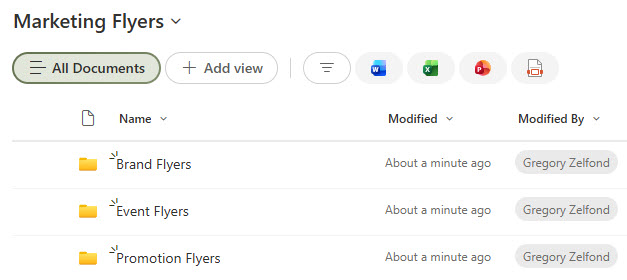
- Upload PDF files into each of the folders
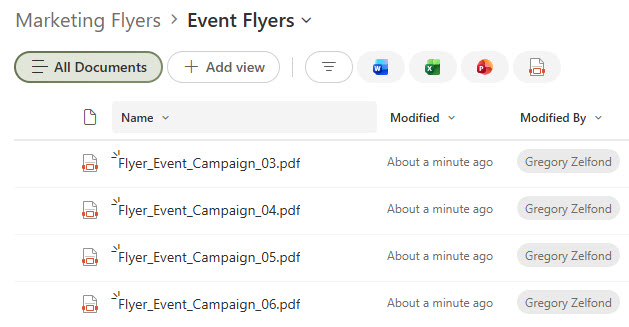
Step 2: Create the Gallery View
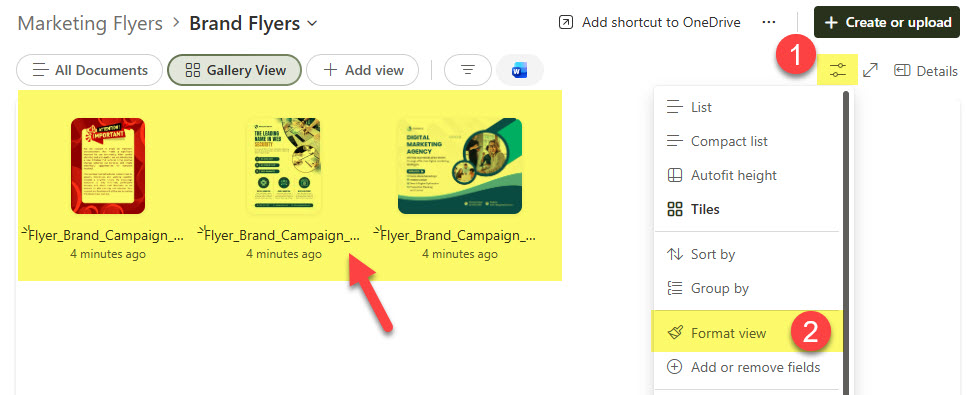
By default, the files are displayed as a list, which isn’t the most attractive option. So the next step, and this is a key ingredient here, is to create a Gallery view on that library. I actually explained how to achieve this here, but let me outline the steps as well:
- From the Document Library, create a new view by clicking the Add view button, then choosing the Gallery option

- Once the view is created, it will look like the one below. We still need to adjust if further. Click the Properties icon > Format view.
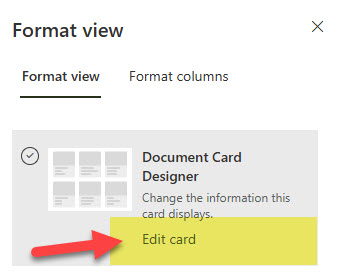
- Click Edit card
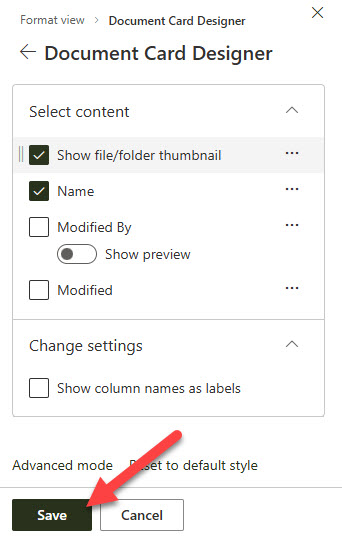
- Adjust the check boxes as shown below

- Click Save at the bottom of the pane.
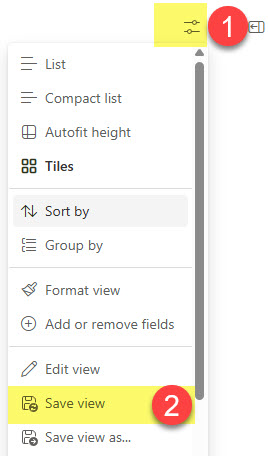
- Don’t forget to Save the View; otherwise, you will lose the changes.
Step 3: Create a new Page in SharePoint
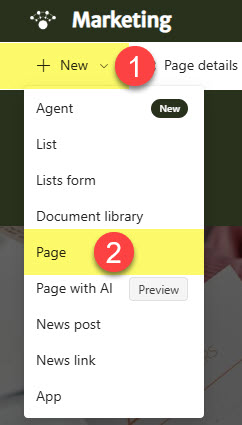
Next, we need to create a new page where the flyers will eventually be embedded. Just click the New drop-down and choose Page. Give it a name (i.e., Marketing Flyers)
Step 4: Embed a Document Library
Next, we need to embed the document library where the flyers reside. To do so:
- Click the “+” sign and choose Document Library Web Part
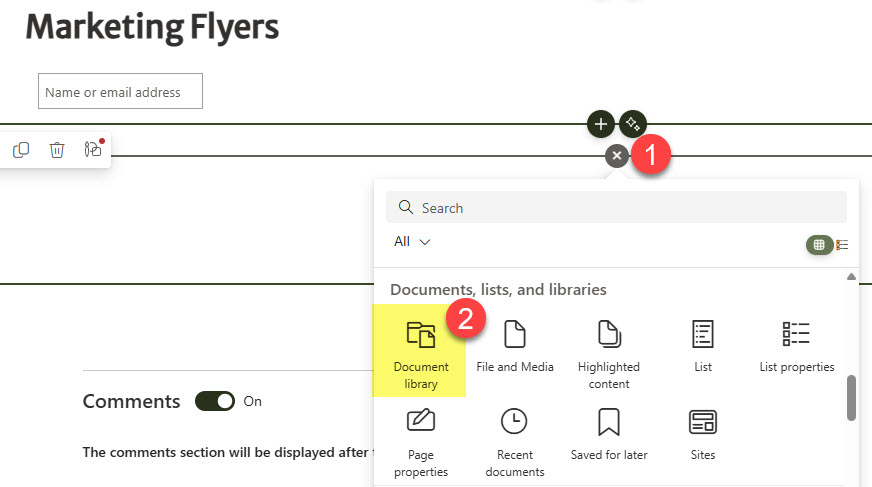
- From the list of available libraries to embed, choose the one from Step 1 (where flyers reside).
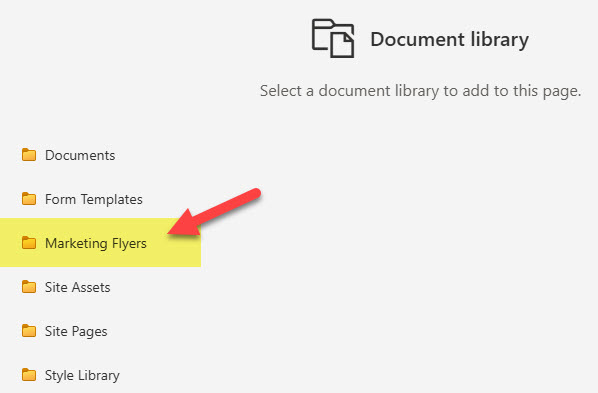
- This is how it will look once embedded

Step 5: Configure the settings of the Document Library Web Part
Finally, we need to configure the display view of the embedded document library – this is where it all comes together.
- Choose the Gallery View from the view drop-down. Next, enter the name of a folder where flyers reside (this will display the folder contents instead of the entire library). Enable both toggle options as shown and click Apply to save the changes.

- This is what the view of a library will look like after all the adjustments

- Next, you can repeat the above steps to add more document library web parts (to display the contents of other folders/categories). Alternatively, you can simply duplicate the entire section/web part we created above and adjust the folder for other categories.
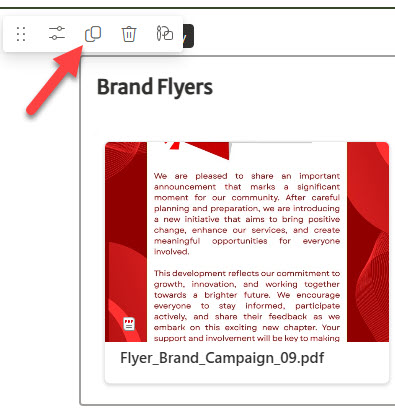
- Don’t forget to Republish the page once you’re done, so you don’t lose your changes.

Share Article