How to auto-apply retention labels to documents in SharePoint Online
In most of my previous articles about Retention labels and policies, the assumption was that users would ultimately decide on the retention of a specific document based on some of its characteristics (document type, purpose, etc.). While we have some means to apply retention to the whole document library or folder and its contents, there is also a way to auto-apply retention labels based on metadata already applied to the document. So, in this article, I would like to explain how you can take advantage of existing metadata tags and apply retention and records labels to documents tagged with specific values.
Use Case
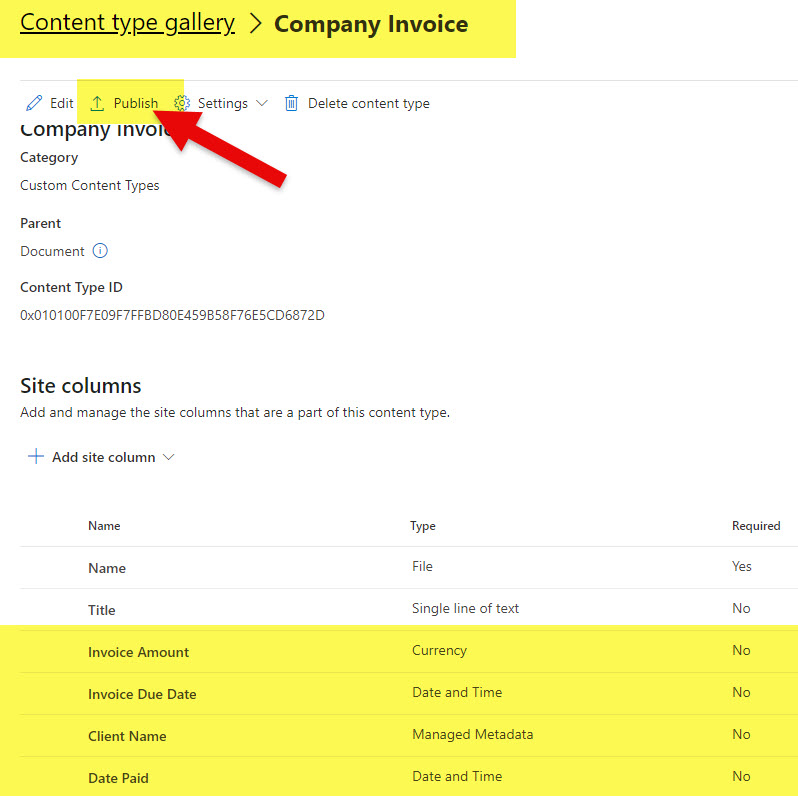
- I have defined a Content Type within the Content Type Gallery (in SharePoint Admin Center) called Company Invoice. The Content Type contains a few invoice-related metadata columns (Client, Invoice Amount, Invoice Due Date, etc.). By the way, if you want to learn more about Content Type Gallery, check out this article.
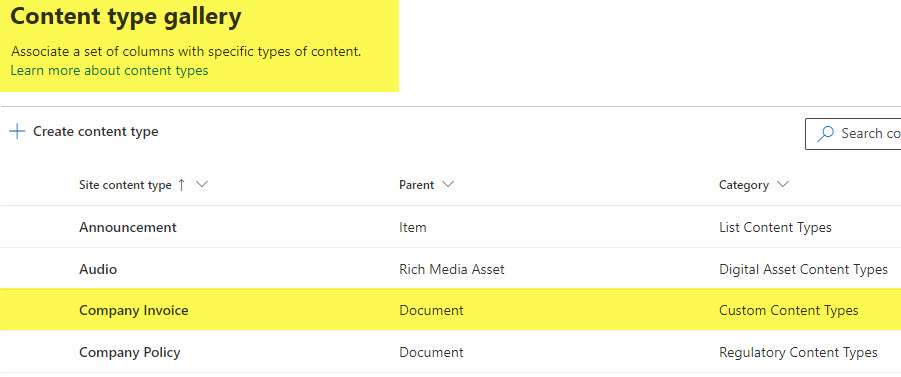
- I then published this content type to all the sites.
- The End Users added the global content type to their libraries.
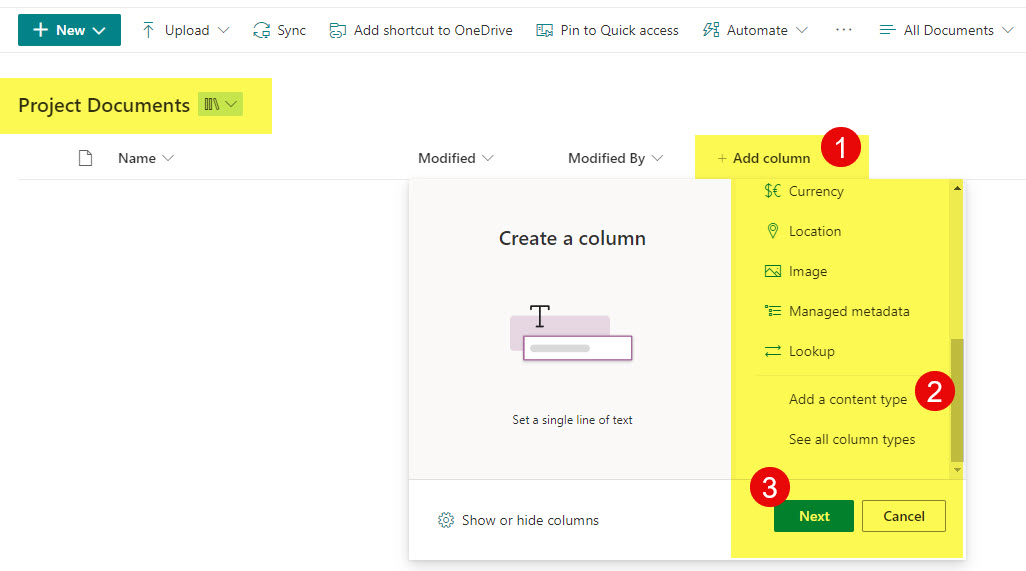
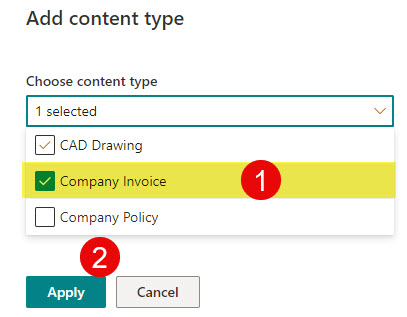
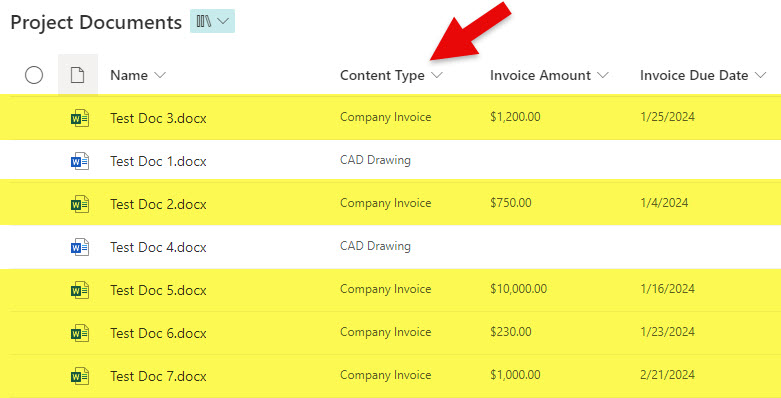
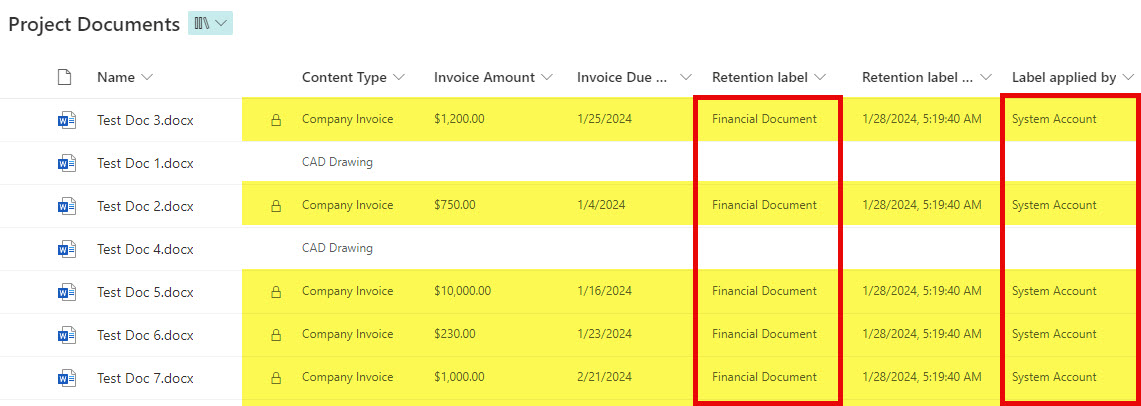
- And tagged some of the documents with it and the corresponding metadata. In the screenshot below, you can see one such library that contains various project documents, some of which are tagged against Content Type = Invoice.
I now would like to automatically apply a retention label that would keep all the Invoices for 7 years from the time they were created.
How to auto-apply retention labels to documents in SharePoint Online
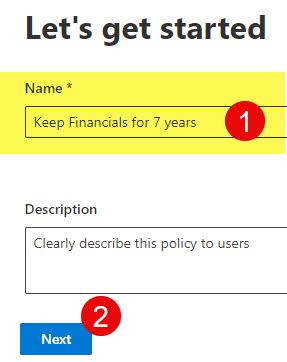
- The first step in the process is, of course, to create a retention label we are going to apply later in this article automatically. I already documented how to do this in an earlier post – check it out.
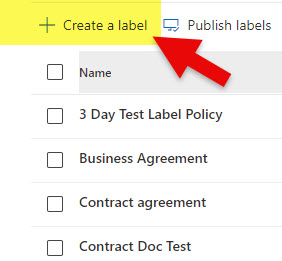
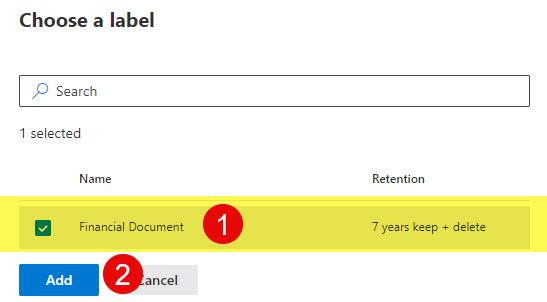
- In my case, I already created a Financial Document label that retains a document for 7 years and makes it a record for that period of time.
- Next, we need to auto-apply the label via policy. To do so, navigate to Microsoft Purview (Microsoft 365 App Launcher > Compliance).
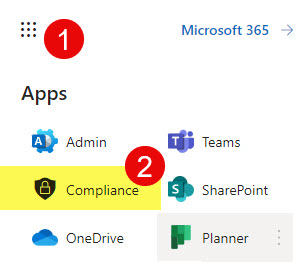
- Under Solutions > Data lifecycle management, click on Microsoft 365.

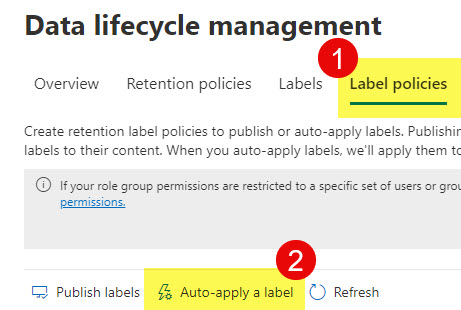
- Under Label policies tab, click Auto-apply a label.
- Give your policy a name, and click Next.
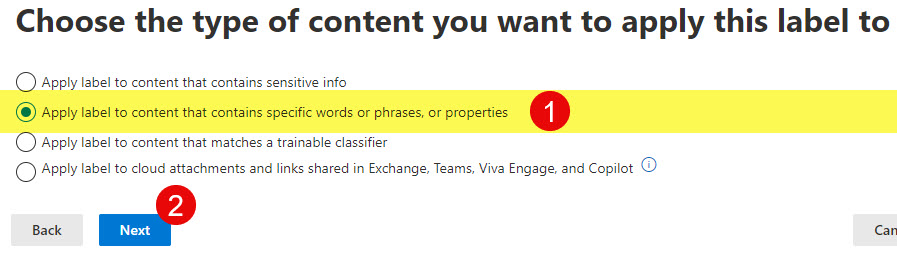
- Now, there are different ways/methods to auto-apply labels, for now, we will Apply label to content that contains specific words or phrases, or properties. Click Next.
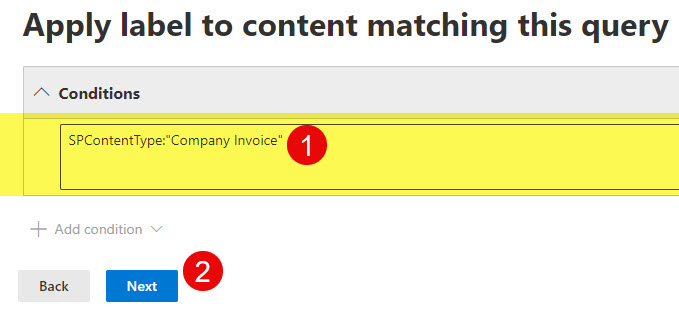
- On the next screen, you will be prompted to enter the word, phrase, or property. In our case, we want to apply the label to all the Content Types = Invoice, so Managed Properties/Keyword Query Language (KQL) to the rescue! In my case, I am typing the following query using managed properties/KQL: SPContentType:”Company Invoice”. Essentially, the query will find all the documents tagged as Content Type = Invoice. Click Next.
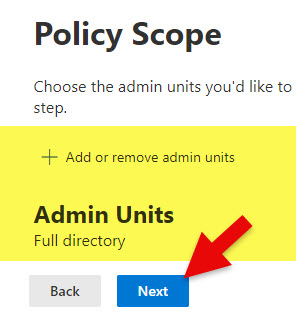
- On the next screen, you can choose Admin Units (optional and not required for most organizations). To learn more about Admin Units, click here. Click Next.
- Choose whether you want to apply either an Adaptive or Static scope. To learn more about adaptive scope types, click here. I proceed with Static.
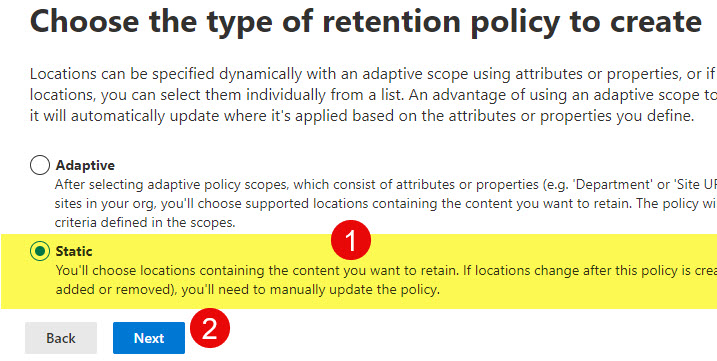
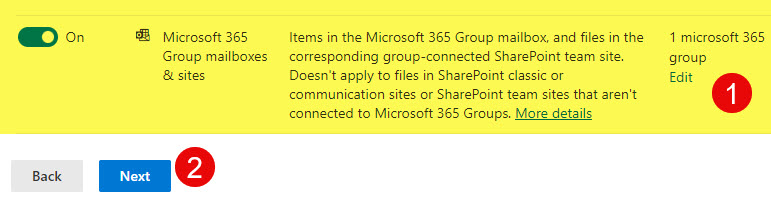
- Choose the site(s) you want to apply the policy to. Click Next.
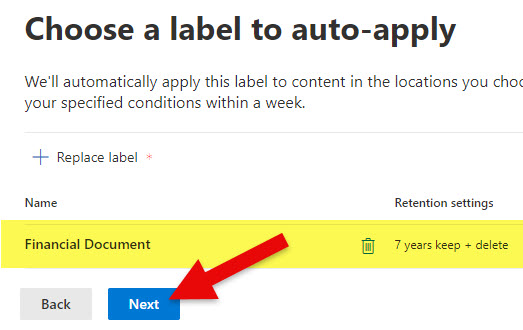
- Choose the label that you created in Step 1.

- Choose the label. Click Add.
- On the next screen, click Next.
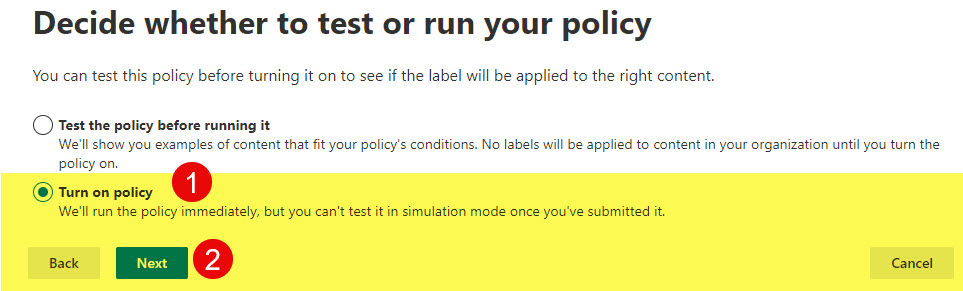
- On the next screen, you have a choice to either test the policy or turn it on immediately. Choose Turn on policy and click Next.
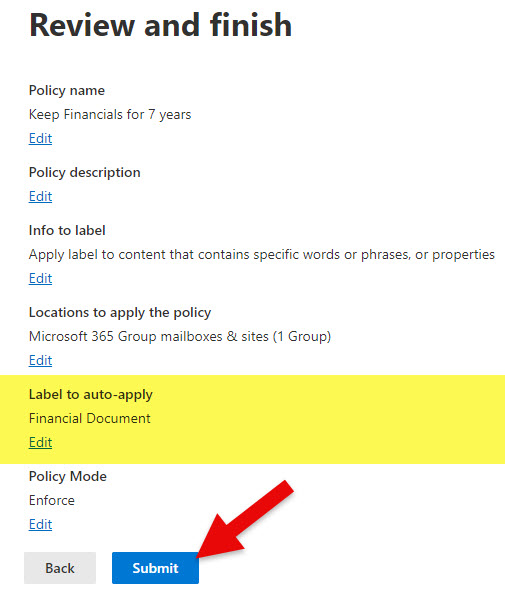
- Review the settings on the final screen; if everything looks good, click Submit.
- You will then receive a confirmation message that the policy has been created.

- After several days, you will notice that the policy takes effect, and the documents identified in the query above will be tagged with proper retention labels.
Important Notes:
- It might take a week or so to auto-apply retention labels based on this method – so be patient.
- In the Conditions/Query box above, you can type in any KQL queries and use Managed Properties such as RefinableString. For example: SPContentType:”Company Invoice” AND RefinableString25:Paid.
- When you specify the query – you can’t use aliases for the managed properties – you have to type in the actual managed property name (i.e., RefinableString25)
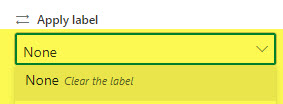
- Since the label is auto-applied via the query, you are not going to see it being available within the Document Information Panel. You will be able to clear (remove) the label, but you are not going to see it in the drop-down and re-apply manually.
- The above method applies to both the regular retention labels and record labels.

Share Article