How to properly set a document as a Record via retention labels in SharePoint Online
I explained the concept of retention labels and related use cases in some of my previous posts. However, sometimes you not only want to retain documents and content and prevent their deletion for a certain number of years, but you might also want to prevent the editing of documents altogether because those documents represent official company records. So, in this article, I would like to explain the concept of a Record Label, how to set a document as a Record via retention labels, and several important nuances.
How to set a document as a Record via retention labels in SharePoint Online
The process of applying a record retention label to a document is the same as that of a regular retention label. I documented the process in this post. Essentially, it is a 3-step process:
- Step 1: Create the Record label
- Step 2: Publish the record label to the designated SharePoint site(s)
- Step 3: Apply a record label to content (at a file, folder, or library level)
Below, please find step-by-step instructions for the above process.
Step 1: Create a Record Label in the Microsoft Purview
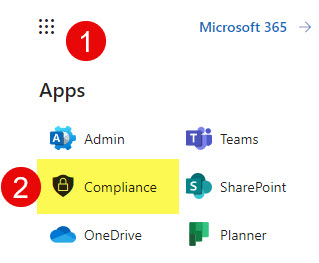
- From the Microsoft 365 App Launcher, click Compliance
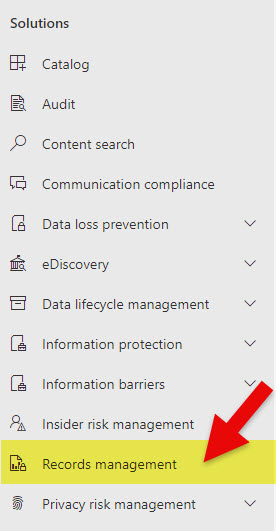
- Under Solutions, click on Records management
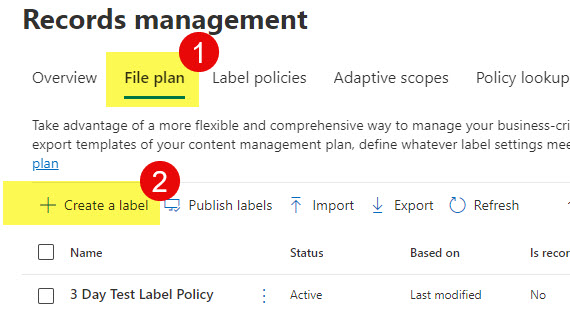
- Once in the Records management section, click on the File Plan tab, then Create a label
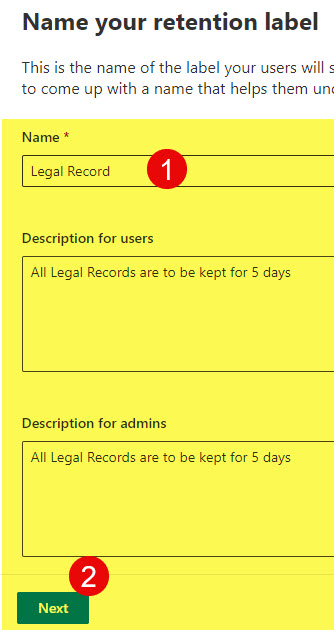
- Give your label a name + optional description. Click Next.
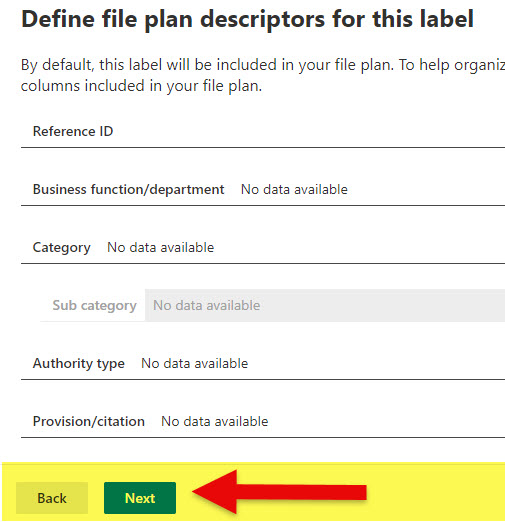
- The next screen is optional, in case you have a formal File Plan defined. Click here to learn more about File Plans. Click Next.
- On the next screen, choose the first option, as the ultimate goal is to label the content and retain it for a period of time.

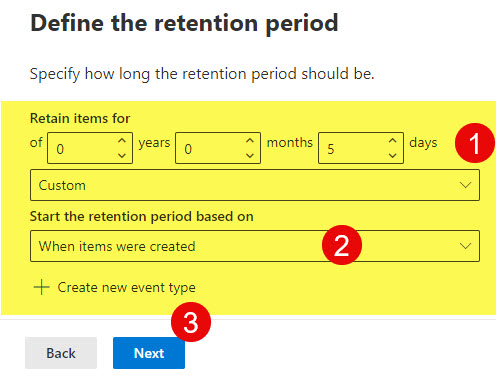
- The most important part is on the next screen – this is where you define the retention period for the label. In my case, I am setting it up to be 5 days, but realistically, you might want to keep it forever or 5-7 years. Click Next.
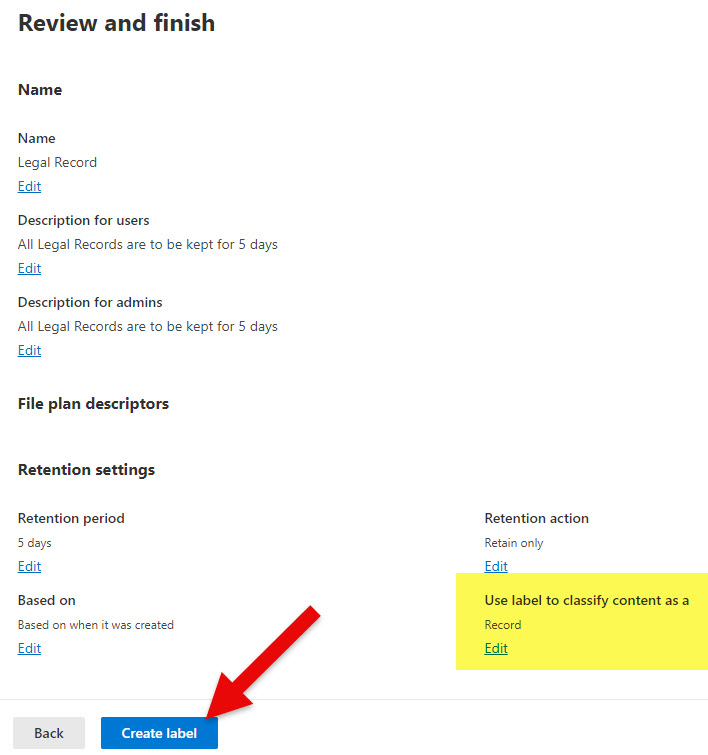
- On the next screen, we formally tell Purview that the label we are creating is not a regular retention label, but rather a Record label. There is also a checkbox about Unlocking the record by default; I will mention it a bit later in this article. Click Next.

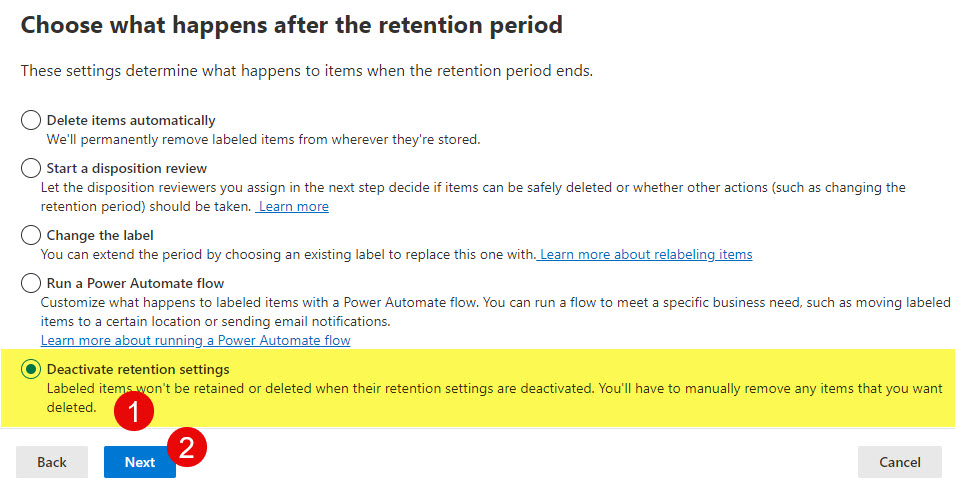
- Finally, we must let Purview know what happens after the retention period expires. In our case, I will just leave the document as-is.
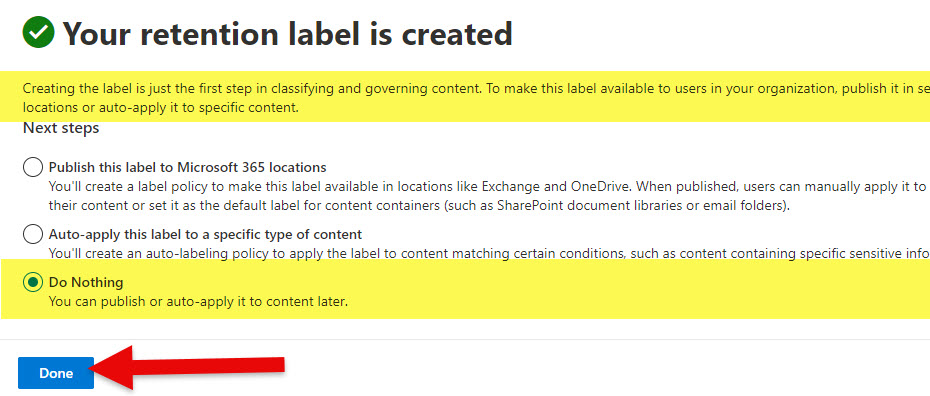
- On the final screen, you can review the settings you created, and if all looks good, click Create label
- At this point, the label is created. We will publish it later, in the next Step.
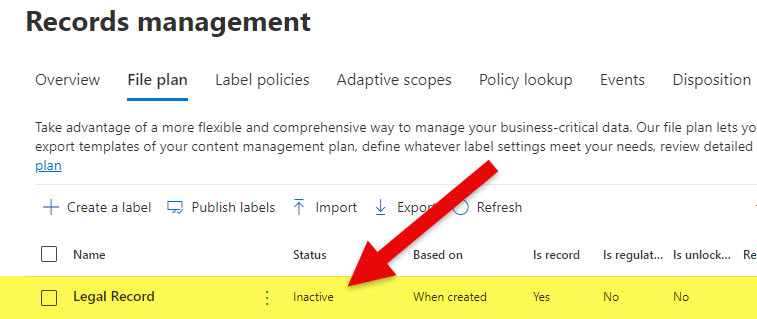
- The label will now appear in the dashboard/list of labels. Please note that the Status is inactive since the label has not been published just yet. We will do so in the next step.
Step 2: Publish a record label to the designated site(s) via the Microsoft Purview
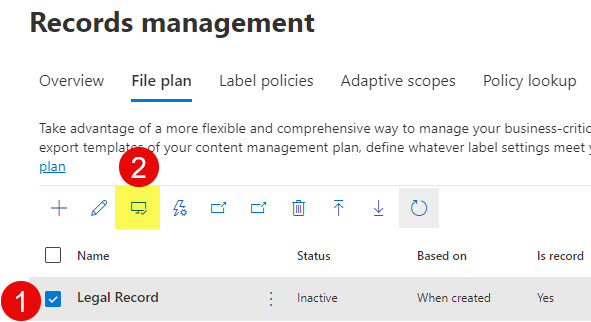
- While still in the Records Management area, click the check box next to the label you want to publish and click the Publish icon.
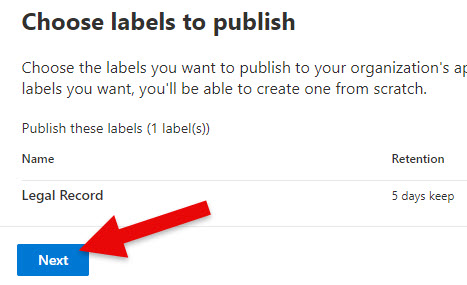
- On the next screen, click Next.
- The next screen only applies to large organizations that have various Admin Units responsible for different sites/regions. For example, you might have different Compliance Officers responsible for different geographic regions and, thus, different groups of users and SharePoint sites. Click Next here, but if you want to get familiar with how Admin Units work, check out this article from Microsoft.
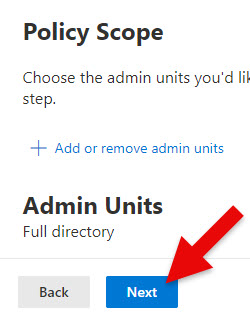
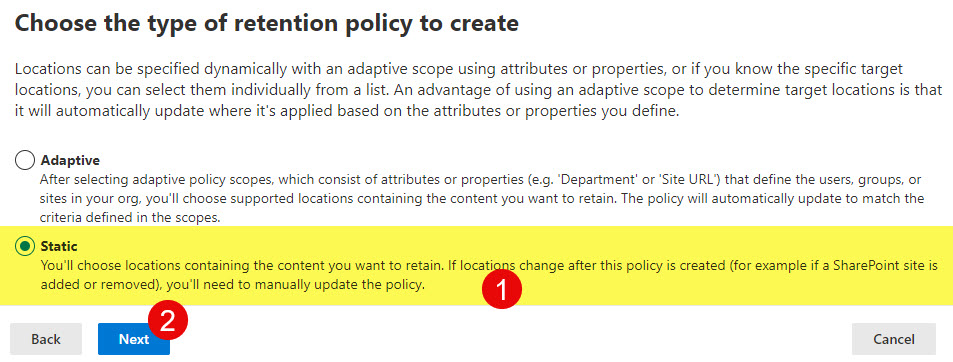
- On the next screen, you have to choose the Policy Scope. You can choose between Static and Adaptive. Statis Policy scope means you must specify specific sites to apply the labels to. Adaptive scope means you can dynamically apply the label to sites with specific properties like Site Title, Site URL, etc. I have written a post earlier about Adaptive Policy Scope. Check it out here. For this exercise, I will choose Static.
- On the next screen, choose the location to which you want to publish the label. You can publish it to SharePoint Sites, OneDrive accounts, and even Exchange Mailboxes. In my case, I just want to publish it to 1 SharePoint Site. Click Edit. Then, choose the site(s) to publish the label to.

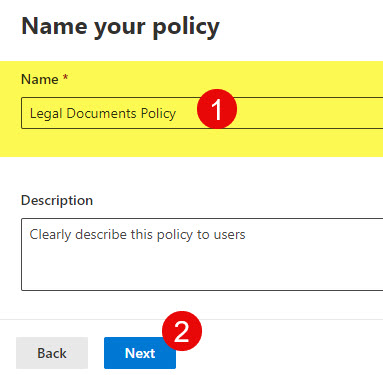
- Finally, give your policy a name and click Next
- You will then be presented with the screen to review the settings. If all looks good, click Submit.
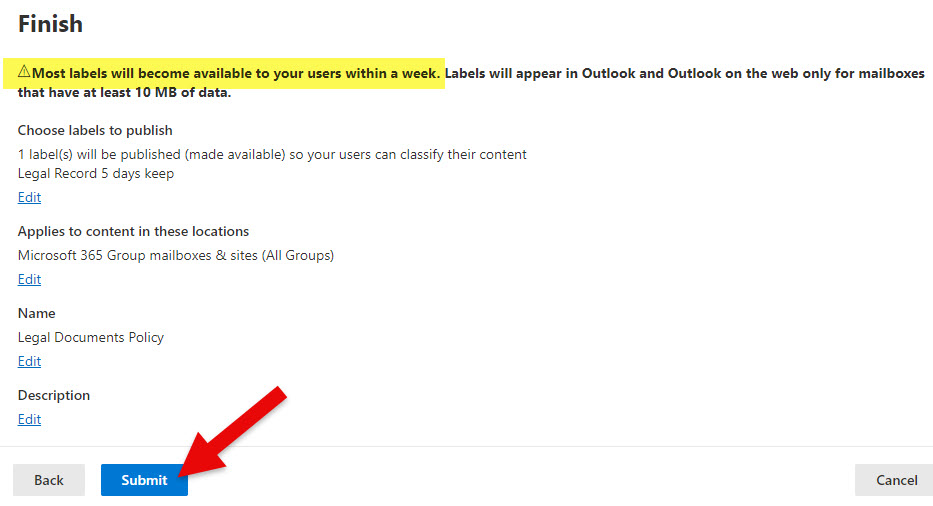
- At this point, you will receive a confirmation message that the label was published, but it might take up to a week for it to appear on the site.

Step 3: Apply the record retention label to the content
Though it says above that it might take a week for retention labels to be published on the Site, in my case, it just took 24 hours.
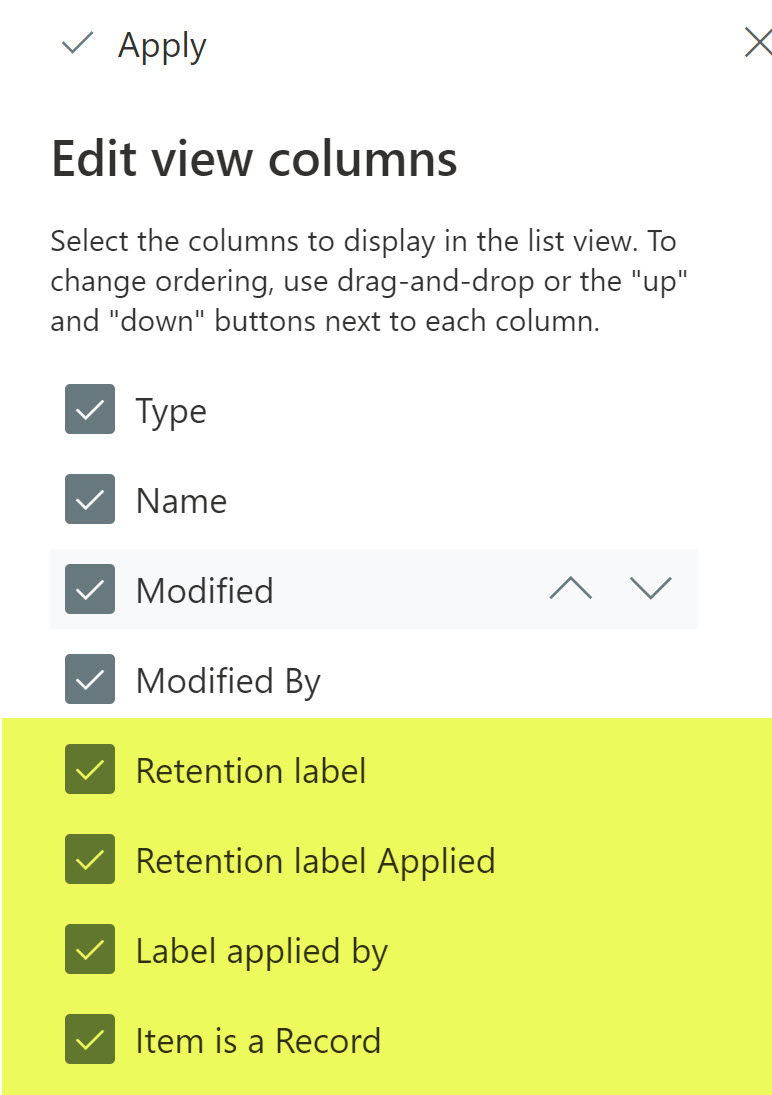
- On a SharePoint Site, within a given document library, I suggest you display 4 additional columns in a view. They are all related to the Retention labels/records management and will provide additional information about the labeled content.
- Next, go ahead and label the document with a published retention/record label.
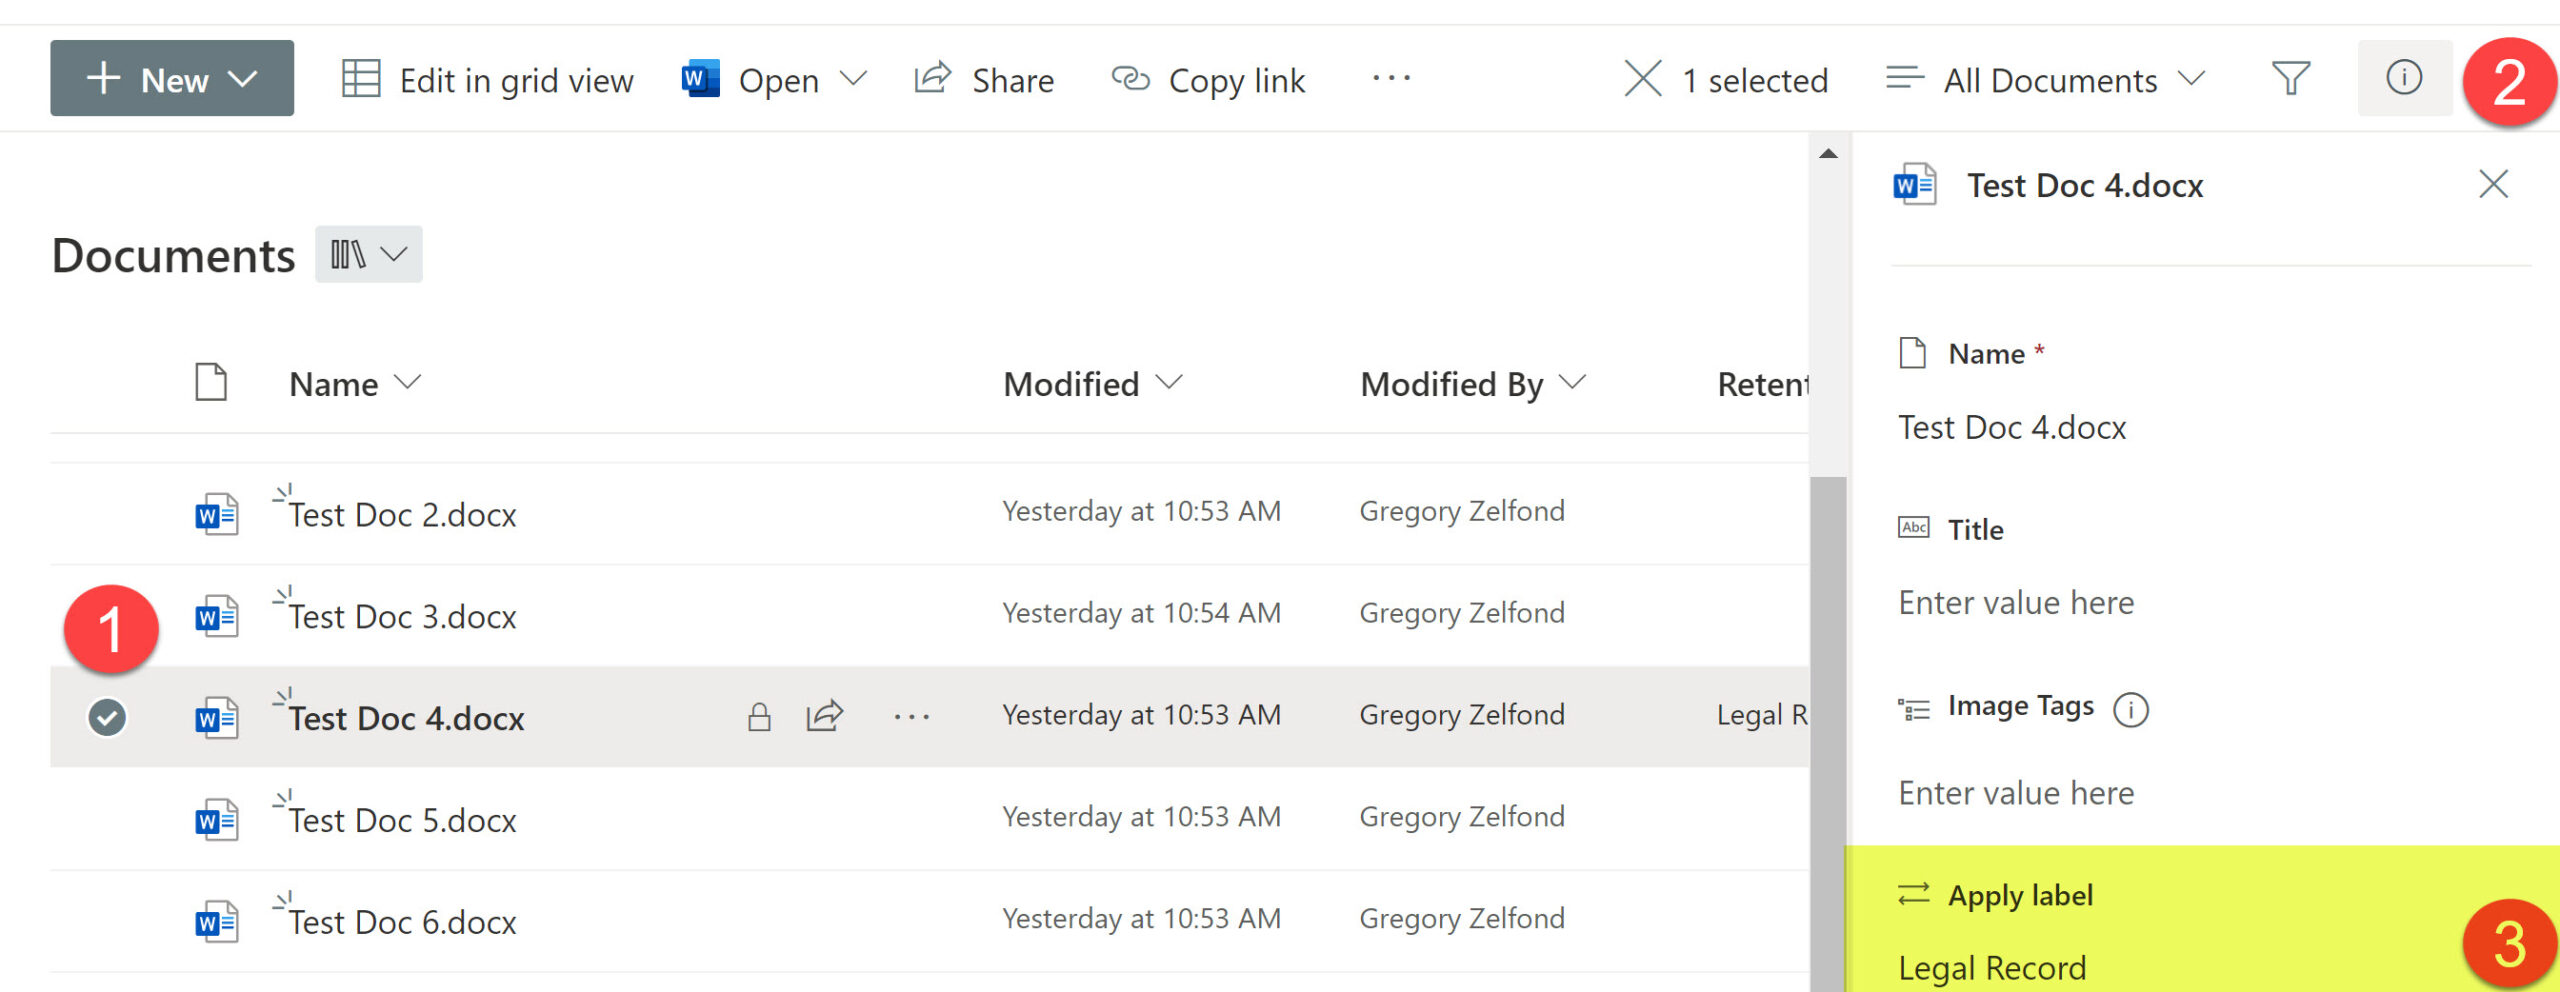
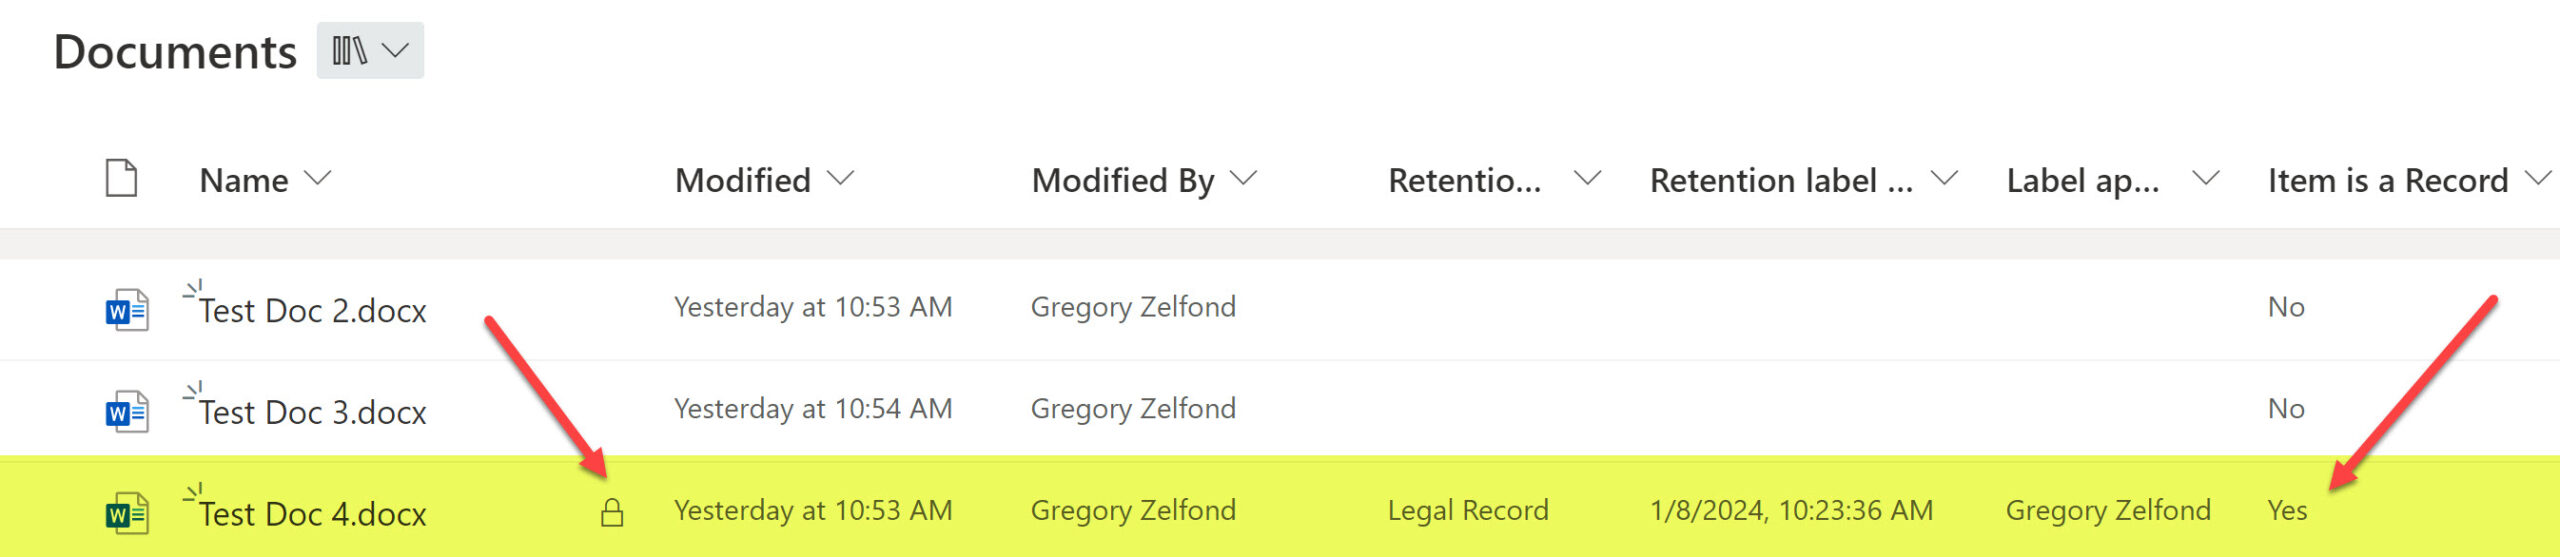
- Once you apply a retention/record label, additional information will appear in the columns you added in Step 1. You will also see a small lock next to the document (more on it later).
What happens when you try to delete the document with the record retention label applied
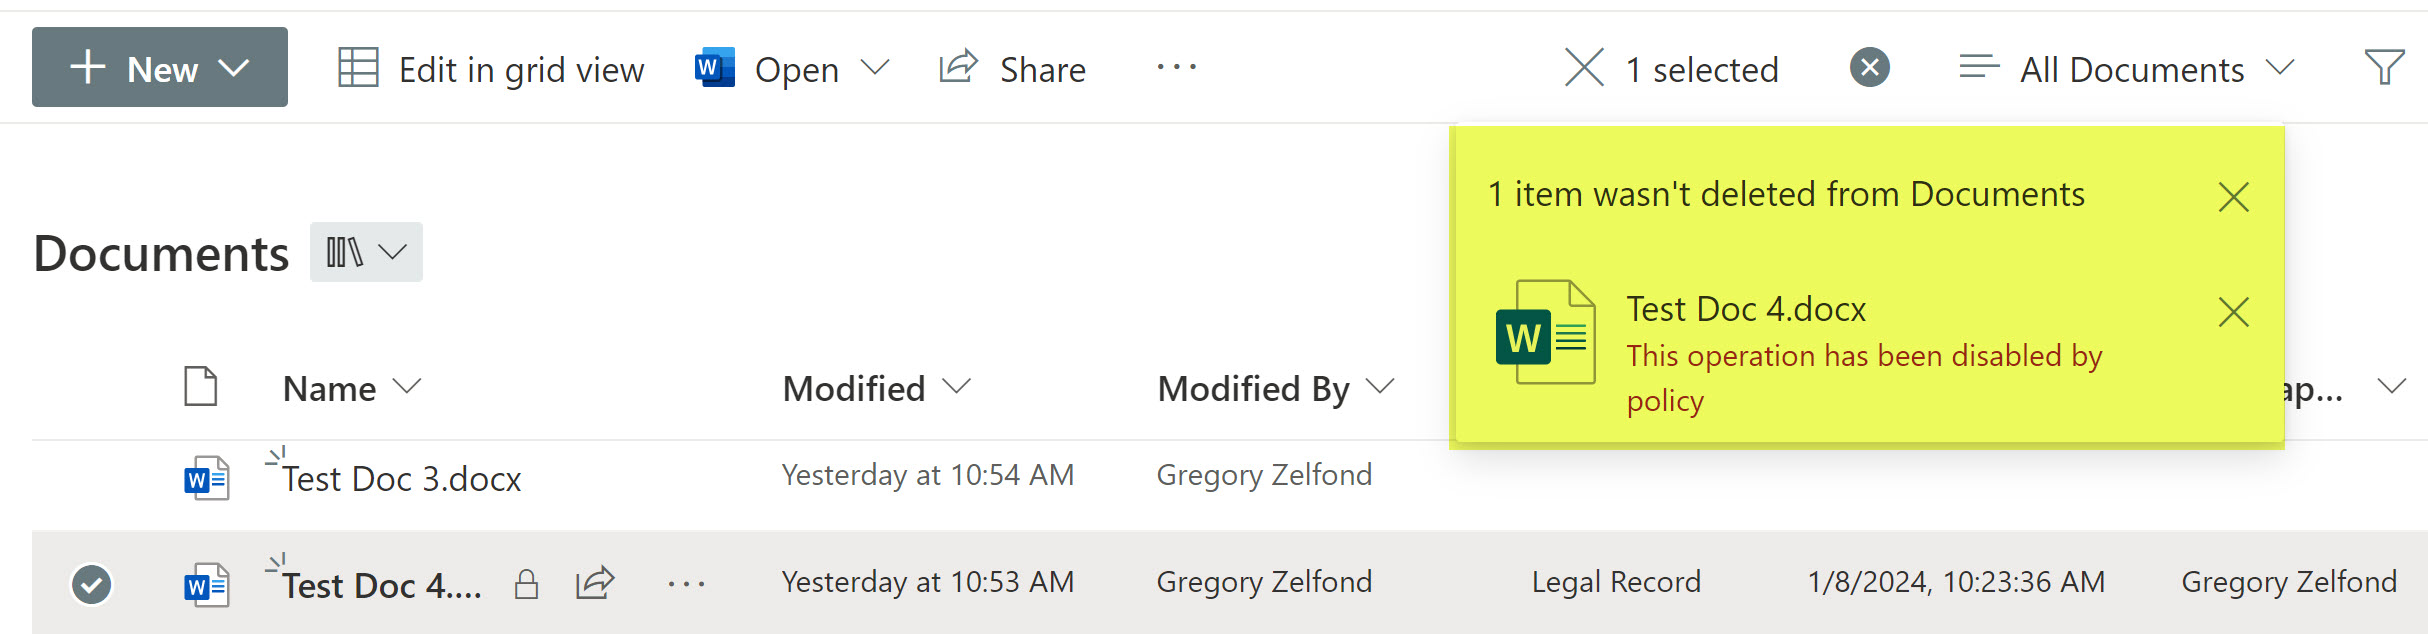
Unlike the regular retention label that allows deletions, when you try to delete a record – you won’t be able to. This is really the reason the Record Retention Label exists! Instead, you will receive the following error message: This operation has been disabled by policy.
What happens when you try to edit the document with the record retention label applied
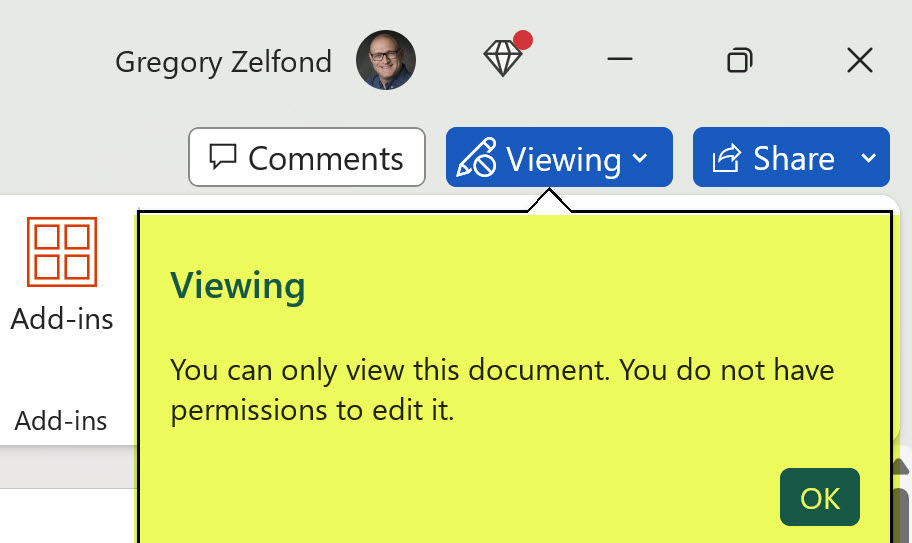
No Editing by Default
When you try to edit the document, you won’t be able to do this either (by default). Any document you open – will only open in the View mode!
However, you will be able to edit the document if you unlock the document temporarily – more on this below.
Lock/Unlock feature
While deletions are out of the question, the ability to edit the document, even when it is a record, is kind of a common use case. For example, say, you have designated a legal contract as a record in SharePoint Online. And now, you need to make some changes to the document. How do we prevent a duplicate from being created? Well, let me explain.
For the situation described above, there is a lock/unlock feature that exists on each document that allows you to temporarily unlock the document (record) to make some changes. Here is how to take advantage of it.
- By default, the document is locked (that is where the small lock icon comes in next to the document in Step 3 above)
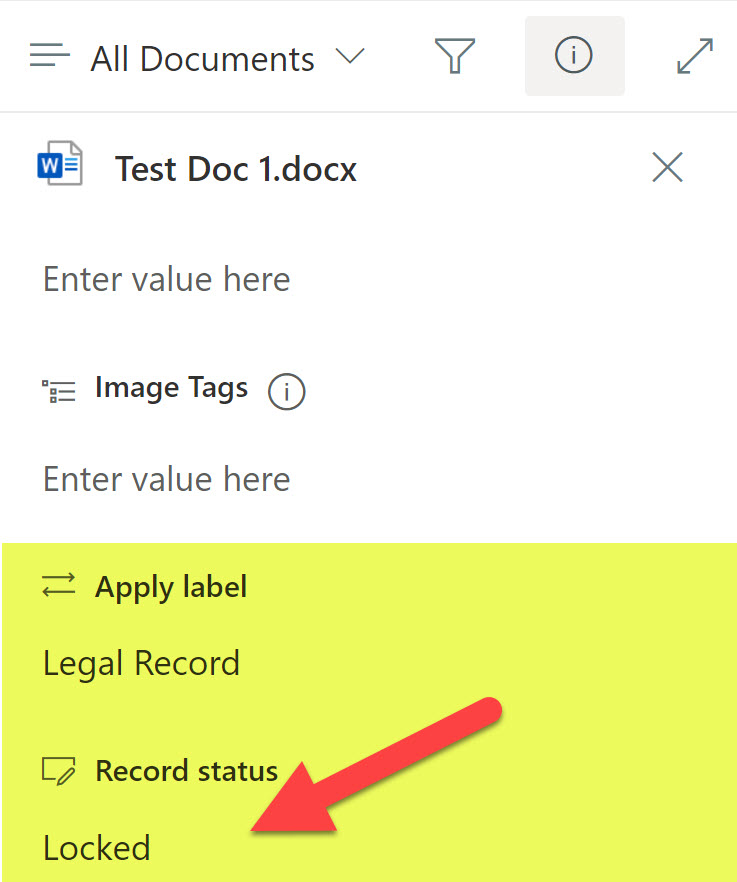
- To unlock it, just toggle the switch under the Record Status field
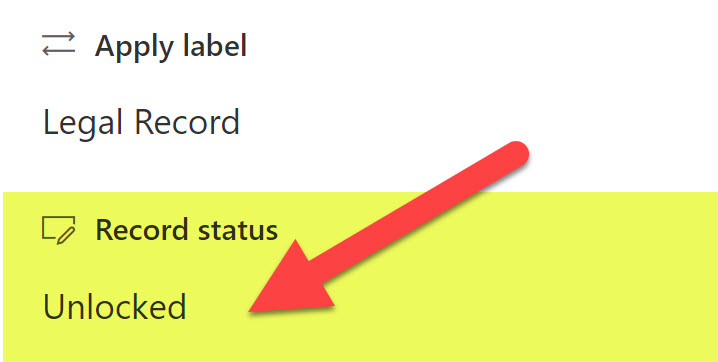
- At this point, the document is open for editing. Once the changes are completed, make sure to toggle the switch back to Locked Status.
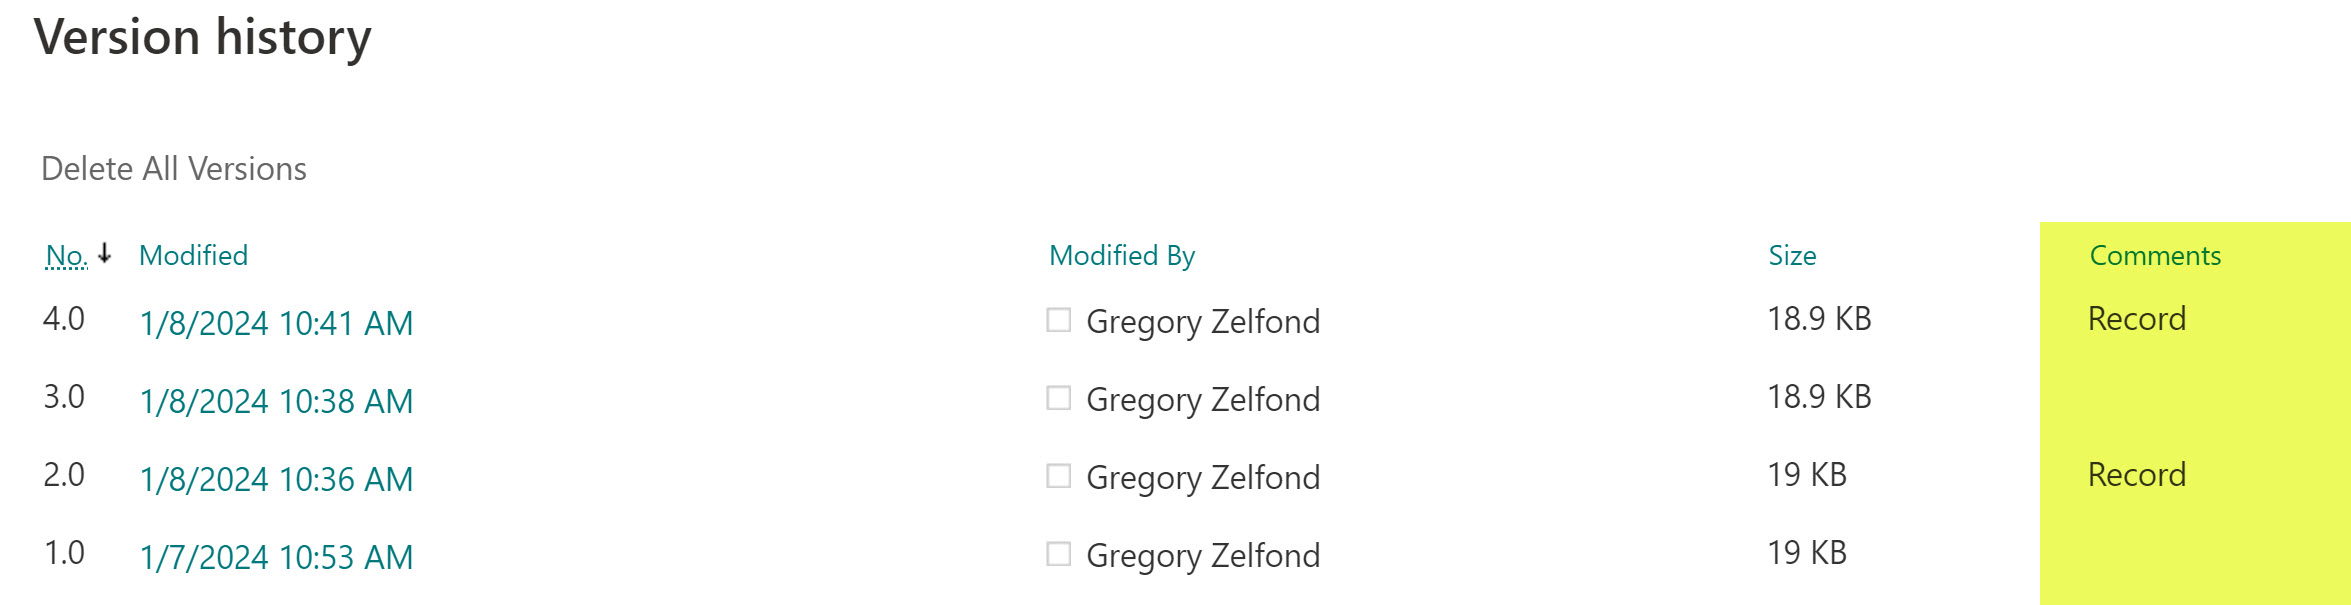
- As you lock and unlock the document/record and make the changes, you will notice a Record comment appearing within the Version History. I will write a separate article on how this works a bit later.
Preservation Hold Library
If you carefully studied my previous retention posts, you probably recall the existence of a special document library called Preservation Hold Library. It is a library that captures various editions/deletions of the documents designated for retention. This library works extra hard with the Record Retention Labels as well. Let me explain.
- First, you are only going to “see” the library after making the first edit to the document.
- In order to access the Preservation Hold Library, you need to type in /PreservationHoldLibrary at the end of the URL. It is only “visible” to Site Owners, not Site Members or Site Visitors.
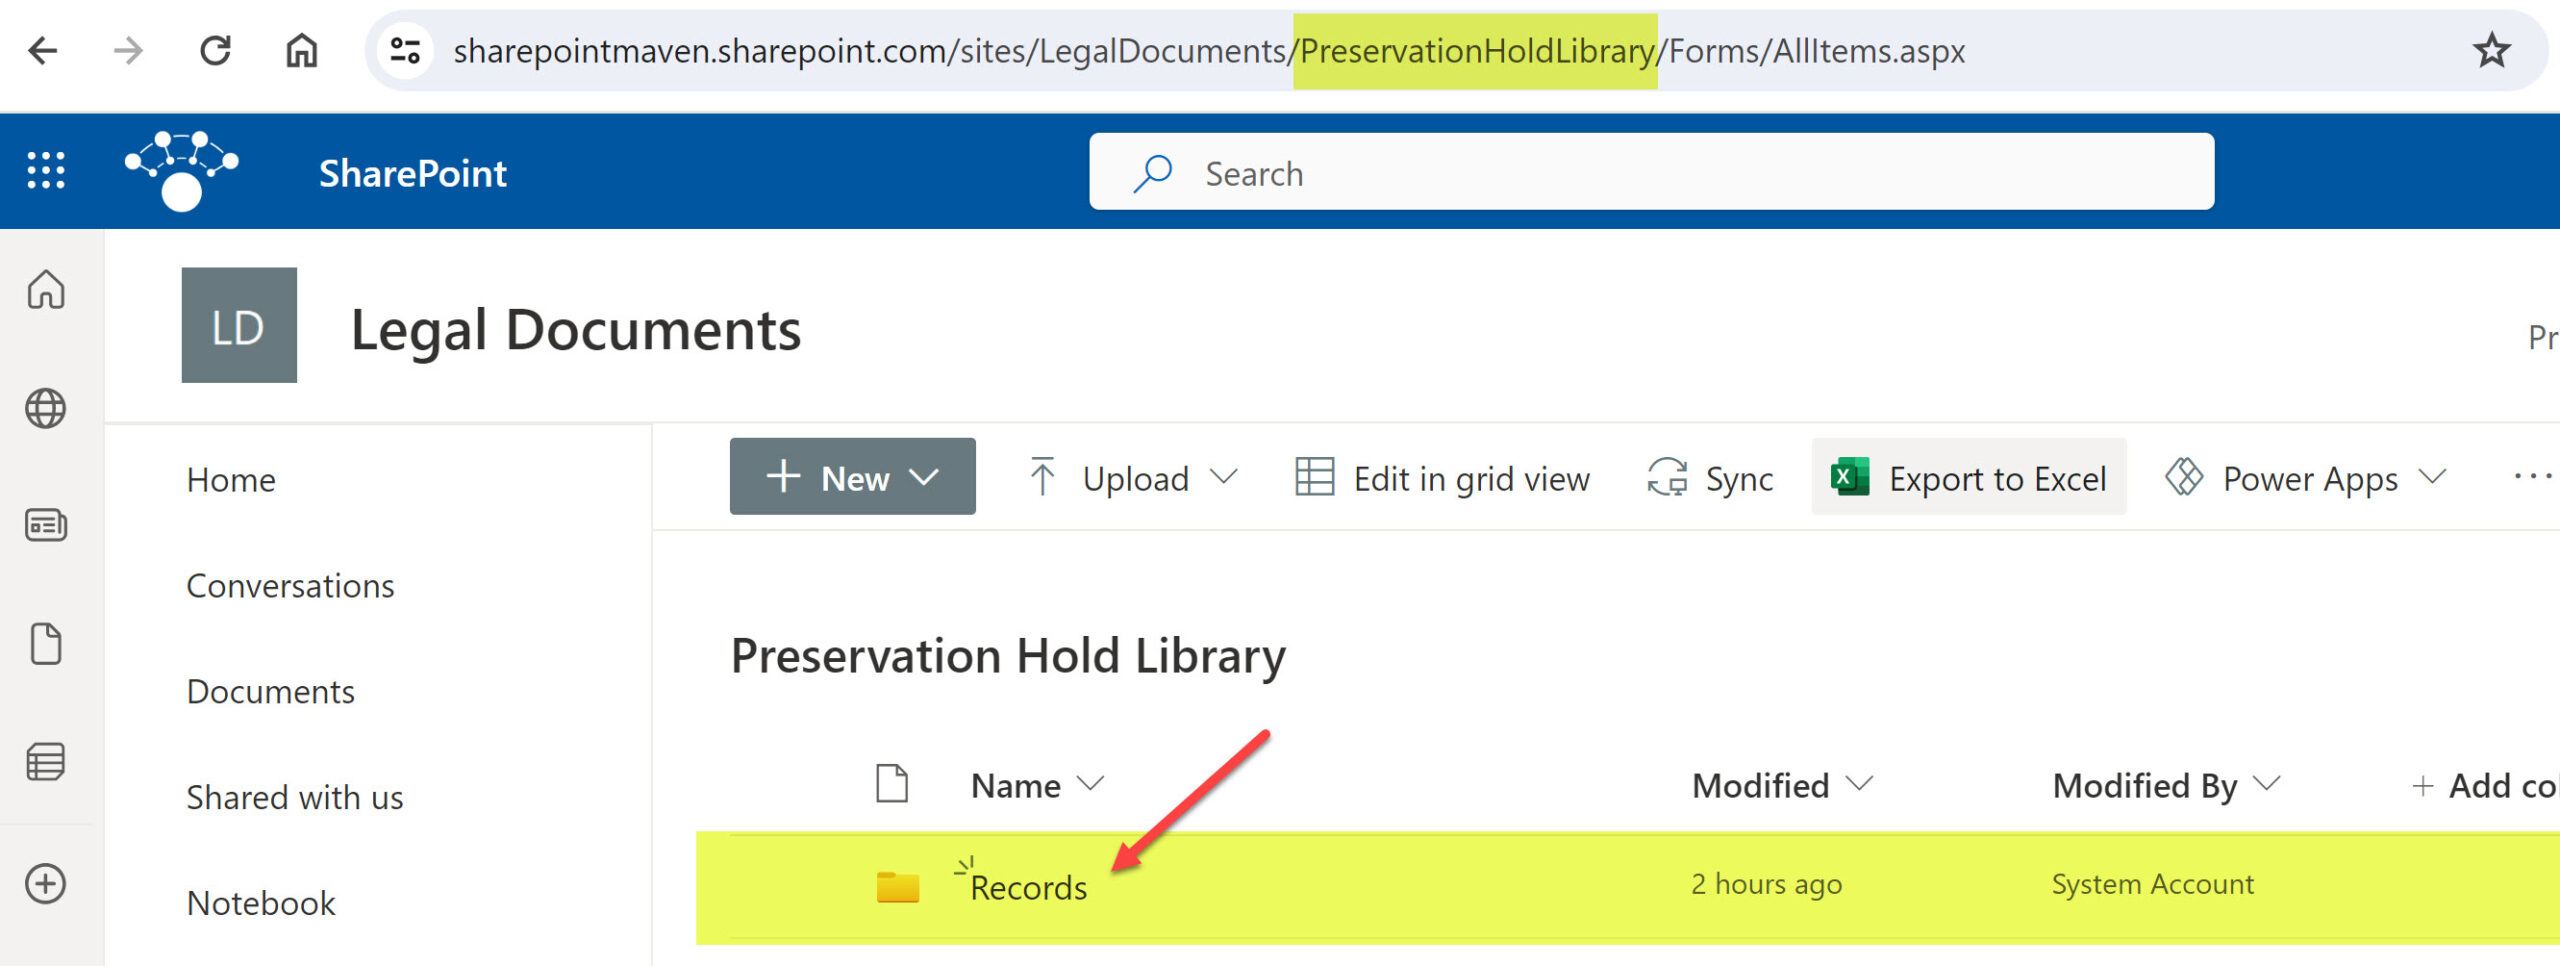
- Inside the Preservation Document Library, you are going to see a folder called Records. This is where all the documents/records that are subject to records management will end up.
- As you change the documents tagged with Record Label, those documents (versions) are sent to the Records folder within the Preservation Hold Library.

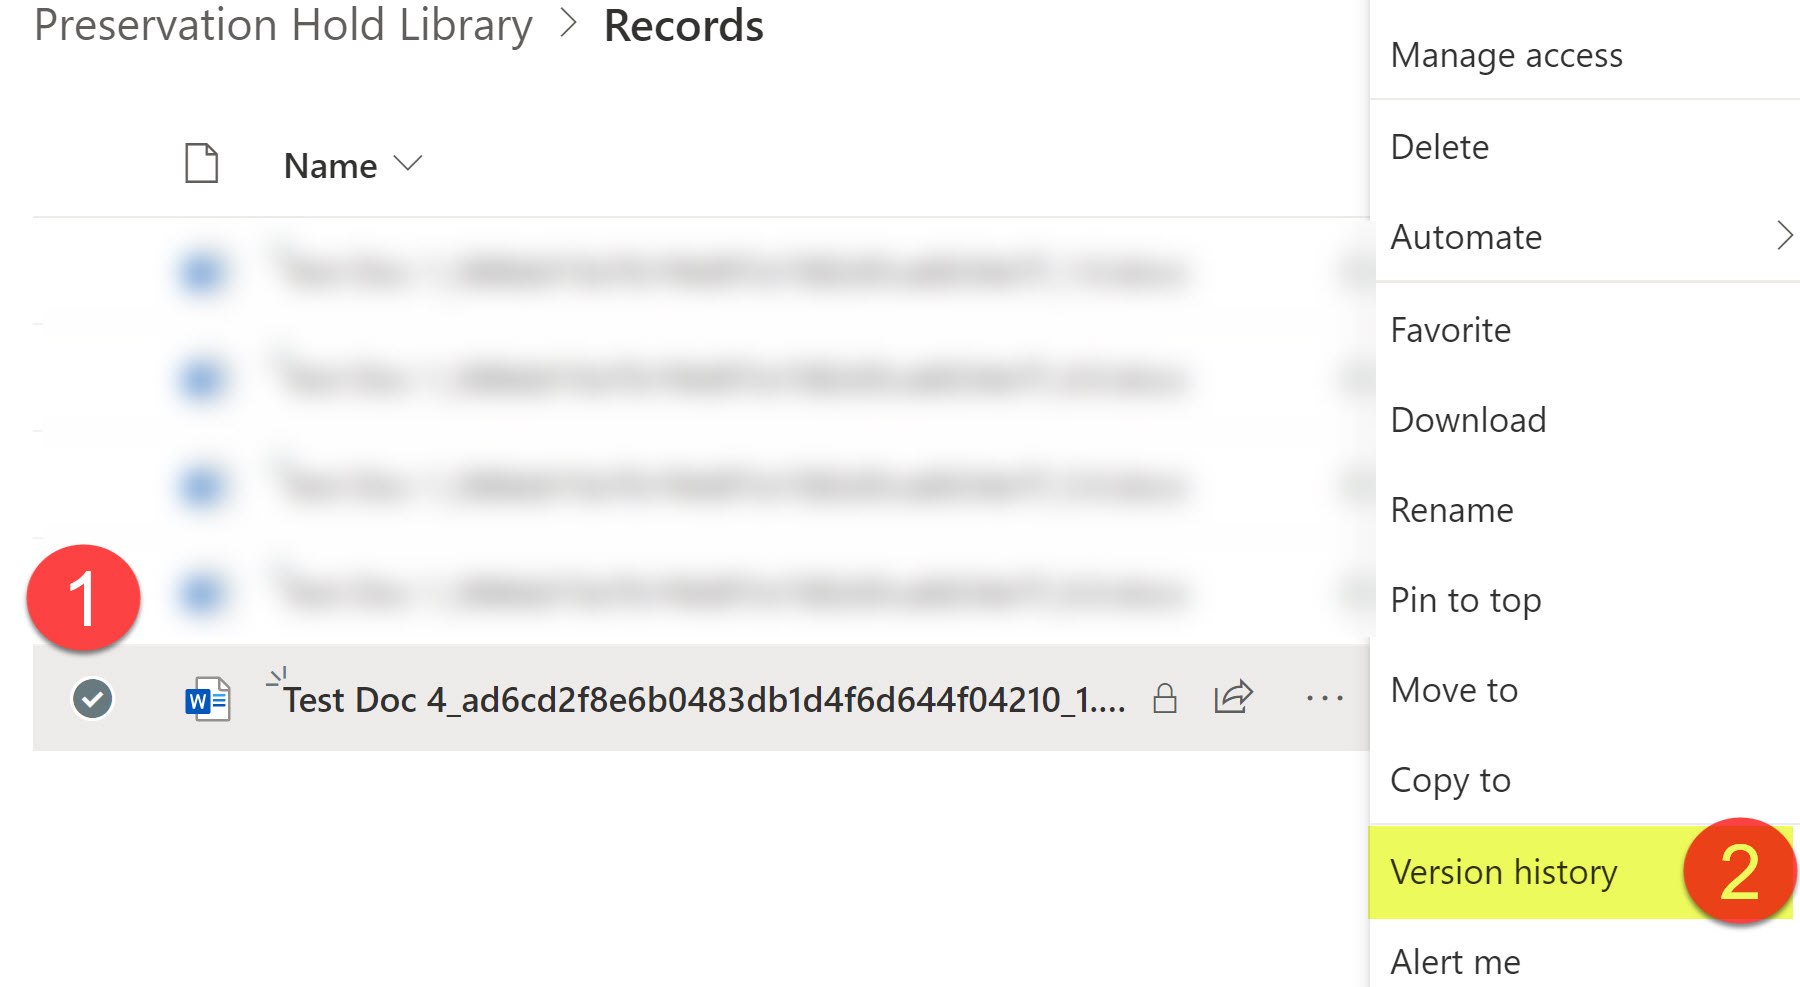
- If you check the Version History of a document within the Records folder inside the Preservation Hold library…
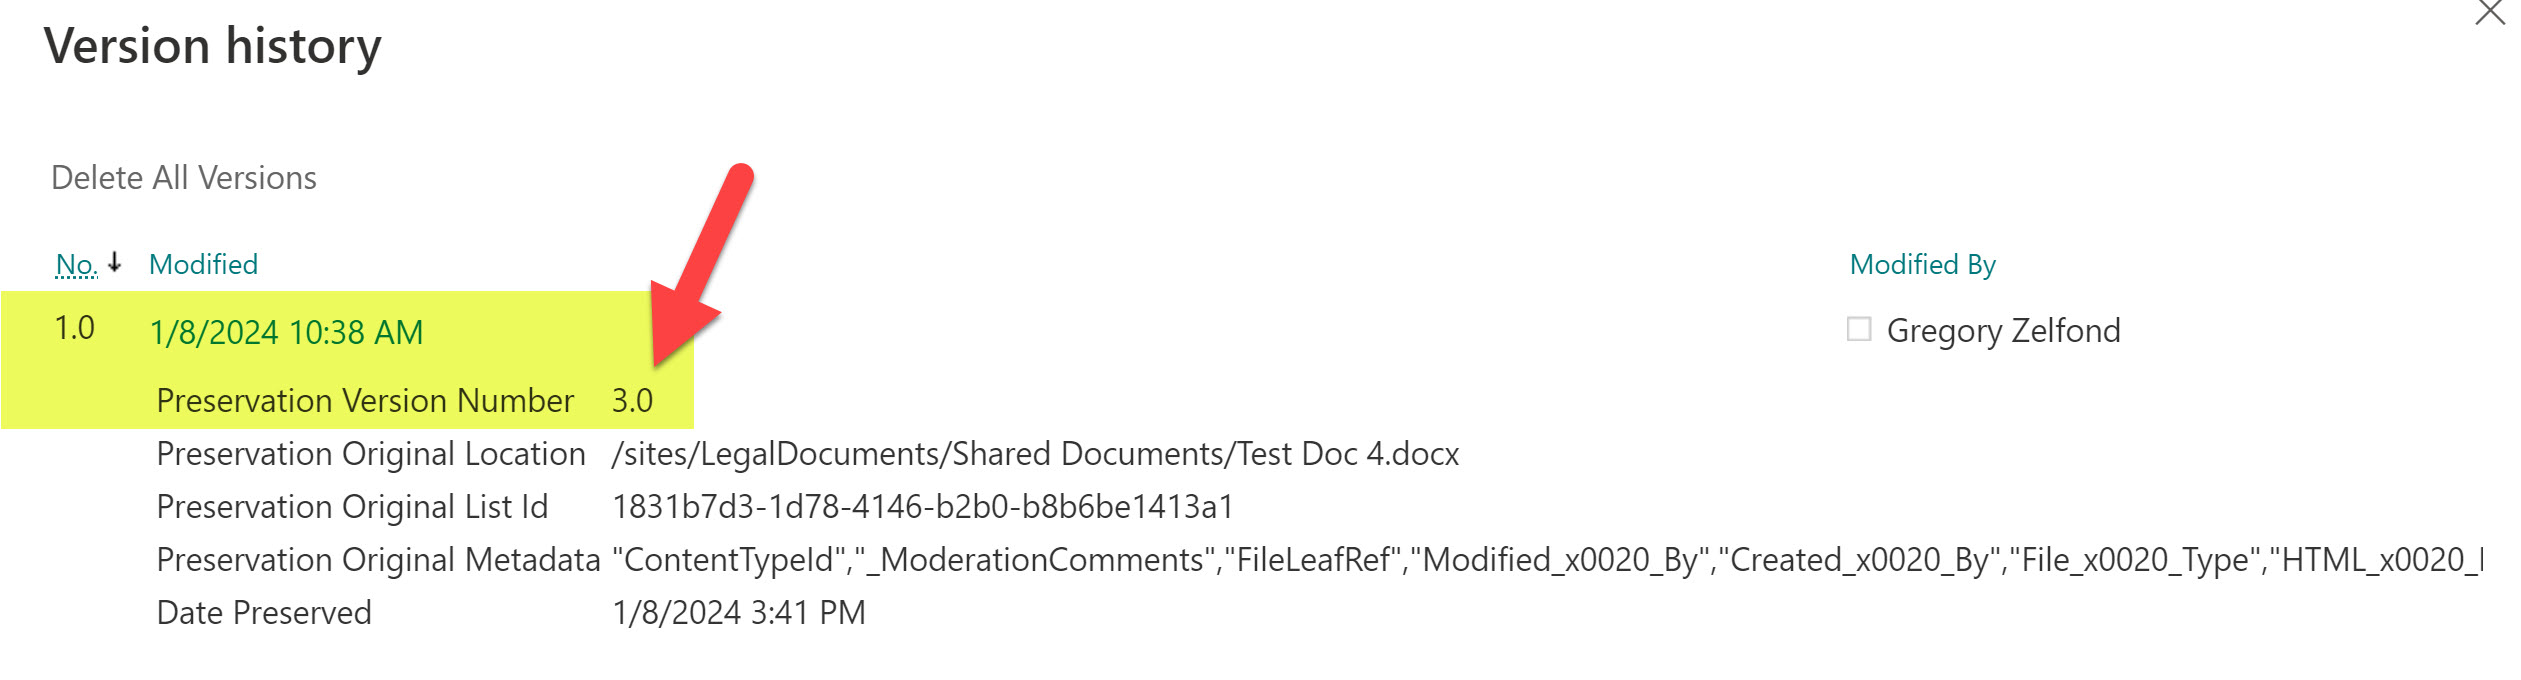
- …You will see a specific version designated as a record and saved inside the Preservation Hold Library for retention purposes.
- There are a few nuances as to how the Version History and Preservation Hold Library work together, so I will write a separate article on this down the road.

Share Article