How to expire news posts in SharePoint Online based on the expiration date
News Web Part is an excellent addition to any informational site in SharePoint – from landing pages to department communication sites. It allows for an easy way to post an announcement and promote it within an organization. However, it does have one limitation: as the news posts accumulate, there is no way to expire them. By default, they would all appear in reverse chronological order on the page. And while you can limit the number of posts appearing at a time or change the order of them, there is no way to expire a post if it is time-sensitive and no longer relevant. That said, we can easily make it happen with a bit of setup. Let me walk you through on how to expire news posts in SharePoint Online.
Approach
To expire news posts, we will use the same trick we did on the classic Announcements web part.
- We will create a custom metadata column called Expiration Date in a Site Pages library (that is where the news posts are stored)
- When creating a news post, the user would need to enter the expiration date for a news article.
- Lastly, we will filter the News Web Part only to show the pages (news posts) where the Expiration Date is greater than today’s date.
So far, so good? Then grab your favorite alcoholic drink, and let’s proceed!
Step 1: Add a News Web Part on a SharePoint page
First, let’s go ahead and add a News Web Part to your main page. Most sites already have it by default, but in case you don’t, just Edit the page and add a News web part to it. Hit Publish to save the changes.

Step 2: Create an Expiration Date Column in a Site Pages Library
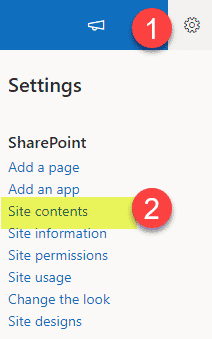
- Navigate to the site pages library by clicking Gear Icon > Site Contents
- Click on Site Pages library.

- Click +Add column and choose Date column type.
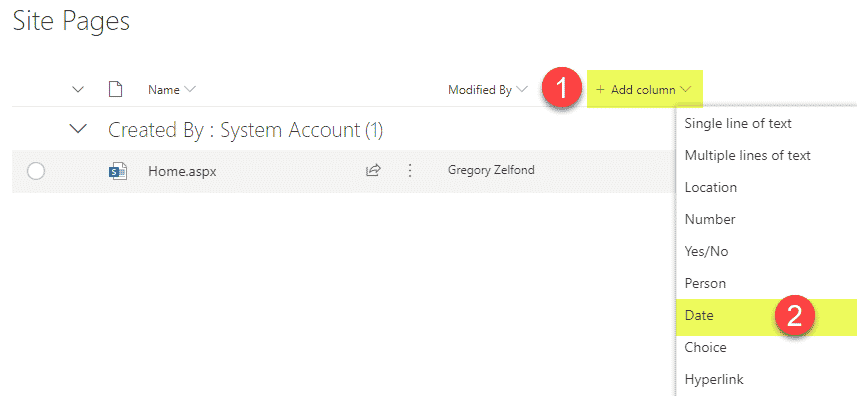
- Give a column a name (i.e., Expiration Date) and click Save.

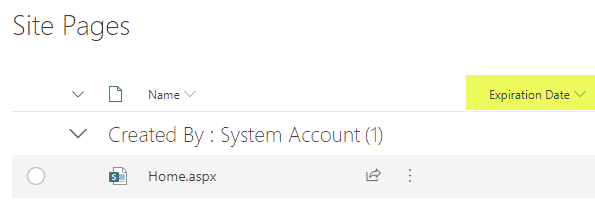
- You will now see the column appear in the library.


Step 3: Create news posts with expiration dates
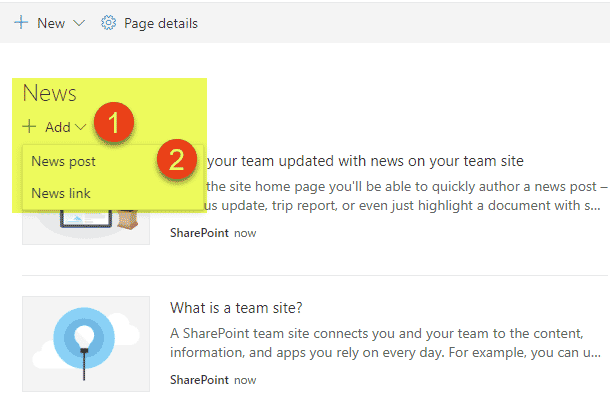
- From the Site main homepage, in the News widget, go ahead and create a news post by clicking + Add drop-down and choosing News post
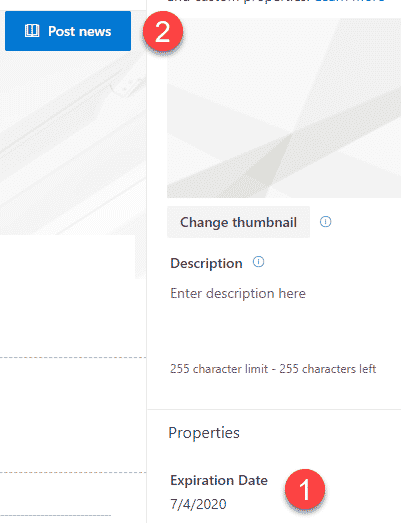
- Give it a title, add some text, like you usually would. Then click on Page details. That will open up a sidebar with Properties section, and you will notice our custom created Expiration Date property in there.
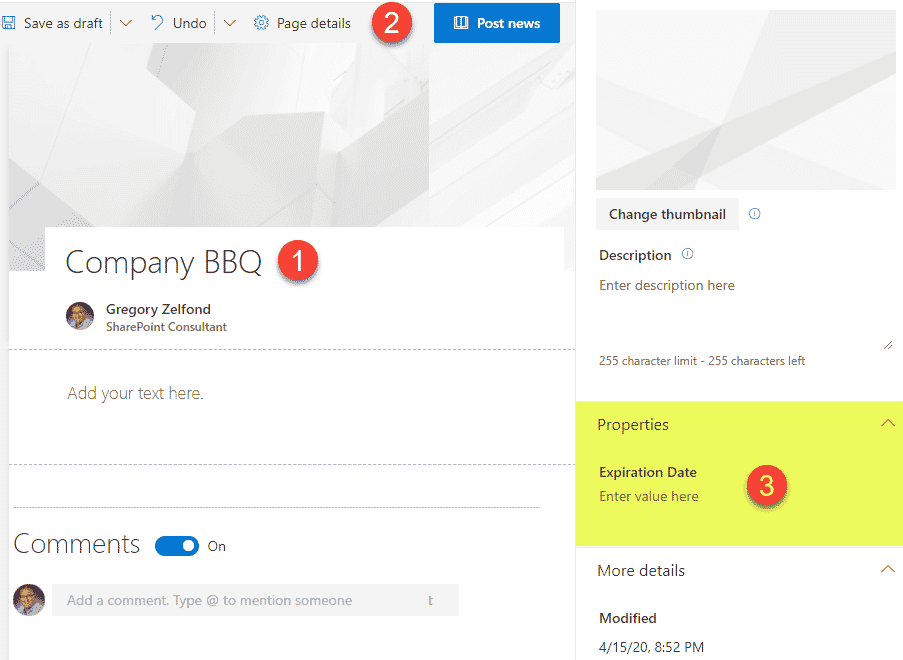
- Fill it out and click Post news to publish the announcement
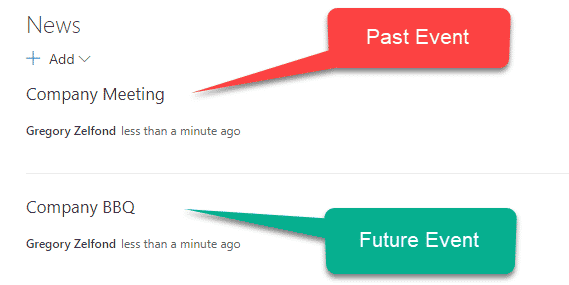
- Repeat the above steps for all the other posts. Make sure to fill out the expiration date for all. In my case, I created two events, one with the expiration date in the past and one in future


Step 4: Configure filtering on a News Widget
OK, my SharePoint brothers and sisters, and now the most exciting part of this post! We now need to filter out posts with the expiration date in the past. Let’s go!
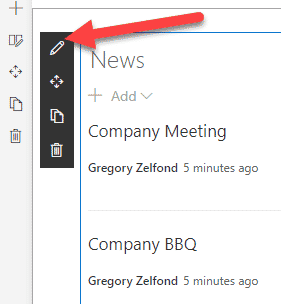
- Edit the main page, then click the pencil icon next to the News Web Part
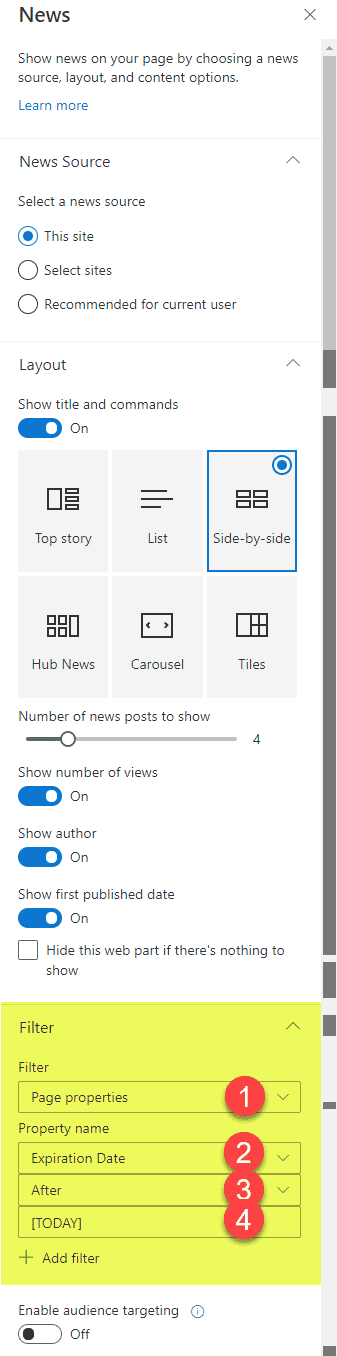
- Scroll down to the Filter section and choose the choices, as shown in the image. Essentially, we are filtering based on Page Properties, where the Expiration Date is after today. Make sure to put [TODAY] in square brackets, just like shown in the image
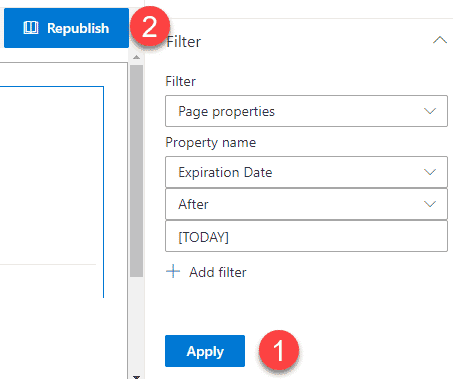
- Click Apply at the bottom, then Publish the main page
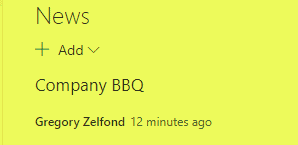
- And you will now notice the old post disappearing from the main page!!!


If you would like to also check out a video on how to expire news posts in SharePoint Online, here is one.
And for another idea on how to expire news posts aggregated across several sites, check out this wonderful post by Joanne Klein.

Share Article