How to create a Newsletter and News Digest in SharePoint
Ever since Microsoft modernized the pages in SharePoint years ago, we have been able to create attractive news, announcements, and newsletters and promote them within the organization. I even published an article on this back in 2020. However, some recent functionalities were added in terms of Newsletter Design and News Digest distribution, so I thought of writing a new article on the topic of Newsletters and News Digests in SharePoint. Enjoy!
Newsletter Options in SharePoint
First, it is crucial to understand the fact that with SharePoint, we can create two types of Newsletters:
- Single Announcement (Newsletter)
- Multiple Announcements (News Digest)
I will explain how to create both in this article.
Step 1: Create a Communication Site
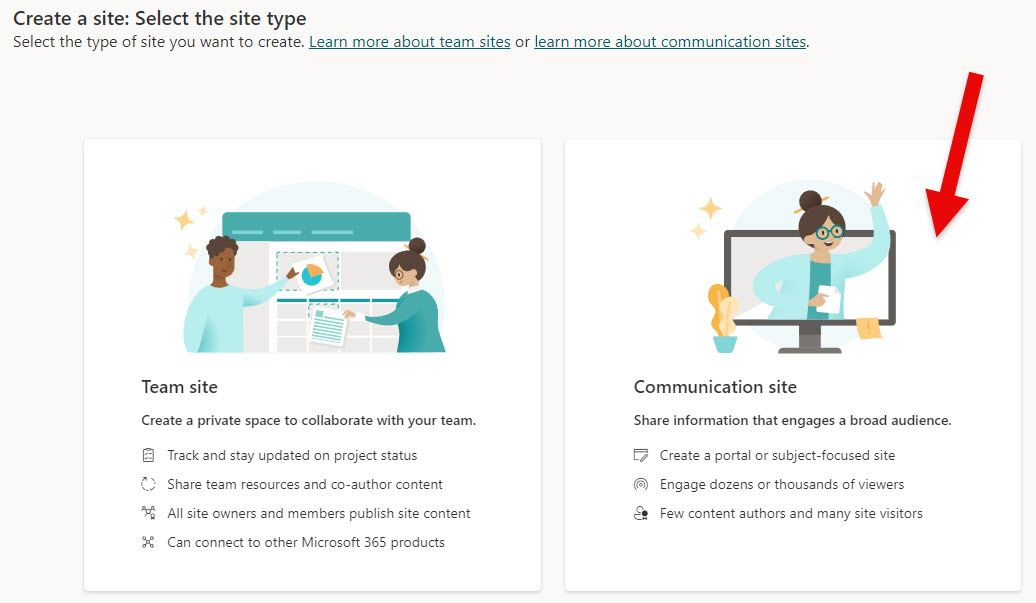
The first step is to ensure you have a proper type of site. As explained in an earlier article, there are two main types of sites:
- Communication Site
- Team Site
Make sure that you have a Communication Site. Team Sites are usually private and restricted to certain Team Members. If you aim to create company-wide news posts and email them to the majority or entire organization, a Communication Site is the way to go.
Team Site might also be viable if you only create newsletters and news digests for the Project Team.
Step 2: Setup proper permissions
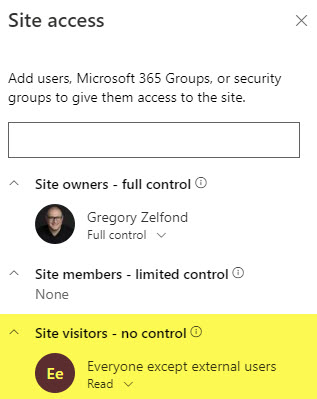
The next important step is to set proper permissions for the site. For this article, I assume that we are creating company-wide newsletters. So, in our case, we want to invite the entire organization to our Communication Site as Visitors. I explained how to do this in this article.
Step 3: Get familiar with the News Web part
Before we proceed, I encourage you to familiarize yourself with the News Web Part. I have blogged extensively about it and its capabilities in the past. Most sites created in SharePoint already have the News Web Part added to the page by default. If you do not see it, just Edit the page, find it in the list, and add it to your page.
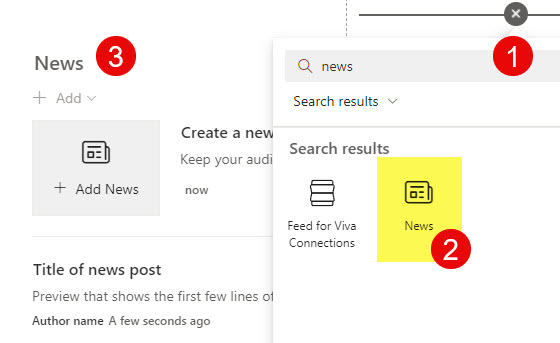 The News Web Part will allow you to add new posts and distribute them within the organization.
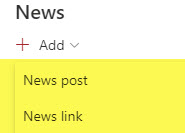
Step 4: News Post vs. News Link
Next, we must understand the difference between a News Post and a News Link. I explain this in great detail in the article here. For this article:
- News Link is for content already stored somewhere (and added via URL)
- News Post is for announcements you curate/create on your own
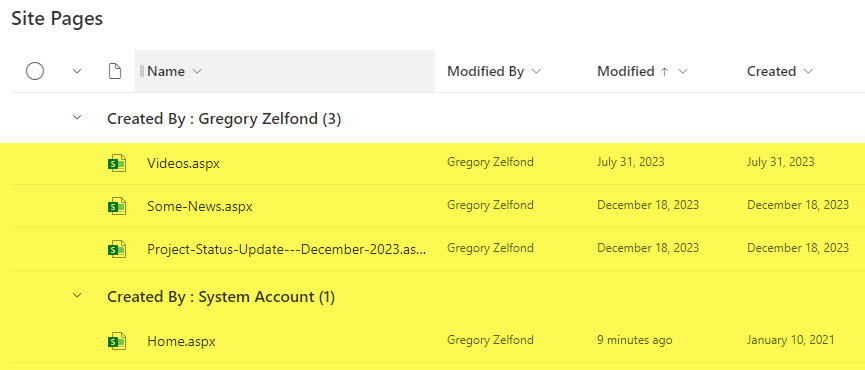
Step 5: Get familiar with the Site Pages Library
You will also need to get familiar with the Site Pages Library. As you create new news posts and announcements, all of them are stored as Pages within the Site Pages Library. To access it, follow the following instructions:
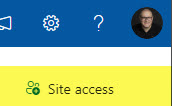
- From the SharePoint Site, click on Gear Icon > Site Contents

- Scroll down, and you will see the Site Pages Library at the bottom of the screen
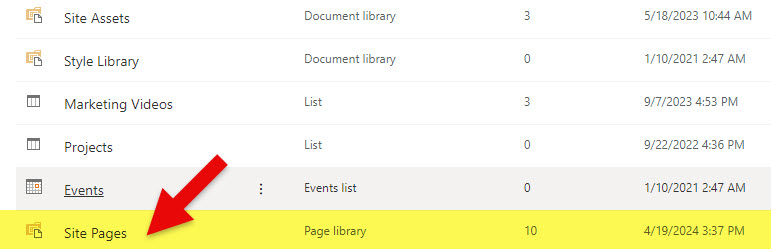
- Once you click on the Site Pages Library, you will see various pages on your site. Some are “standard” pages, and some are news posts.
Step 6: News Post Templates
One of the recent improvements made to the News Post option was the addition of “Made for Email” templates. Here is what they are in a nutshell:
- Made for Email Templates are preconfigured news post pages with pre-built layouts, images, and sample content
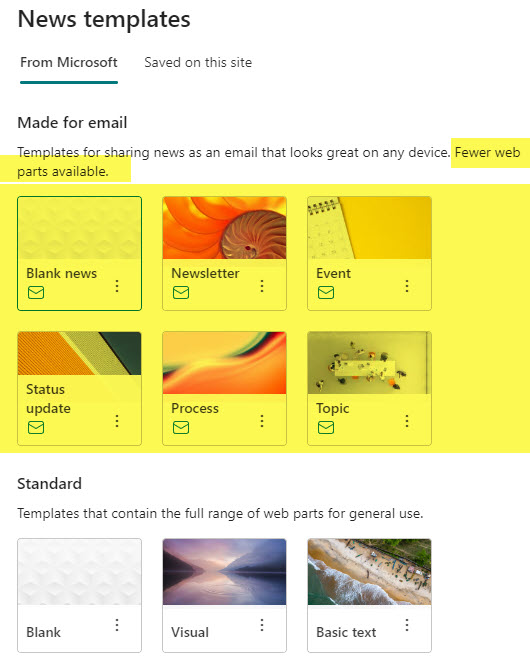
- The “Made for Email” templates allow you to easily swap the content without building a news post from scratch
- The “Made for Email” templates will enable you to post and email an announcement with just one click (all the steps documented below)
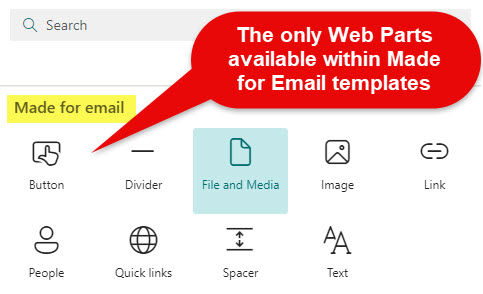
- Unlike news posts created via the Standard blank option, they have a limited selection of Web Parts you can add to the news post (optimized for email rendering)
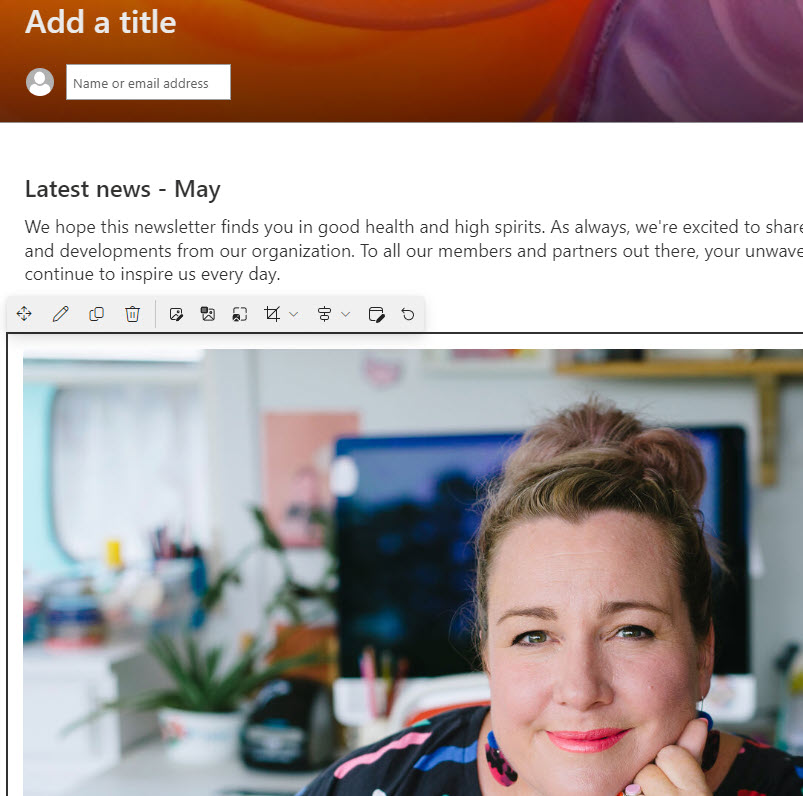
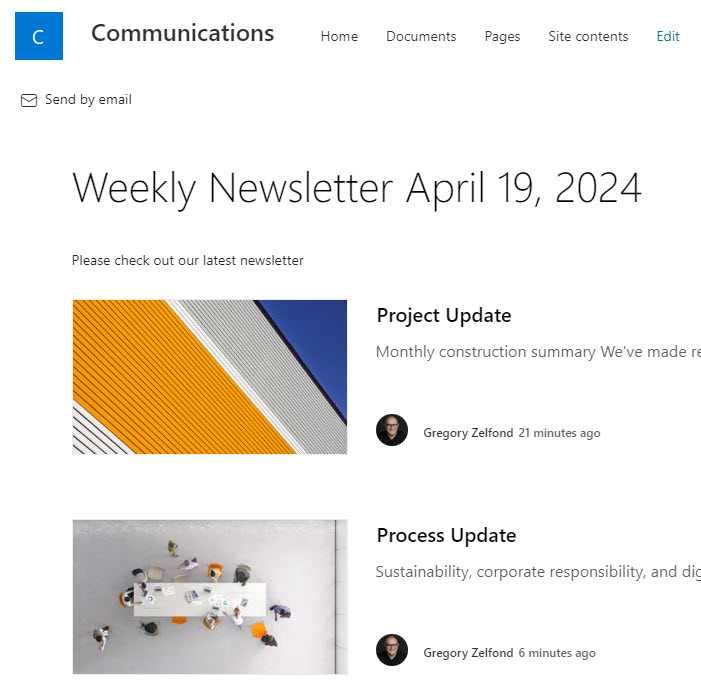
Example of “Newsletter” Template available within Made for Email template Selection
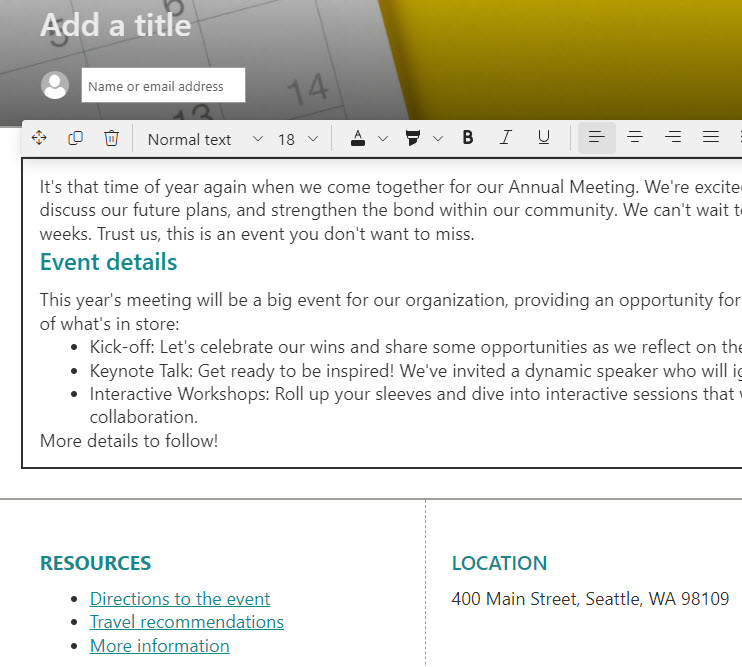
Example of “Event” Template available within Made for Email template Selection
Step 7: Create and share a Newsletter (single announcement)
If you just want to send a single announcement, you must rely on the “Made for Email” Template. Here are the steps.
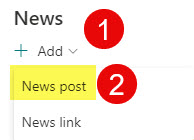
- From the News Web Part, click Add > News Post
- On the next screen, select the template you would like to use

- Once chosen, the template will be rendered on the right side. Click Create post.

- Make changes to the template, add/change images, text, etc. Do not forget to give your Post a name as well. 😊
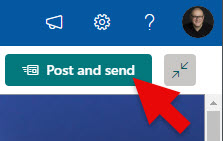
- Once ready to post and send, click the Post and Send button in the upper-right-hand corner.
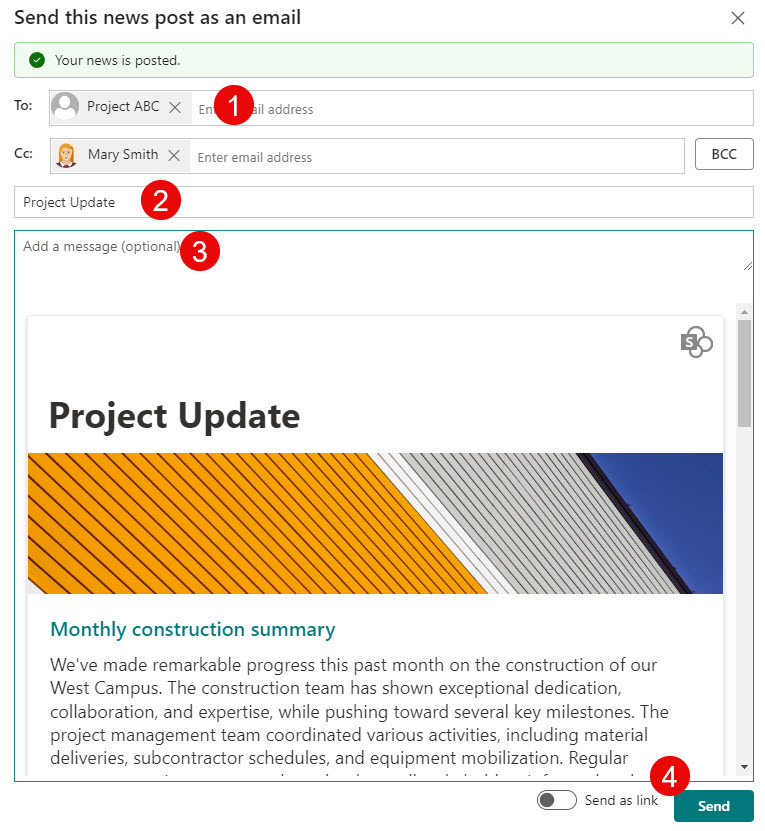
- At this point, this news post is published and displayed within the News Web Part on your site. However, you can also email it as a Newsletter by filling in the details shown below. In the To: field, add the emails or distribution lists to which you want to send the newsletter.
- Once you click the Send button above, you will receive a confirmation.
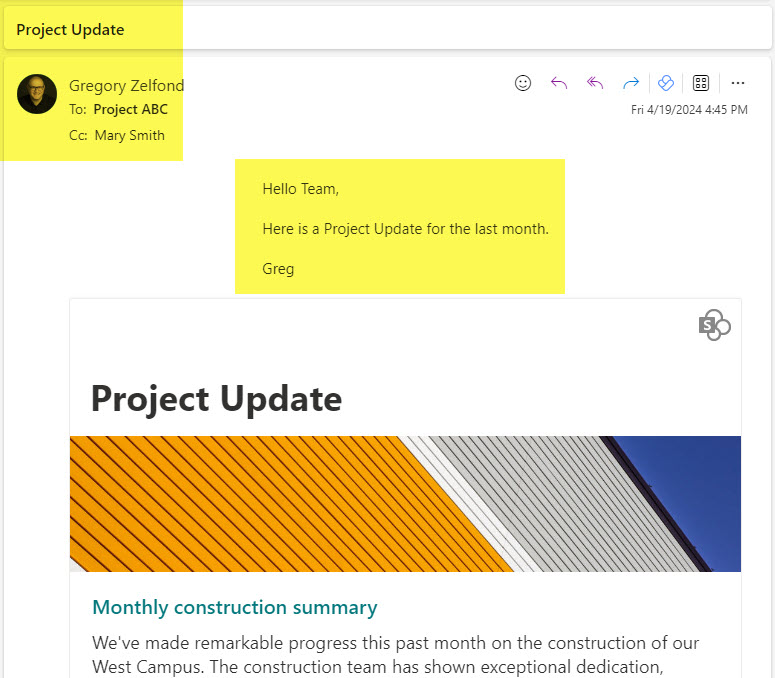
- This is what the email will look like to the recipients. The Newsletter is embedded right within the email window.
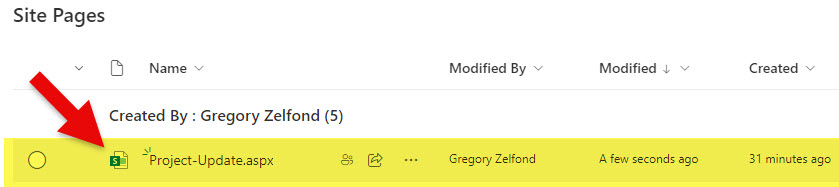
- If you now navigate to the Site Pages Library I mentioned in Step 5, you will see the post residing there
Step 8: Create and share a News Digest (multiple announcements)
Let me now show you how to Create and email a News Digest. By News Digest, I imply multiple news posts in a single email.
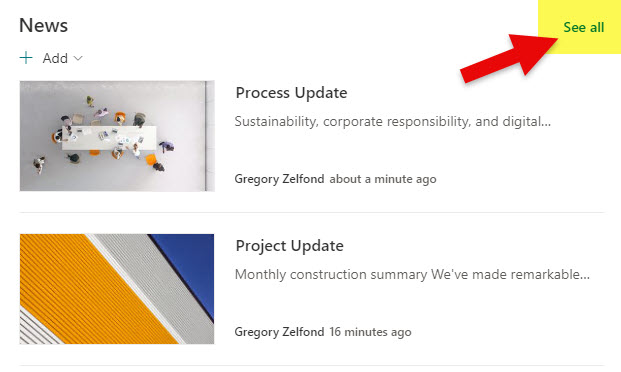
- Before we can send a News Digest by email, we need to create several news posts first. The below steps will ask you to click the See all link to access News Digest functionality. You will not see that option unless you have more news posts that can be displayed within the News Web Part. Follow the instructions below to make this See All option appear.
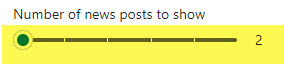
- Edit the Page and Edit the News Web Part (pencil icon). On the right side, check out the Number of news posts to show option. To be able to create and email News Digest, the number of posts you have created has to exceed that number.
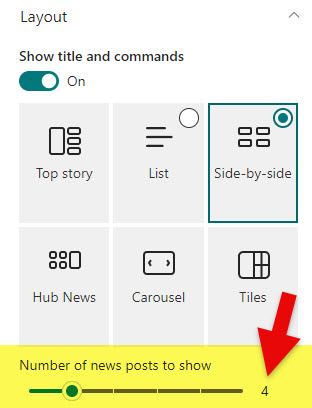
- For example, in my case, I only created 3 posts, and I had to reduce the number above to 2 for See all to show
- Once See all link is displayed, click on it.
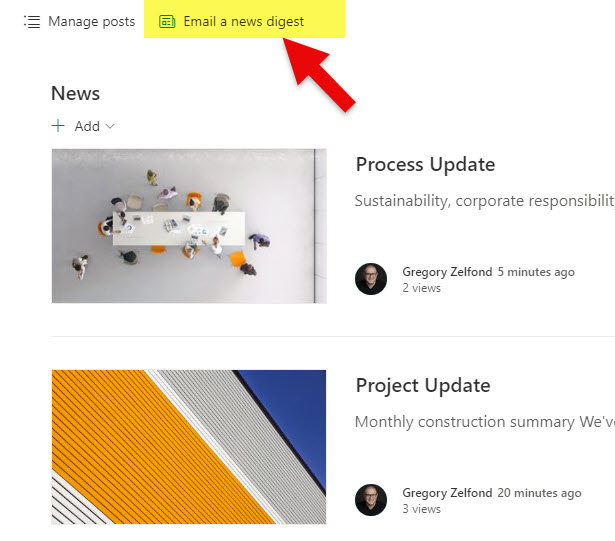
- On the next screen, click Email a news digest
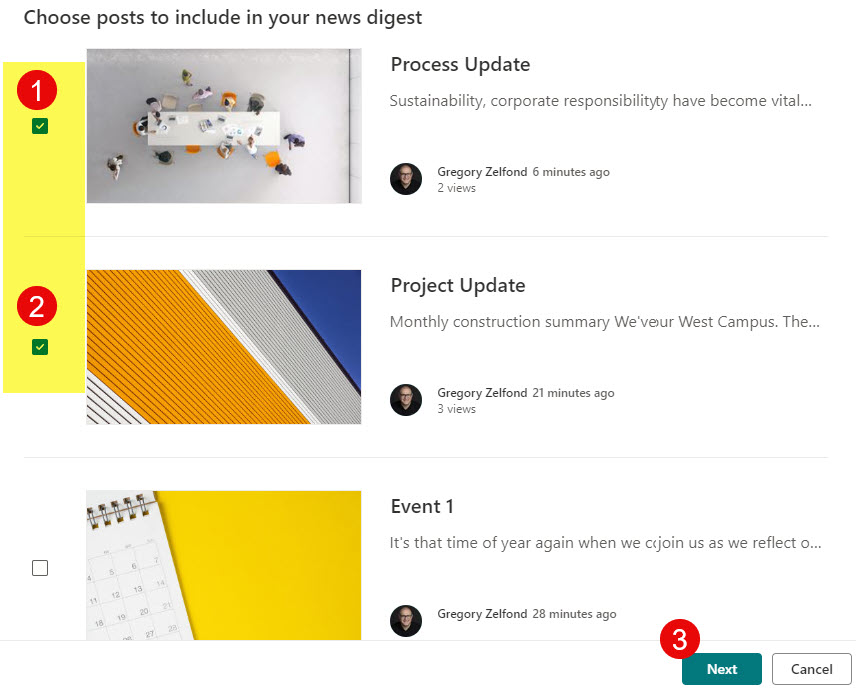
- On the next screen, you can check the posts you want to include in the News Digest. You can also re-arrange them (in the order they would appear in the email) by dragging them up or down. Click Next.
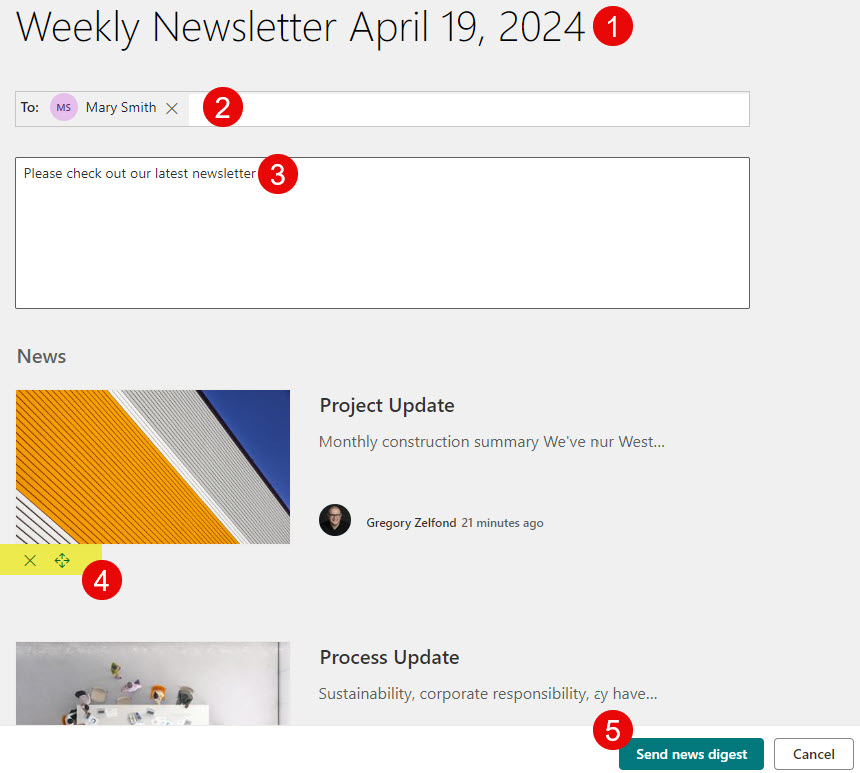
- On the next screen, Give your News Digest a name, add To: emails, and provide a brief description. Then, click the Send news digest button.
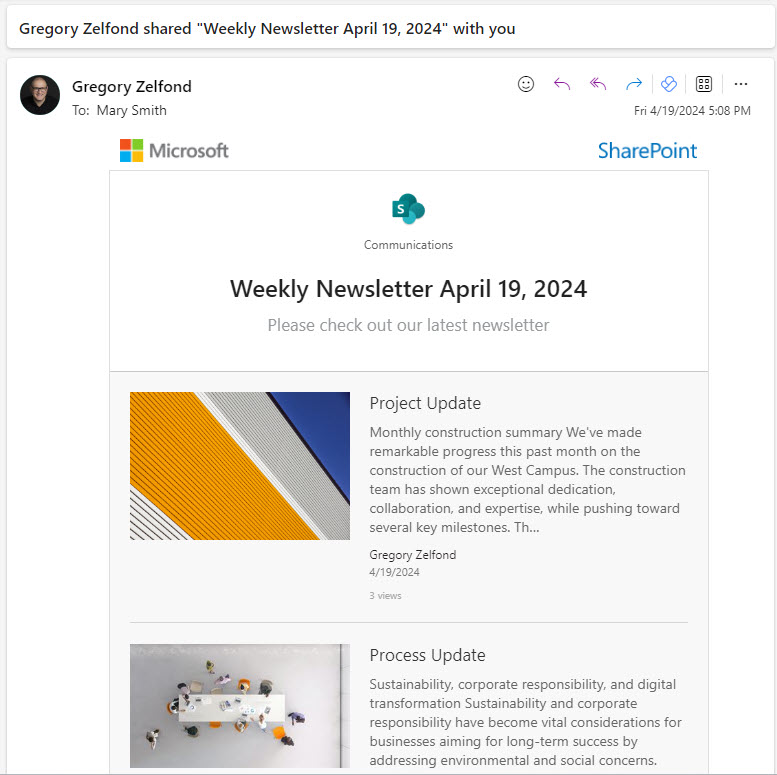
- Below is an example email that users will receive (with posts embedded inside the email window).
- It is also very important to note that the News Digest you create actually creates another page within the Site Pages Library I mentioned in Step 5. This is super useful if you would like to send it again later.
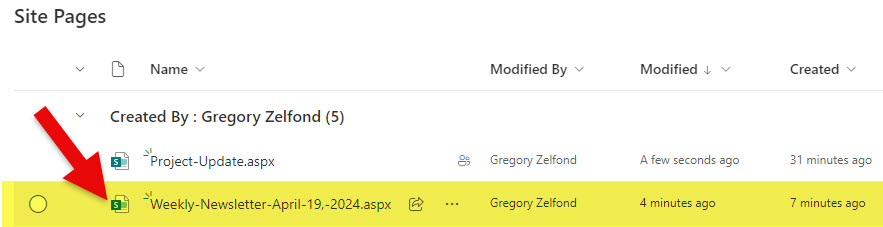
- Here is the News Digest page that was created. Please note that you can’t edit it and can only Send it again by email if need be.
Step 9: Create a News Post Template
You might also want to create your own News Post Template with your own layout and images. I explained this functionality in one of my earlier articles here—check it out.
![]()
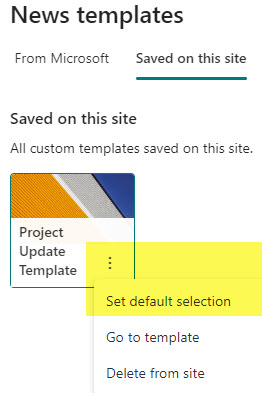
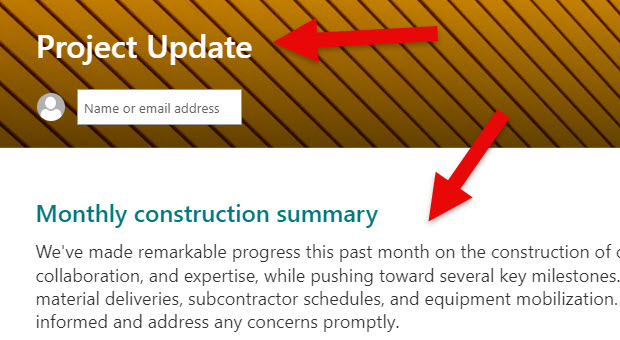
Once the News Post Template is created, users will see the template appear by default when they create new news posts for SharePoint Newsletters or News Digests.
Step 10: Add Promoted State Column
I want to share a small bonus tip with you here. As you add pages and news posts on your site, it might get confusing which pages are standard pages and which are news posts. You can add a column called Promoted State to easily distinguish between different types of pages. Here are the instructions:
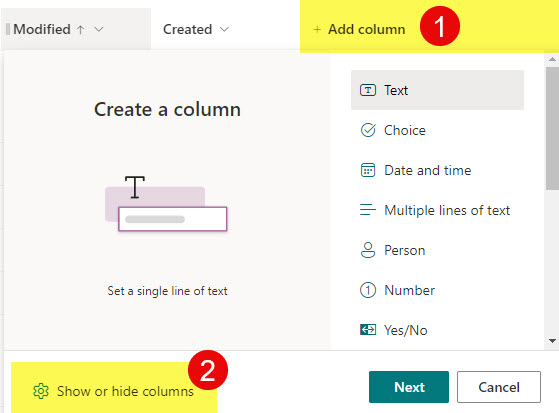
- Within the Site Pages Library, click +Add Column > Show or hide columns
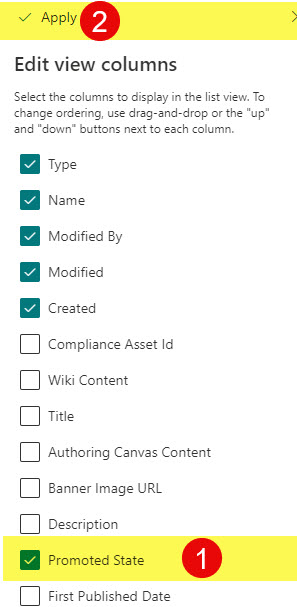
- Click the checkbox next to Promoted State and click Apply
- You will now see the Promoted State column appear in the Site Pages Library. They will have the following numbers: 0, 1, and 2. 0 = Page (PUBLISHED or UNPUBLISHED), 1 = News post or News link (UNPUBLISHED), 2 = News post or News link (PUBLISHED).
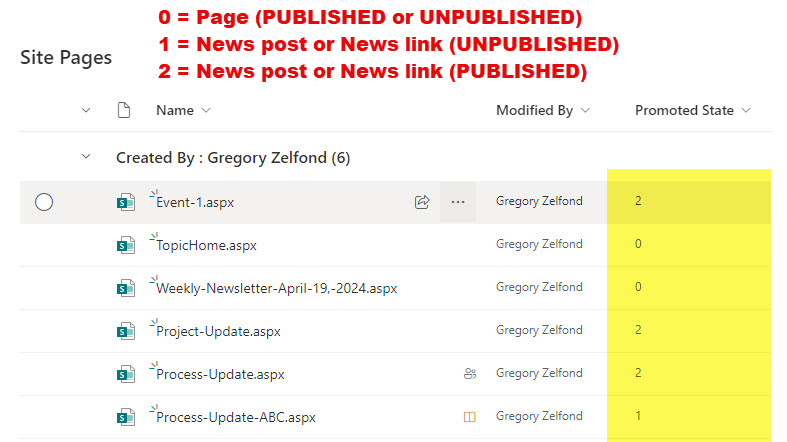
- So, the bottom line is that everything that is 0 is a standard page, and everything that is 1 and 2 are news posts or news links.

Share Article