< All Articles
Dashboard Web link Card
Most of the articles on my blog are about SharePoint Web Parts. They are the core building blocks of SharePoint. However, Microsoft just made the Dashboard Web part available on all sites, not just Home Sites, so we can now take advantage of the extra cards and functionality we can add to SharePoint pages. In this article, I want to introduce you to a Web link Web Part that will bring a bit of fresh air to your SharePoint site. Let me show how to add this Card to your page via the Dashboard Web Part.
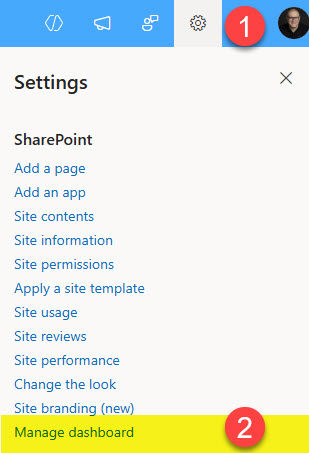
- Before we add the Dashboard Web Part to the SharePoint page, we must first configure it. To do so, click on the Gear Icon > Manage dashboard
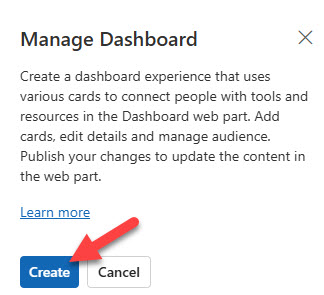
- From the right-side panel, click Create
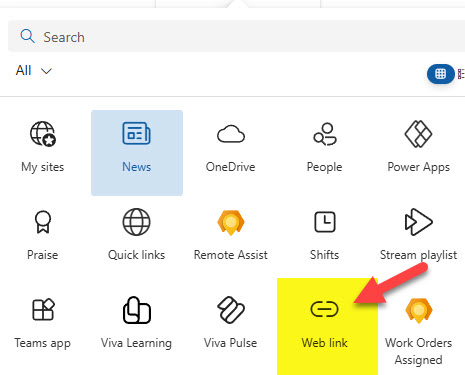
- To add a card, click + Add a card

- From the list of Cards, choose Web link
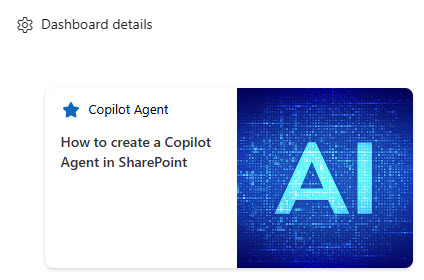
- The above step will add the card placeholder to the Dashboard page. To configure it, click the Pencil icon

- In the side panel, you can configure the card’s look and feel. You can choose between Medium and Large size, give it a title, and a thumbnail image.

- You can also configure a small card icon and set Audience Targeting.

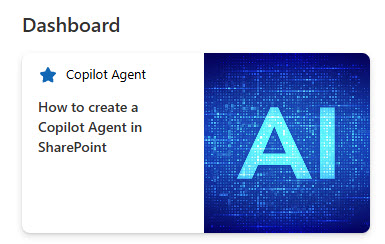
- Once you publish the Dashboard page, you will see the configured Card.
- The final step is to add the Dashboard Web Part (which contains our Card) to the SharePoint page. To do so, just edit the page and add the Dashboard Web Part.

- Once you republish the page, you will see the card.
- Clicking the card opens a link in a new tab/window.

Share Article