How to create a custom permission level in SharePoint
I always advise my clients and loyal blog followers to stay out of the box as much as possible in SharePoint. The less deviation you have from the “norm,” the less headache it is for you and your colleagues down the road in terms of maintenance and memorizing who did what and why things do not work the way they should. That said, I realize that there are unique situations that pop-up here and there that might require some deviations. One such requirement and a common request is to create a custom permission level in SharePoint.
Use Case
Out of the box, on any given SharePoint site, we have three security roles/permission levels:
- Site Visitors (Read Only)
- Site Members (Add/Edit/Delete Content)
- Site Owners (Full Control/ability to delete a site)
I described this in greater detail here.
However, there are situations when you need users to be able to add/edit the documents but not be able to delete them. Read Only allows for just read and download, and Edit allows for add/edit but also Delete. There is nothing in between. Luckily, we can create a custom permission level for such scenarios, and that is what I would like to explain to you.
Step 1: Create a custom permission level in SharePoint
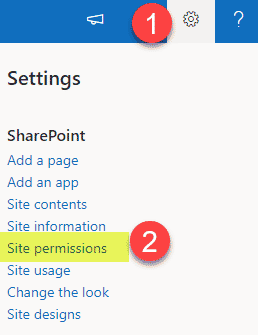
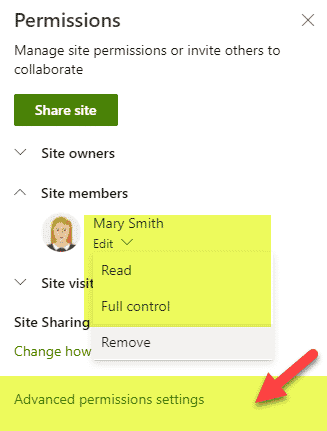
- Click Gear Icon > Site Permissions
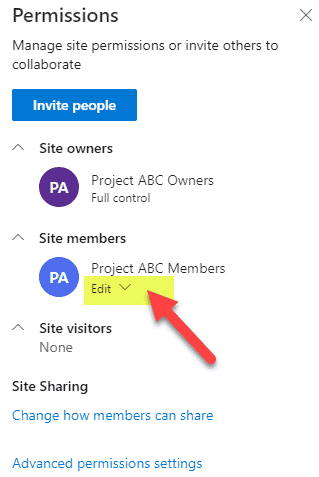
- Expand all three SharePoint security groups – you will see the Members group with the Edit permission level (which, of course, allows to add/edit/delete content). We need this group of users to have a custom permission level that will allow them to Add and Edit, but not Delete.
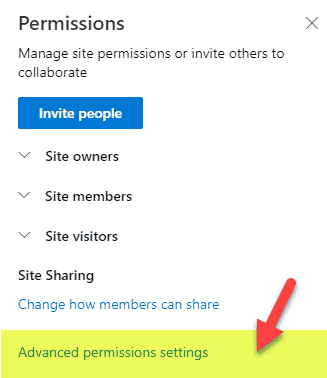
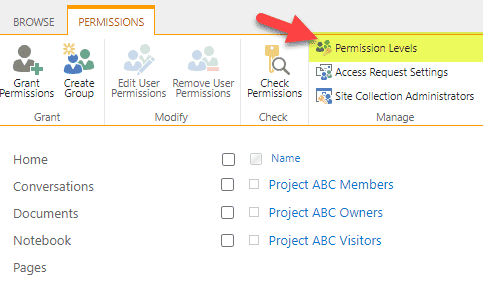
- Click Advanced permissions settings
- Click on Permission levels
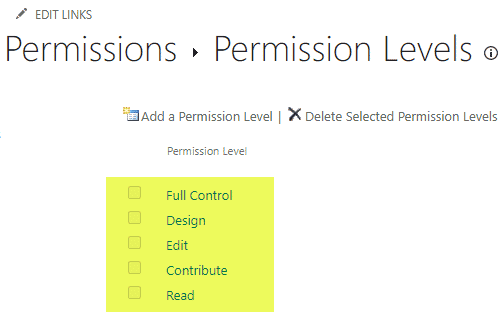
- At this point, you will see out of the box permission levels
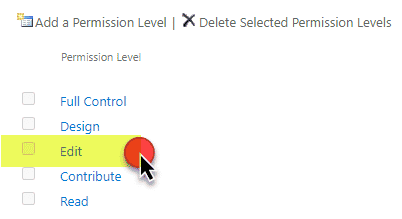
- We need to create a custom permission level that is based on Edit, but does not have the ability to Delete. Click on the Edit Permission Level
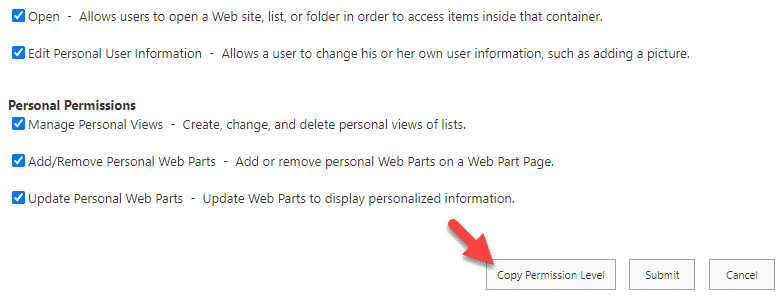
- DO NOT TOUCH OR UNCHECK ANY CHECK BOXES! You don’t want to break an out of the box permission level. We are not going to modify anything here. Instead, we will create a copy of this. Scroll all the way down and click on Copy Permission Level button
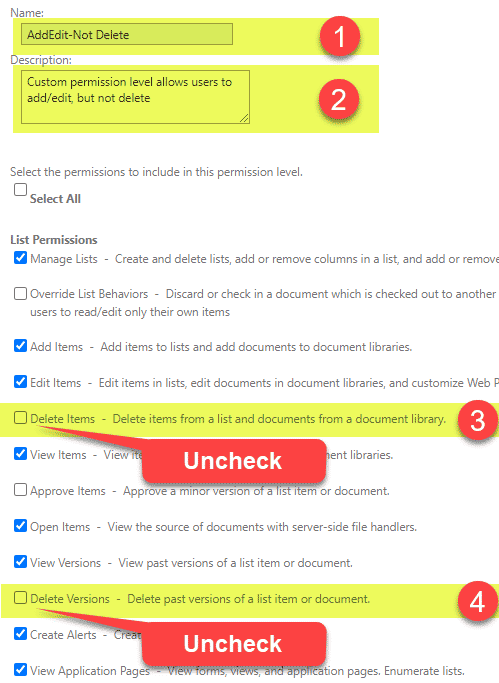
- Give your new Permission level a name, provide a description (so everyone knows what the hell this does). Next, uncheck the boxes next to two actions that allow for deletions of items and their versions.
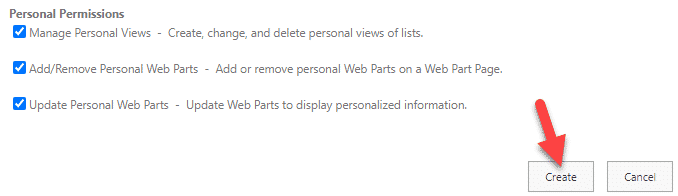
- Scroll down to the bottom of the screen and hit Create
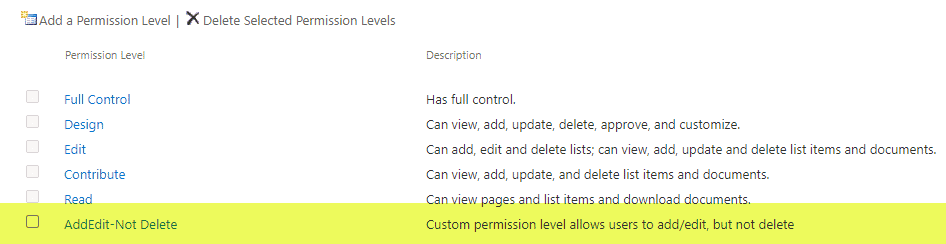
- You will now notice the custom permission level created and existing next to the out of the box permission levels


Step 2: Assign a custom permission level to users
This is where instructions differ based on the type of site you have. Steps are different for Group-connected sites and non-Group Sites. To understand the difference between various types of sites, please reference this article. We will start with an easy one.
Non-Microsoft 365 Group sites
These include classic SharePoint sites, Modern Team Sites without a Group, or Communication Sites.
- You will not be able to assign a custom permission level via the modern Site Permissions interface. So once again, we will need to navigate to the Advanced permission settings (classic interface).
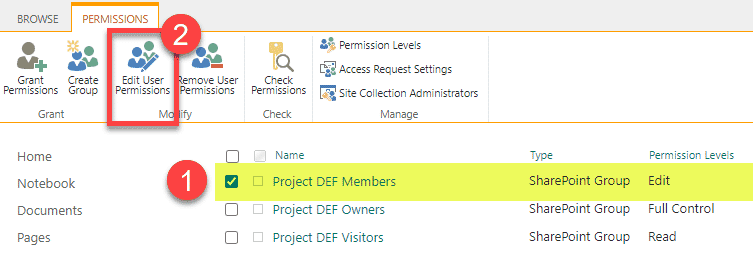
- Click the checkbox next to the Members Group and click Edit User Permissions
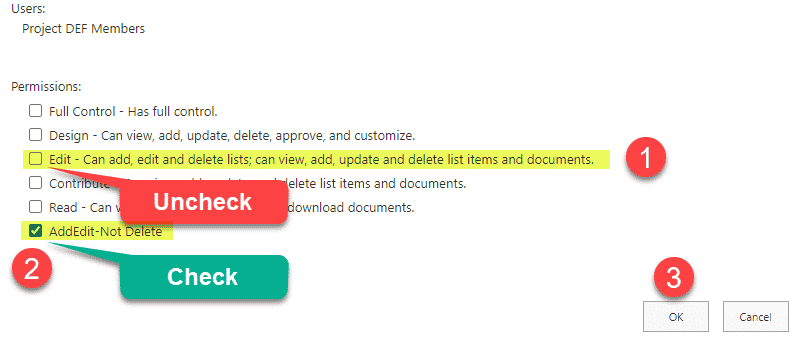
- Uncheck the box next to Edit permission level, check the box next to the custom permission level you created, click OK
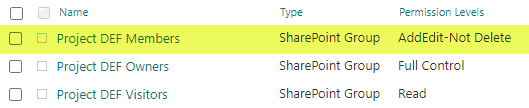
- This is how it should look like


Microsoft 365 Group sites
As stated above, the behavior is different for the sites connected to Microsoft 365 Groups. Let me explain.
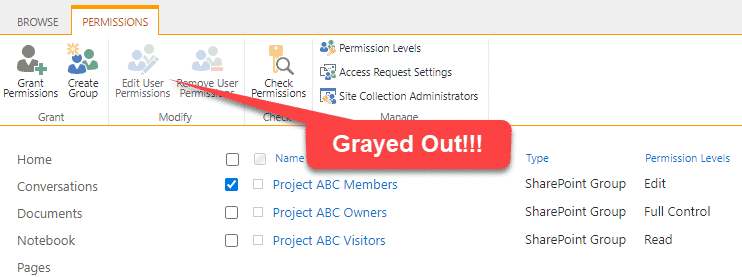
- If you navigate to Advanced site permissions like we did above and try to edit permissions, you will notice that you can’t do that. The reason for that is that Microsoft does not want you to @#$% around with site security much as this will break the whole group membership model and will cause issues in other areas of the Group (Teams, etc.)
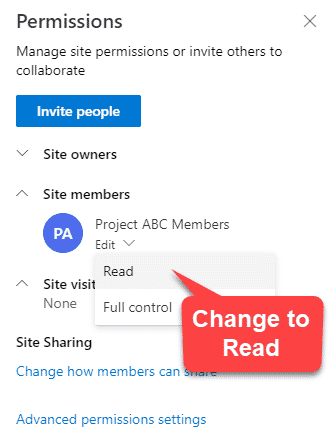
- So here is a workaround. Back at the modern Site Permissions screen, change the Members Group permission from Edit to Read. This will move the group under Site visitors.
- Next, navigate to Advanced permissions settings, and click Grant Permissions
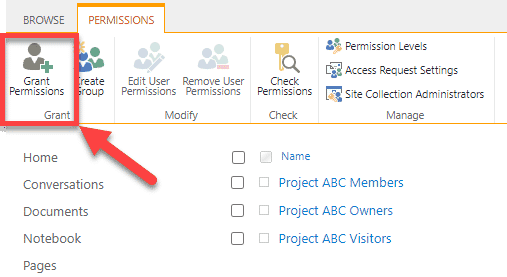
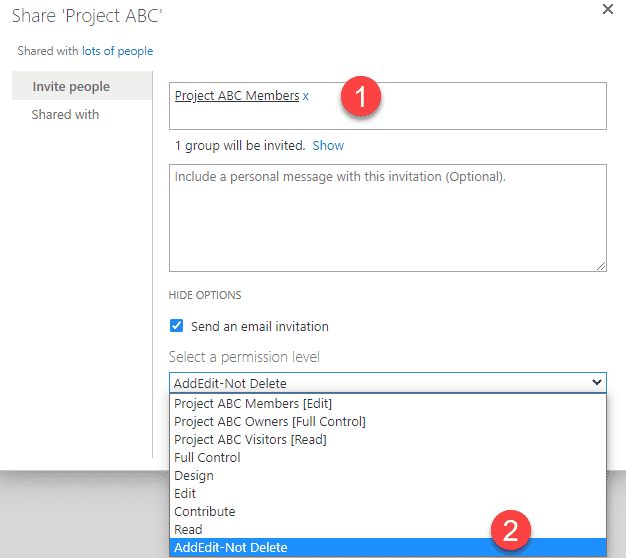
- On the next screen, type in the name of the Security group (same as project site name), and assign it the custom permission level you created previously
- Once the above is completed, this is how it should look like. So essentially, we left the out of the box security groups intact, since we can’t screw around with them and just added an extra security group with custom permission level.

- So what ends up happening is that a Site member gets to have Read access (because they are inside Visitors group now per Step 2 above), and a Site member also gets AddEdit-Not Delete access because we added that extra permission to them as well. And since the highest permission level wins, they end up having AddEdit-Not Delete access, which includes Read. Makes sense?


What happens once you set up a custom permission level in SharePoint
This obviously depends on how you set up your permission level, but using the example above, the following are the consequences of it.
- As advertised, the members lose the ability to delete files
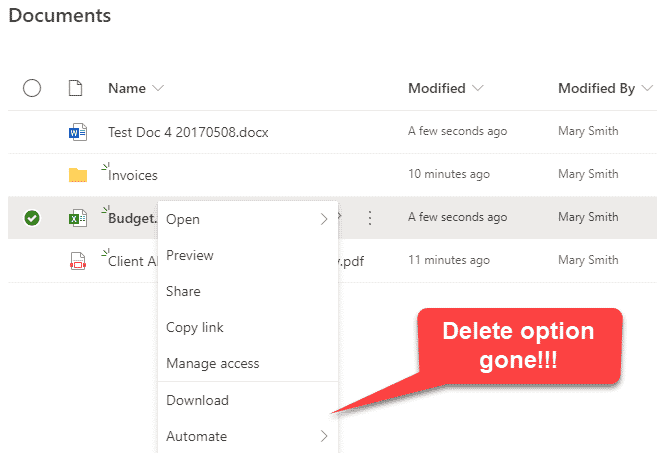
- The ability to delete versions is gone as well

- The ability to move files is not available either (just Copy). This is because when you move files, they get deleted at the source and are moved to the Recycle Bin. Click here to learn more about this.

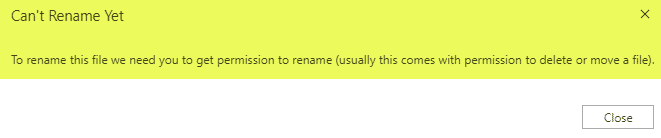
- The ability to rename a file is gone
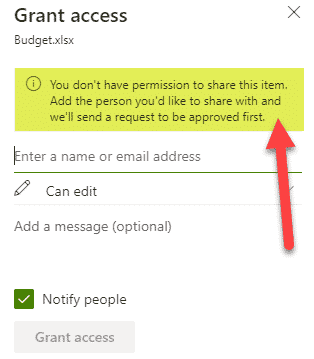
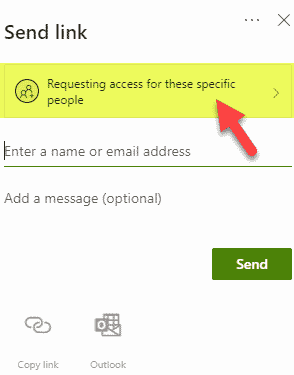
- Users will also not be able to share the files or folders with anyone else
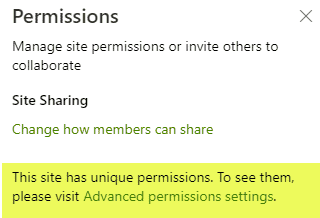
- On the non-group connected sites, the modern Site Permissions panel will also disappear for the Site Owner (since we deviated away from out of the box Read/Edit/Full Control model). So Site Owners/Admins would need to navigate to Advanced permissions settings to make changes going forward


Share Article