< All Articles

4 ways to create Drop down navigation in SharePoint

Posted on March 1, 2016
SharePoint

Those using SharePoint to build company intranets know that one of the most common requirements of a successful intranet is having an easy, user friendly navigation that allows to quickly go from one site to another. Previously, I have published a blog post on SharePoint Navigation best practices. Clear, simplistic navigation is one of the fundamental techniques in successful user adoption.

Today I want to explain in detail 4 unique ways on how to create drop down navigation in SharePoint as well as list pros and cons of each method.

How to create drop down navigation in SharePoint

Method 1: Use Quick Launch

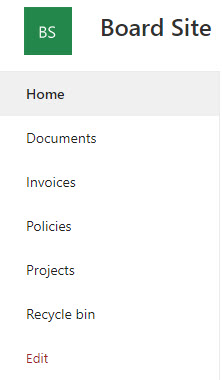
Out of the box, there are 2 menu types you can create. One is called Quick Launch and it appears on the left hand-side of the page, and the other is Top Link Bar, which appears on top of the page. If you already had a chance to experiment with both, you probably noticed that Quick launch does allow you to create a 2 level menu and Top Link Bar does not (it actually does, more on that in Method 2 section). So the trick with this method is that you can use Quick Launch menu in place of Top Link Bar. To accomplish this, you need to do the following:

To create drop down navigation in SharePoint using Quick Launch

  1. Create your 2-level navigation menu using Quick Launch feature (Site Settings > Quick Launch, under Look and Feel) Quick Launch
  2. Change the layout of the page by going to Site Settings > Change the Look (under Look and Feel) Change the look
  3. Change the Site Layout of the page from Seattle to Oslo Oslotheme
  4. You will now see the Quick Launch taking place of Top Navigation Bar and 2-level drop-down navigation will appear up top newepagelayout

Pros:

  • Simple to implement
  • No need to enable publishing features (will explain what this means in Method 3 section)

Cons:

  • You have to switch to a different site layout (look & feel)
  • You lose 1 menu type (once you use switch site layout to “Oslo”, Top Link Bar is gone and you only have 1 menu now as Quick Launch takes its place
  • You cannot set linked sites/pages to open in new window
  • You cannot set audience specific navigation
  • You cannot inherit this type of menu on subsites. So you have to recreate those quick launch drop down menus on all you subsites you have in your site collection if you desire consistent navigation.

Method 2: Use Top Navigation Bar Drag and drop feature

You can also create a drop down navigation using the Top Link Bar. At first, it may seem like the top navigation only allows you to create single level menu. If you try to create a drop down navigation in SharePoint via Site Settings > Top Link Bar, you can only create single level menu entries and can’t really put submenus one under another just like in Quick Launch.

toplinkbarsingle

However, in reality, you can create multiple levels of drop down menu in the top navigation bar simply by dragging and dropping menu choices one under another. It is so simple, but yet, not obvious. I must admit that I just recently learned this trick myself, courtesy of Mike Smith

To create drop down navigation in SharePoint using Drag and Drop

  1. Click Edit Links on the Top Link Bar toplinkbar-editlinks
  2. Create new menu entries/links, by clicking New Link button addnewlink
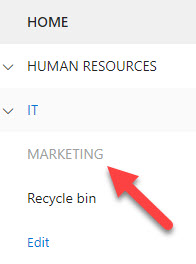
  3. Once new links have been created, simply Drag and Drop menu links one under another
  4. You can build multiple levels of menus using this technique topnavbar-dropdown
  5. Don’t forget to hit Save once all set and done

Pros:

  • Simple to implement
  • You can inherit this menu across all subsites
  • You can create multi-level drop-down menu
  • No need to enable publishing features (will explain what this means in Method 3 section)

Cons:

  • You cannot set linked sites/pages to open in new window
  • You cannot set audience specific navigation
  • Some browsers are little cranky with drag and drop. For example, I noticed that menu drag and drop in Internet Explorer does not always work. Use Google Chrome instead

Method 3: Use Structural Navigation with Publishing features enabled

The next, more advanced option to create drop down navigation in SharePoint, would be through the use of Structural Navigation functionality. That functionality is not available to you straight out of the box. You need to enable SharePoint Server Publishing Feature in your SharePoint Site collection. One you enable this feature, your Site Settings Control panel will change and inherit lots of additional functionalities. Once of those functionalities would be an ability to create structural Navigation menu.

To create drop down navigation in SharePoint using Structural Navigation

  1. Enable SharePoint Publishing Features at a site collection level by going to Site Settings.
  2. Click on Site collection features under Site Collection Administration. sitecollectionfeatures
  3. Click on Activate button next to SharePoint Server Publishing Infrastructure [WARNING: Once you enable Publishing features on a site collection, you will no be able to save any sites in this site collection as templates any more. There is no way back even if you later disable this feature. So proceed with caution!!! Don’t say that I never warned you!] sharepserverpublishing
  4. You usually need to wait ~5 minutes for those features to be enabled. Go drink coffee
  5. Once you go back to Site Settings, you will notice that Quick Launch is now gone and in its place is new Navigation link. Click on it newnavigation
  6. On the page that appears, you will notice lots of configuration options, but you will notice that you can toggle menu options from Managed Metadata (more about that in next Method) to Structured Navigation. Make sure to choose Structured Navigation radio button
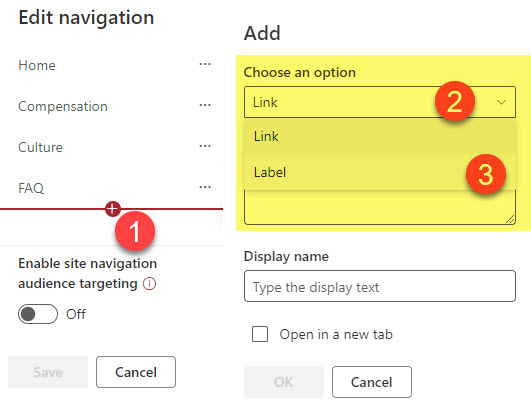
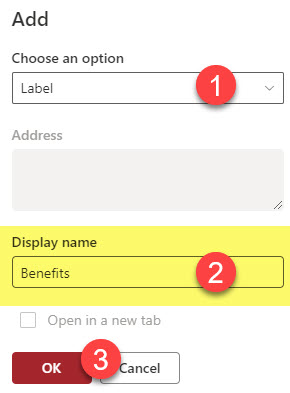
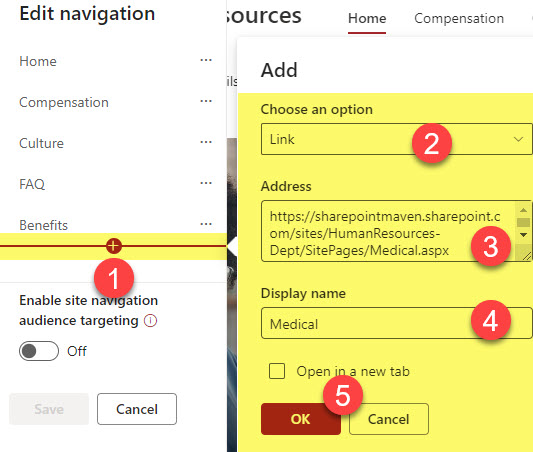
  7. In the section at the bottom, you can create your links by clicking on Add Heading or Add Link buttons addlinks
  8. …and adding respective links and URLs addlinks2

Pros:

  • User-friendly, easy to use
  • You can inherit this menu across all subsites
  • You can set audience specific menus (meaning links will only be visible depending on your permissions)
  • You can set your menus/links to open in a new window

Cons:

  • You must enable Publishing features on a site collection. If you are saving sites as templates in the site collection, you will not be able to use this method
  • You can only create 2-level menu using structural navigation

Method 4: Use Managed Metadata with publishing features enabled

The last option to create drop down navigation in SharePoint (and my favorite) is by using Managed Metadata (also known as Term Store metadata). If you are already using Term Store to manage all your company’s metadata, this option makes most sense.

To create drop down navigation in SharePoint using Managed Metadata

  1. Enable Publishing features at a site collection as described in Method # 3
  2. Go to Site Settings, click on Term Store Management under Site Administration. NOTE: you need special permissions for Term Store Management access. if you don’t have that, contact your IT termstoremanagement
  3. Create your navigation link using the term store tags, as if you are creating regular metadata terms. I am not going to go into detailed instructions on how to setup managed metadata terms as I will cover this separately in another blog post (trust me, Term Store requires a post by itself with all the functionality that exists). termstoreglobalnavigation
  4. Once the terms are created, for each term, specify the URL to point to. Don’t forget to hit Save. termstoretermlink
  5. All that remains now is the need for us to point our navigation to the Term Store. To do that, just like in previous method, go to Site Settings, click on Navigation link (under Look and Feel)
  6. In the Global Navigation section, choose the Managed Navigation radio button (remember, in Method # 3 we chose Structural Navigation) managednavigationradiobutton
  7. Scroll to the middle of the screen. This is where you are telling SharePoint, which term set to use for SharePoint Navigation. Choose the term set that you configures in the Term Store with all the links (Step 3). managednavigationtermset
  8. Click Save. You are done!!!

Pros:

  • You can inherit this menu across all subsites
  • Makes perfect sense to use if you already use term store for metadata
  • You can create multi-level drop-down menu

Cons:

  • You must enable Publishing features on a site collection. If you are saving sites as templates in the site collection, you will not be able to use this method
  • You can not set audience specific menus (meaning links will only be visible depending on your permissions)
  • You cannot set your menus/links to open in a new window

About Me

I’m Greg Zelfond, a U.S. based SharePoint consultant, and I provide affordable out-of-the-box SharePoint consulting, training, and configuration assistance to small and medium-sized businesses all over the world.

Need help?