Search for documents in a document library using Metadata Navigation
I do a lot of live demo examples during my SharePoint Webinars and Training sessions. One of my favorite examples that I always show to my attendees is depicted in an image below. It shows a document library, configured with metadata and a nice-looking filtering mechanism on the left. I always get questions on how I achieved this. The filtering you see is called Metadata Navigation. Today I want to explain and provide step-by-step instructions on how to add such filter to your document library, improve user satisfaction and user adoption and spice up your search.

What is Metadata Navigation?
Before we proceed, I want to mention that this filtering mechanism (official name in SharePoint for this is Metadata Navigation) really only makes sense if you configure your library with custom metadata/columns. If you don’t have custom metadata setup, the only filters you will have are the ones that exist by default in any library (Modified, Modified By, etc.).
Metadata Navigation is a feature in SharePoint that allows users to dynamically filter and find content in SharePoint lists and document libraries.
Step 1. Configure your metadata, upload documents
I will assume that you already know how to do this. If you don’t – you might want to check out this slide deck for step-by-step instructions.
Step 2: Activate Metadata Navigation feature
Not sure why it is setup that way, but the cool looking filter (also known as Metadata Navigation) is not something that is activated out of the box. You have to enable the feature at the site level first. For this, you need to be a Site Admin (or have Full Control permission to the site).
- Go to Site Settings > Manage Site Features.
- Scroll down to Metadata Navigation and Filtering and click Activate button.

Step 3: Configure Metadata Navigation Settings
Once the Metadata Navigation is activated, you can now setup filters at the library level
- Go to the library where you want to add the filters
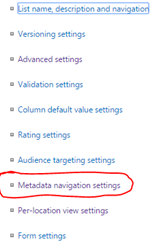
- Go to Library Settings tab – you will now see an option called Metadata Navigation settings. That option did not exist previously (it only appears after you activate that Metadata Navigation feature above)
- On the next screen you can configure your filters. You have full control over which filters to display and in which order. The filter list on the left side contains all of metadata filters available to you (both out of the box + custom metadata you created yourself).
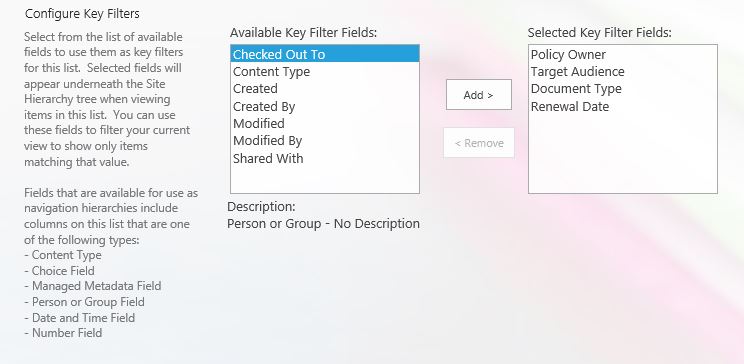
- Click OK


You are done – enjoy your search! Now use can search your library based on a combination of metadata filters. Just choose your choices on the left, click Apply filter and your library will adjust results accordingly.
Bonus
Not only you created an awesome user experience for your end users, but you also completed a major step in case you have a large document library. If you have heard about 5,000 item limit – you know what I am talking about. In case you don’t, please check out this post and slide deck. In any case, when you enabled metadata navigation, behind the scene, SharePoint indexes (catalogues) the columns you have chosen for the filters. While this alone will not completely fix 5,000 item limit issue, you are half-way there just by doing this! Make sure you follow all instructions in the slide deck to completely solve 5,000 item limit once and for all!

Share Article