How to schedule news posts and pages using the Schedule feature in SharePoint Online
We were able to create pages and news posts for quite some time now in SharePoint Online. Modern pages allow for an amazing and very intuitive experience for the end users to create web content in the form of text, images, and other web parts. One of the most requested features that was recently made available was the capability to schedule a page or a news post to be published in the future. So in this article, I would like to explain to you how to do just that!
Pages vs. News Posts
Since the scheduling feature applies to both regular pages and news posts, it is essential to understand the difference between the two. I actually did this previously in this post. If you are a lazy schmuck and don’t feel like reading the article above, a news post is essentially a special type of SharePoint page that shows up in the News Web Part.
How to schedule pages and news posts using the Schedule feature in SharePoint Online
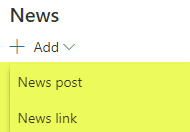
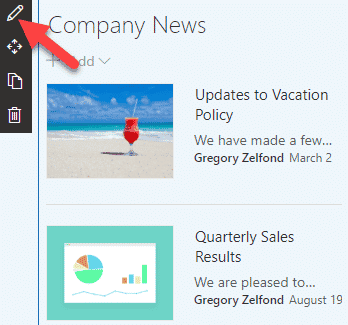
While you can schedule both the pages and the news posts, the scheduling feature probably mostly makes sense for the news posts. You can schedule regular pages too, but you can always “hide them” and not link to them from the main site. On the other hand, news posts immediately show up in the News Web Part once published. And in case you do not want that to occur, you can schedule them. For example, you created a news post to wish everyone a Happy Holiday that you want to be posted on the date of the Holiday. Or you have curated a new policy announcement that only takes effect on a certain date and want the announcement to be posted on that specific date. I am sure you have better ideas for this than the two lousy ones I came up with above.
To schedule pages and news posts, please follow the steps below:
Step 1: Enable Scheduling feature on the Site Pages Library
- Gear Icon > Site Contents
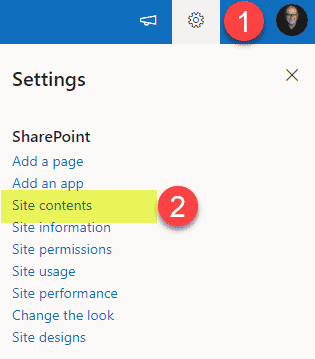
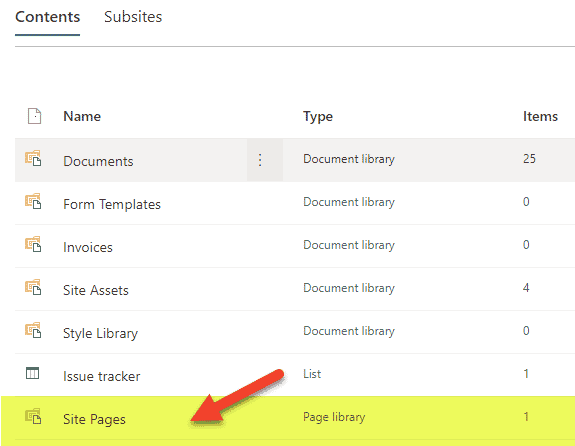
- Click on the Site Pages library (where all the pages reside)
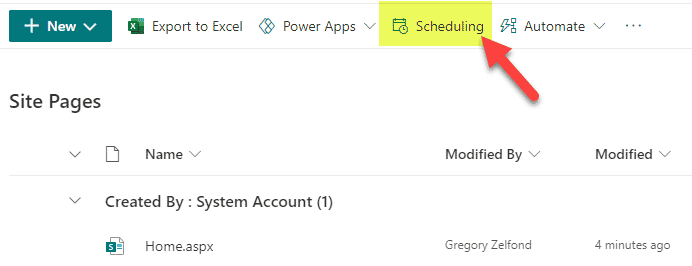
- Click on Scheduling
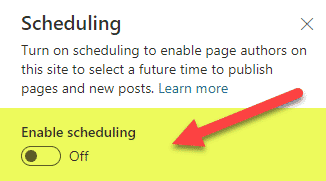
- On the side pop-up, click on Enable scheduling toggle to enable it
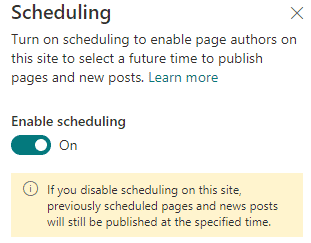
- It should look like this
Step 2: Schedule News Posts/Pages
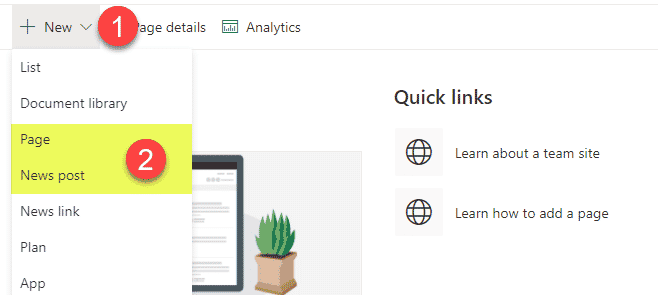
- From the Site Homepage, click New and then choose either a News post or a Page (in our example, I will choose a News post)
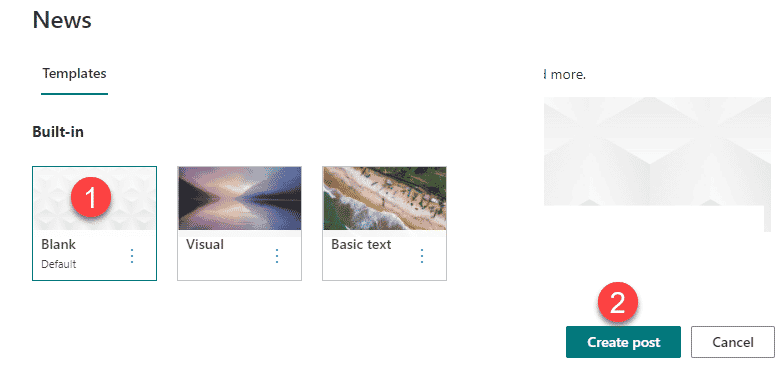
- Choose the template and then hit Create
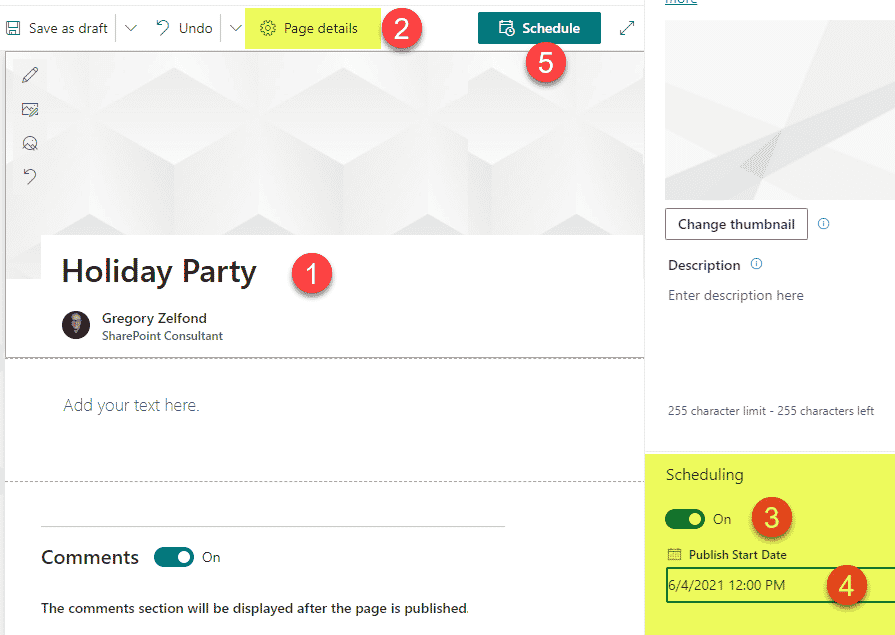
- On the next screen, type in the name of your post, add content, then click Page Details, enable Scheduling on a post and choose the date/time it will be published. Finally, click Schedule to schedule the page.
What happens behind the scenes
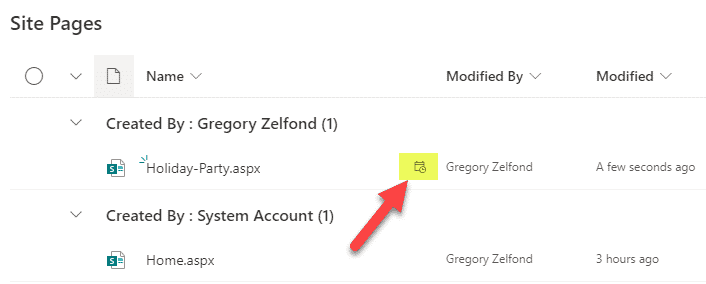
If you navigate to the Site Pages library, you will notice the page appearing in the library with a little calendar/clock icon next to it, meaning that this page exists, yet is not published.
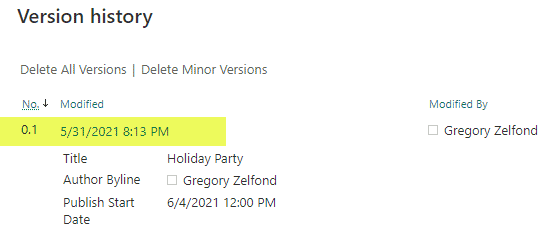
If you check its version history (Right-click > Version History), you will notice that its version is not 1.0, but rather a minor version of 0.1. Once it publishes, its version will be updated to 1.0.
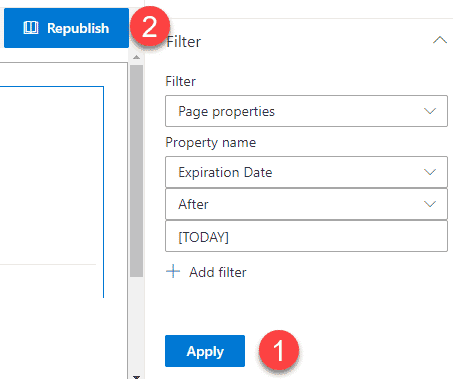
How to expire news posts
By the way, in case you also want to expire the news posts (reverse of scheduling) and make them disappear from the News Widget on a certain date, you might want to read this post. There is a way to achieve this. There is no way to do so using built-in functionality, but thanks to metadata and some magic, you can easily build such functionality in no time. Again, check out this post for instructions.
