How to migrate files from cloud storage to SharePoint using the Mover Migration Tool
If you currently have your file shares located in the cloud (i.e., Dropbox, Box, Google Drive, etc.) and need to migrate to SharePoint Online/Office 365, then your job is much easier now, thanks to the Mover Migration tool. In this article, I would like to walk you through the process and explain how you can migrate files from Dropbox, Box, or Google Drive to SharePoint Online (Office 365) using the Mover Migration Tool.
What is Mover Migration Tool?
Mover is the company that Microsoft purchased in 2019. Its software allows organizations to perform cloud-to-cloud migrations (i.e., from Dropbox to SharePoint or from Box to Google Drive). While the tool allows migration from any cloud to any cloud provider, for the purpose of this article, I will focus on its ability to migrate specifically to SharePoint Online and OneDrive.

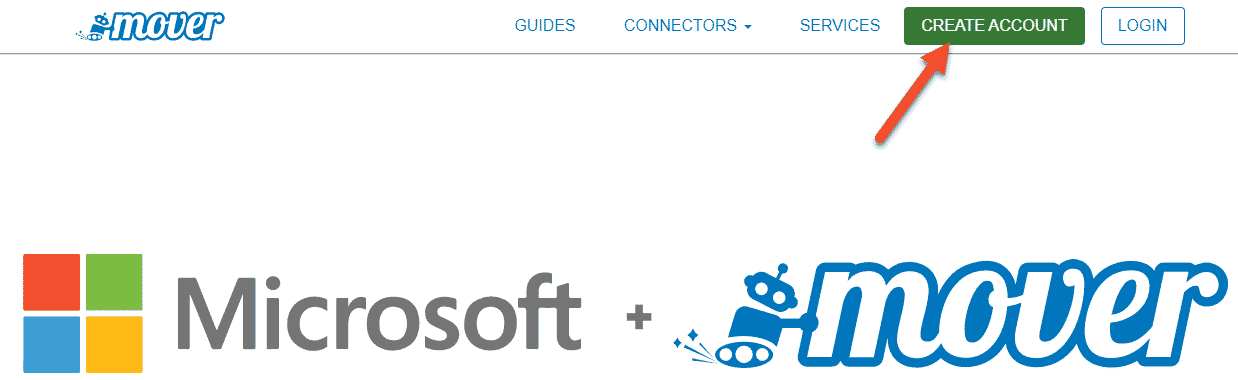
Screenshot of the Mover Tool (website)
Before you start the migration…
If you read my previous post on the migration from on-premises network drives to SharePoint Online, you know that the # 1 step before the migration is to set up the proper Information Architecture in SharePoint Online. So instead of me repeating the same stuff in this article, please kindly read STEP 1 in this post. After you read the paragraph above, please repeat after me:
“I, [insert your name here], promise to set up the proper Information Architecture in SharePoint Online, create multiple sites and document libraries as well as conduct proper training for my end-users before I migrate content to SharePoint.”
You may now proceed with the steps below. :-)
How to access the Mover Migration Tool
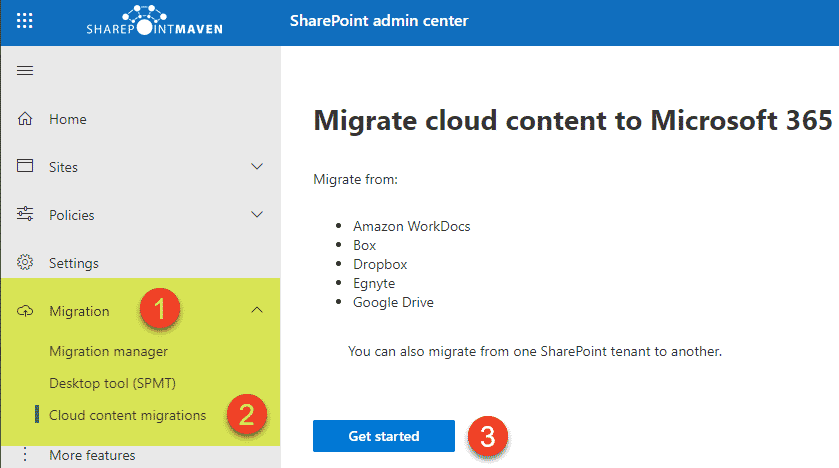
- You can access the Mover tool by simply going to https://mover.io/. You can also access the above site from the SharePoint Admin Center as well, but as of the writing of this post, the Get Started button just routes you to the URL above
- Once you make it to the site, you first need to create an account
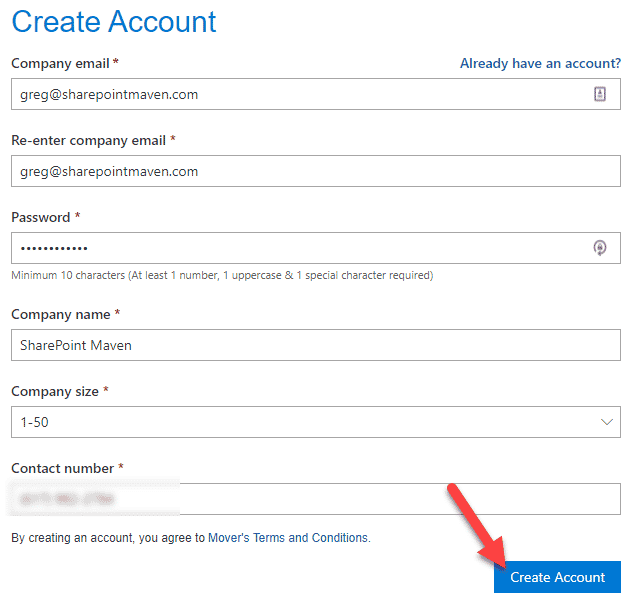
- Fill in the blanks and hit Create Account
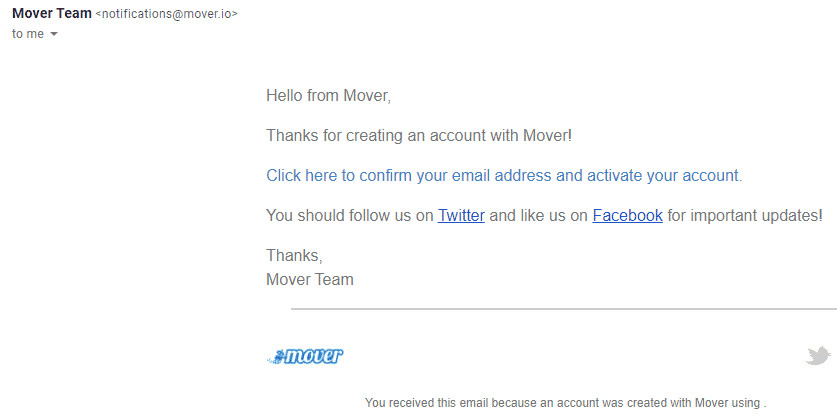
- You will need to click on the validation link from within your email to activate your account
- Then it will prompt you to sign-in with your Office 365 account
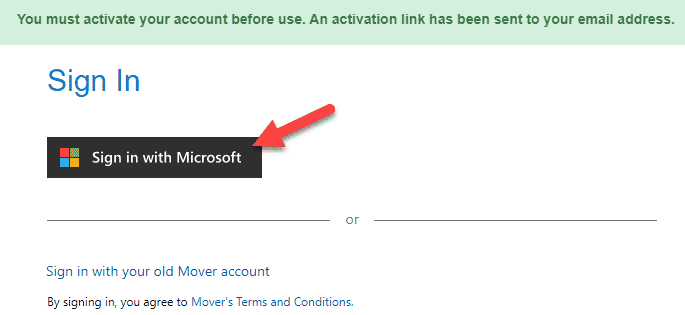
- You will need to accept Terms and Conditions
- At this point, you will be brought to the main Migration screen. We are now ready to start the migration


How to migrate using Mover Migration Tool
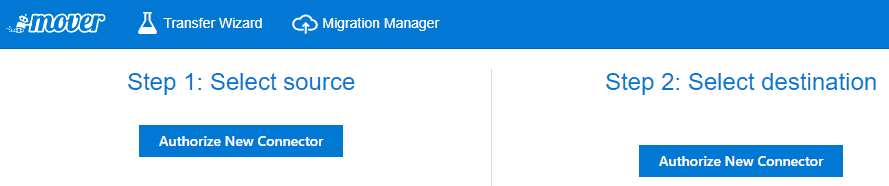
Step 1: Authorize Connectors
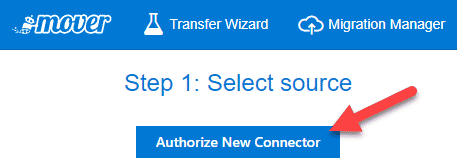
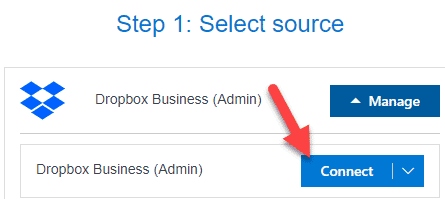
- Click on Authorize New Connector under Step 1: Select Source
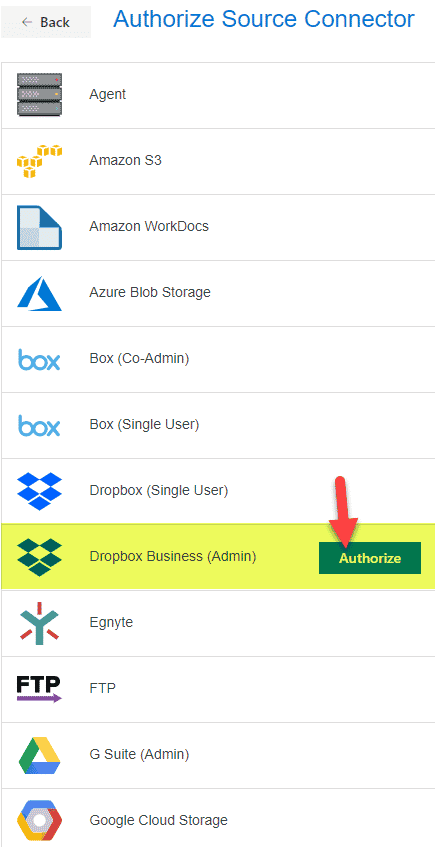
- From the list of the available cloud providers, choose the one you are migrating from. Hover over it and click Authorize
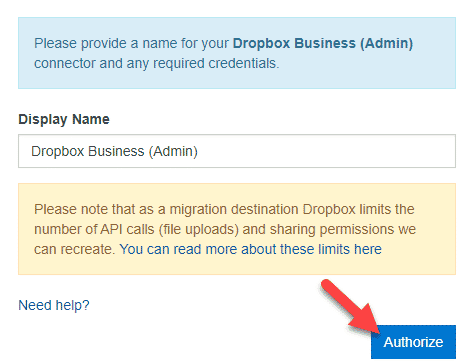
- On the next screen, click Authorize again
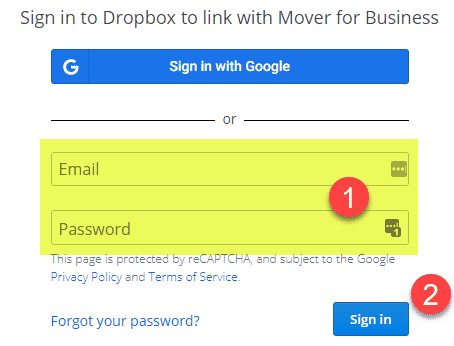
- Sign in to the other cloud provider using their credentials
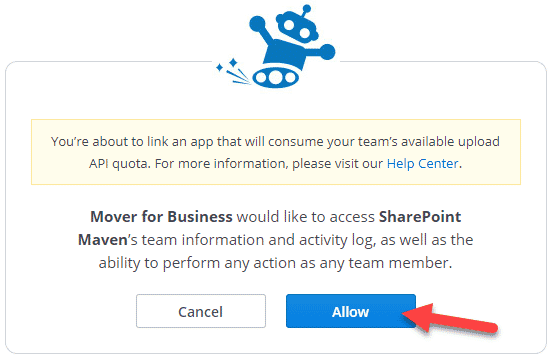
- On the next screen, click Allow to grant access
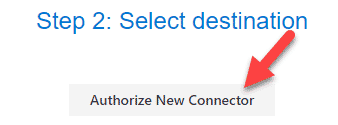
- Next, we need to authorize the destination (SharePoint). Click Authorize New Connector under Step 2: Select destination
- Choose the intended destination (SharePoint in my case)
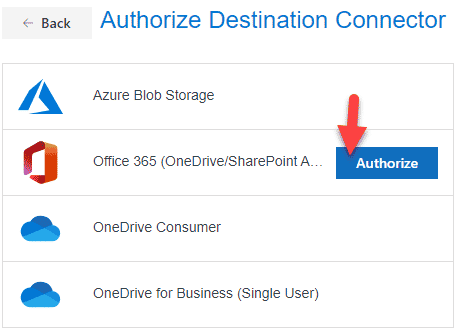
- On the next screen, click Authorize

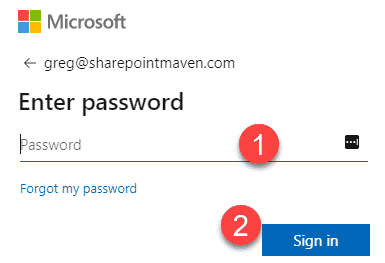
- Enter your Office 365 credentials, click Sign in
- Next, you might get a screen and error messages, as shown below. This is because of additional authorization that needs to be performed
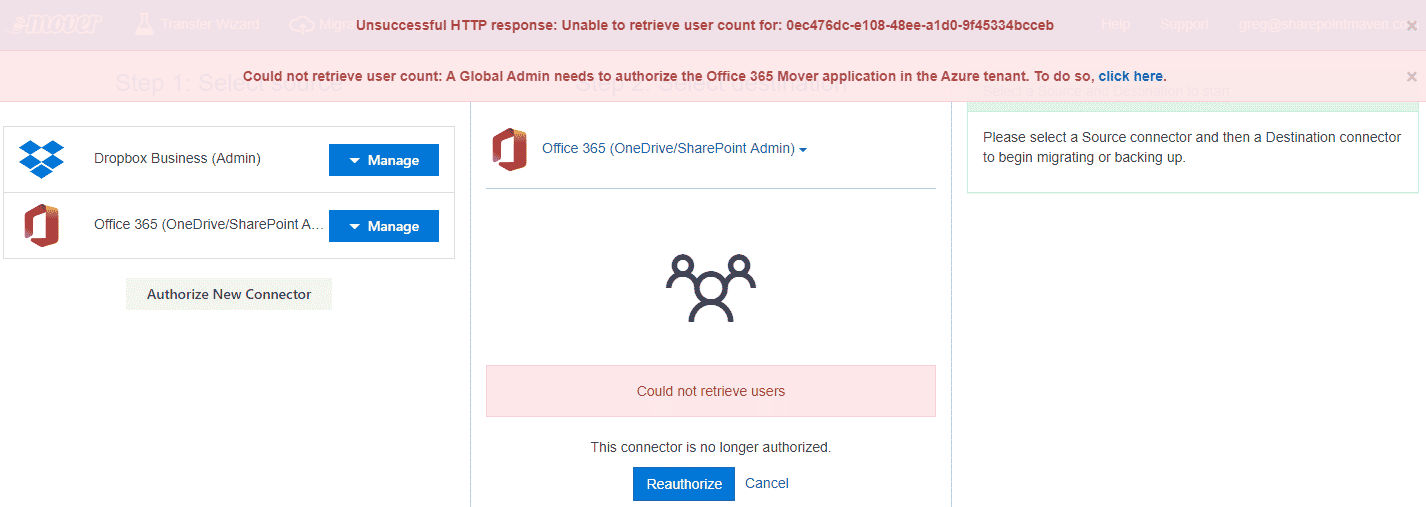
- You will need to head down to this URL (https://aka.ms/office365moverauth), just like it warns you in Step 8 above. This is necessary to grant permission to the Mover Application. This will open up Enterprise Applications in Azure.
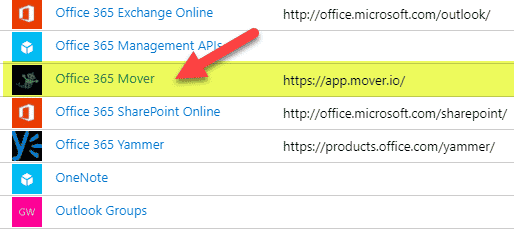
- Click on the Office 365 Mover application from the list of apps you see on the screen.
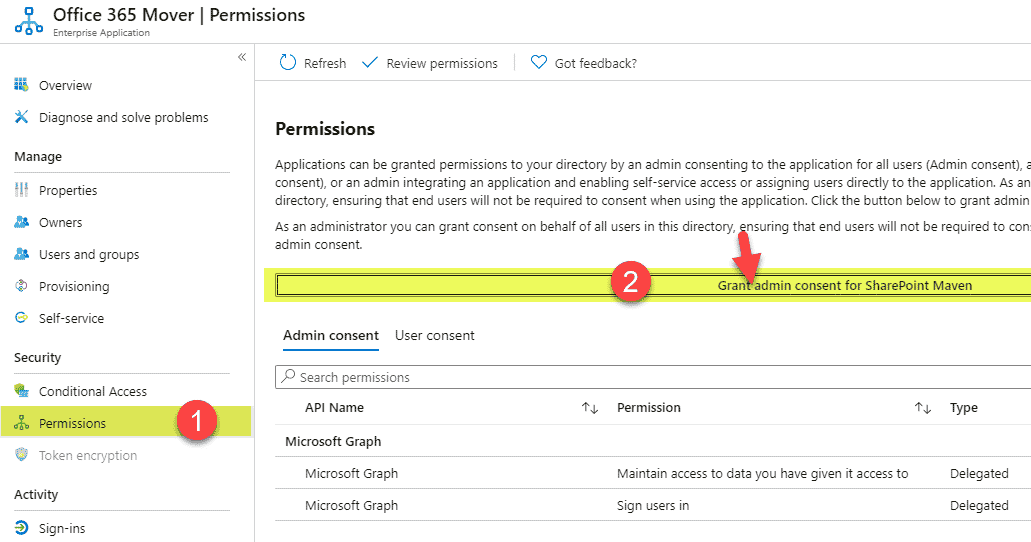
- Click on the Permissions on the left-hand-side, then Grant Admin Consent Button in the middle of the screen.
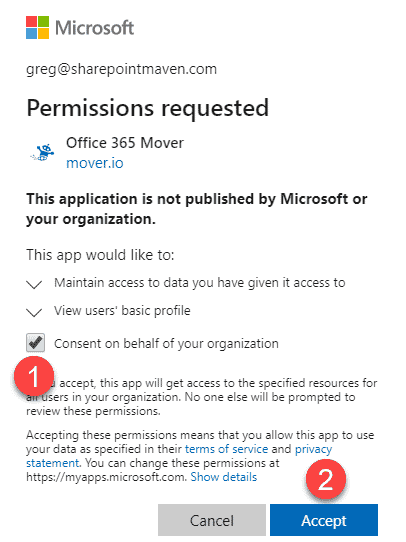
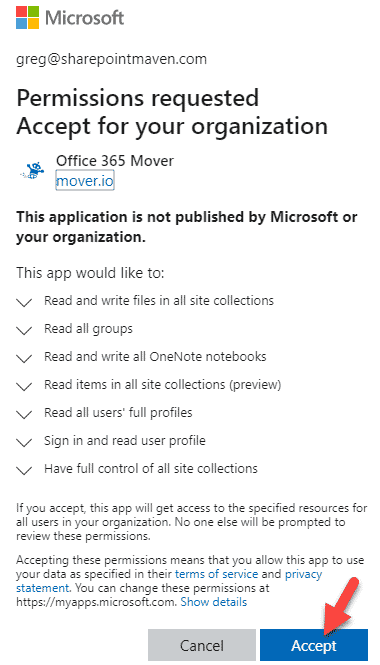
- On the next pop-up, hit Accept.
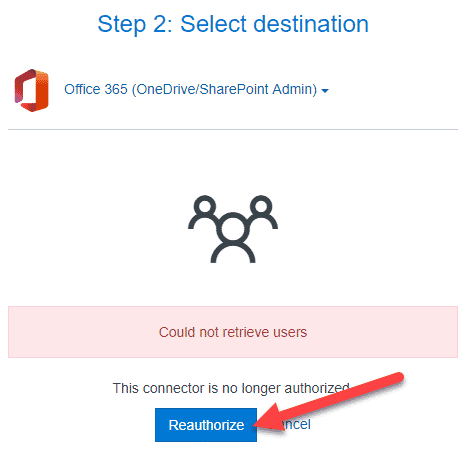
- From the Mover migration screen, you will then need to click Reauthorize button and repeat login steps.
- It will then validate the successful login by displaying the number of sites and users.

- Re-connect again to the source. You can now proceed with the next step.


Step 2: Add Users and Source/Destination Paths
This step is necessary to ensure that user info (metadata) is transferred during the migration as well.
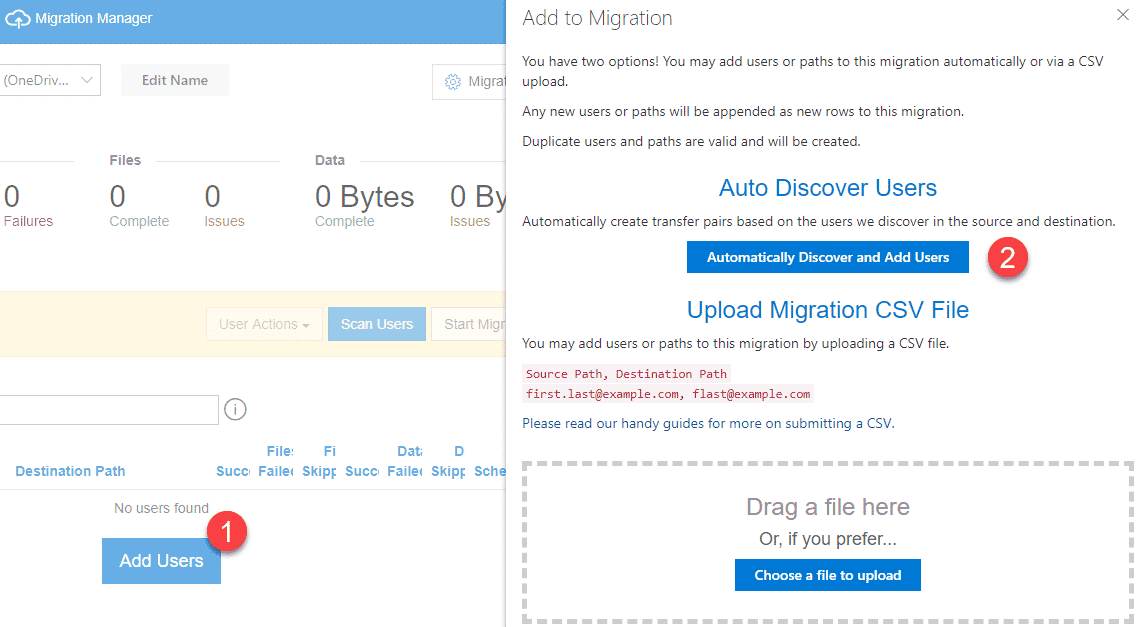
- Click Add Users button. You will then be presented with a choice of importing a list of users or auto-discovering them from both the source and the destination. When you import a list of users (via CSV file), you can set their source and destination IDs as well as source and destination paths. In a regular migration, this would the preferred option. In my case, I will use the Auto Discovery feature and walk you through so you can see what is happening. Click Automatically Discover and Add Users button.
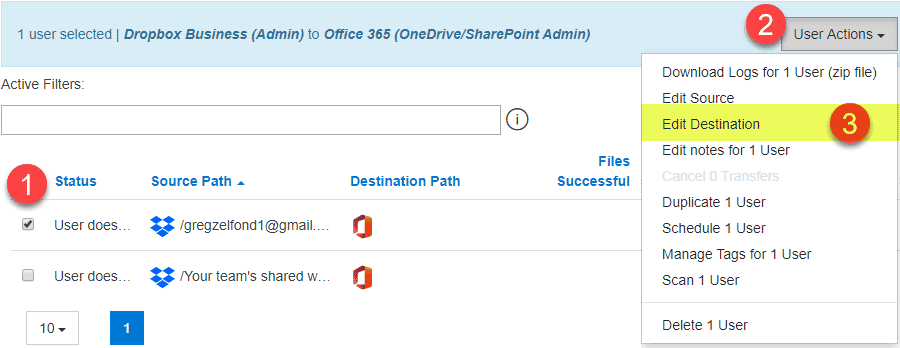
- Next, we need to set the destination path for a given user.
- Double-click on the site you want to migrate to
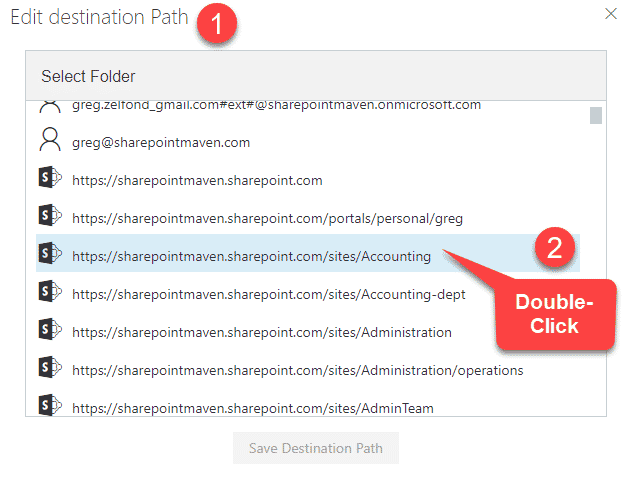
- On the next screen, double-click the Document Library you want to migrate to
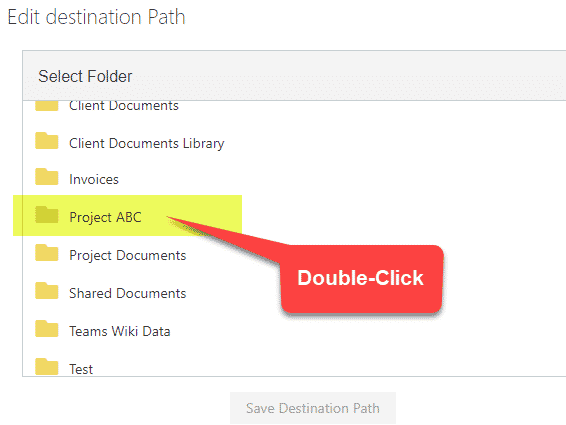
- On the next screen, click Save Destination Path.

- Repeat the above steps (set source/destination) for each user or use the CSV option mentioned above.


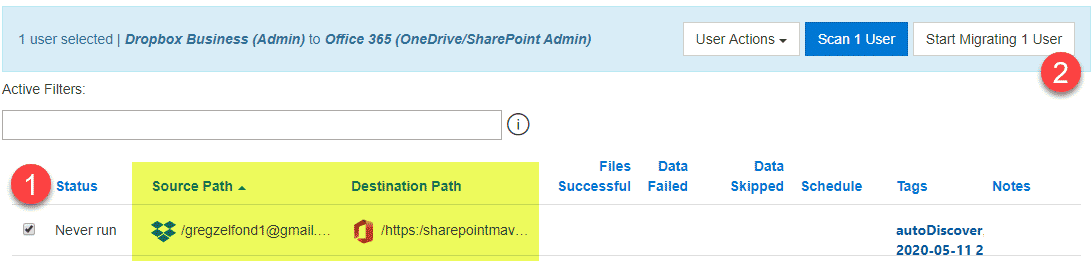
Step 3: Start Migration
- Now that both the source and destination are set, we can start the migration process. Check the box next to a user and click Start Migrating button
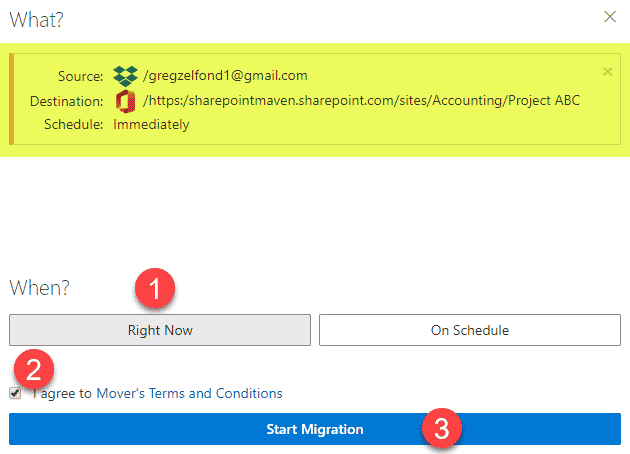
- On the next screen, review the source/destination, set the schedule, agree to Terms and click Start Migration button
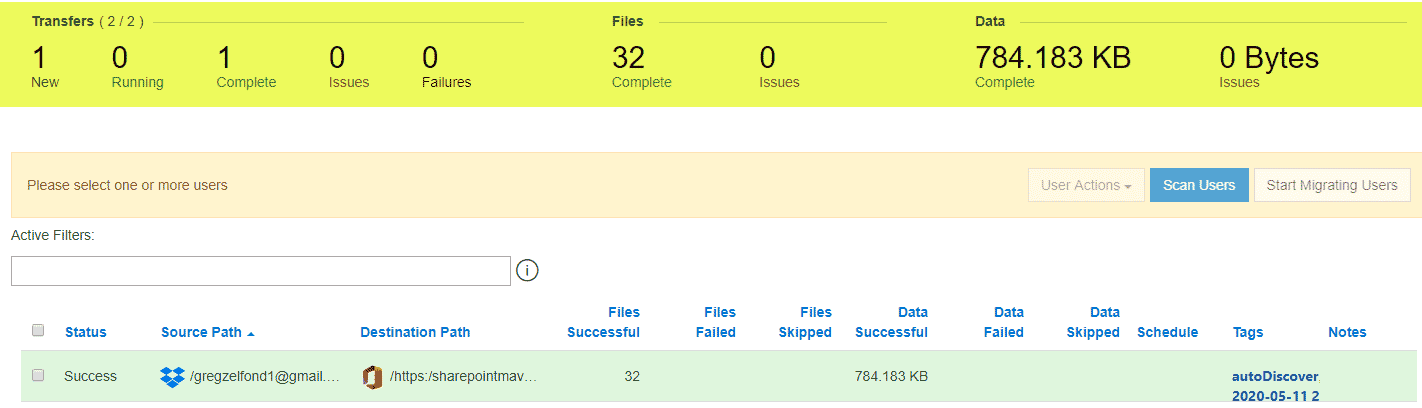
- Once the migration is completed, you will get an email notification

- You will also get a summary in the Mover application as well
- Lastly, you can also download the migration report in CSV format if necessary


Share Article