How to create a calendar view on a SharePoint list
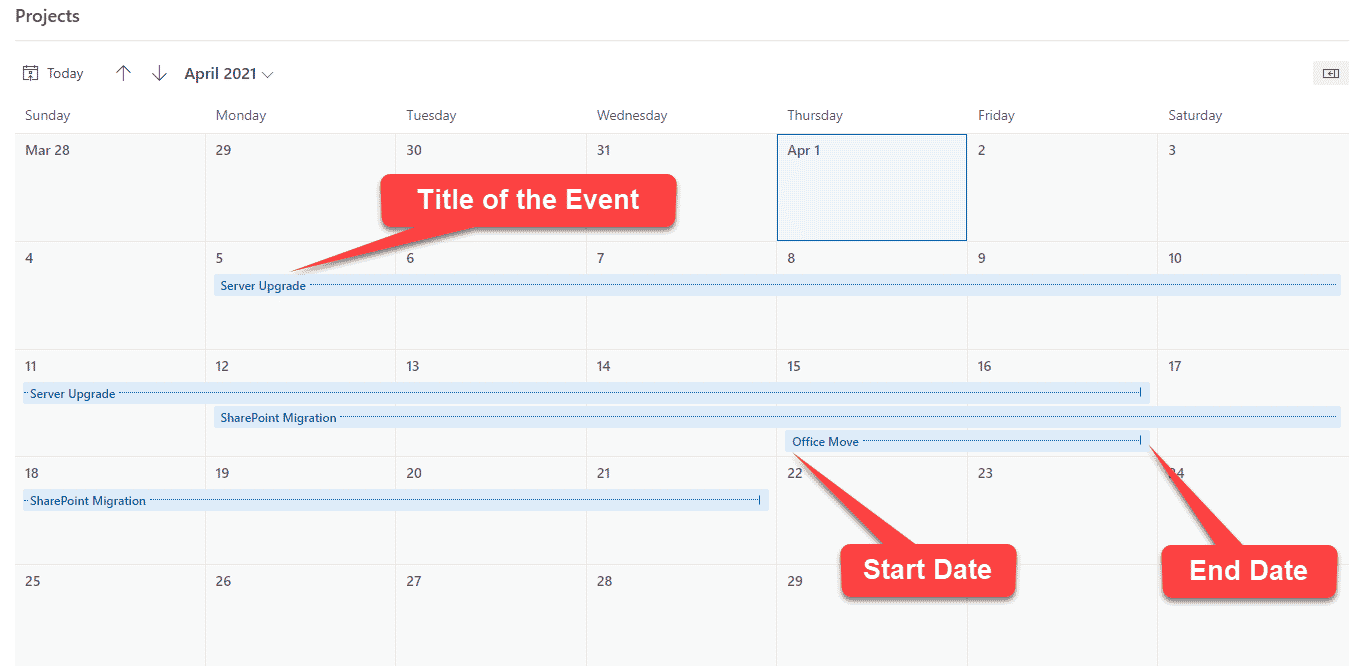
Let’s face it, we all love calendars. The calendar view allows us to visualize the data/due dates efficiently and draw a mental comparison to the tasks we have due on any given date or in the near future. Good news: if your list with rows and columns of data contains date fields, we can now create a view that will display the information in the monthly view format. So in this post, I would like to show you, step-by-step, how to create a calendar view on a SharePoint list.
Old feature, new design
Before I dive into the instructions, I also want to state that this functionality is not really “new.” We had the ability to create calendar views on the lists and libraries in the past, from the classic list/library settings page.
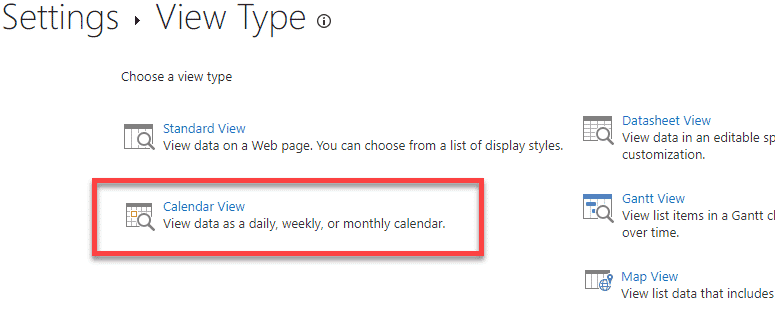
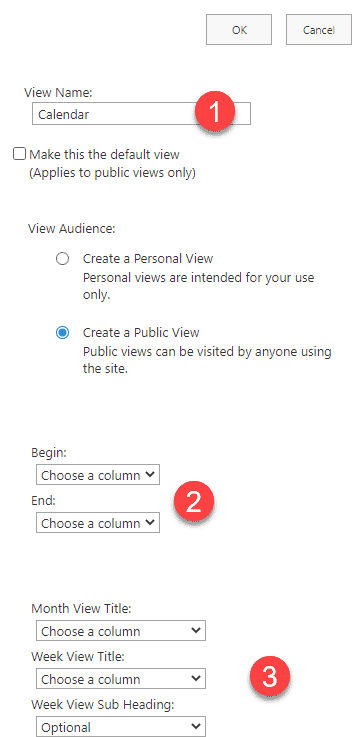
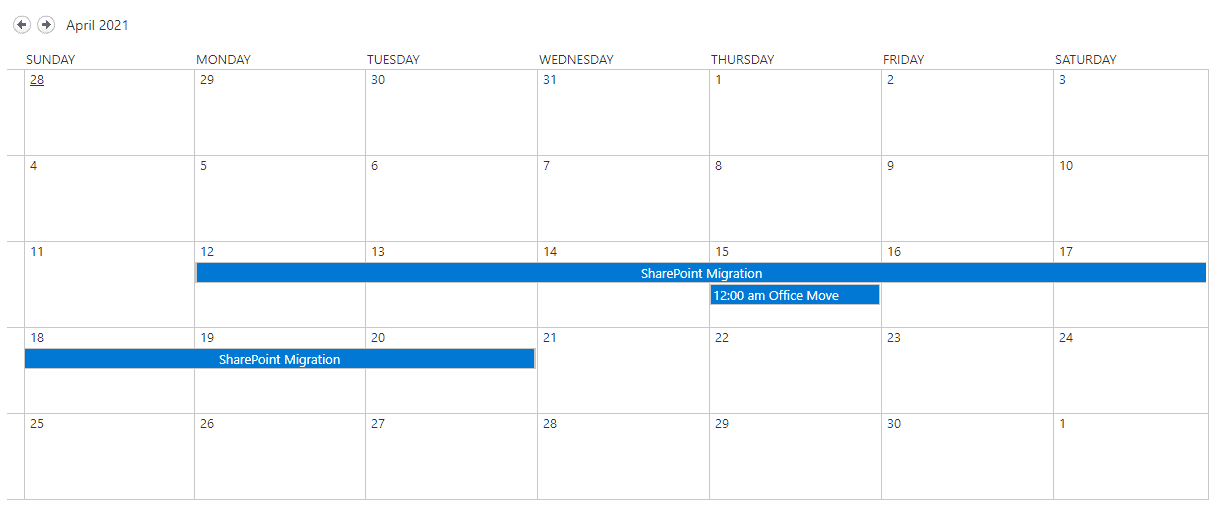
The result was a classic calendar that looked like it arrived from the 1990s.
The functionality I am about to describe is related to the modern custom lists in SharePoint Online. Unfortunately, as of the writing of this post, modern calendars do not exist on the document libraries (though you can still create the classic one described above).
How to create a calendar view on a SharePoint list
- Make sure your custom list has at least 2 custom date fields you can use (1 date field is fine too, but if you would like to show a range, you would need to have 2 date fields). For example: Start Date and End Date or Expiration Date and Reminder Date. For this example, I will use a Project List shown below.

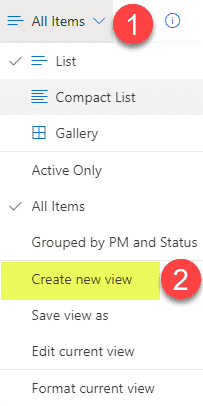
- Click on the Views drop-down and choose Create new view
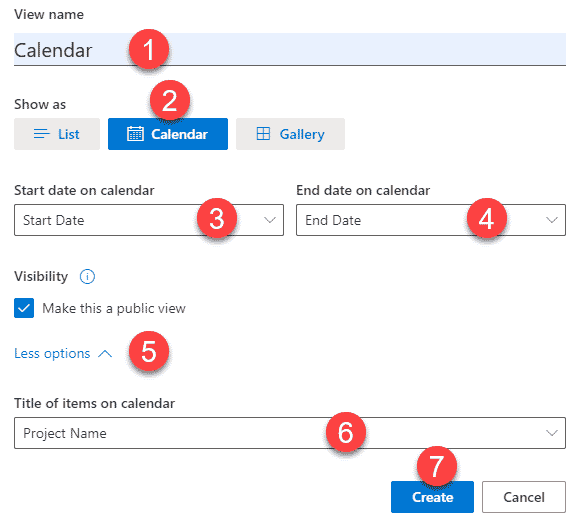
- On the next screen, give your view a name, choose the Calendar option, then choose the dates from the list that will serve as the start and end dates on the calendar. If you only have one date field, choose it under both the Start and End dates. It will then show up as a milestone, not a range on the Calendar View. Finally, expand More options and choose the name of the field that will serve as the Title of the calendar event. Click Create.
- And we have a nice, modern calendar!
