How to create a Board View on a SharePoint list
One of the recent and very significant changes made to a Microsoft list was the addition of a Board view. If you are using Planner (part of Microsoft 365) or Trello, you know what you are talking about. Kanban Boards allow you to view items (tasks) in a board-style format, making it easy to change the “cards” from one bucket/category to another. Such visualization of tasks became popular among project managers, especially on Agile-type projects. In this article, I would like to explain how to create a Board View on a SharePoint list.
What are lists
Let’s start with the basics. Before I explain the instructions, I like to ensure my readers know and understand all the pieces involved. If you are reading this and wondering what the hell is a list, I suggest you read this article first.

What is Kanban Board
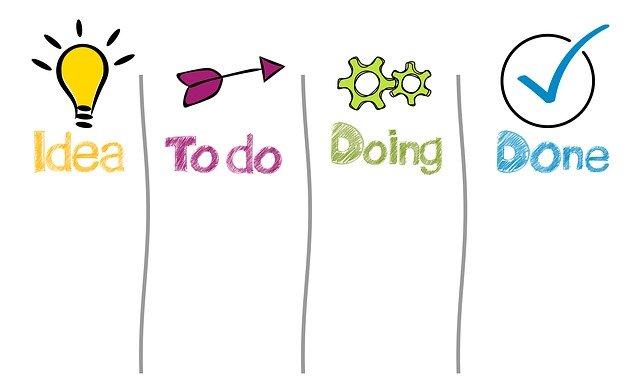
Wikipedia provides an excellent description of Kanban.
Planner Tool
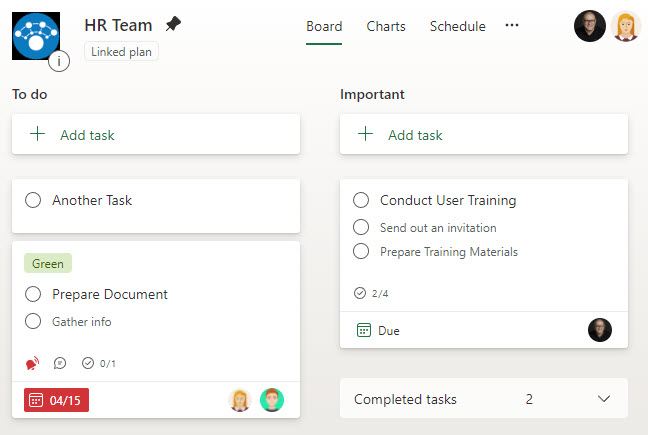
It is important to note that we already have Kanban Board capability within Microsoft 365. Planner tool, a task management tool bundled within Microsoft 365, uses the Kanban Board view to display tasks. Read more about Planner here.
How to create a Board View on a SharePoint list
This brings me to the core section of this article. Up until now, in a given list, we were able only to have a list view (default), a Calendar view, and a Gallery view. Below, I would like to explain how to create Board View on a list.
I am starting with the List of Projects that I have.

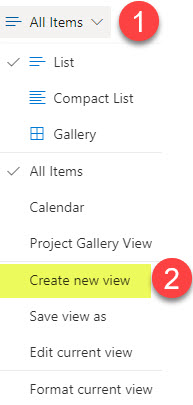
- From the Views drop-down, click Create new view
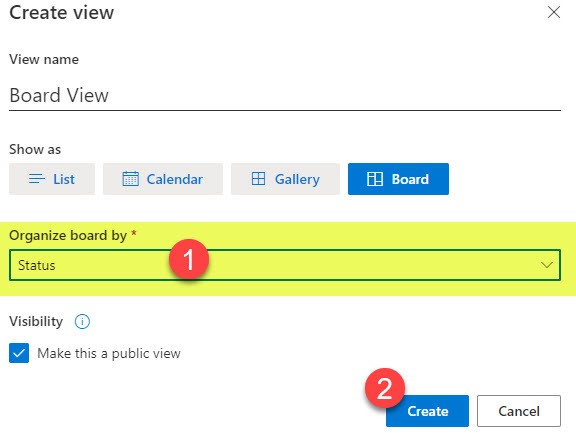
- Give your view a name, then choose Board from the available view types
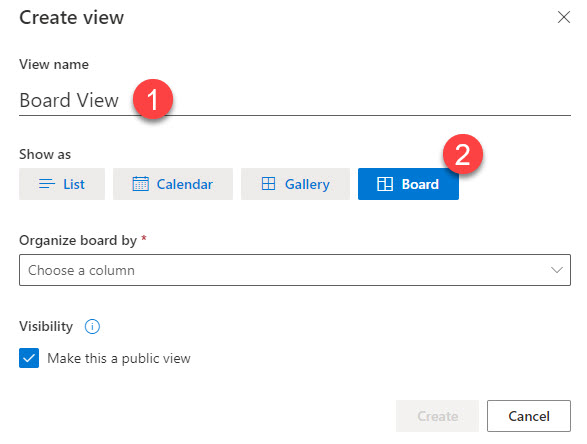
- Next, on the same screen, select the column by which cards on the board will be organized. Think of them as buckets in Planner. In my case, I want to organize my projects/cards by Status. Click Create.
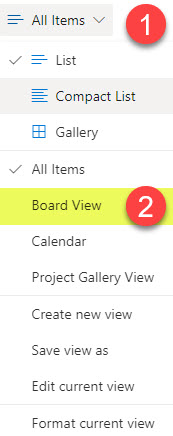
- You will receive a confirmation that a view has been created. To access it, choose it from the Views drop-down.
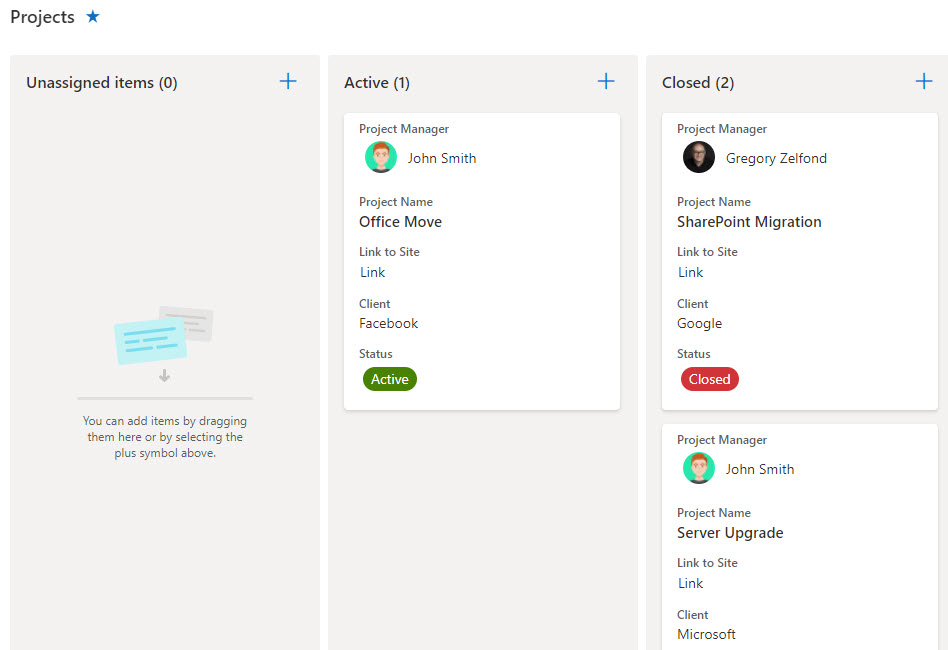
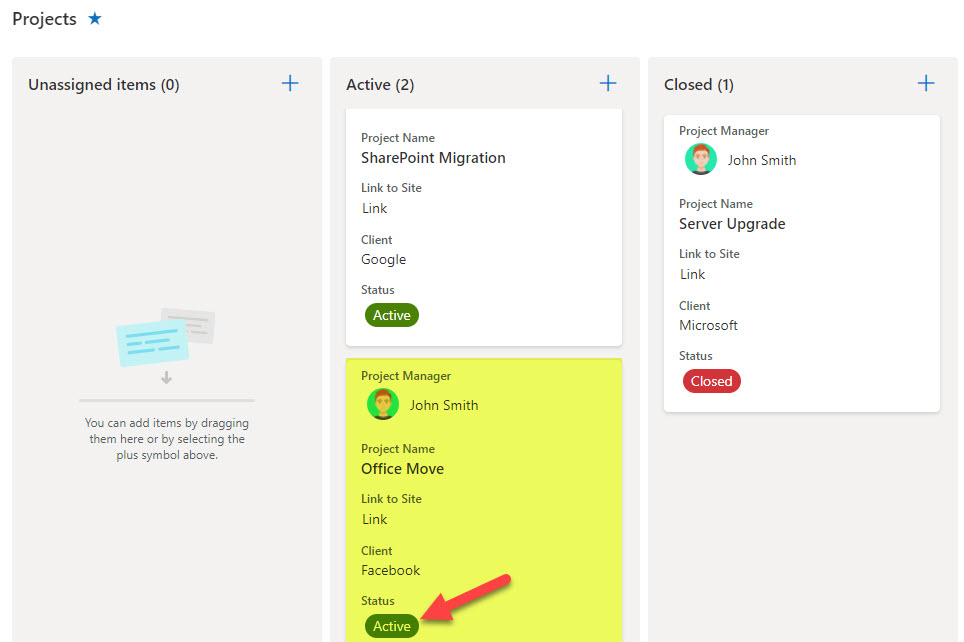
- You will now see the view you created
How to use the Board View
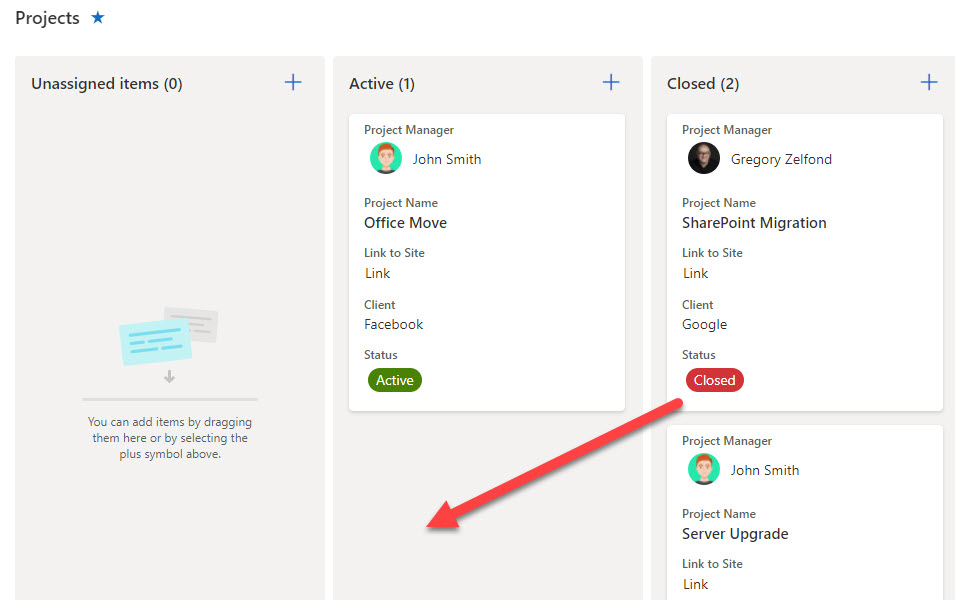
You can drag and drop (move) the cards from one bucket to another. This, in turn, will adjust the column value of a “group by column” (bucket) automatically.
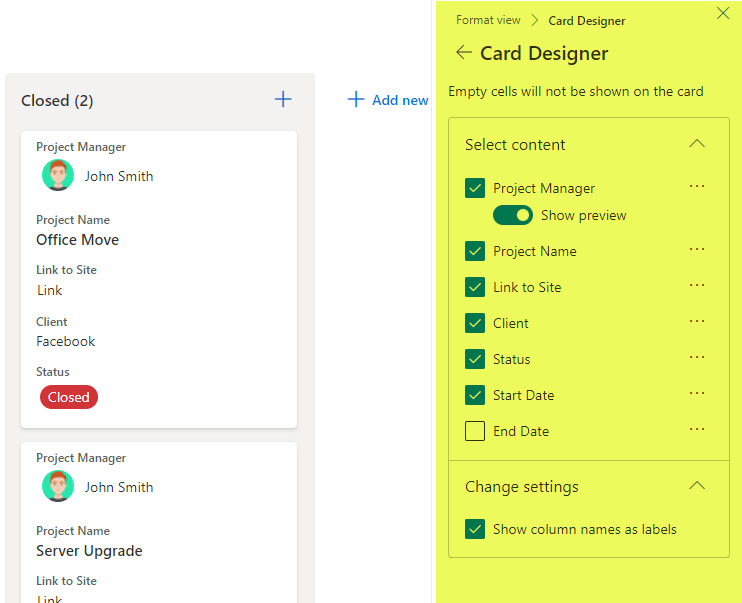
You can also format the card view and select which information you want to display. I provided instructions on this in a similar post where I explained how to create a Gallery View.
Gallery View vs. Board View
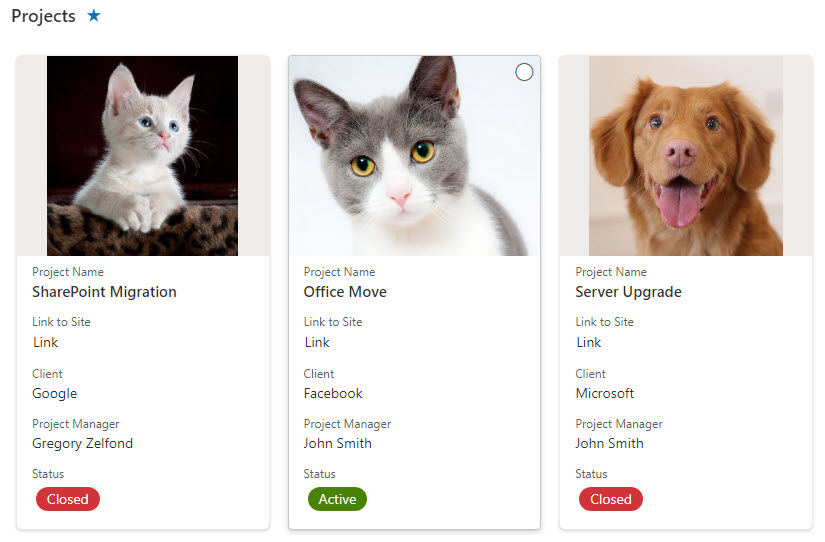
You might notice that Board View is similar to the Gallery View I described in one of my earlier posts. Indeed, they look almost identical. The most significant difference between the two is that Board View is grouped by one of the columns on a list. So think of Board View as a Gallery View grouped by one of the columns, which turns it into a bucket.
Planner vs. Board View of a List
You might also notice the similarities between Board View and the Planner tool we had for some time. As a matter of fact, at some point (long before we for Board View), I even published a post comparing List and Planner. You can read it here. With the change above, another “unique” difference between List and Planner was erased. This makes both applications almost compete with each other as both seem to be capable of achieving the same objectives using different technologies. There are still some significant differences between the two tools, which will influence your decision to use one tool over another. Once again, I summarize all those differences here.


