How to check in documents on behalf of others in SharePoint Online
If you are using the check-in/check-out feature in SharePoint for document control, then I am sure you encountered a scenario where a user checked out some documents and forgot to check them in. Perhaps a user went on vacation, and someone else needs to change the documents now. In this post, I would like to explain how you can override the check-in mechanism and check in documents on behalf of others.
What is the Check-out feature in SharePoint?
By default, SharePoint allows for real-time co-authoring. That means that multiple users can edit the document at the same time. There are situations, though, when the document needs to be locked down for editing by just one user. In that case, you can check out a document, which pretty much locks the document to the user and prevents anyone else from editing until the user checks the document back in. I described the feature in great detail here.

What happens when the document is checked out?
The document is locked to the user. All other users can still access the latest version of the document just before check out in read-only mode. The user who checked out a document can save the changes back to SharePoint, but the changes will not be seen by others until the user checks the document back in or discards the check-out. While the document is checked out, no one else can make any changes to the document or even access any revisions made by the user.

How to check in documents on behalf of others in SharePoint Online
Luckily, there is a way for the Site Owners to override the check-in on the user’s behalf!
Step 1: Owner (Admin) Access
Make sure you are the Owner of the Site. If you are a regular member, you will not be able to check in the files for others. I explained the different roles and their permissions in this post. Again, being the Owner is a must!
Step 2: Create a “No Folders” view (Optional)
If you need to check in a single document and you know where it is, you can skip Steps 2 and 3 and head straight to Step 4. However, too often, you have no idea which documents have been checked out by your users and want to see them all and check them in all at once. So, in this case – you would need to follow instructions here and the following step as well.
To list all the documents that have been checked out, we would need to create a folder-less view. This will become more handy and obvious in the next step, when we display the Checked Out to column, but for now, let’s create a view that suppresses all the folders (hides them). I explained how to achieve this in this post.

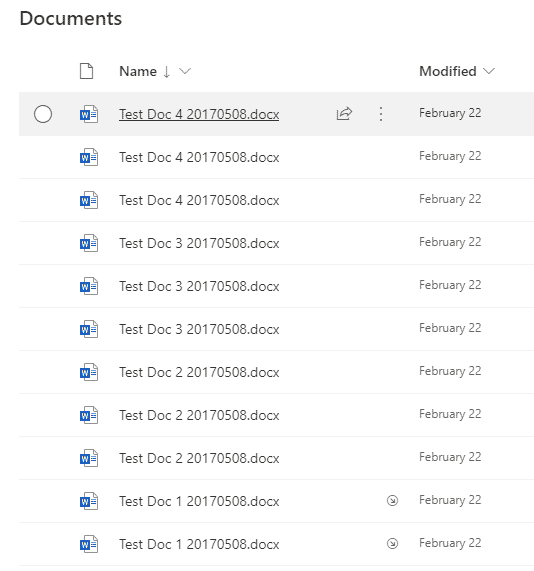
So this view will turn your folder library that looks like this…

to this (just files show up, all the folders are hidden)…

Step 3: Add “Checked Out to” Column to a view (Optional)
While we created a folder-less view in Step 3 above, we ended up with a huge list of all the files in the document library. However, it is nearly impossible to easily spot the ones that have been checked out by the users. Yes, you do have a check-out indicator overlaying the checked-out files, but it is very easy to miss and impossible to show only the files that have been checked out.

However, we can fix the above by adding a Checked Out to Column to the view.
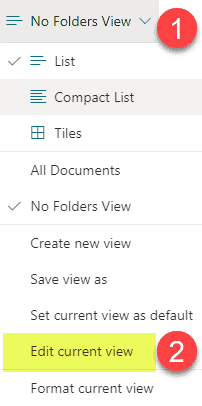
- Click on a view drop-down and choose Edit current view
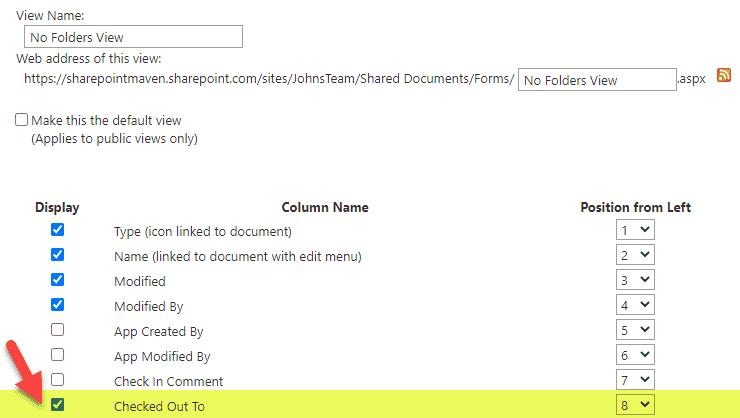
- Check the box next to Checked Out to Column and click OK to save the view
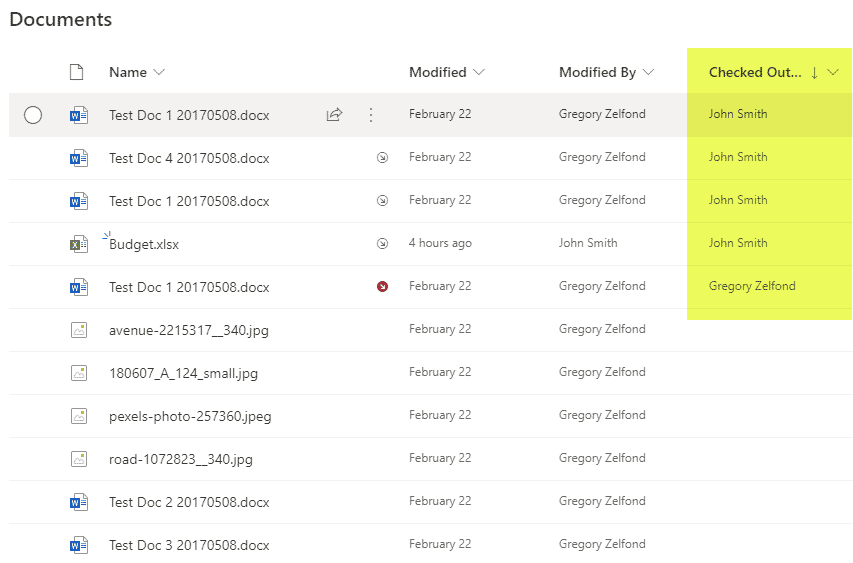
- You will now get a dedicated column on the library highlighting all the checked-out documents and displaying to you the names of the users who checked them out
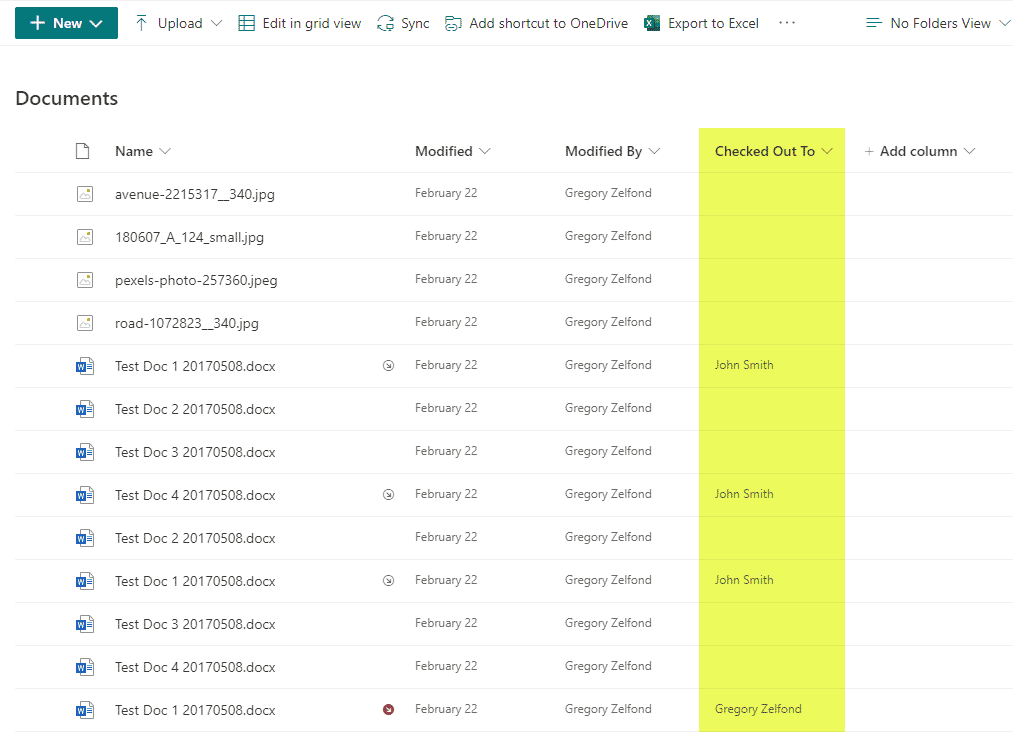
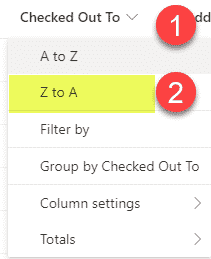
- Since your list of documents can be 100’s, if not 1000’s rows deep, to make it easier to spot checked out documents, what you can do is sort the Checked Out to column in the reverse alphabetical order
- And finally, you will get a nicely organized list of all the checked-out documents in your library


Hopefully, seeing the above image clarifies why we had to go through the pain of Steps 3 and 4. Otherwise, this would not be possible.
Step 5: Check in documents on behalf of others
Now that we determined the documents checked out by others, there is just one step that remains, and that is the check-in itself.
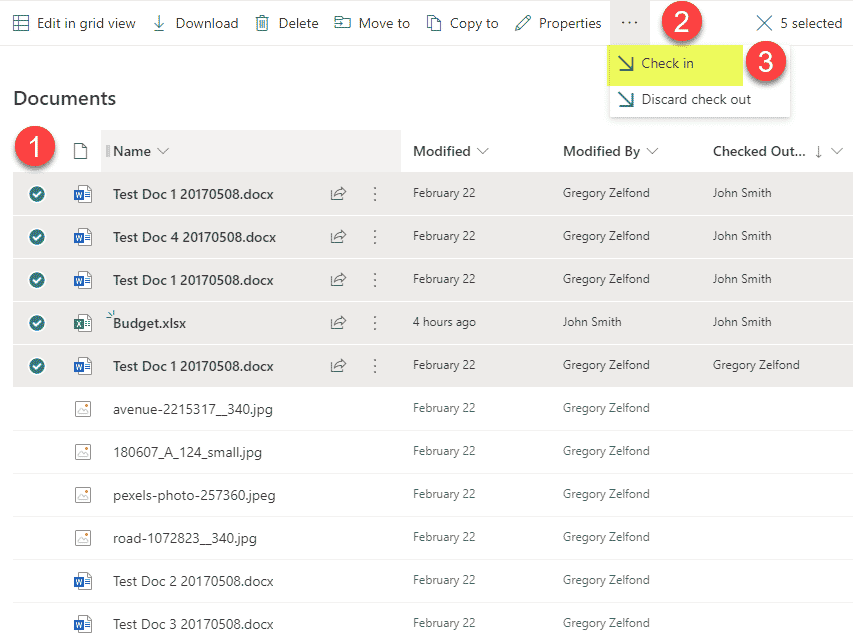
- Check the box next to every document you would like to check-in for your users, then click 3 dots > Check In
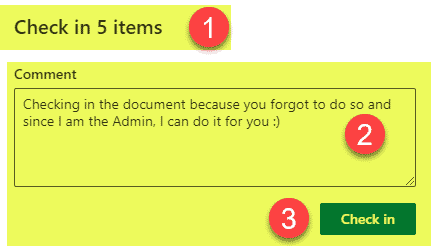
- On the next screen, you can supply check-in comments (optional) and then click Check In
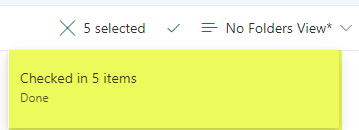
- You will then get a confirmation message


It is also worth mentioning that in addition to check in, you have an option to discard the check-out. Here is the difference between the two options:
Check In
- Makes the document available for editing by others
- Retains/saves the changes made by the user
- Another version is created upon the “Admin/Site Owner” Check-in
Discard Check Out
- Makes the document available for editing by others
- Discards the changes made by the user who checked out the document
- Does not create another version. Reverts the document to the version just before the check-out

Share Article


