How to Change the Label to a different Label at the End of the Retention period
One of the decisions you have to make when setting up Retention Labels is to define what happens at the end of the retention period. In most cases, you will either do nothing (just leave the content in place) or delete the content altogether. However, sometimes, you might have more complicated retention requirements/schedules for the same type of content. For example, you might want to retain content for some years and then switch to a different retention schedule afterward. Luckily, we have a way now to change the label to a different label at the end of the retention period. Let me explain how this works.
Use Cases for replacing the retention label
Below is a list of potential use cases for the retention label replacement:
- Scenario 1: Store records for 7 years to satisfy regulatory requirements and then for 5 more years to satisfy company internal retention requirements
- Scenario 2: Store records for different and consecutive retention periods due to varying Federal Government/State (Province) regulations
- Scenario 3: Store records to satisfy different Government Agencies/Regulations that apply to the same content
- Scenario 4: Store documents as Records (no editing) for a period of time to satisfy a government regulation and then switch to Event-based Retention once the project is completed
How to change the label to a different label at the end of the Retention period
So, let me explain how to change retention at the end of the Retention period to another label within the same label retention policy.
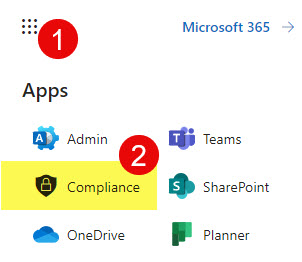
- To access Microsoft Purview, click on Microsoft 365 App Launcher > Compliance
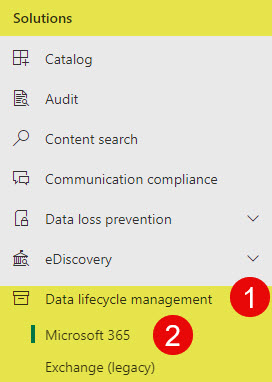
- Under Solutions, click on Microsoft 365 under Data lifecycle management
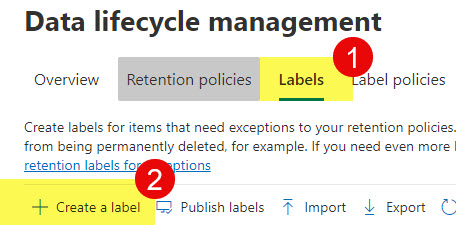
- Under Labels, click Create a label
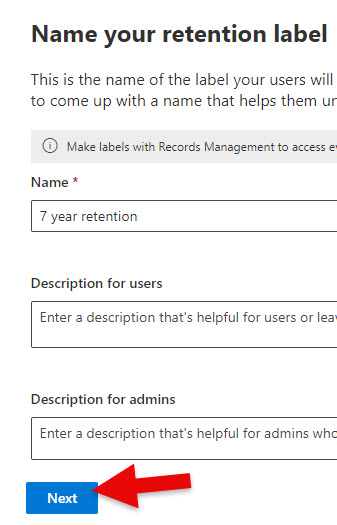
- Give your label a name, click Next
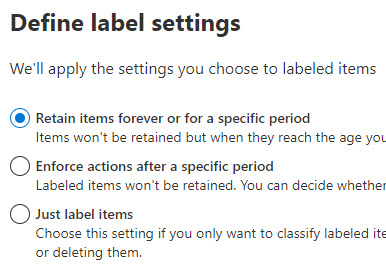
- Choose the Retain items forever or for a specific period
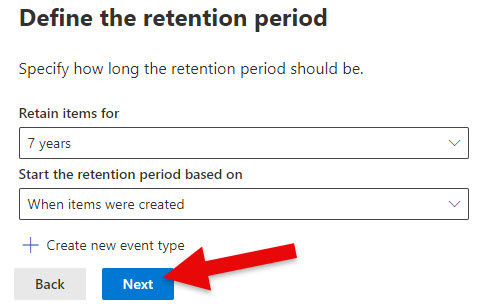
- Set the retention period, click Next
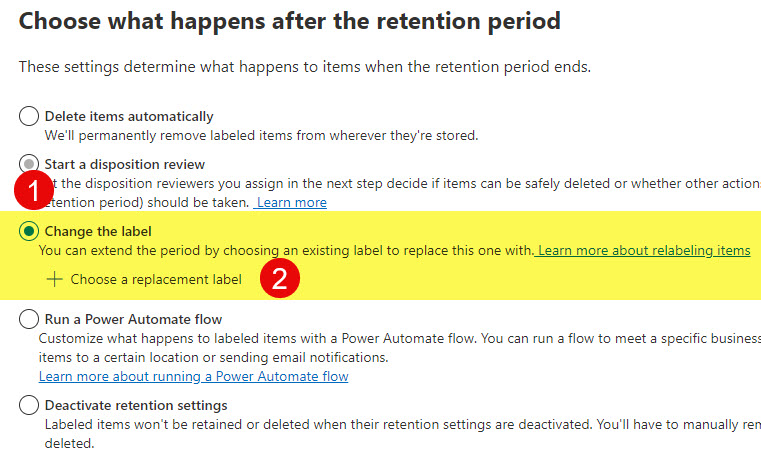
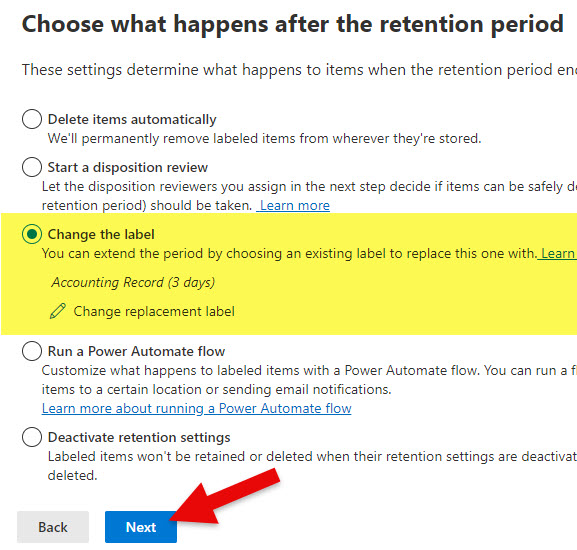
- Once you get to Choose what happens after the retention period screen, choose Change the label radio button. Then click on Choose a replacement label
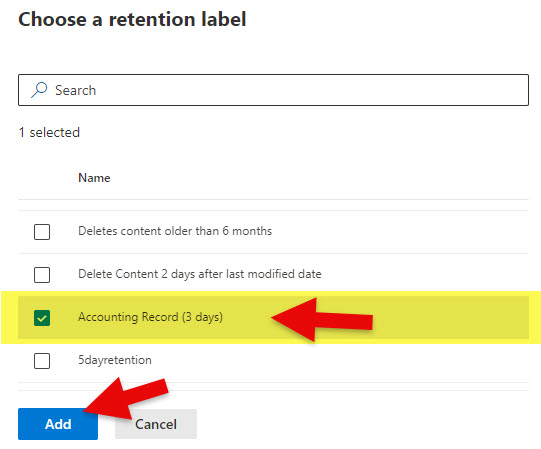
- On the next screen, choose the label you would like to replace the original one with. Click Add.
- Click Next.
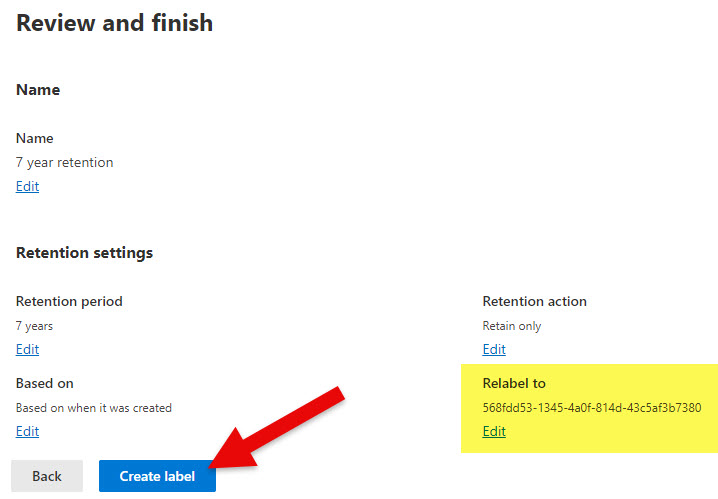
- On the Final screen, review the settings. Notice the setting of the replacement label. Click the Create label button.
- Next, you will publish the label like you normally do; I explained the process in an earlier article.
Important Nuances
- The ability to change the label is available for “regular” retention labels as well as Record Labels.
- You can replace a “regular” retention label with a “stricter record” label or vice versa.
- According to this article from Martin Lingstuyl, labeled folders will not be relabeled (just files inside). This might lead to confusion when you see old labels at the folder level and new labels at the file level.
- According to Microsoft, it might take up to 7 days for label change to occur and take effect.

Share Article