5 places to apply branding in SharePoint
One of the frequent questions I get from my clients when I build Intranet portals for them is about the ability to brand the SharePoint application. Out of the Box, the ability to brand SharePoint is somewhat limited. And in all honesty, I prefer it to be like that. Many years ago, I published an article where I provided arguments for why you should not waste time branding the hell out of SharePoint. While modern SharePoint offers simple ways to brand the sites and user interface, it is not what you are probably used to with other website authoring tools and systems. And that is on purpose. Keep in mind that SharePoint pages must render well on all sorts of computers, browsers, iPads, mobile phones, etc. From a collaboration standpoint, this is far more important than enforcing some custom-coded look and feel, font, and menu on your users.
I always advocate for keeping branding out of the box. Yes, it will be limited, but it will ensure your beautiful design will not conflict with new updates and features Microsoft will roll out in SharePoint overnight. A great example in recent history was the release of SharePoint App Bar a few years ago. Some organizations created menu customizations on the left-hand side of the screen, which were “overtaken” by the SharePoint App Bar, which now takes the place of this prime screen real estate. As a result, Admins need to run custom PowerShell commands to disable the SharePoint App Bar in their tenants temporarily. Oy Vey!
This article is not about venting off on the pros and cons of custom branding. In contrast, I want to highlight a few places where you can brand apply out-of-the-box branding in SharePoint. You are welcome!
Site theme
The first place to brand your site and make it unique to your brand/organization is to apply a site theme. Out of the box, there are only a handful of choices that exist; however, with a bit of PowerShell magic (not hard at all, trust me, if I could do it, you can do it), you can end up with a theme that matches your specific brand HEX colors. Here are instructions on how to achieve this.

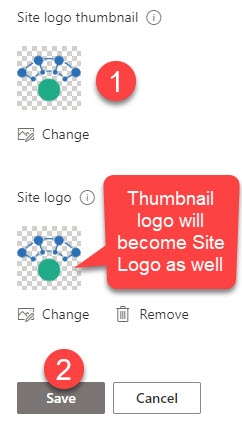
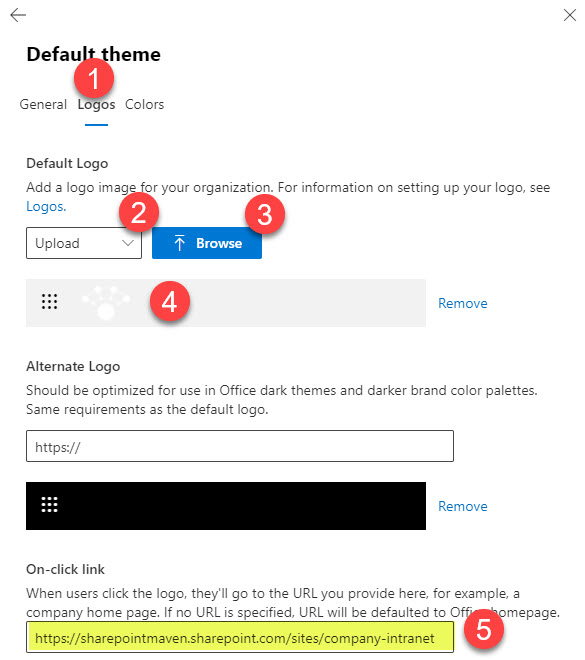
Header & Footer Logos
The next obvious spot to brand the site would be to add your company logos. You can add logos to the Header on both Team Sites and Communication Sites, and you can also add a logo to the footer on a Communication Site. Here are detailed instructions on how to add the logo.
Microsoft 365 Bar
The above tricks take care of the SharePoint side of things. However, we also have another place to make the branding statement: the Microsoft 365 App Bar. This bar appears on top of most Microsoft 365 Apps (Outlook, OneDrive, Planner, etc.). You can change the color scheme + add your company logo there as well. And bonus, you can make that logo clickable too. Here are instructions on how to do this.
Viva Connections Logo
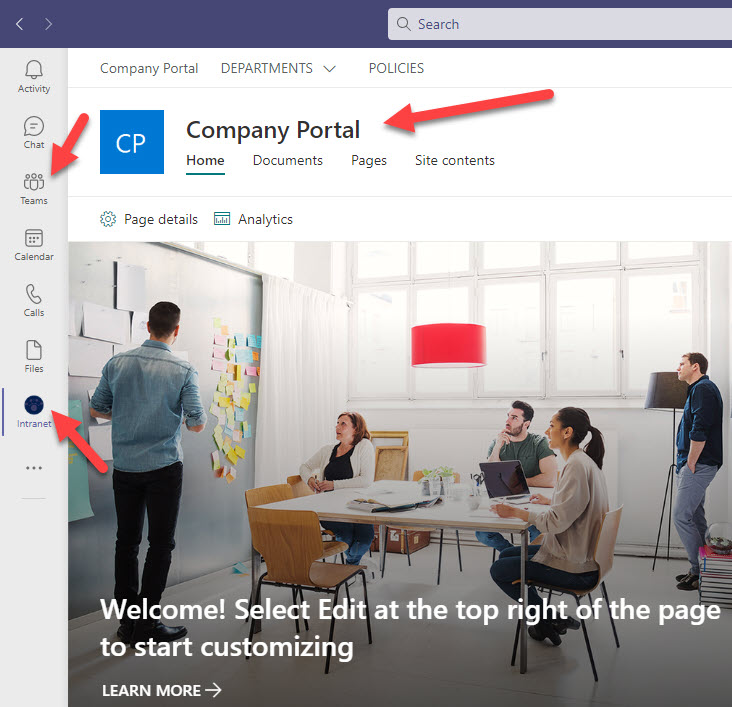
There is another tiny place where you can show off your branding power. If you have built a company Intranet, you can increase its user adoption by embedding it into the MS Teams app and allowing users to access it from the Teams app where they collaborate. To help identify the Intranet on the app sidebar, you can add a company logo. I explained more about Viva Connections and how to set it up here.
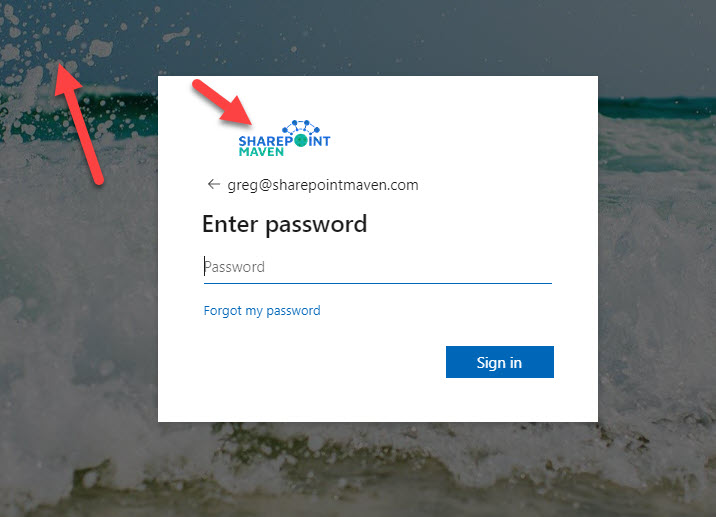
Microsoft 365 Login Page
All of the above tricks focused on making SharePoint branded after you authenticate into the application. You can also apply company branding to the Microsoft 365 login window as well. Here are step-by-step instructions on how to achieve this.

Share Article