How to enable multiple languages on a SharePoint Site
Parle français? Hable español? Sprechen Sie Deutsch? If you are part of a multi-national corporation or live in a country that has several official languages, that means that your users would need to have the SharePoint site/content displayed in their local language. In this post, I would like to explain how to properly add additional languages to your SharePoint site.
Site’s Default Language
Every site has one default language already set when the site is created. The default language is based on the origin of the Office 365 Account. For example, if the company is based in the US, the default language will be English. If the company is based in France, it will be French, and so on. With that being said, you can also customize (change) the default language for a given SharePoint site at the time of its creation.
How to set default language when creating a site
When a regular user creates a site from SharePoint or Teams, or any other location, the default language is inherited from the tenant-level Office 365 origin (as described in the above paragraph). However, you can change the default language right during the site creation (if creating a site from SharePoint Start Page or SharePoint Admin Center).

What does a Default Language of a site mean?
Default language determines the system settings of the site. Essentially all non-content-related text (Settings screen, menu labels, etc.)


Examples of a SharePoint Site and Site Settings in French
How to add other languages to a site
While you can create pages in alternate languages for both Communication Sites and Teams Sites, only the Communications Sites have the process “polished and automated.” There is a built-in process now on Communication Sites that will allow site owners to also create pages in the local language and present different pages in different languages depending on the user logged in. So below, I will focus primarily on the Communication Site, but will also explain how this works on a Team Site (towards the bottom of the article).
Communication Site
- Gear Icon > Site Information
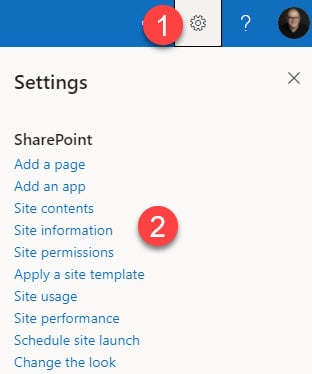
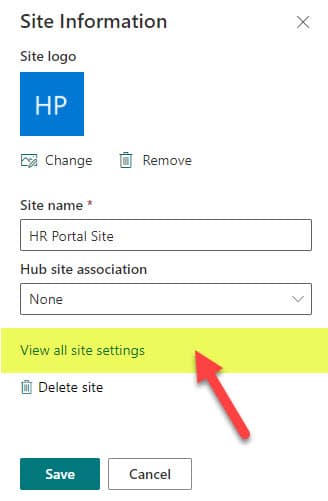
- Click on View all site settings
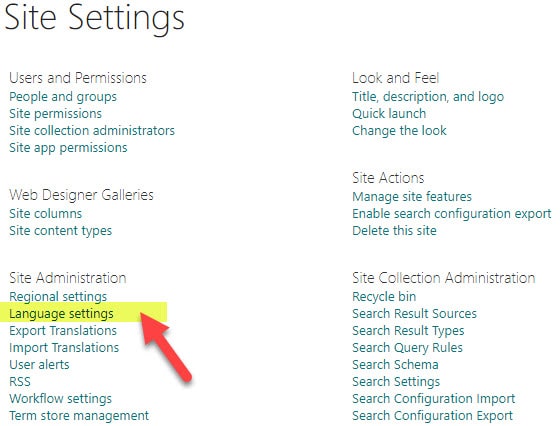
- Click on Language Settings under Site Administration
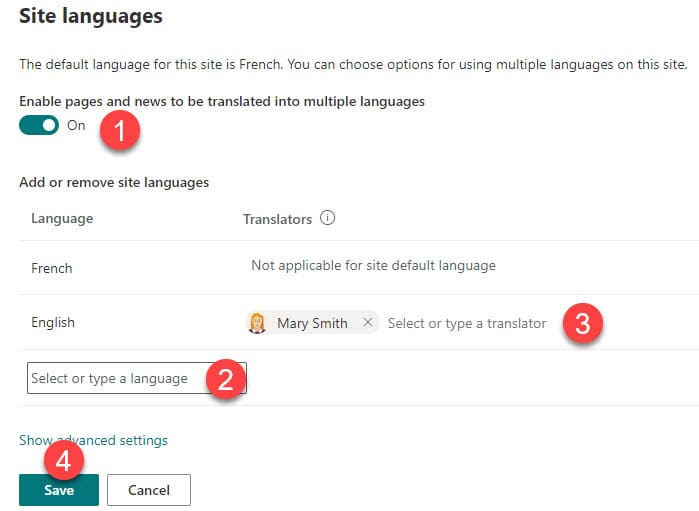
- Under Enable pages and news to be translated into multiple languages, enable the toggle (it will be off by default)
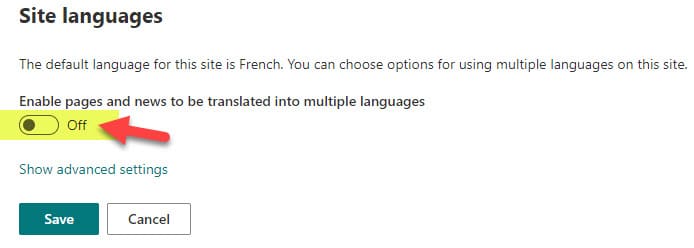
- Type in additional languages you want to have your site in (in my example, the default language of the site is French, and I added English as an alternate language). For every new language added, type in the name of the user who will be responsible for the content translation.
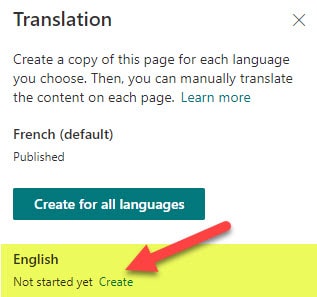
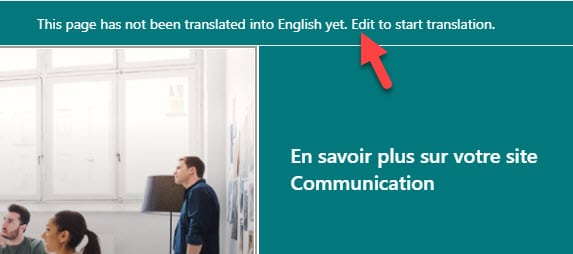
- Now that we “told” our site about the alternate languages, it is time to roll up the sleeves and create translated pages. From the Main Site (Homepage), click on Translation.

- Create a page in an alternative language by clicking Create (in my case, the default is French, I am creating an English page)
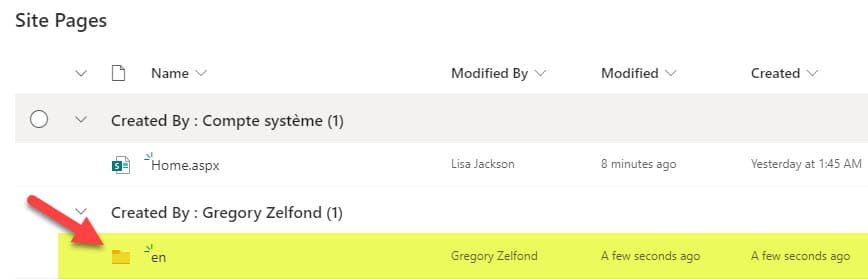
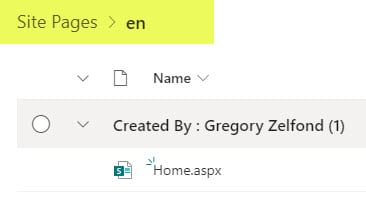
- The step above creates a folder with a language name within the Site Pages Library. Within the folder is a draft version of a page that needs to be translated.
- Once you click on the page inside the folder above, you can start translating it
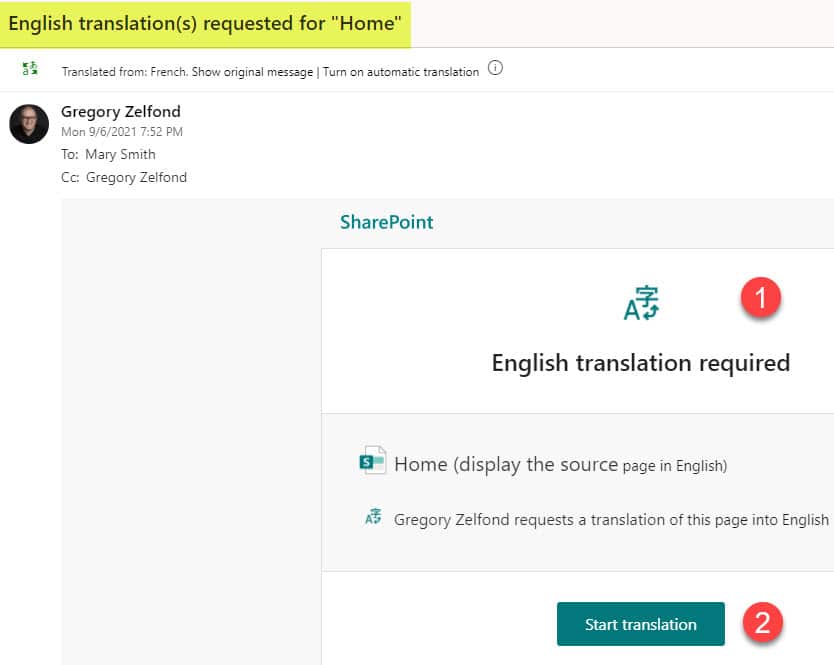
- The steps above (creation of the new page in alternate language) kicks off an email to the Translator assigned in one of the steps above where the translator is requested to translate the page into an alternate language
- Once the translator translates the page into an alternate language and publishes that page, it sends another email to the Site Owner and translator notifying them that the page has been published

- And the steps above also create a drop-down of available languages available in the upper-right-hand corner of a page so users can easily switch languages as necessary.

- The above setup will display a page in a certain language according to the user logged in and their language of choice. While the users can manually change the site language using the languages drop-down above, it will always default to their spoken language (more on setting up the preferred language for a user in one of the paragraphs below).


Team Site
The instructions above explained how to set up alternate languages on a Communication Site. On a Team Site, the above functionality does not exist (as of the writing of this post). When you navigate to Language Settings on a Team Site, you get to see the page below.

Essentially what that assures is that the site settings and labels will be translated into an alternate language. And while the new pages can be created in an alternate language, there is no way to assign translators or have the pages displayed in a specific language according to the user logged in, like described on the Communication Site above.
How to set the preferred language in the User’s Profile
So we set up alternate languages for the site, but how does it know which language to display when a user is logged in? For example, the company is based in Canada, and the default language has been set up as French for the site, with English being set up as an alternate language. How does it differentiate between a user who is logged in from Toronto (English-speaking) and Montreal (French-speaking)? It all comes down to the user’s language preferences set up in a personal profile.
- Click on User’s Profile picture in the upper-right-hand-corner, then click on View account
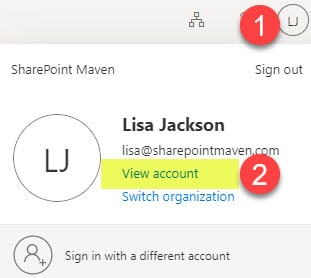
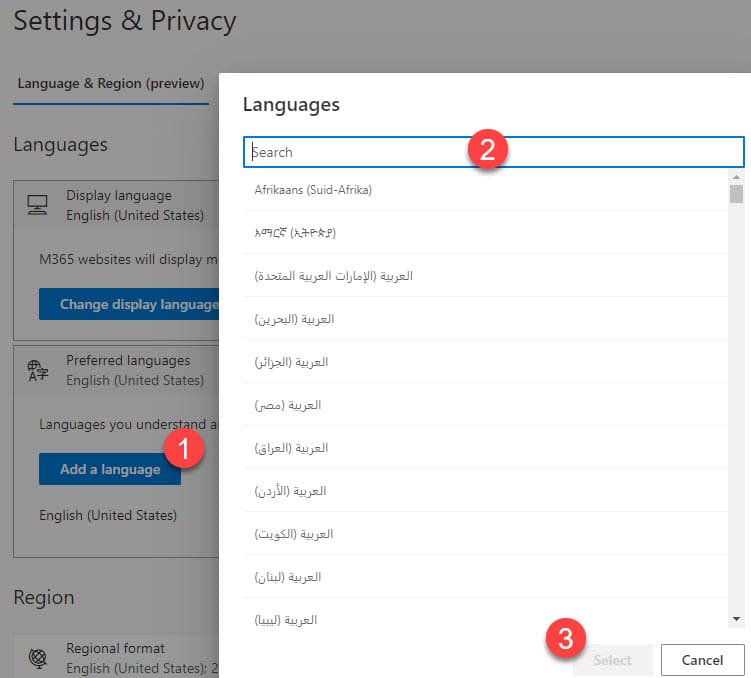
- Click on Settings & Privacy

- Click on Change Display Language, change the language as necessary
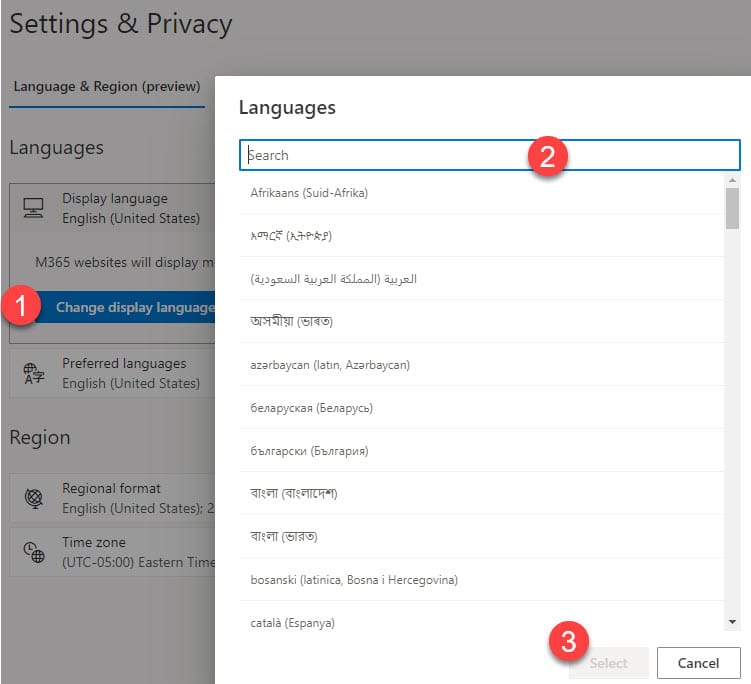
- Change Preferred Language as well
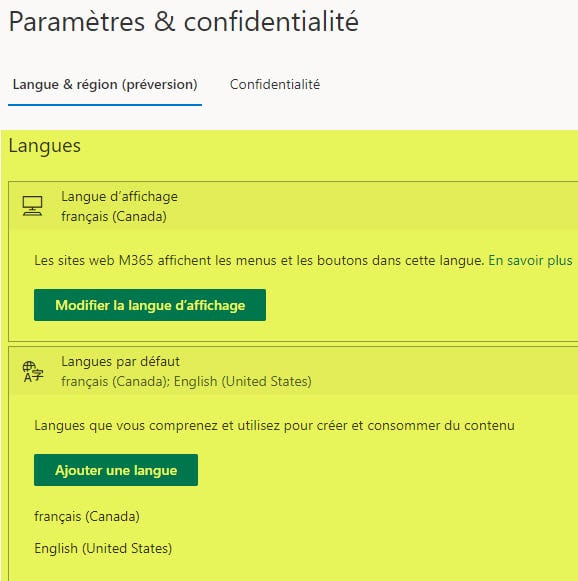
- Once the change is made, it will immediately translate the settings page + ask you to re-sign in.


Share Article


