< All Articles

How to add SharePoint Tiles, promoted links, to your site

Posted on September 7, 2015
SharePoint

A quite useful usability feature that I like and highly recommend for your SharePoint sites is called “SharePoint Tiles” (also known as Promoted Links). It is a great way to “spice up” your site, make it more user-friendly for your end users and break away from stale out of the box look and feel. In this post, I provide step-by-step instructions on how to set it up. It is super-easy.

Update April 2019: This article provides instructions on what is now considered “classic” SharePoint sites/pages. If you have SharePoint on-premises, this post still applies. However, if you are in SharePoint Online, you might want to check out this post to learn about ways to promote links in modern SharePoint pages.

What are SharePoint Tiles or SharePoint Promoted Links?

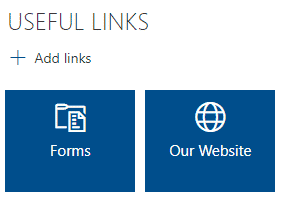
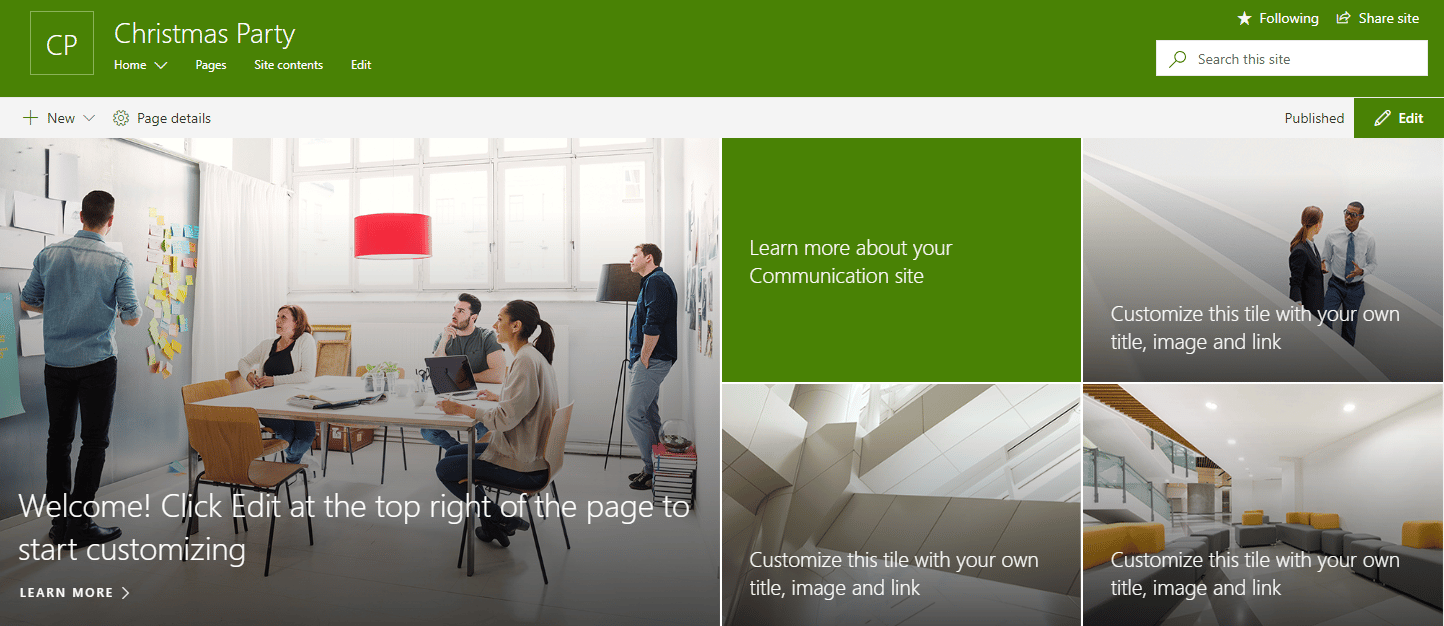
Though I called them SharePoint Tiles, in SharePoint, they are actually called Promoted Links Web Part. Essentially, it is a list of graphic icons you link to URLs for easy access to certain functions. For example, in the screenshot below, I created SharePoint Tiles (sorry, SharePoint promoted links) to link images to certain document libraries. The user can obviously still click on those libraries via regular means (i.e. quick launch”), but it is so much cooler to click on icons :)

sharepoint tiles

How to setup SharePoint Tiles (Promoted links)

Setting up SharePoint Tiles is quite easy. First, you need to create/add a web part to your site. To do this, go to Site Contents, Add an App, and choose Promoted Links Web Part).

promoted links
While in Site Contents, click on the web part to configure it. You will get this unfriendly statement below, but that is obviously because you have yet to configure it first.

Image1

Click on All Promoted Links View (you can also get to this view via List Settings on the web part configuration ribbon. This will open up a list where you configure your SharePoint Tiles. Essentially, on every row, you need to associate your icon to a URL it will point to.

sharepoint tiles

To add a new icon, click New Item (this works just like any other list or library). Now fill in the form:

Image2

  • Title Field: On the Title field, fill out the title of the icon. This title will be layered over the image/tile, so it has to be really descriptive of what it is for. For example, if this icon points to your Policies Library, you type in POLICIES. If the icon is meant to add a new request in Help Desk, you will type in ADD NEW TICKET.
  • Background Image Location: Here you specify the location/source of the image that resides in your SharePoint environment. It can physically reside in any library, but I recommend putting it under Site Assets or Site Images web, so that it is not accidentally deleted by anyone. Few notes about specifications of the image:
    • Best if you use PNG (transparent) graphic file
    • Image needs to be square in size
    • Optimal size is 150 px X 150 px. SharePoint is very picky about image size, so make sure it is 150 px X 150 px to avoid issues
    • Once uploaded to image library of your choice, note image URL and paste it in the respective field in Background Image Location. The description of URL is optional, you can leave it blank.
  • Description: This is the description that appears when user hovers over the icon. It can provide additional description of what the icon/action is about. For example: Employee Handbook, Policies & Procedures
  • Link Location: This is where URL where user will be taken one he or she clicks on Icon. You can also type in the description just below it, but once again, that is optional.
  • Launch Behavior: Launch behavior tells SharePoint how URL will be opened. You can choose from few different options, but I usually leave a default “In page navigation)
  • Order: Order is a numeric value that lists all icons in order from left to right. For example, if you assign 1 to tile 1, 2 to tile 2, tile 1 will appear first, and tile 2 will appear 2nd from the left in a row of icons.

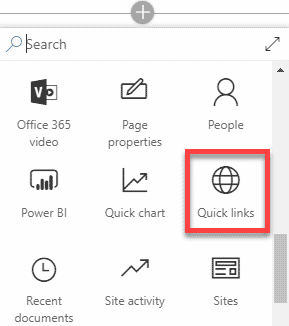
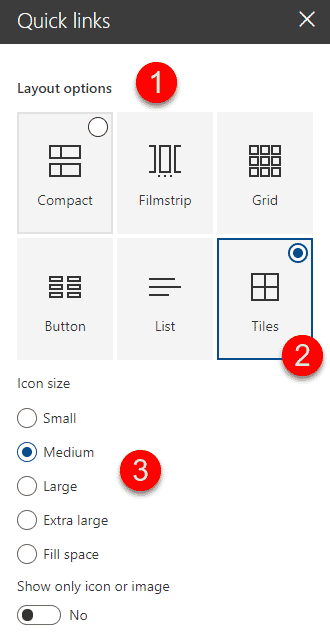
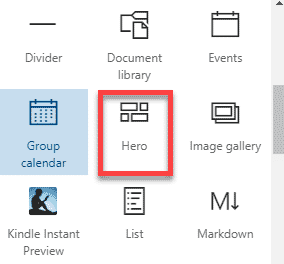
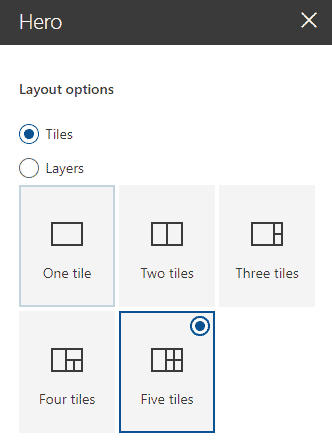
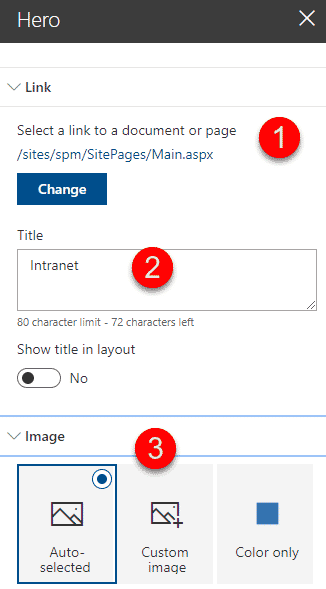
Once all is set and done, go to the site where you want to add your cool icons. Edit the page and insert the Promoted Links web parts, just like any other web part. Make sure to select Tiles view and here you have it – a nice and user-friendly interface for your SharePoint site!

Some other ideas where you can use this is for frequently used actions. Say, you are implementing a Help Desk system in SharePoint and your users need an easy way to add tickets and view statuses of the tickets submitted. No problem! Just create a Promoted Links web part and add respective icons and link to those actions you want users to perform. Your help desk solution will become sexy in a heartbeat!

sharepoint help desk


About Me

I’m Greg Zelfond, a U.S. based SharePoint consultant, and I provide affordable out-of-the-box SharePoint consulting, training, and configuration assistance to small and medium-sized businesses all over the world.

Need help?