Create a Simple Checklist Using Yes/No Columns and Collapsible Sections
What I love about SharePoint and other Microsoft 365 apps, for that matter, is that there are so many ways to achieve the same objective/requirement. One of the most common requirements for any business is the ability to create checklists. I actually already documented the various options in one of my earlier posts. However, since then, while driving from New Jersey to Boston after visiting my kids, I came up with another option. It relies on a few unique features of SharePoint. Let me explain.
Here is what we are going to build:
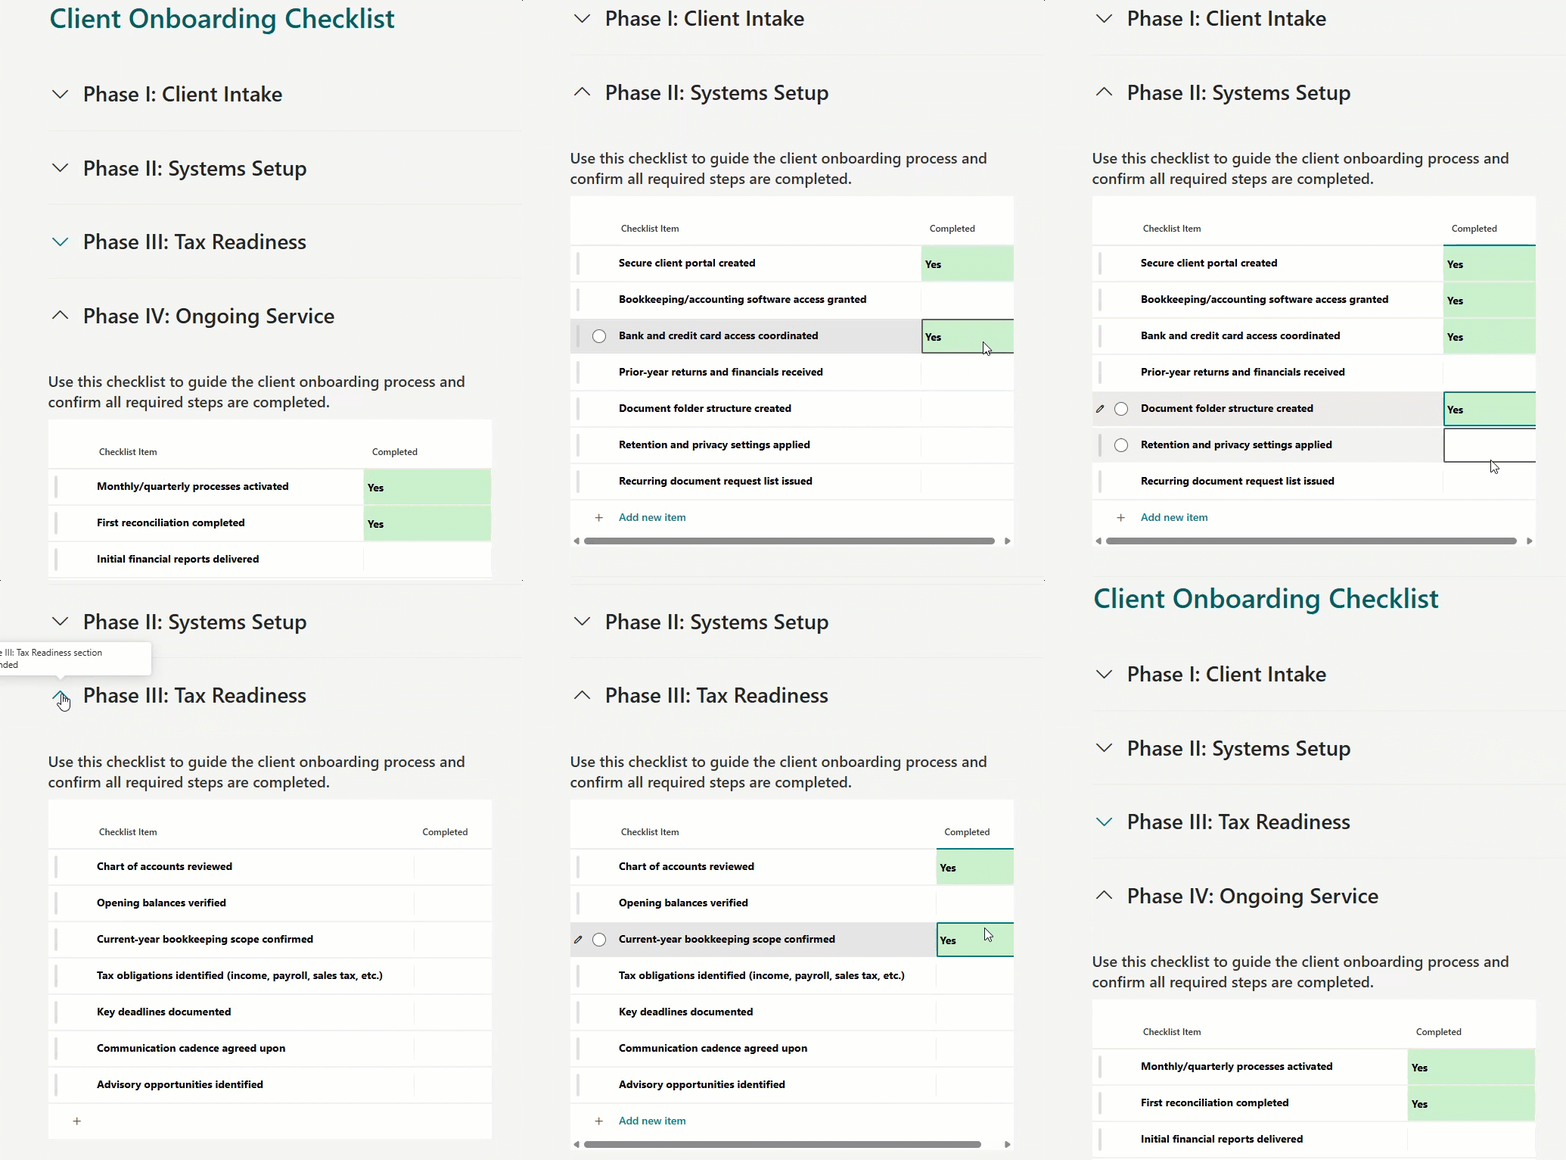
Step 1: Create a Checklist using Lists
The first step is no different from my previous options; the list itself would live in the MS Lists app. Go ahead and create one with the columns you need. You can either create one manually or import one from Excel/CSV – I explained the steps here.

Step 2: Add Yes/No Column
Next, we will add a Yes/No column. This will add a clickable checkbox, as you see in the example above.
- Click +Add column and choose the Yes/No column type
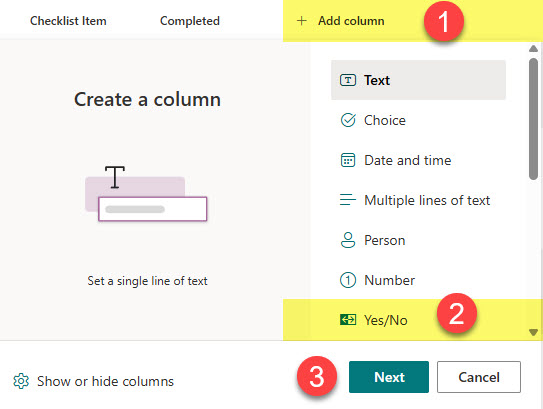
- Give the column a name, and set the default value to No. Click Save.

Step 3: Create views for each category
This step is optional, especially if your checklist is short and simple. In my case, I have different categories to organize checklist items. So I will create a view for each category. This will be useful in subsequent steps, ensuring that each collapsible section on a page displays only a specific category of questions/rows.
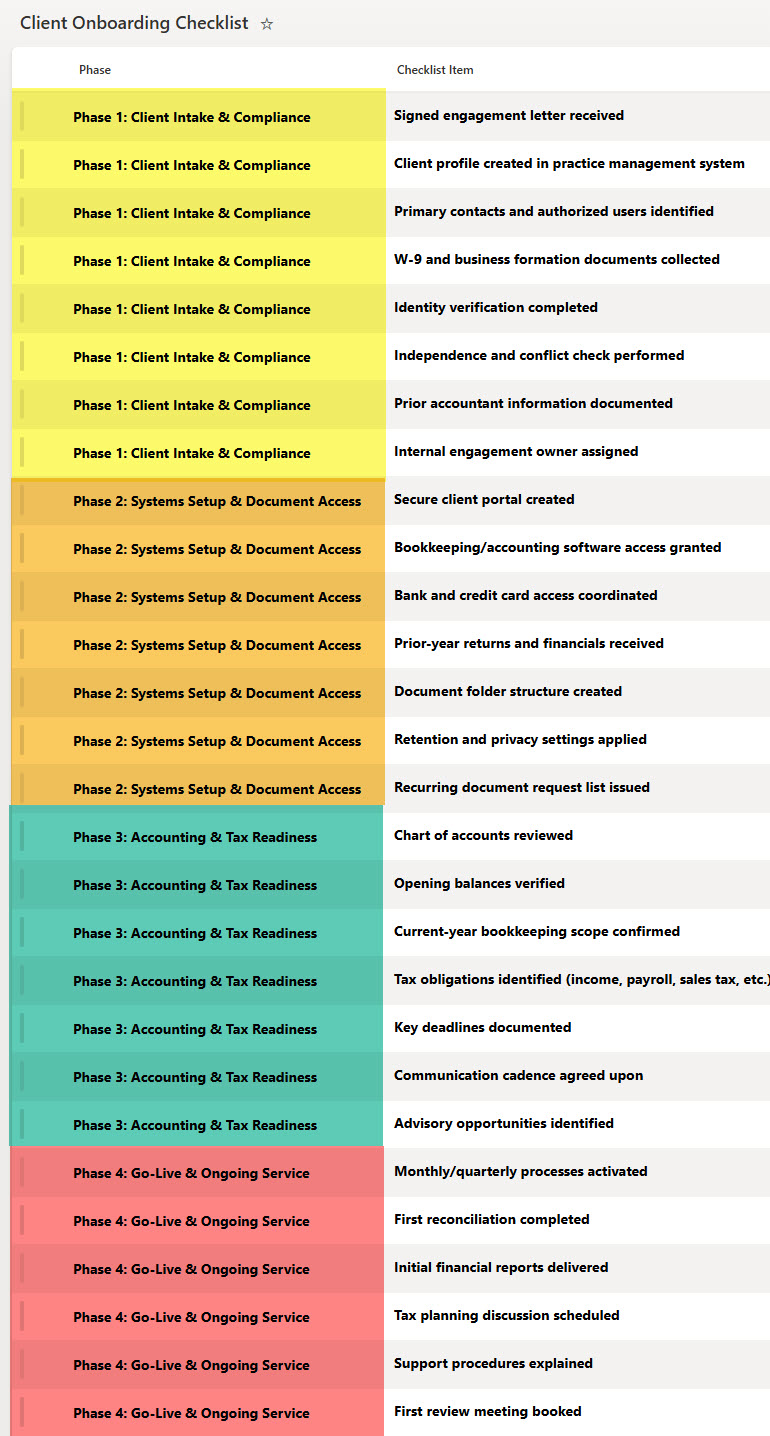
- Filter by Category first
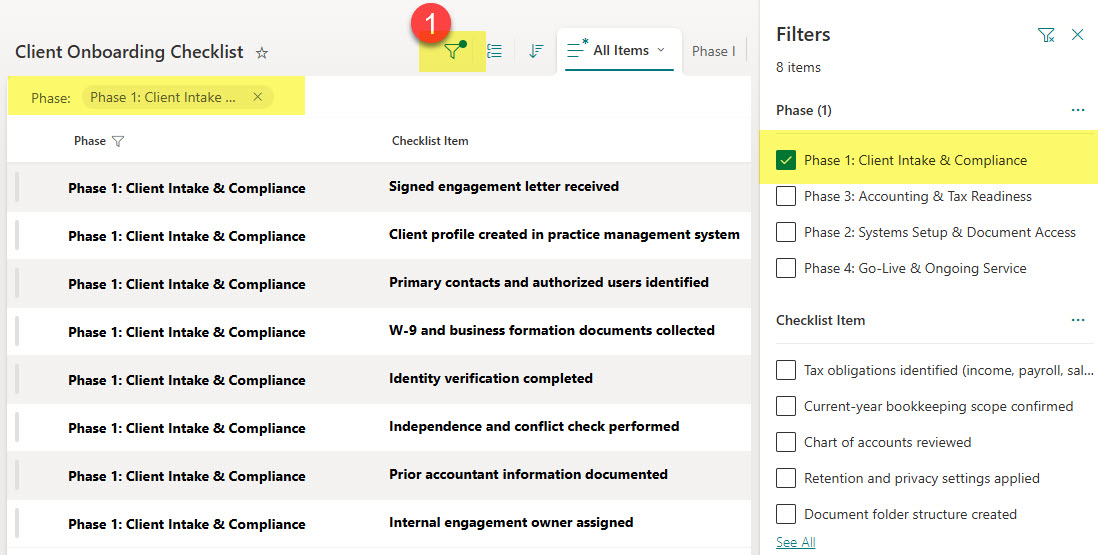
- Next, and this is SUPER IMPORTANT, click Edit in Grid View. This will allow users to easily complete the checklist items (i.e., check the boxes). I explained this functionality in this article.
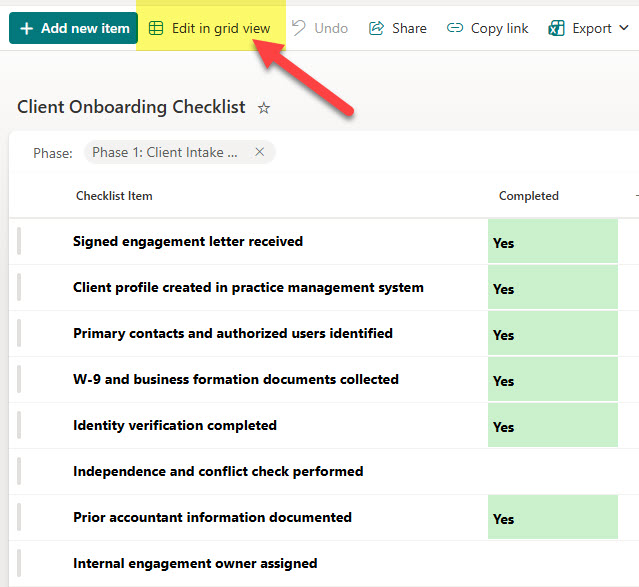
- Then save this as a new view
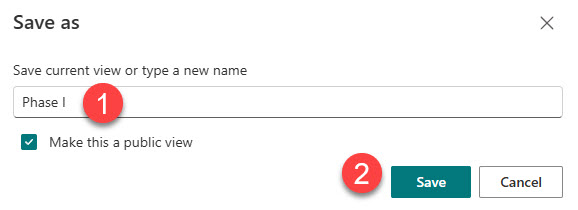
- Repeat this for all the other categories (create additional views)
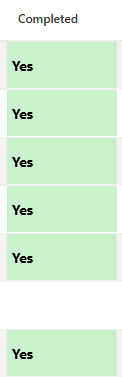
- You can also create conditional formatting to turn Yes responses into green cells
Step 4: Create Collapsible Sections using SharePoint pages
Next, we will create a page with collapsible sections, each displaying the embedded list in a given view. Refer to this post on how to create collapsible sections. Each section will have the list embedded as follows:
- Add the List Web part to the SharePoint page
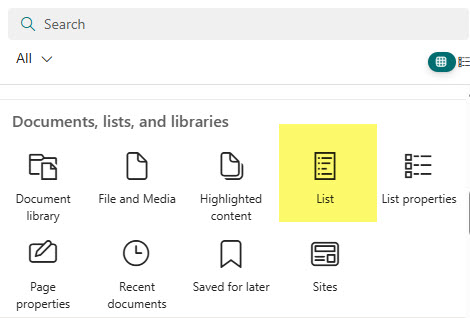
- Choose the list that contains your checklist

- Next is the most important part. We only want the section to display the specific view (category). Make all the proper selections for each image below.
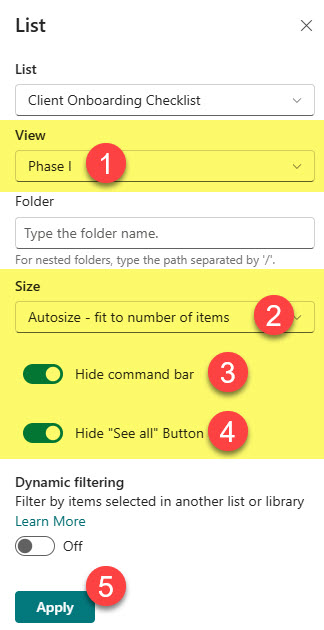
- Next, just copy the sections and change each one to a different view of a list

- Make sure to Publish the page at the end
Additional information on this method
- Copying this checklist is somewhat of a pain because we have lists and pages involved, so you might need to do a bit of copy/paste with lists and page manipulation each and every time.
- If you would like to see additional examples of checklists built in SharePoint and other Microsoft 365 apps, feel free to check out my LookBook 365 portfolio.

Share Article