How to add a Slideshow to a SharePoint Page
Whenever my clients ask me to add a slideshow to their Intranet, it brings me back mentally to my childhood years in the former Soviet Union. Back then, as a child, I enjoyed watching slideshows via filmstrips. Movie projectors and VCRs were not a thing at that time in the country where I was born 😊. So, filmstrips were really popular in Eastern Europe back then.
Now that I’ve grown up a little 😊 I can provide more modern ways for my clients to add a slideshow to their SharePoint sites. I wrote an article in 2016 on the topic, but that was when we still had SharePoint Classic and relied on Classic Web Part for the functionality.
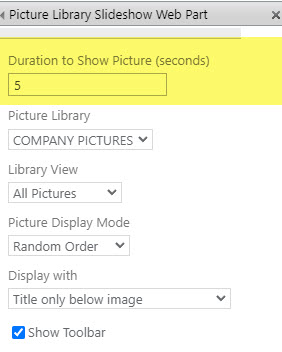
Classic Slideshow Web Part
With SharePoint modernized, we now have a few “modern” ways to add a slideshow to a SharePoint page – I documented all the options below.
Option 1: Add a Slideshow via the News Web Part
The first option to add a slideshow is via the mighty News Web Part. I devoted a large number of posts to it on my blog. The idea is that each news post will be its own image within the “slideshow.” One of the layout options available within the News Web Part is Carousel. It cycles through the news posts and presents one news post (lead image) at a time. You can also set the delay (in seconds) between sliding images/posts.
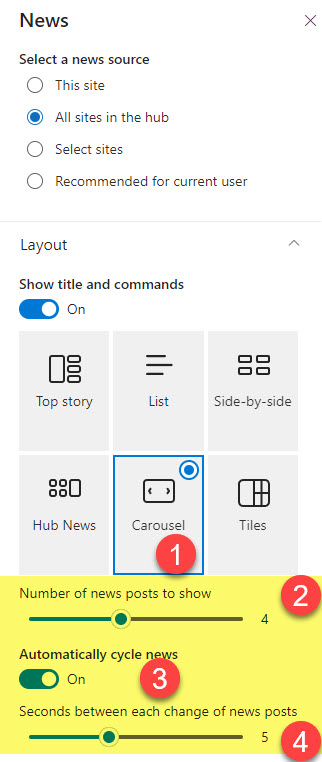

Slideshow in SharePoint via the News Web Part
Option 2: Add a Slideshow via the Image Gallery Web Part
The second method to add a slideshow is via the Image Gallery Web Part. I wrote a detailed article on the topic a while back. Once again, one of the layout options is a Carousel. Like with the News Web Part, you can set the number of seconds between sliding images.
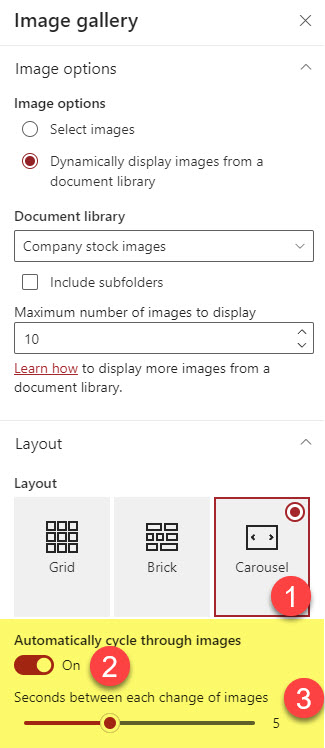

Slideshow in SharePoint via the Image Gallery Web Part
Option 3: Embed PowerPoint Slides via the File Media Web Part
The third option is to embed PowerPoint slides via the File Media Web Part. This option is great if you already have slides created in PowerPoint. The only downside of this option is that it does not allow for automatic cycling of the slides. You have to change slides manually.
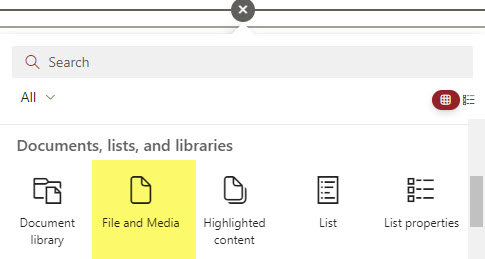
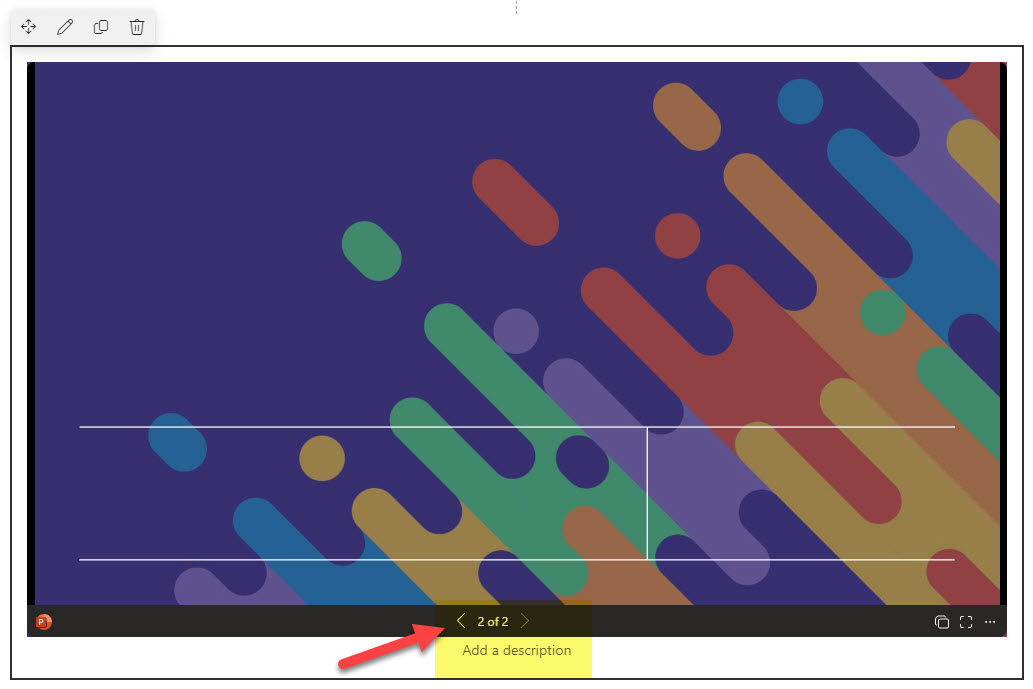
Slideshow in SharePoint via the File and Media Web Part

Share Article