How to store and display images in SharePoint Online
A long while ago, back in 2018, I wrote an article on this topic. However, that was when we had classic SharePoint. Since then, some options I mentioned in that old article have been deprecated, and we also got some new ones as well. So it was time for a refresher post on the topic. So in this article, I want to advise you of a few options for storing and displaying images in SharePoint Online.
Option 1: Document Library
The # 1 way to store images in SharePoint Online is to utilize a good-old document library. The same library you use for regular office documents. Back in 2018, when I initially wrote the post I referenced above, we actually had a separate library type called Picture Library, which was the same as a regular document library, but also had a few characteristics relevant to Images, like:
- The ability to view image thumbnails
- Built-in metadata, relevant to photos (image size, keywords, date the image was taken, etc.)
However, with the modernization of SharePoint over the recent years, the modern document library also got all of the above attributes.
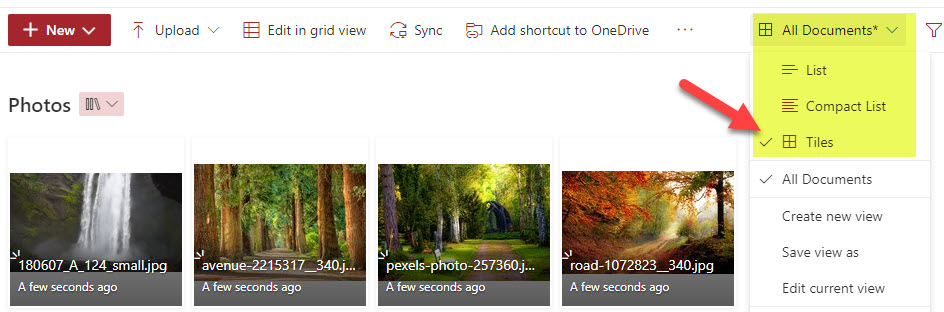
It has a Tiles view, allowing you to display small thumbnails of the images instead of a list view.
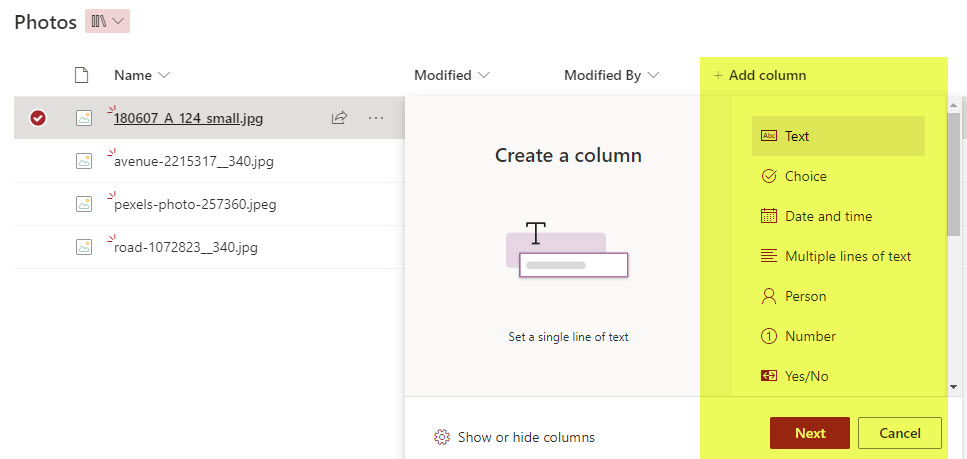
You can also manually add any metadata columns you need on the fly.
Also, since we rely on the same library where we store other types of documents, we get the same document management features as for the other types of docs, like an ability to sync, version history, etc.
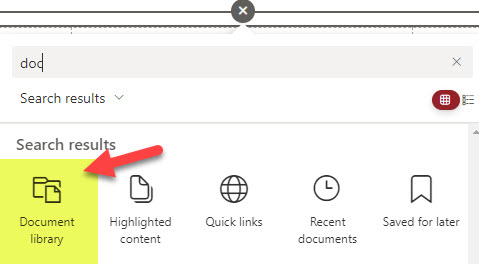
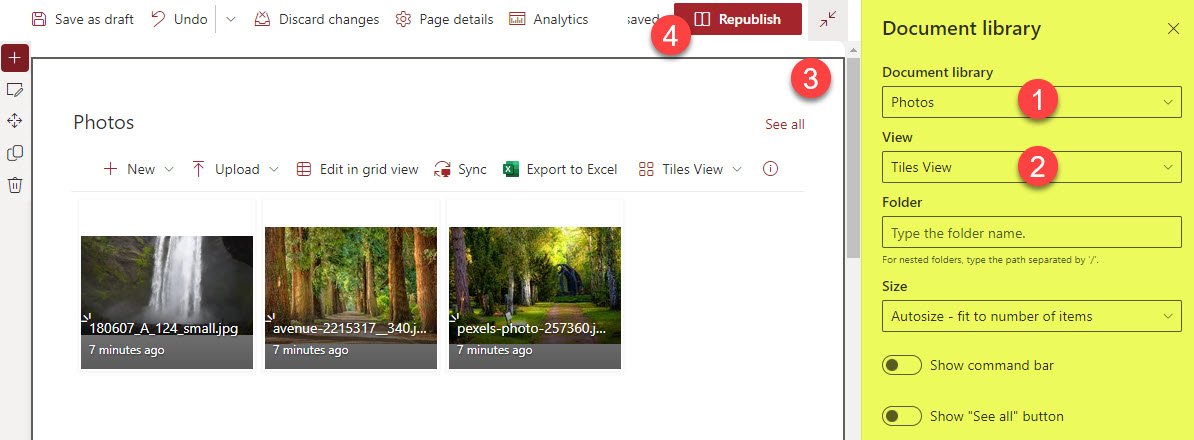
Suppose you need to display the photos stored in the document library. In that case, you can just embed a document library with images on the SharePoint page or use the Image Gallery Web Part (Option 3, which I describe below).
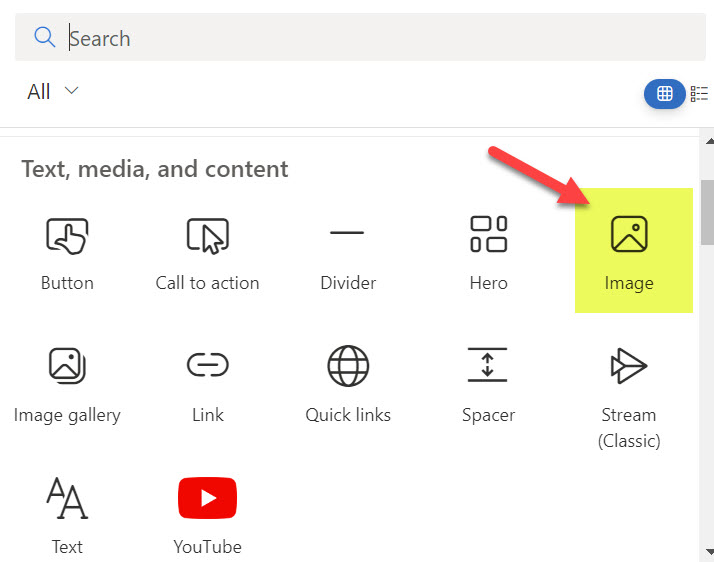
Option 2: Image Web Part
This second option is not so much about storing of documents, but rather a display of the documents. You can use the Image Web Part if you have a single image and need to display it on the SharePoint page.
- Edit the page

- Add the Image Web Part
- At this point, you can republish the page, but if you wish, there are some great options settings to add: Text Overlay (if you want the text to appear over the image) and a link (in case you want users to click on the image and navigate to a different page/URL)
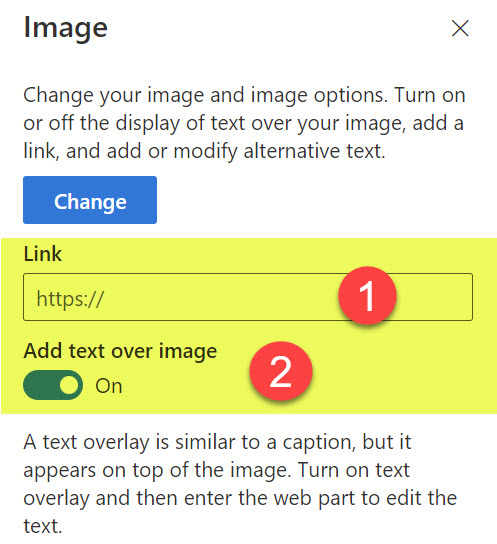
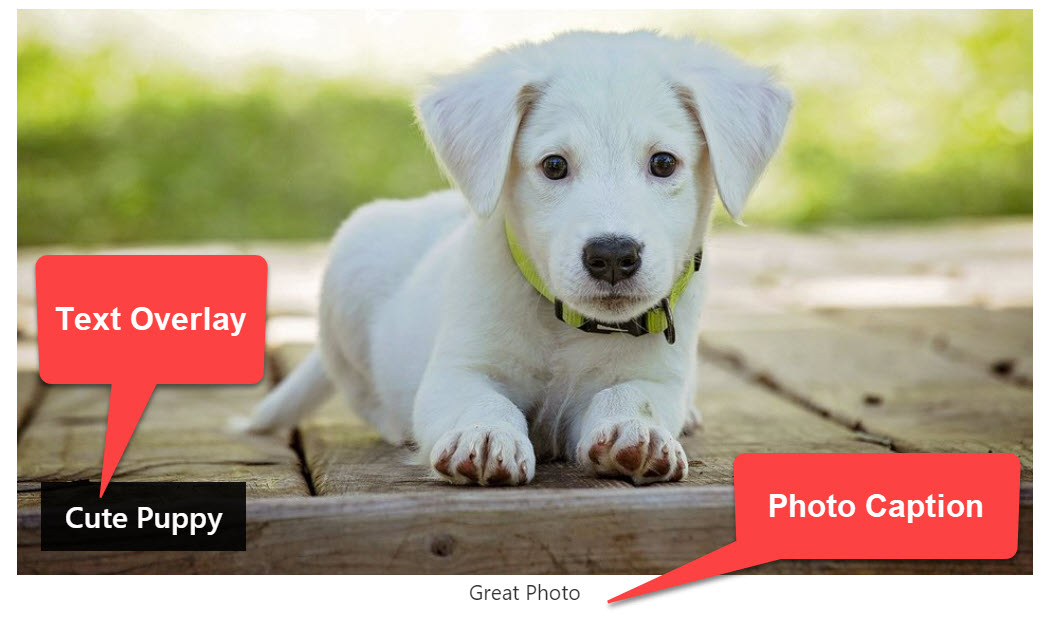
- You can supply text overlay and photo caption while editing the page, right on the image itself
- Make sure to republish the page

- And this is the result
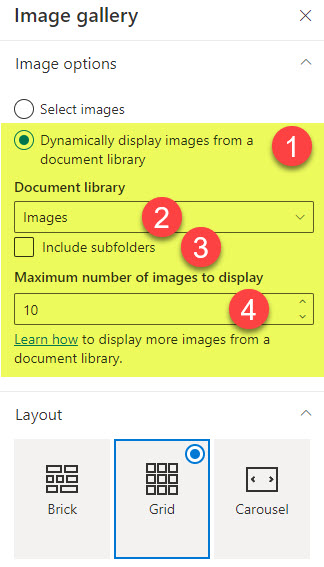
Option 3: Image Gallery Web Part
The last option to store and display images in SharePoint Online is to utilize the Image Gallery Web Part. What’s cool about this web part is that you can either upload the images right into it or extract them/feed them from the Document Library on a Site (Option 1). You can even change the style of the image presentation + how long they are displayed on the screen in case you opt for the Carousel view.

I explained this web part in greater detail in this separate blog post.

Share Article


