How to hide rows in a SharePoint list
Some time ago I published a post on item-level permissions on a list. The functionality allows you to set read or edit permissions to an item in a list based on whether or not the item was created by the individual trying to access it. But what if you want to hide certain rows in a SharePoint list? In other words, have unique permissions for each row in a list and be in total control on who sees which rows? Yes, it is possible, and I would like to explain how this can be done in SharePoint.
One of the ways to limit user access to certain rows in a list is to utilize item-level permissions mentioned above. The issue with this approach is that it does not allow to set unique permissions for a particular row for a particular user. It is either authors or no one having access (all or nothing). In case you want to set unique permissions for a particular row and restrict access to certain users, you will need to follow the technique below.
Now, first, I must say that you can hide rows in ANY SharePoint list, whether it is a modern custom list or classical list like Tasks, Contacts, etc. That said, the mechanics of doing so differs between modern custom lists and other lists, so I will describe both below.
How to hide rows in a SharePoint custom list (modern look and feel)
The way to set hide rows in a SharePoint custom list is similar to the way you would be setting unique access for a document or folder in a document library. Essentially, you would need to break security inheritance between the item (row) and the list. To do this:
- Navigate to the SharePoint custom list with data
- Click the checkbox next to an item you want to set unique permissions for

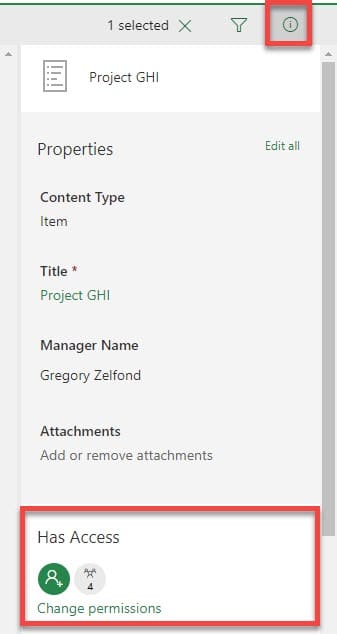
- Click on “i” Panel on the right-hand-side. At the bottom of the panel, it will show you who currently has access to the item (same users as to the list and site because of inheritance). Click on Change permissions
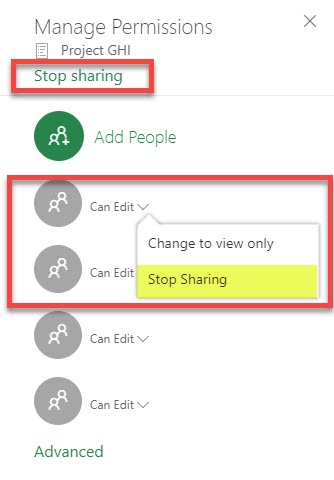
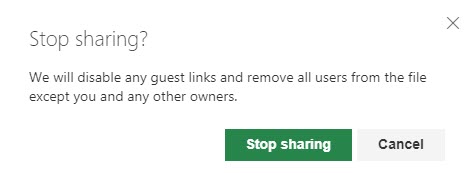
- You can either click on each user/group and then Stop Sharing for each user or just click on Stop sharing on top of the panel (this will immediately stop access to the row for everyone, except for Site Collection Admins). You can also change to View only in case you want a particular user to be able to edit an item
- If you opt for Stop sharing for everyone above, you will see the following warning message.
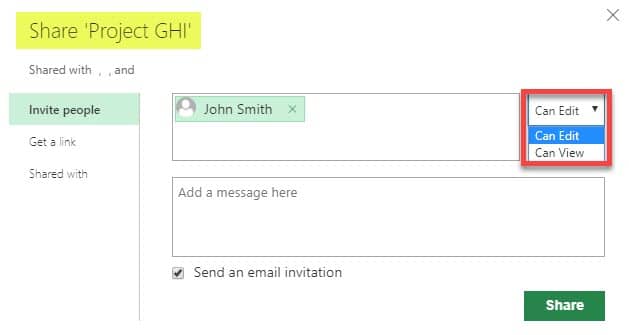
- You can also add specific users and even users who do not have access to the site and give them an ability to edit or view a single item/row from the whole list (without even having access to the site or list)! This is huge!
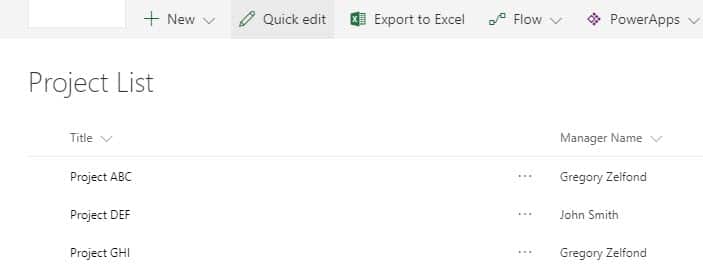
- Once it is all set and done, your list will look different depending on who is logged in. Below is a SharePoint list with all entries visible…
- … and below is the same list with two rows hidden as I am logged in as another user.

How to hide rows in classic SharePoint lists
To hide rows in classic lists (Tasks, Contacts, Calendar, Announcements, Links, etc.), you also need to break the inheritance for rows. However, they way you do this is a bit different since classical lists do not have the “i” information panel on the right side like modern custom lists do. Let me show you an example of how you would be hiding a row in a Task List.
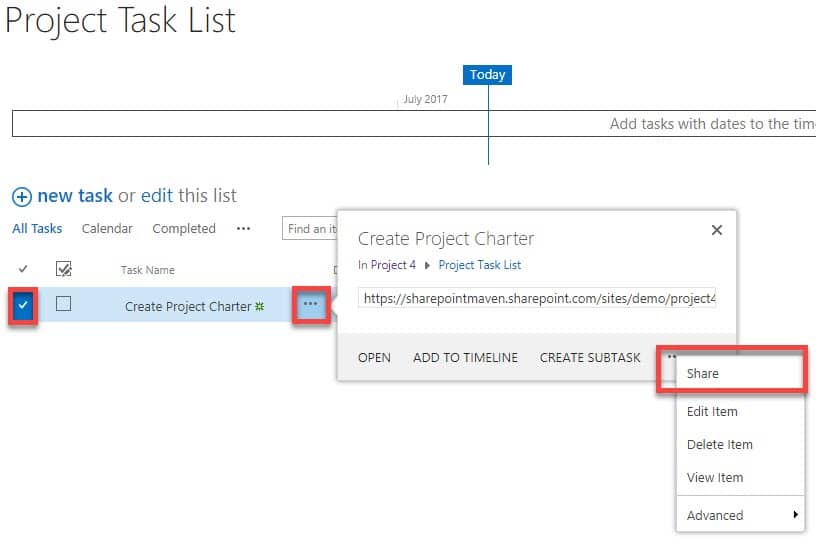
- Click on the checkbox next to a task you want to hide or set unique permissions for. Then click on ellipsis, ellipsis again, then Share
- Next, click on Shared with. You will see who the task is shared with (should be inherited from your site)
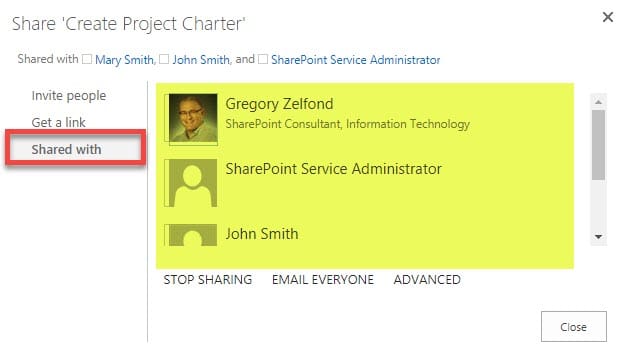
- Just like with the custom lists, you can either Stop Sharing to uninvite everyone or click on Advanced to set unique permissions
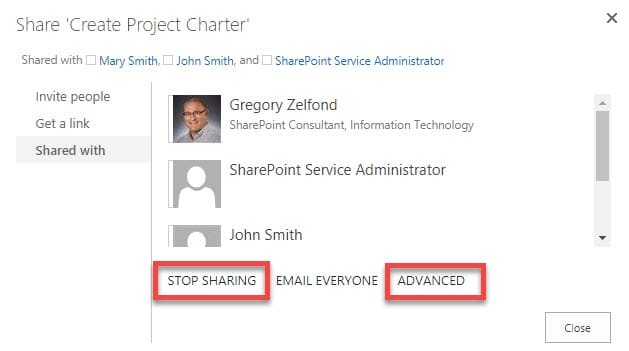
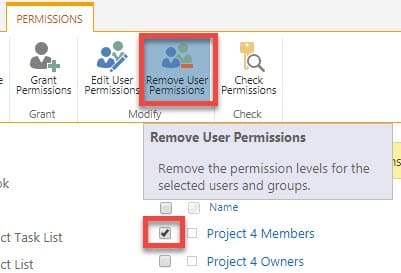
- Once you click on Advanced, it will get you to the screen below. This page is very similar to how you would be setting up security for a site. From there, you can Stop Inheriting Permissions…

- …and add/remove groups/users as necessary
