How to organize Metadata in the SharePoint Term Store
If you are using the Term Store to manage metadata, I am sure you are wondering if there are certain best practices to follow when it comes to taxonomy/metadata structure. In the past, I have published several posts on the many wonderful features of the SharePoint Term Store. Today I want to focus on the best practices and tips on how to make sure your Term Store does not become the Wild West of metadata. So let’s go over some tips on how to organize Metadata in the SharePoint Term Store!
Tip # 1: Group metadata by security/function
You might have all sorts of metadata, used by the different functions within the company. For example, you might have what I call “Global” metadata – this is the metadata that is used or could be used by everyone in your organization (example: Department names, Client names, Vendor names, etc.). Then you might have department-specific metadata. For example, Finance might have their own list of document types that no one else will ever use. Or Legal might have case statuses or categories that are unique to their particular department. Moreover, those departments probably want to make sure that no one else can accidentally mess up with their metadata. To resolve this, you need to use Group feature and organize your term sets inside of the groups (yellow folders).
Besides an ability to organize different term sets for each department, you can also set managers for each of the groups (folders). That way you can allow Legal only to manage their metadata, Finance – theirs and Global metadata will most likely be managed by IT department.
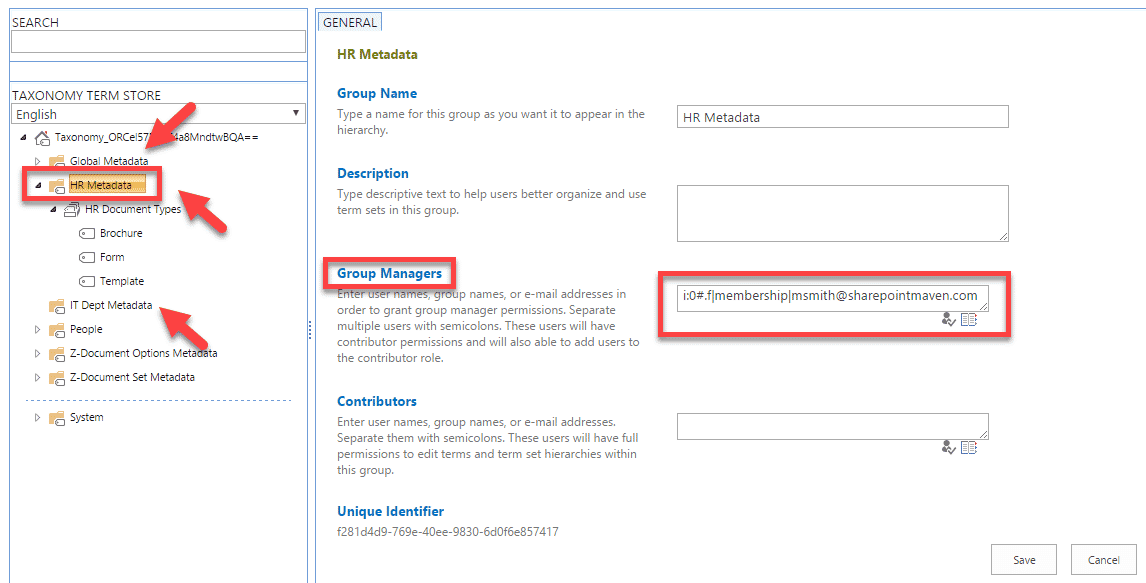
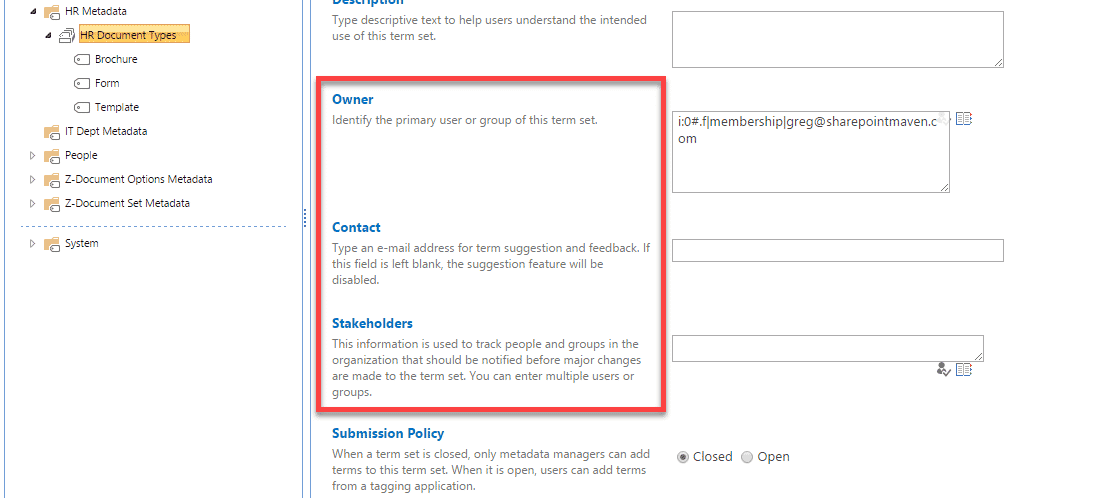
Please note that though Term sets have Owner and Stakeholder fields as well, they do not control security for the given term set. Once again, security for term sets is controlled at the group (folder level).
Tip # 2: Use term levels with caution
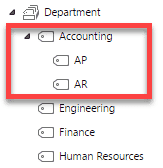
Another neat feature of SharePoint term store is that you can create metadata hierarchies and place terms one under another. This might prove powerful to very structured environments. However, you also need to make sure not to build super-complicated hierarchies unless there is a strong business need to do so. Having complicated hierarchies might become a problem down the road when you need to maintain the terms.
Tip # 3: Pin and Reuse with caution
Term Store has some advanced features related to term management. While they might be useful in certain scenarios, make sure to understand the fundamental difference between pinning and re-using terms.
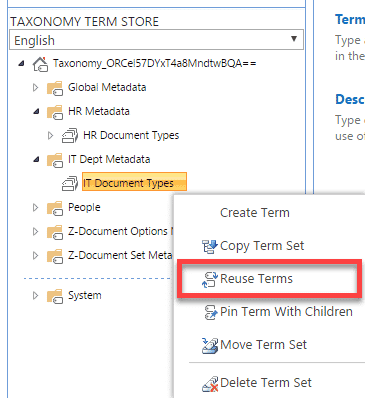
Reuse
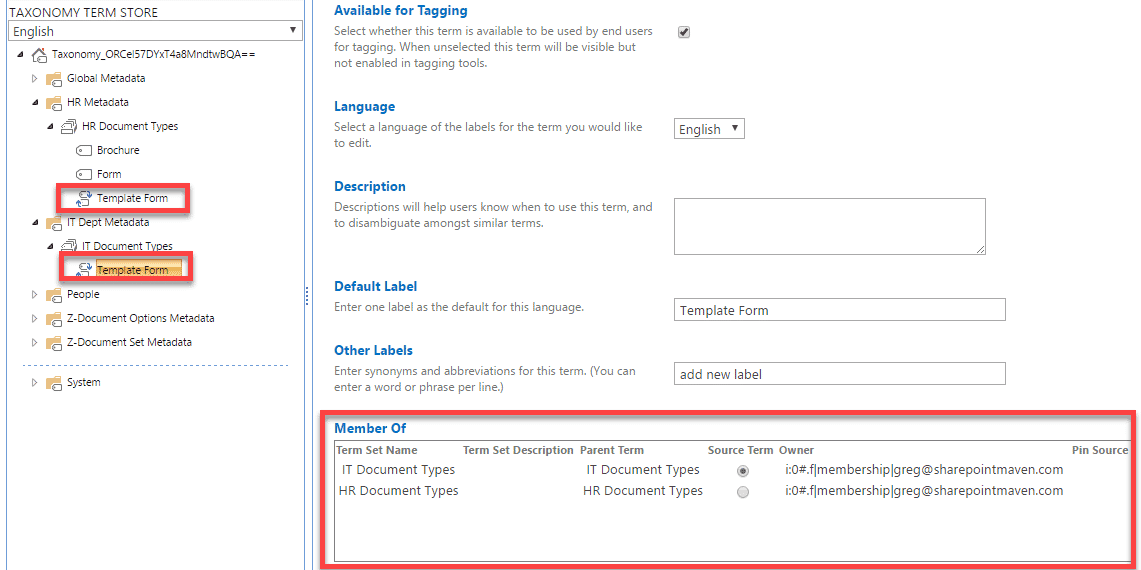
When you Reuse Terms, you essentially create a duplicate term that is linked to the term you are re-using.
Changing the term name in one place (does not matter which one) – will change it in both places where it is used (because it is linked)
Pin
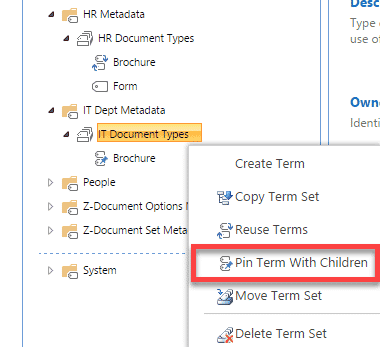
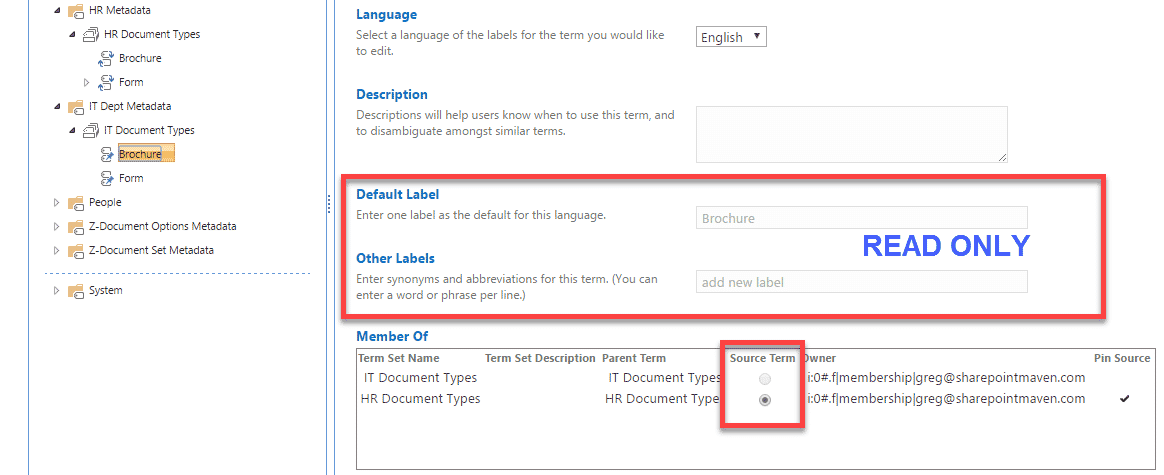
Pinning the term is like Reuse above, except it becomes read-only at the destination. That means that you are “borrowing” a term set with terms below and are relying on the source for term management. In other words, say, you want to repin HR Document Types and use it for IT Document Types. Once you pin, you can only change terms at HR Term set level. Pinning might make sense if you want to avoid accidental overwrite of metadata/terms and want to achieve a high-level of standardization and consistency across the organization.
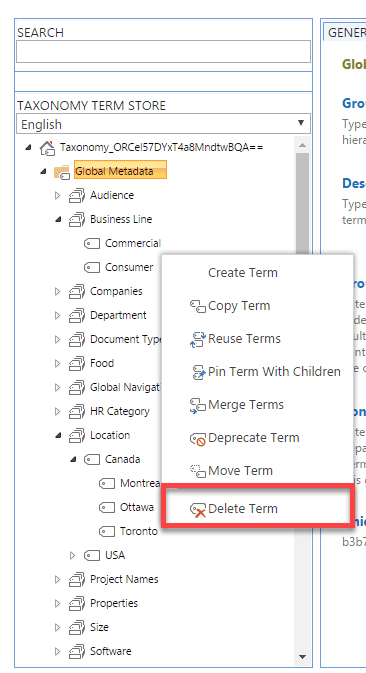
Tip # 4: Don’t delete terms unless you are 100% sure
One dangerous thing with terms is that if you delete one, all the documents and content tagged with that term will lose the association and will ultimately become untagged. And… there is no way to recover them. Unlike documents and other content that end up in the Recycle Bin and can easily be recovered, there is no such functionality in the term store. You will need to manually create another term (label) in the term store and retag all your content again!
Tip # 5: Avoid granularity by using synonyms
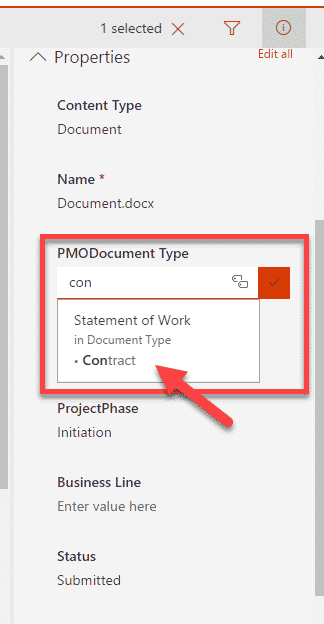
Another thing to think about is the number of terms for each term set. While sometimes there might be a good business reason for users to select from a long list of terms, you can also standardize on names by using the synonym feature. The way it works, you first set up a primary (main) term and then add a secondary label(s) to it. For example, the primary term could be Statement of Work, while a secondary label could be Contract.
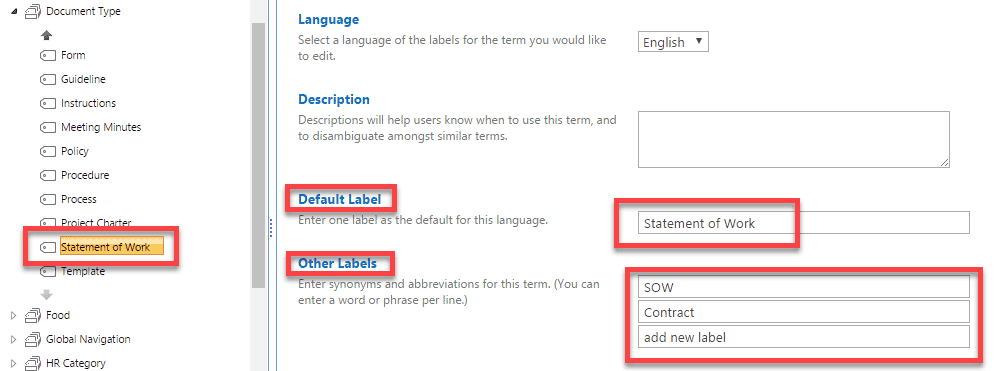
This way, when users tag the documents, even if they get to type Contract in the box, it will default them to the primary label (Statement of Work). This minimizes the number of similar labels (tags) you need to have in the list and improves user adoption.
