How to search content tagged with a retention label using Purview Content Search
Here is a use case for you. You had created a retention label and published it to various locations, and had it applied either automatically or by end users. And now, you would like to know all the items (files and folders) tagged with a specific retention label. Luckily, we can do so in Microsoft Purview Content Search.
What is Content Search?
Content Search is a feature available within Microsoft Purview that allows you to search and find content in SharePoint (sites) and Exchange (mailboxes). It is actually a pretty powerful feature that lets you not only to search for items tagged with specific retention labels, but also for items that contain specific keywords inside of the documents or the file names. For the purpose of this article, I will demonstrate how to find documents tagged with a specific retention label.
Step 1: Access Content Search
- Click on Microsoft 365 App Launcher > Compliance
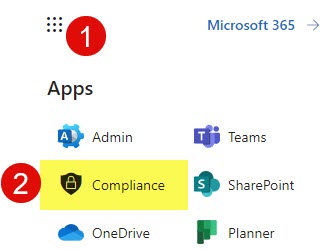
- Under Solutions, click Content search

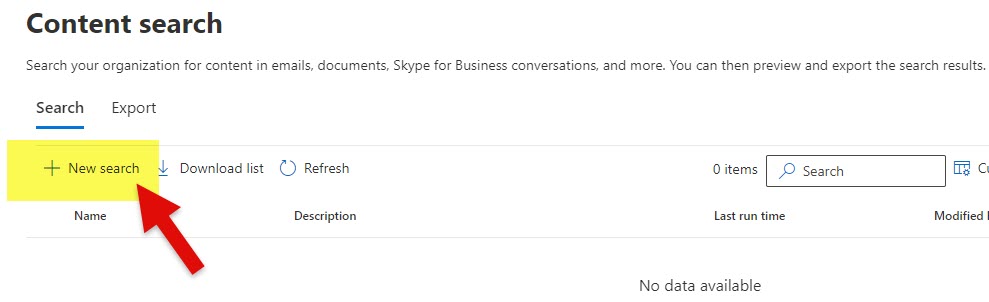
Step 2: Create Search Query
- Once you are in Content Search, click New search
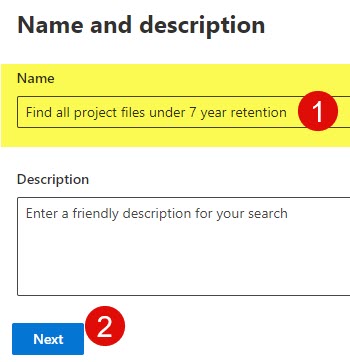
- Give the search a name and click Next
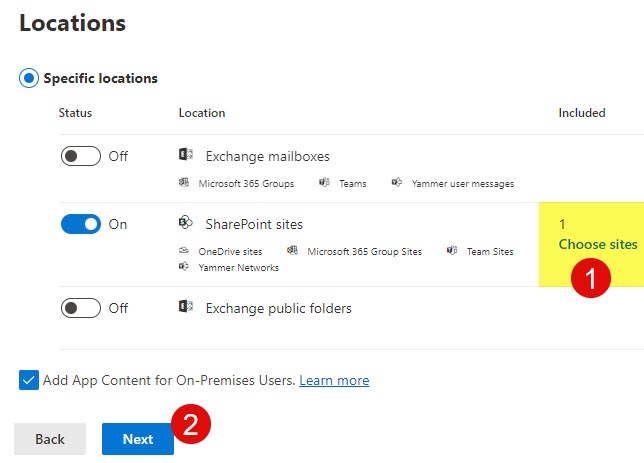
- Next, specify where you want to search. Since Content Search allows you to search for various types of content, you can search not just SharePoint sites, but also user mailboxes (emails). I plan to expand on this in later posts, but for now, let’s choose SharePoint sites as a location to search in.
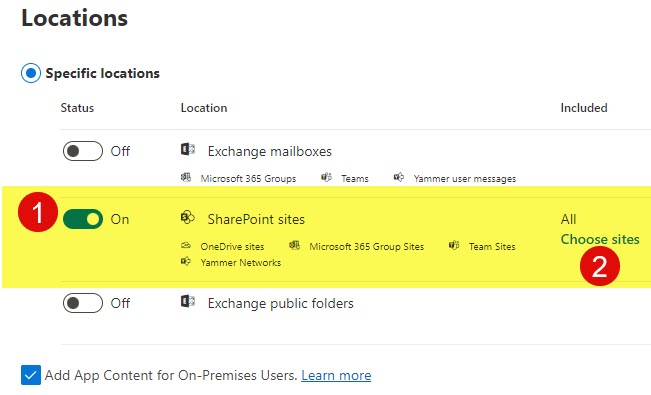
- You can also specify the specific site(s) where you want to search in. Click Next.
- On the next screen, you have to build a query. You can choose between Query builder or KQL query. I will explain all these options in future articles, but for now, let’s stick with Query builder, then click Add condition > Retention label.
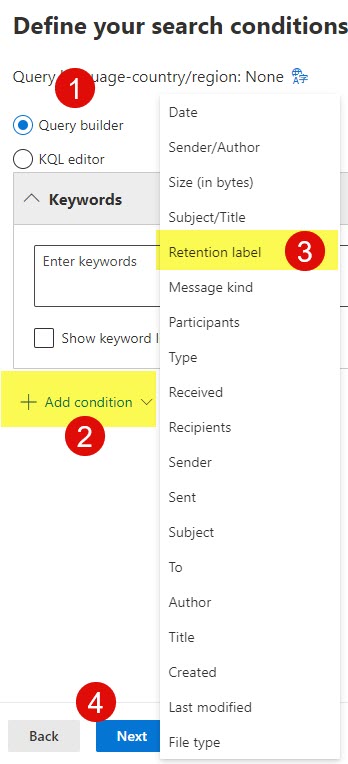
- To finish the query, choose the proper Operator (i.e., Equals any of) and type in the name of the retention label. Click Next.

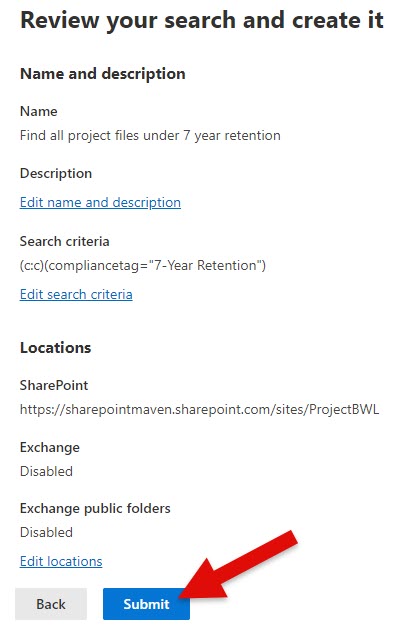
- On the next screen, review everything and click Submit
- You will receive a confirmation message.

Step 3: Access and Export the Search Results
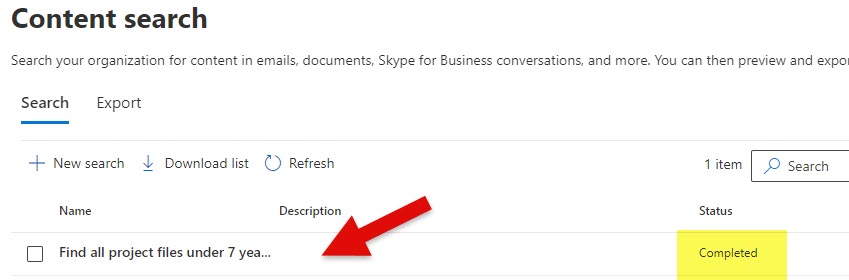
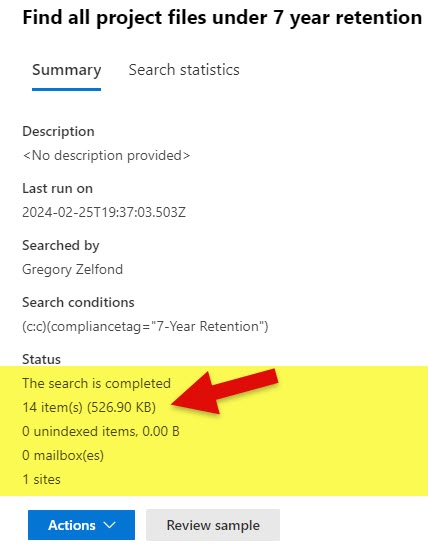
- Next, you must wait a bit for the search query to execute itself. Once you see the Status value Completed, click on the search query itself.
- Under the Summary section, you will see the results and see if any results were found.
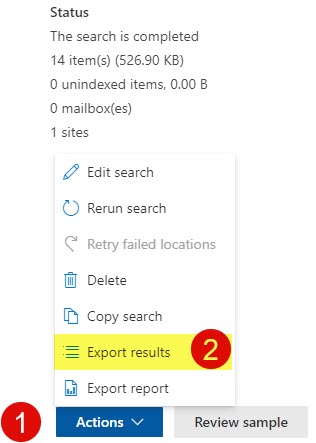
- To export the results, click the Actions drop-down and choose Export results.
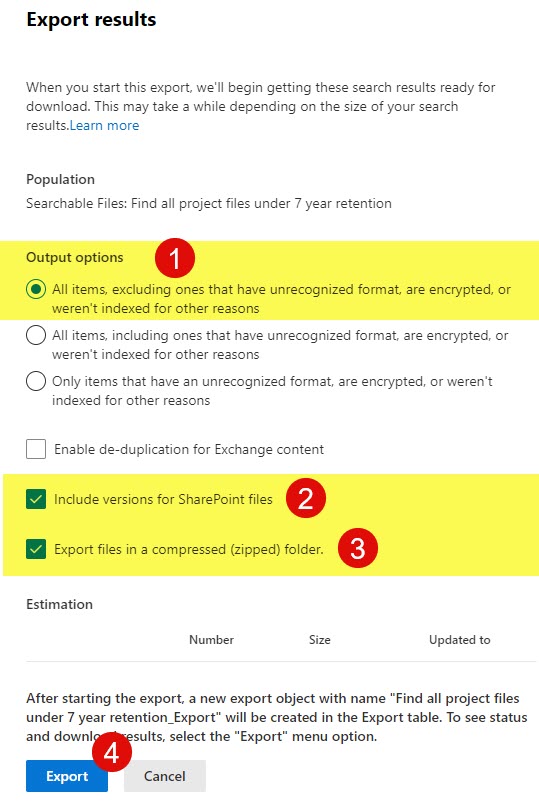
- On the next screen, choose settings on how you want your results exported and downloaded. In my case, I decided to not only download the search results report, but also include all versions of the files + download the files themselves and have them organized in a zipped folder. Click Export.
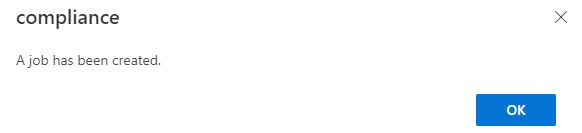
- You will then receive a confirmation message. Click OK.
Step 4: Download the search results and files
- Once you configure the export/download options, you must head to the Export tab within Content Search. Then click on the search query itself.
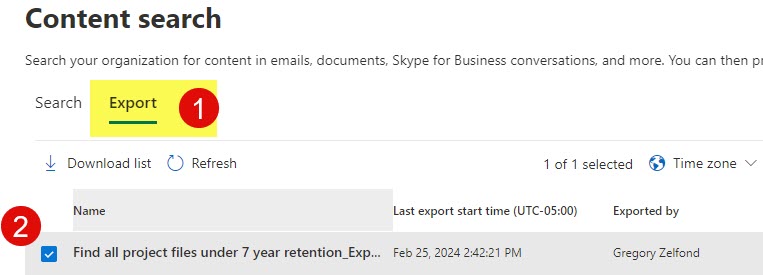
- On the next screen, you will be able to download the results. First, copy the key (think of it as a temporary password). Next, click on Download results.

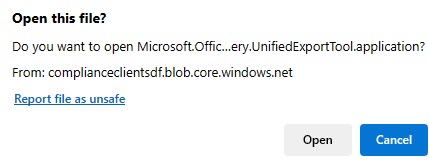
- After you click on Download results, it will ask you to Open the file. Click Open.
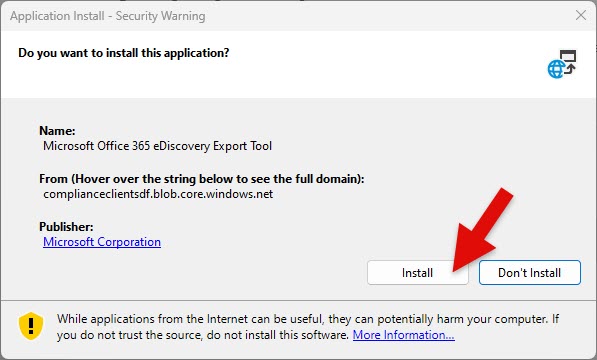
- You will then need to install the Microsoft Office 365 eDiscovery Export Tool. Click Install.
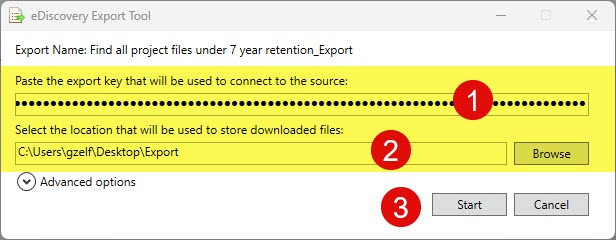
- On the next screen, you will need to type in the temporary key from above and set the destination for the zipped folder/files. Click Start.
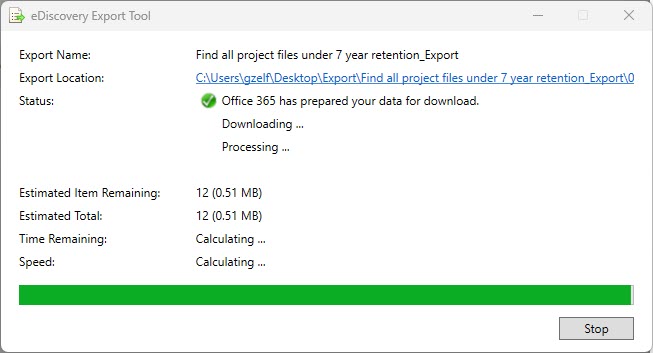
- You will then see the progress bar…
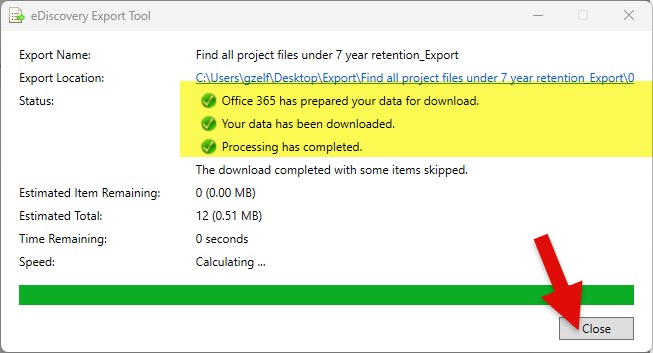
- Once completed, click Close.
Step 5: Review the Search Results
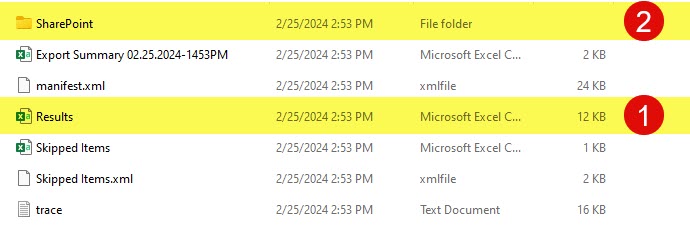
- Once it downloads the zipped folder, you will see several files in there. The Results Excel document summarizes all documents that met a search query (in our case, all files with a retention label). The SharePoint folder contains the downloaded files themselves.
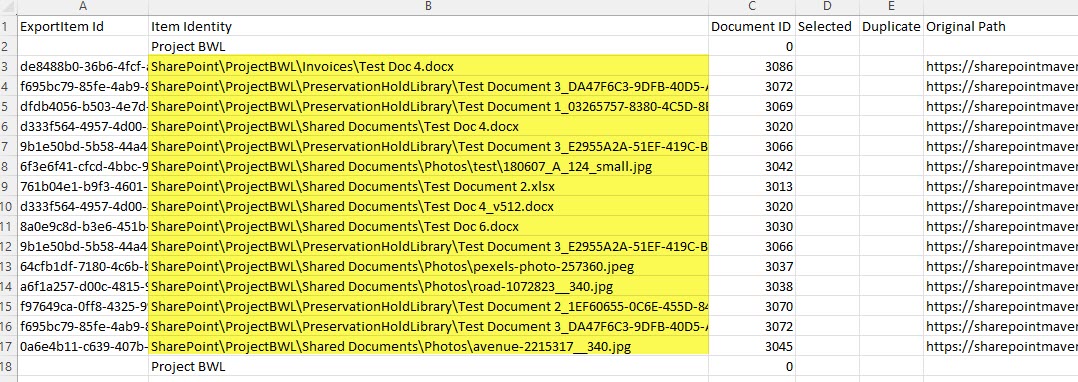
- If you open the Results Excel document, you will see the document summary matching the search query. It will also provide additional information about the files (exact location, last modified date, etc.)
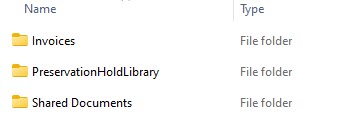
- If you open the SharePoint folder and drill through a few subfolders, you will see the downloaded files themselves. It does tell you also which library the files were obtained from (i.e., in my case, it found documents in Shared Documents (default document library), Invoices document library, and Preservation Hold Library)
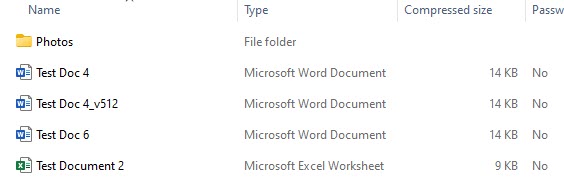
- This is what the contents of one of the document libraries above looks like
Important Notes/Nuances about Content Search in Microsoft Purview
- To be able to access Content Search, you must have proper access to Microsoft Purview and a license
- If you are executing the search, there is no need for you to have access to the Sites or mailboxes being searched. It searches the sites you do not even have access to!!!
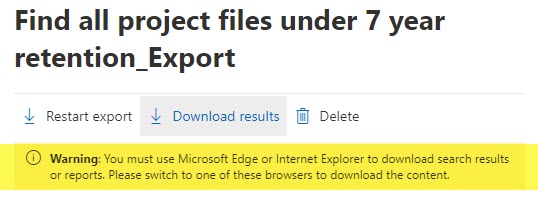
- To export/download search results/documents, you must use Microsoft Edge. Otherwise, you will get the below error message when clicking on the Download results button we did in Step 4.
- You can also use the Content Search Option to find files with certain names and content – I will explain how this works in future articles.

Share Article