How to delete content from SharePoint Sites using Retention Policies and Retention Labels
Most of my articles about retention were related to the ability to retain content or prevent its modification and deletion for some time. However, there might also be a need to delete old/outdated content from a SharePoint site. For example, you migrated from file shares to SharePoint Online and would like to delete documents created or modified more than ten years ago. Or, you might have a legal or regulatory requirement to delete all documents created over a year ago. Luckily, in those cases, you can set up your retention policies to find/identify and delete such content based on the retention settings. Let me explain how this works.
Two ways to delete old content from a site using the retention policies
Just like with retention and records management, there are two ways for you to get rid of the outdated content on your SharePoint sites:
- Delete content via Site Level Retention Policies
- Delete content via Label Retention Policies
Let me describe both options below.
How to delete content from SharePoint Site using Retention Policies
When you want to apply a blanket policy to delete content on the entire site, you can rely on the Site Retention Policy to delete content. Here are the steps.
-
- From the Microsoft 365 App Launcher, click on Compliance
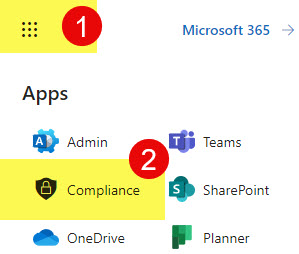
- Under Solutions, click on Data lifecycle management > Microsoft 365.
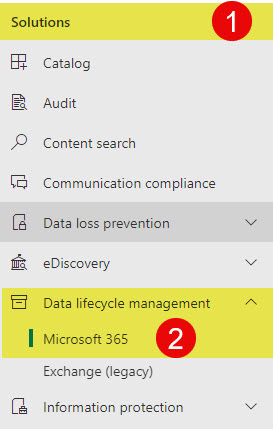
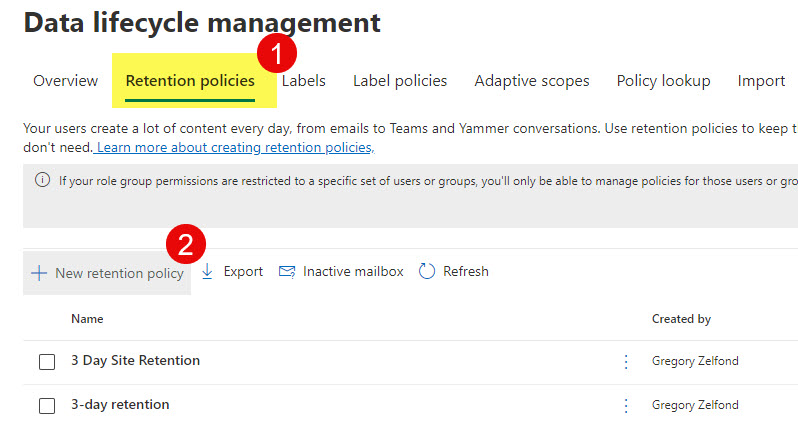
- Once in the Data lifecycle management dashboard, click on Retention policies > New retention policy
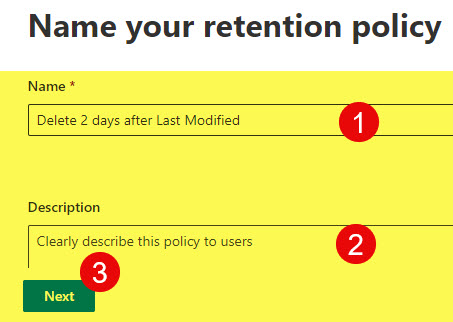
- Give your policy a name, click Next
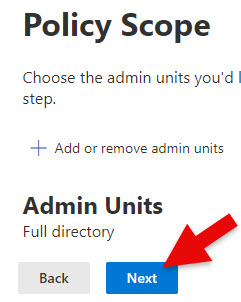
- On the next screen, you can choose Admin Units. For this post, click Next, but if you want to learn more about this functionality, click here.
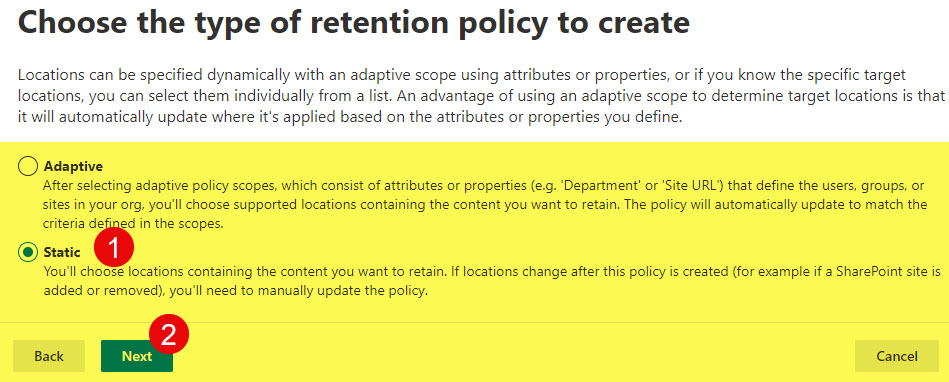
- On the next screen, you have to choose the policy type you want to create: Adaptive or Static. I explained the difference in this article. For this exercise, I am going to choose Static. Click Next.
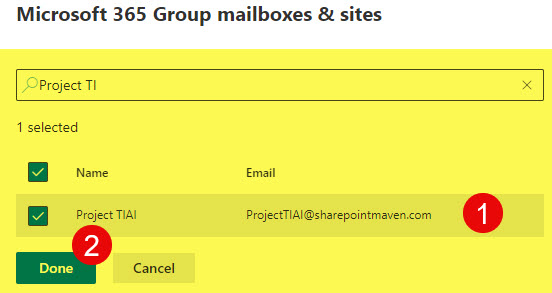
- Choose the site(s) to which you would like to apply the policies, and click Done.
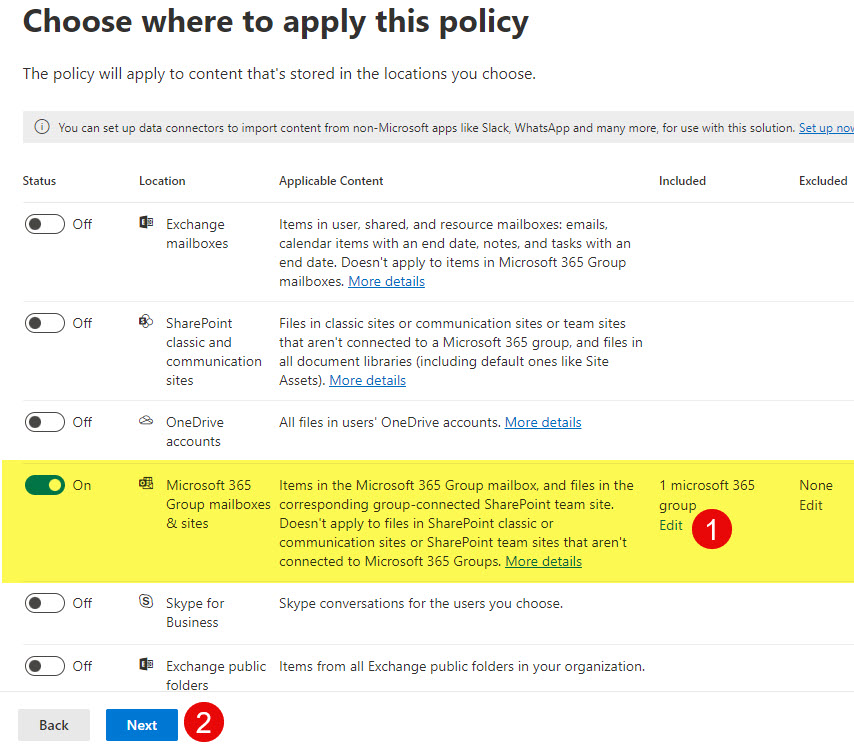
- Click Next to proceed to the next screen.
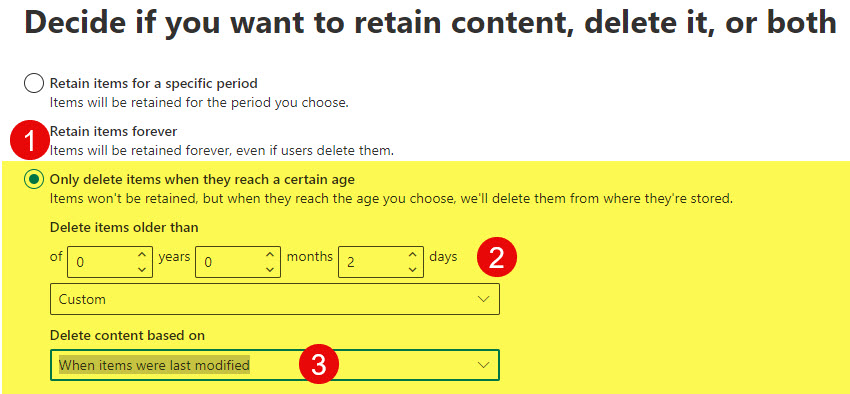
- On the next screen, you have to specify the retention settings. We are deleting items, not retaining them, so choose Only delete items when they reach a certain age. In my case, I am deleting documents once they have not been modified for the 2 days. Realistically, you might want to set a much higher limit.
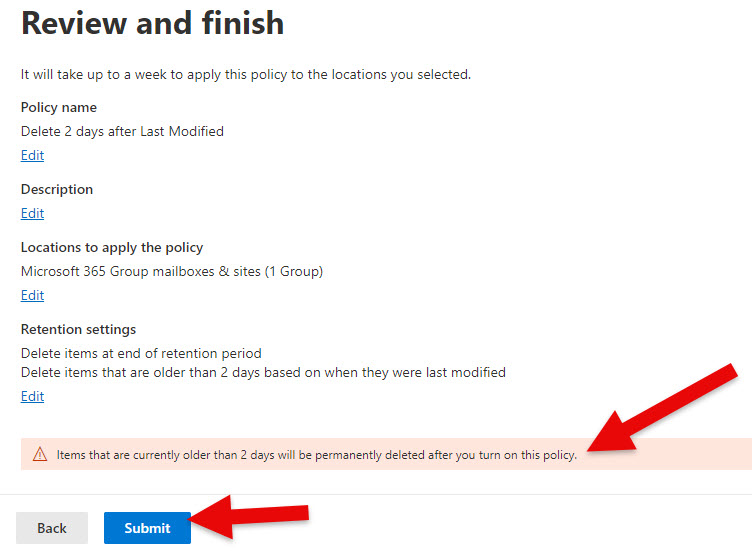
- On the next screen, review the setup and click Submit to create and publish the policy. Note the warning message about items to be deleted.
- You will then receive a confirmation message.

- From the Microsoft 365 App Launcher, click on Compliance
What happens when the Site Deletion Policy takes effect?
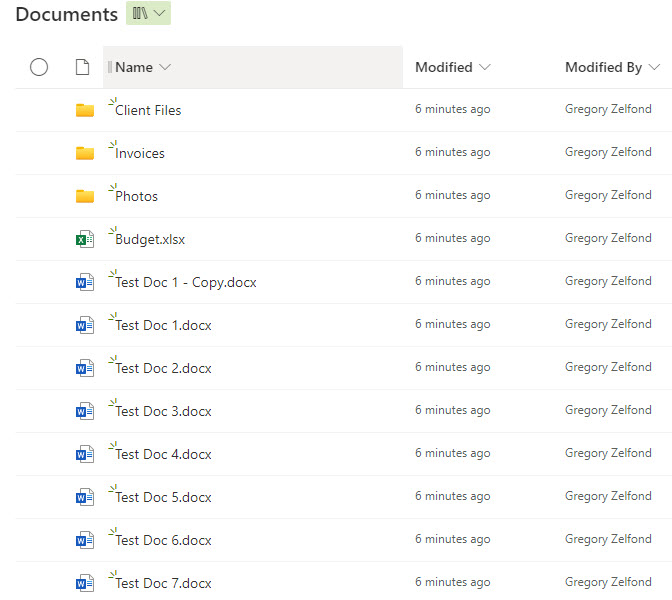
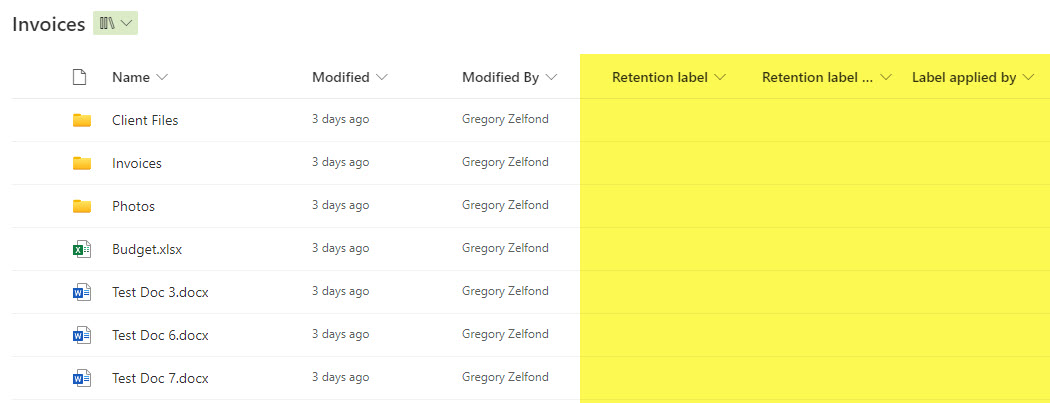
- The policy took effect within less than 24 hours, and I ended up with a much cleaner document library. The below screenshot shows the library before the Site Deletion Policy was applied.
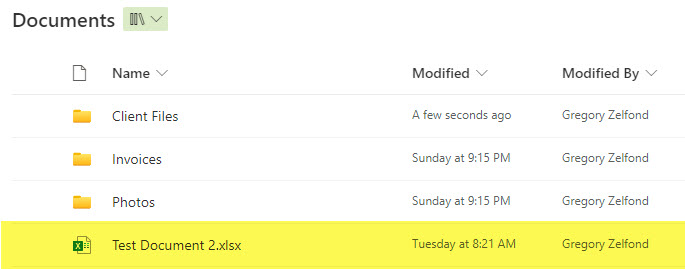
- And here is the same library after the Site Deletion Policy was applied.
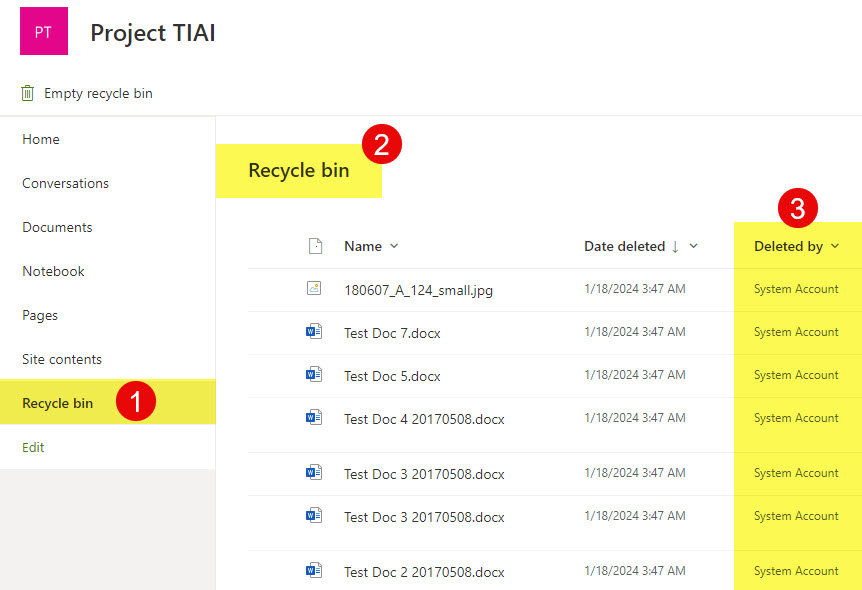
- All the deleted documents went straight to the Recycle Bin.
How to delete content from SharePoint Site using Label Retention Policies
Just like you can delete old content using the Site-level policies, you can do so using the label retention policies – by applying the label to individual items.
-
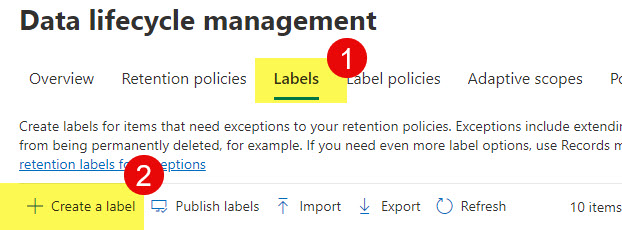
- From the Data lifecycle management, click on the Labels tab, then Create a label
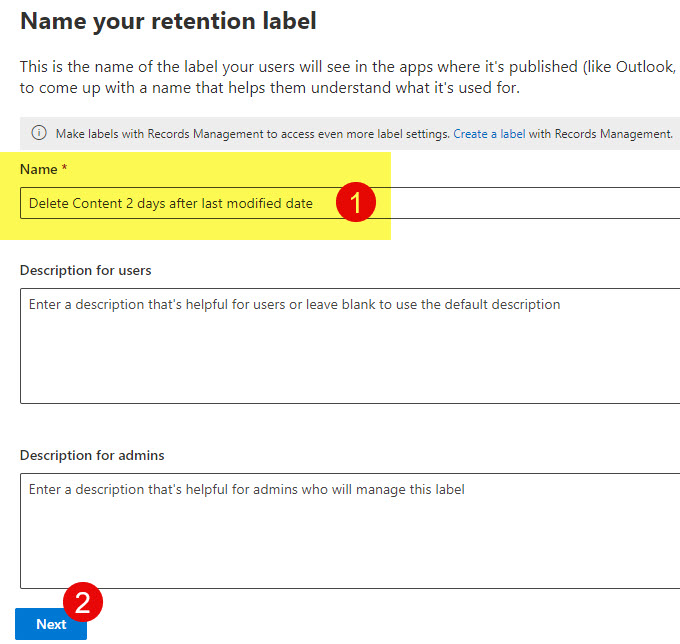
- Give your retention label a name/description, and click Next.
- Choose the middle option: Enforce actions after a specific period, click Next.

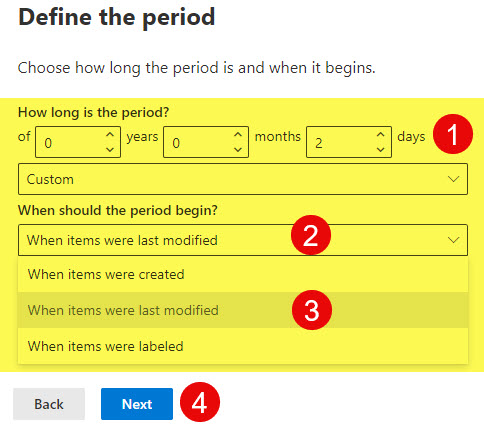
- On the next screen, define the period and when it should begin. In my case, I am just setting up 2 days so we can easily test. Click Next.
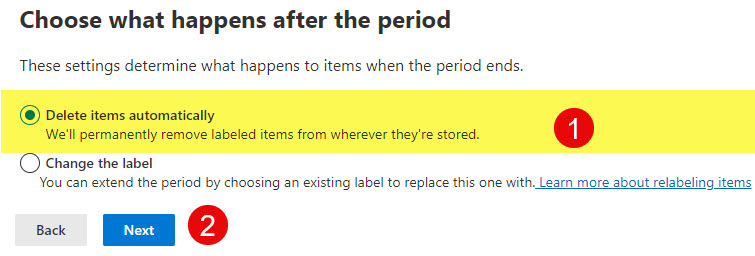
- Next, choose what will happen after the period expires. In our case, we want to choose: Delete items automatically.
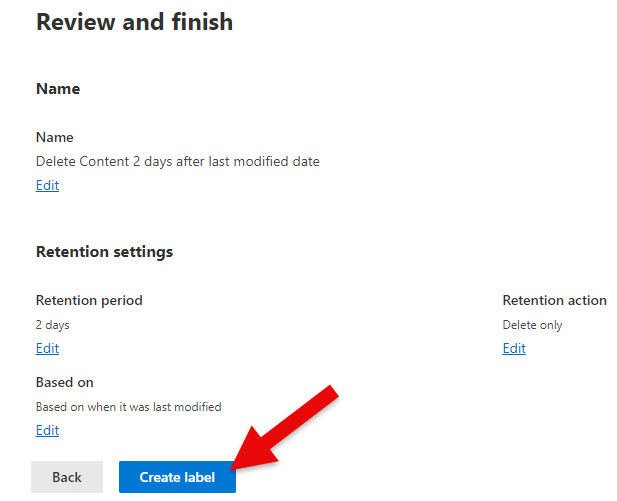
- Next, review the settings and click Create label.
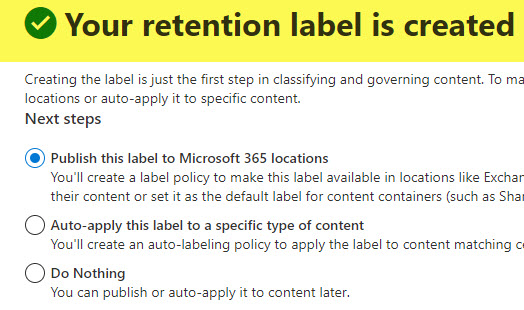
- On the next screen, you will get a confirmation and recommendation to publish the label
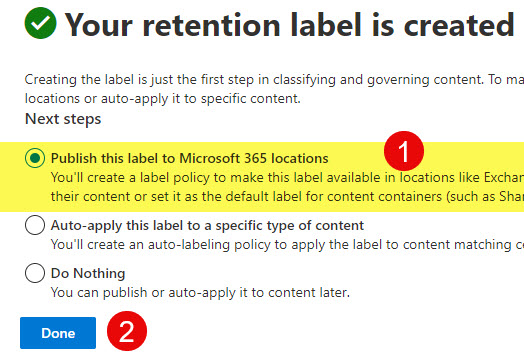
- Click Done to proceed and publish the label to SharePoint Site(s).
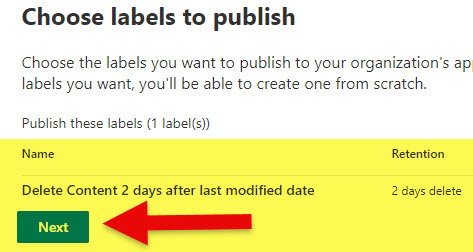
- Click Next.
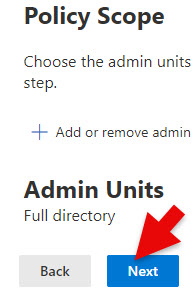
- Click Next to skip Admin Units, which I explained above.
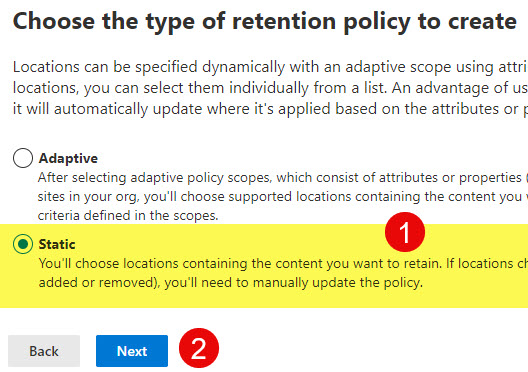
- For this article, choose Static. Click Next.
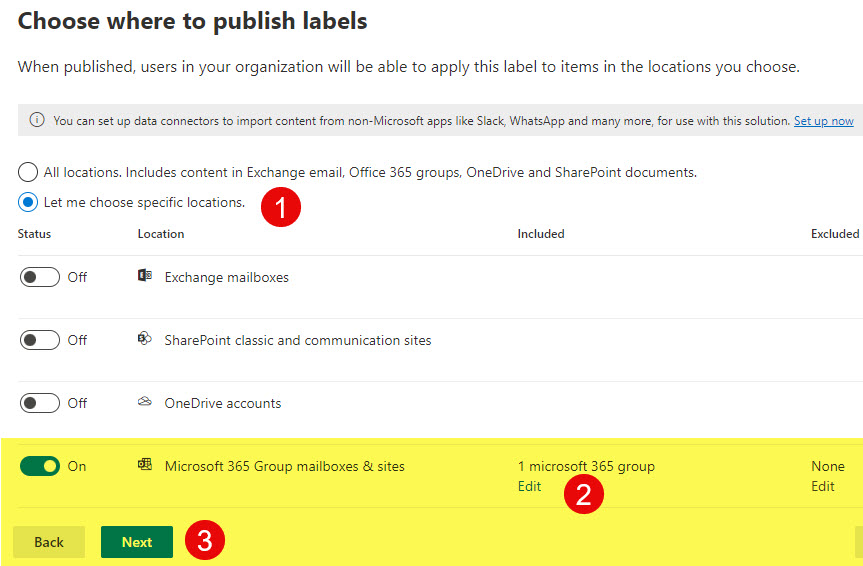
- Just like with the Site Retention Policy above, choose a specific site(s) to publish the label to. Click Next.
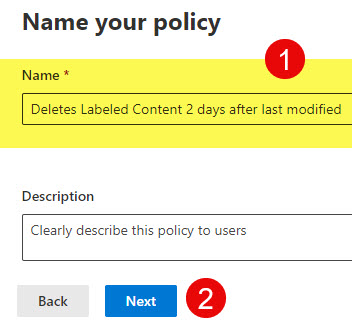
- Give your policy a name, and click Next.
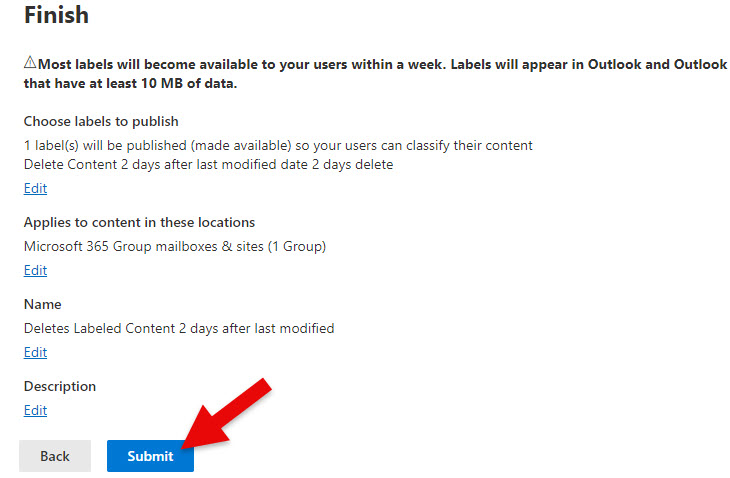
- On the final screen, review the settings and click Submit to publish the label.
- You will then receive a confirmation message.

- From the Data lifecycle management, click on the Labels tab, then Create a label
What happens when the Label Retention (Deletion) Policy takes effect?
- After the label is published, you will be able to tag items with the label.
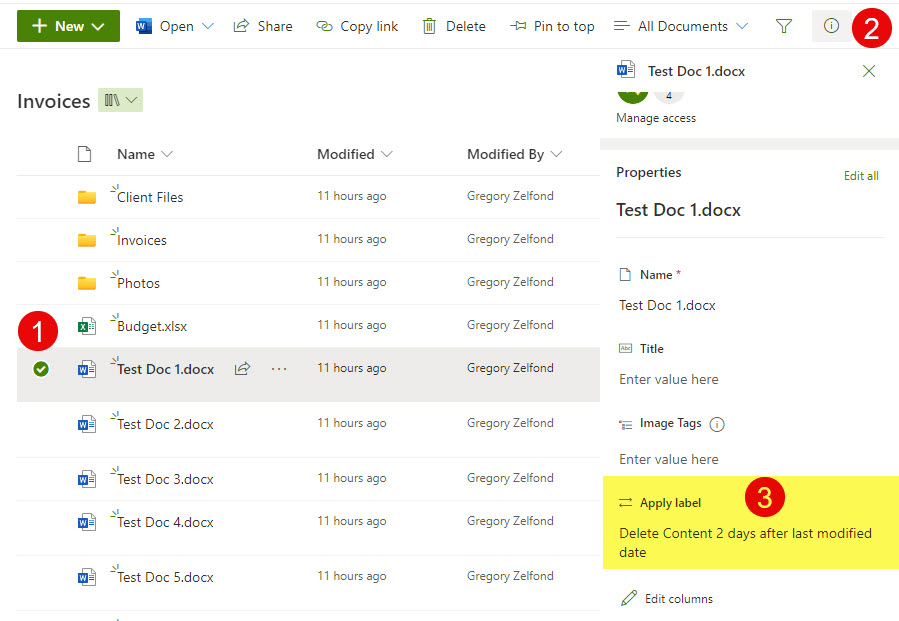
- In my case, I am tagging 4 documents within a library
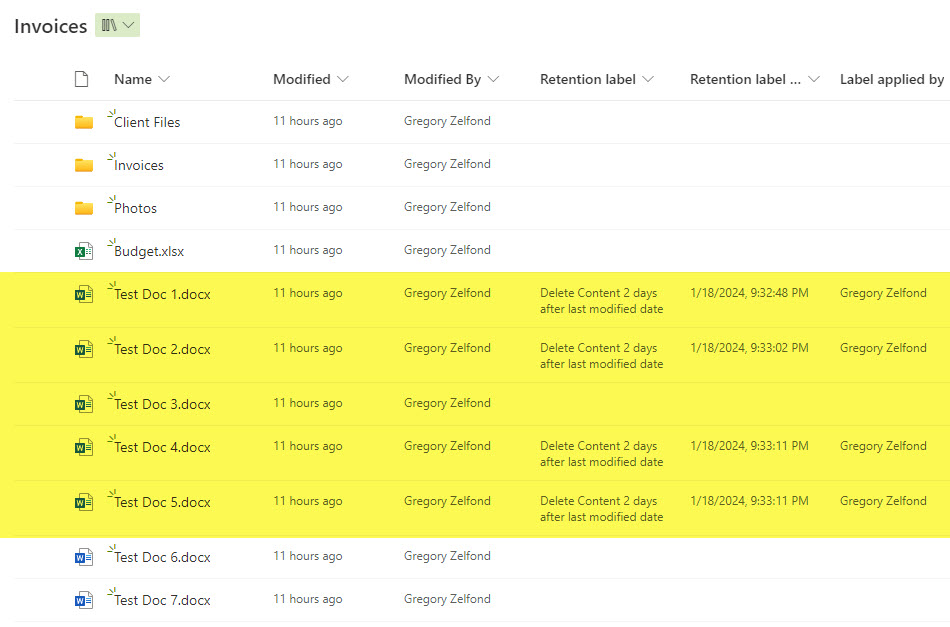
- After a few days, those labeled documents are removed from the library (due to deletion policy)
- And the labeled documents end up in the Recycle Bin, per the policy.


