4 ways to display Department or Team Members on a SharePoint Site
A frequent request for company intranets is to display and share information about the Team Members. This could be a Welcome New Team Members Page on a Human Resources site, welcoming new employees, or a page to display a roster of external users, say a list of Board Members for a nonprofit organization. So in this article, I want to show you a few ways to display department or team Members on a SharePoint Site.
Option 1: People Web Part
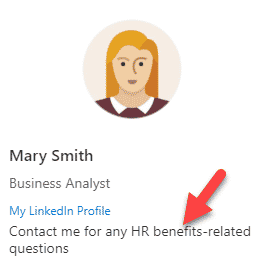
The first option involves the use of the People Web Part. I blogged about it previously. The idea is that it automatically displays information from your Active Directory and shows you the user’s name, photo, role, contact information, etc. In addition, you can switch the layout to large and add additional information about the user. Once again, I covered it all in this post.
Pros
- Nice and easy to set up
Cons
- It only works for users in your Active Directory (internal users, it does not work for external users)
- This option assumes that Active Directory is maintained by IT and contains user photos and other relevant information
- Limited area to add a description about the user (255 characters max)
- Limited display options
Option 2: Image Gallery Web Part
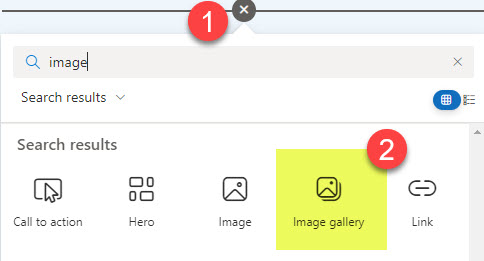
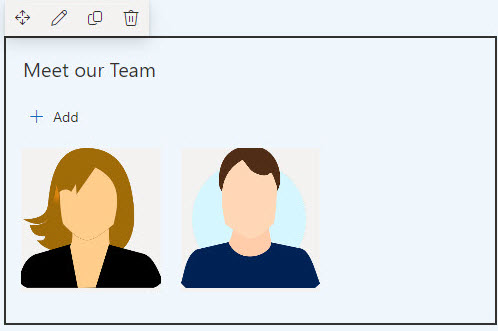
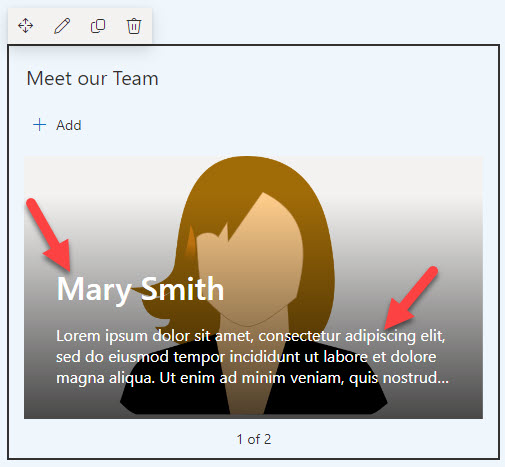
If you want more control over the layout, you may try using the Image Gallery web part. This way, you are getting a nice visual photo of each employee and an area to add some text below the photo.
Pros
- Nice and easy to set up, visually appealing
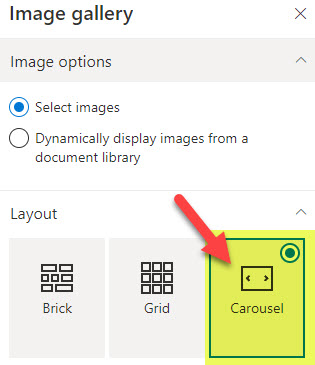
- Multiple layouts available
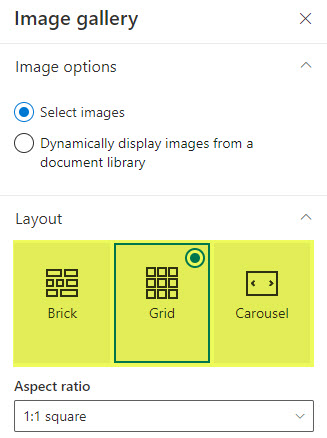
- Ability to manually upload user photos or dynamically display them from the document library
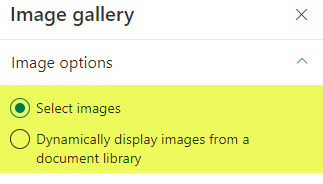
- Works for both internal and external team members (since we are not relying on Active Directory)
Cons
- The Name and additional information (Title and Caption, respectively) do not appear under the photo unless you choose the Carousel layout. With the other two layouts, they will only appear after you click on a photo/image.
Option 3: SharePoint Pages and Quick Links
OK, this is my favorite option, because it delivers the best experience for you and the users. It does take a bit more time to set it up, but, hey, at least you will not need to pretend in front of your boss that you are doing some actual work 😊. Plus, your boss will think you are smart. Let me walk you through this option.
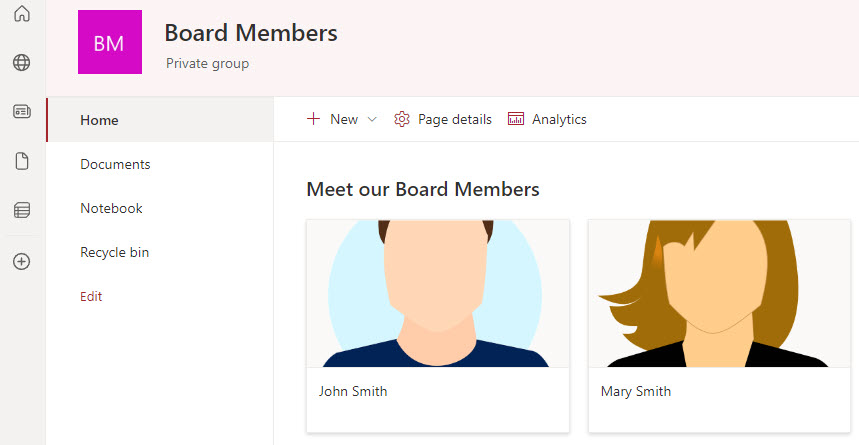
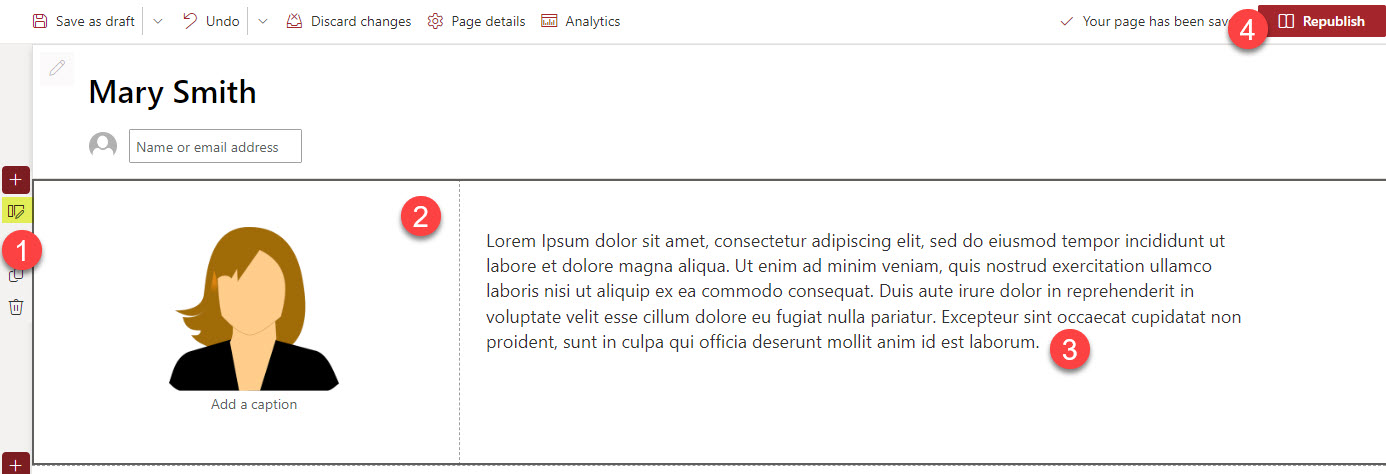
The idea behind this option is that every member gets their own page containing a photo and text/description of them. On the homepage, there will be a Quick Links Web Part to link to each and every team member’s page. I documented step-by-step instructions on how to set it all up in this article.
Pros
- Looks amazing. Visually appealing.
- Works for both internal and external team members (since we are not relying on Active Directory)
Cons
- It takes a bit of time to set up, but totally worth it
Option 4: Gallery View on a List
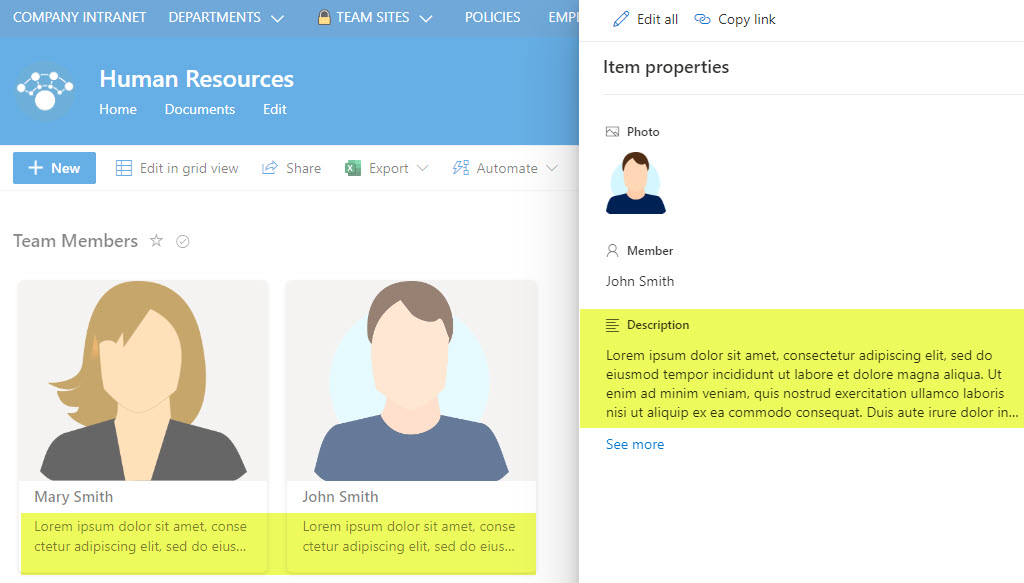
Believe it or not, there is another cool option that exists to display department/team members, and this one involves Microsoft Lists. The idea is that you would maintain the users in the Custom List and then present the data using the Gallery view. The setup is pretty simple, and I actually documented how to create a Gallery View in this article.
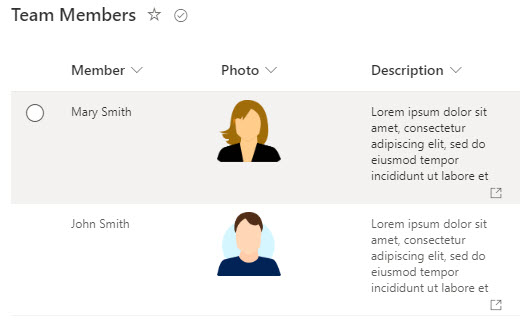
List View
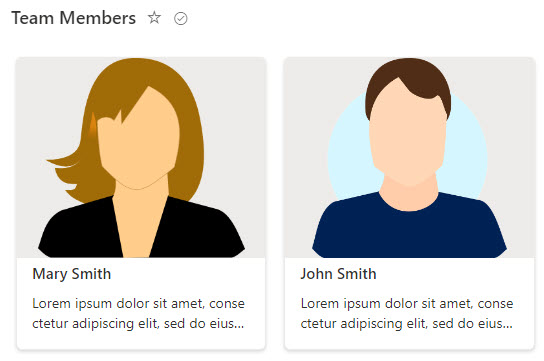
Gallery View
Pros
- Looks amazing as well
- Works for both internal and external team members. If you just have internal members, you can rely on the People Column to draw the name of the members from the Active Directory. If you have external members, you can create a Text Column to capture their names.
- Ability to add additional information/metadata to a user “card” (by adding extra columns to a list). For example, you can add the date of birth or city/town they are from.
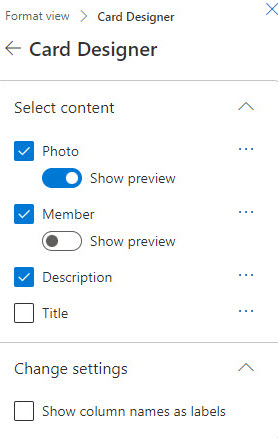
- Good options in terms of changing the order of the fields/format via the Gallery Card Designer
Cons
- It takes a bit of time to set up
- Limited area for the text on the cards; you have to click on the photo to get more information
