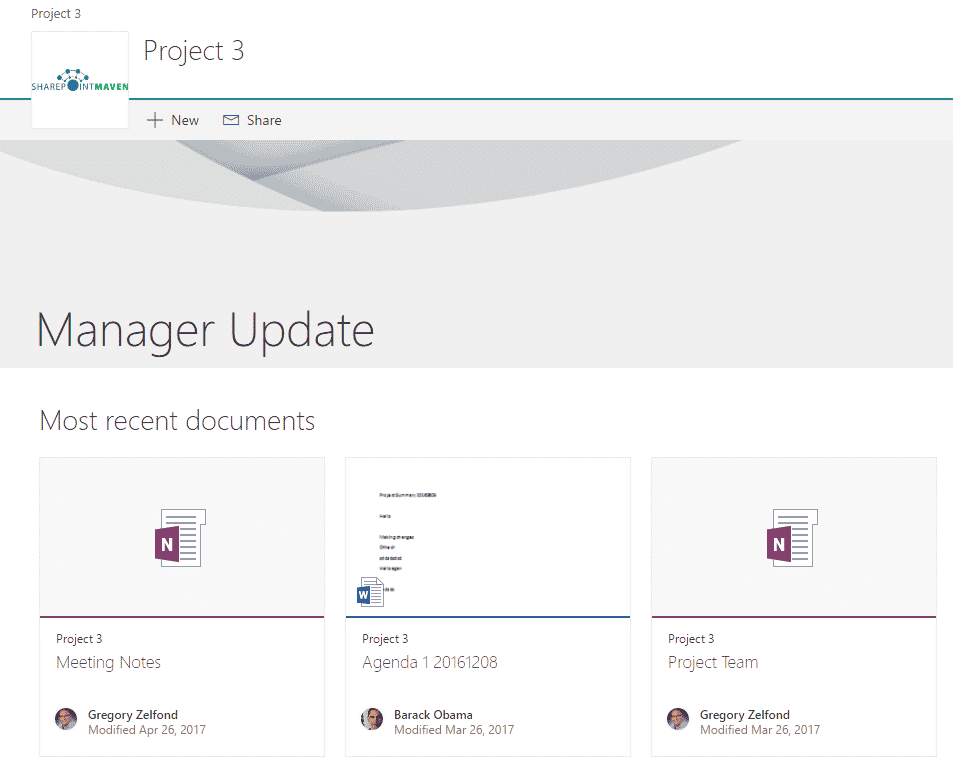
2 ways to add a Border around Web Parts
Sometimes there might be a need to add a border around SharePoint Web Part on a page. This could be due to specific visual or aesthetics requirements. I recently had a client who had some accessibility requirements. As such, one of their requests was a light border around each of the web parts on the page, so it is easier to identify for people with visual impairment. So in case you encounter the same need, let me show you two ways to do this in SharePoint.
Option 1: Web Part Properties
- Page > Edit Page
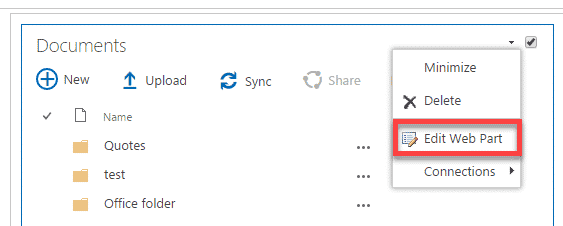
- Edit Web Part
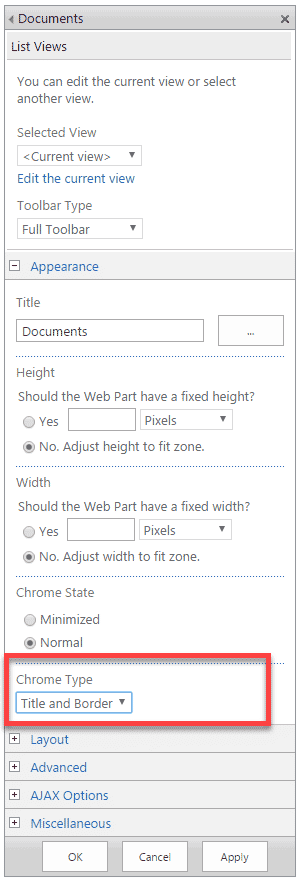
- On the Web Parts properties panel on the right-hand-side, choose Title and Border under Appearance > Chrome Type.
- Click OK
- You will now see the light gray border around a web part
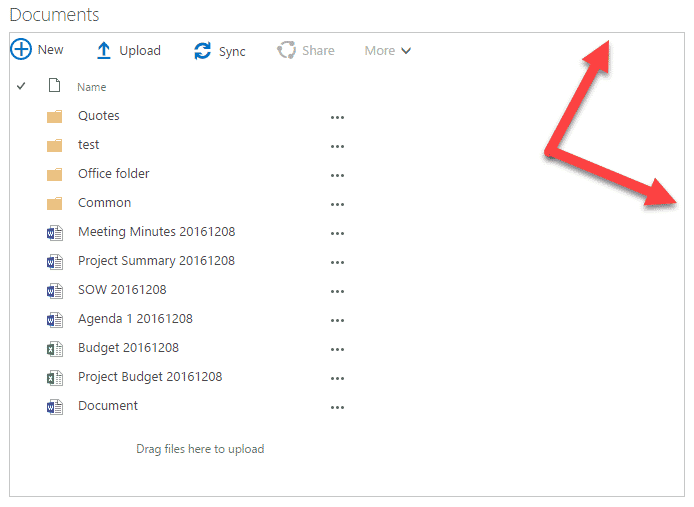
Option 2: Insert a Table
Another way to add a border is to simply insert a table into the page and then insert a web part into a given cell. I use this trick sometimes when I need to align web parts, text and images on a page. Here is how you do this:
- Page > Edit Page
- Insert Tab > Table
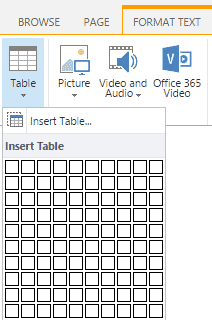
- Insert a table with say 2-3 rows and 1 column
- Once you have a table on the page, click inside of the cell and then Insert > Web Part, choose the web part you want to insert. Click Add
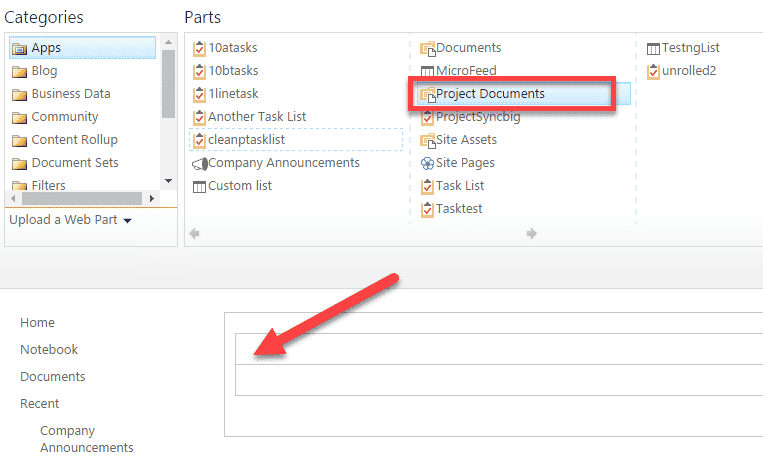
- Repeat for other web parts (in other cells).
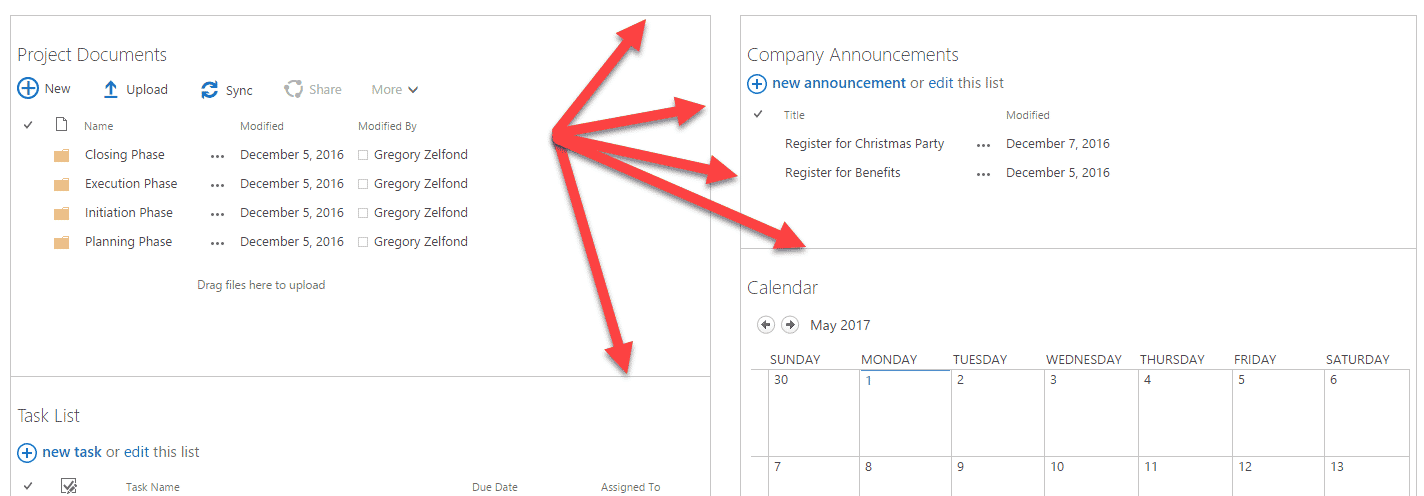
- When all is set and done, you will end up with a page that looks like this
Notes:
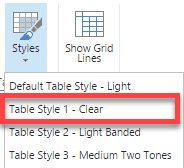
- For the second option, because it is a table that you are inserting, you have some additional styling options
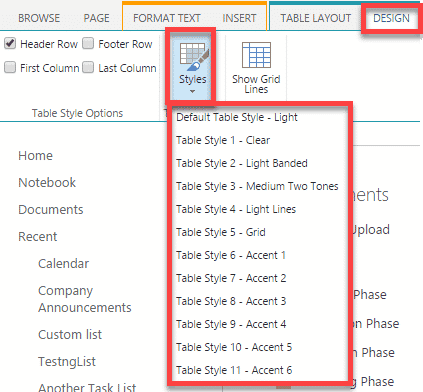
- Same trick (inserting a table) can be used to align text and images on the page. Say, you need to align text and an image on a SharePoint page. Just go ahead and insert a table with few rows and, say, one column and change Styling to Clear. Text and images will appear aligned, yet, table lines will be invisible.
- It is important to note that both of the above options only work with classical pages only. These do not work with modern pages/web parts.
