Working with SharePoint Pages Toolbox
One feature that I don’t get to use often but should is the Toolbox Popup that appears in the SharePoint Pages Content Pane as soon as you edit the page. While I personally prefer to design my own page layouts and add my own web parts to the page, the Toolbox might be an invaluable tool for newbies looking to learn the possibilities of SharePoint. So, in today’s post, I want to explain what this is all about.
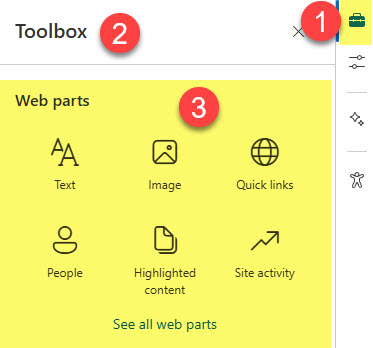
If you press the Edit Page button in the upper right corner of the page, you will immediately notice the Toolbox pane appearing on the right side of the screen. As of the writing of this post, the Toolbox consists of 3 sections/elements:
- Web Parts
- Images
- Section Templates
Web Parts
The Web Parts section lets you easily add web parts to the page. To do so, you can either click or drag and drop them on the page. It is the same result you get when you simply click on the “+” sign on a SharePoint page as well.
Images
If you need to spice up the page with some images, you can add one using the Images section of the Toolbox. Again, it is the same effect as adding an image web part and adding an image from the Stock images.

Section Templates
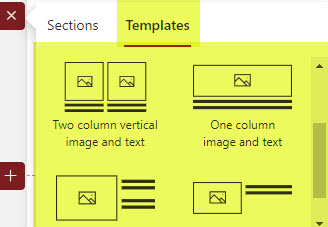
Perhaps the Toolbox’s most valuable and appealing section is the Section Templates. This is where you can find predesigned section templates you can add to your page.
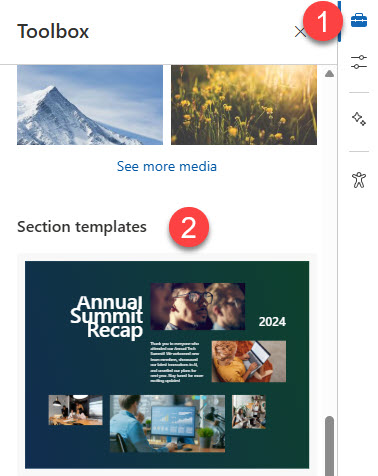
Example of SharePoint Pages Toolbox Section Templates
If you recall, a while back, we could add section templates to the page. However, with this change, they were pretty dull and dry; Microsoft incorporated them into the Toolbox.
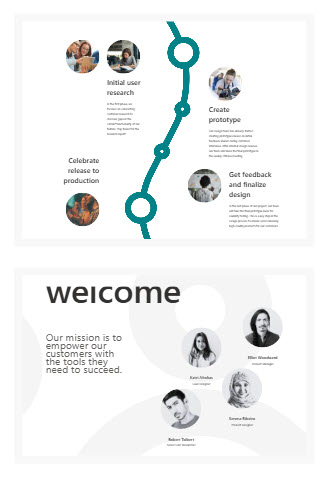
Example of the old Section templates
Moreover, most of the examples in that section are those that use the new Flexible Sections capability, so in case you were not born a graphic designer, these are some great examples for you to follow!

Share Article