SharePoint and Microsoft 365 External Sharing with Non-Microsoft Accounts
I wrote a number of posts in the past about different types of external sharing. You can share a given file or folder, site, team, or group, and you will always get different user experiences from the recipient’s point of view.
Today, I want to explain external sharing again, but instead of focusing on what is shared, I want to focus on who we are sharing with. Though I blogged a bit already about external sharing in the past, Microsoft recently made some changes to how external users authenticate with your organizations, and so I would like to share the new experience with you in this article.
From the Microsoft 365 standpoint, there are 3 types of external users you can have:
- Users with Microsoft 365 Accounts from their respective organizations
- Users with Microsoft Accounts (i.e., Outlook.com, Live.com, Hotmail.com, etc.)
- Users with Non-Microsoft Accounts (i.e., Gmail.com, Yahoo.com, etc.)
The first two groups are not that much of a concern usually as those get a smoother user experience due to those accounts being Microsoft accounts already. The group I want to focus on today is the 3rd one. Essentially, these are the users who do not have a Microsoft account and do not have Microsoft 365 in their organizations. I am talking about users with Gmail.com emails, Yahoo.com emails, or just regular work emails (i.e., ) that are not part of Microsoft 365.
As stated above, Microsoft recently made significant changes to how Non-Microsoft Accounts accessed your company’s resources. In the past, if you had a Non-Microsoft account (i.e., Gmail.com), you were forced to create a Microsoft Account. This was a pretty complicated process that drove many people crazy and required many extra steps. With the change, those Non-Microsoft accounts can simply access the resources via a temporary passcode. There are pros and cons to this approach, all of which are mentioned in this article.
To demonstrate the user experience for Non-Microsoft Accounts, I chose external sharing for the following 3 typical use cases:
- Scenario # 1: External Sharing of a Team in MS Teams
- Scenario # 2: External Sharing of a SharePoint Site
- Scenario # 3: External Sharing of a file or folder
For each scenario above, I document the following:
- How to Share with a Non-Microsoft Account
- User Experience for a Non-Microsoft Account
- What happens to a Non-Microsoft Account behind the scenes in Active Directory
- How a Non-Microsoft Account can access the shared resource again
Scenario # 1: Inviting External Non-Microsoft Account User to the Microsoft Team
How to share a Team with a Non-Microsoft Account
- Click three dots next to a Team in Teams, then Manage team
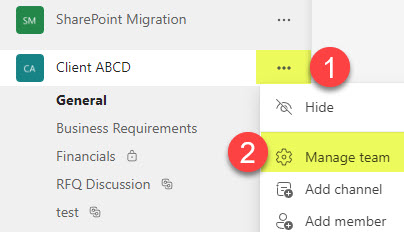
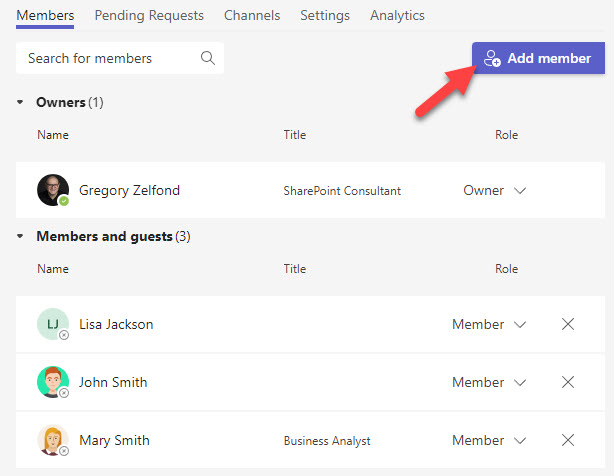
- Click Add member
- Type in the external user’s email address
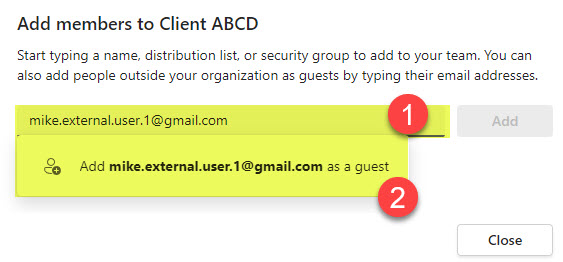
- Click Add
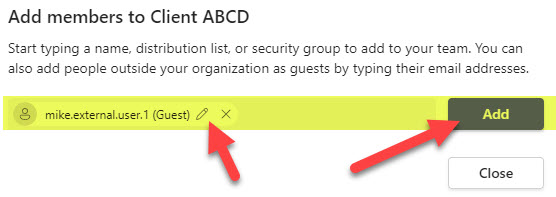
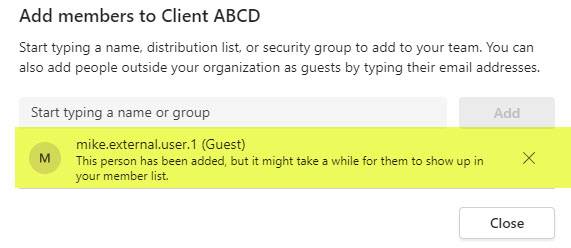
- You will get a confirmation that the user was added to the Team
Experience for the Recipient
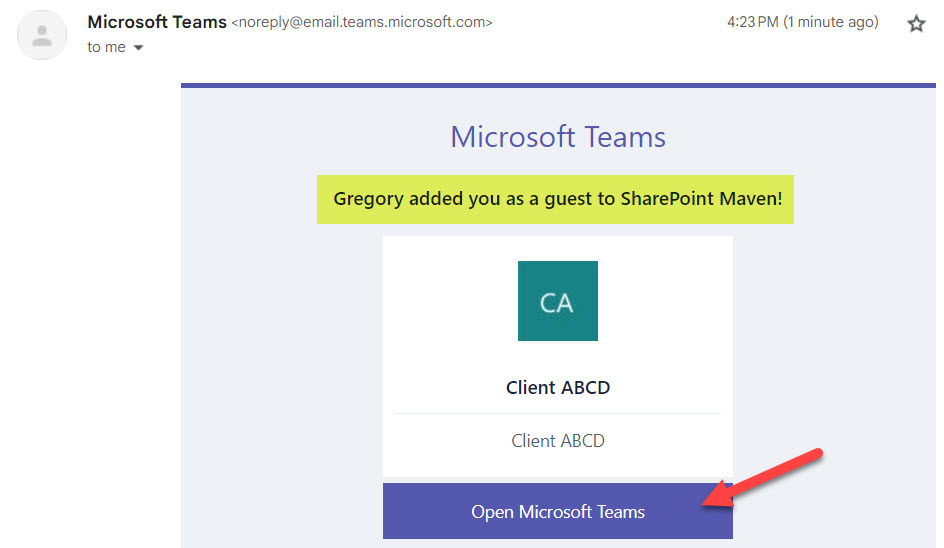
- The user receives an email and clicks Open Microsoft Teams
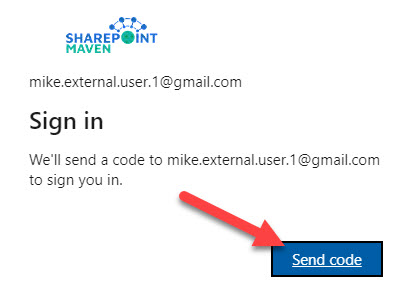
- The user then requests the temporary code
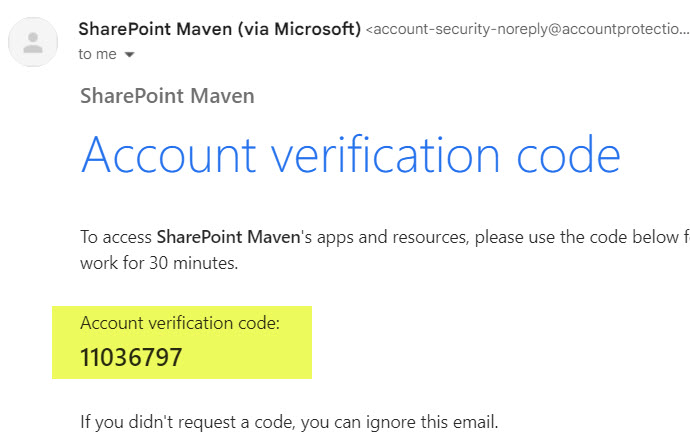
- The recipient then receives another email with a temporary verification code.
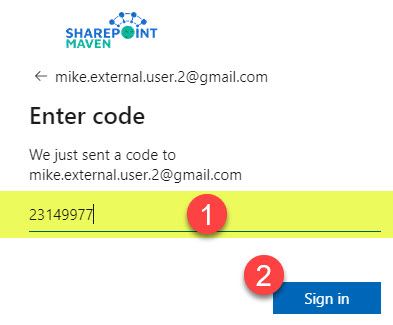
- The user types in the code and clicks Sign in

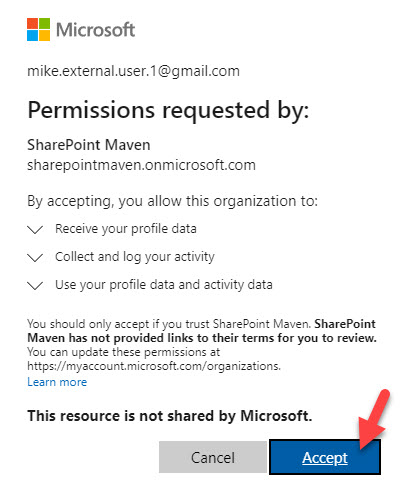
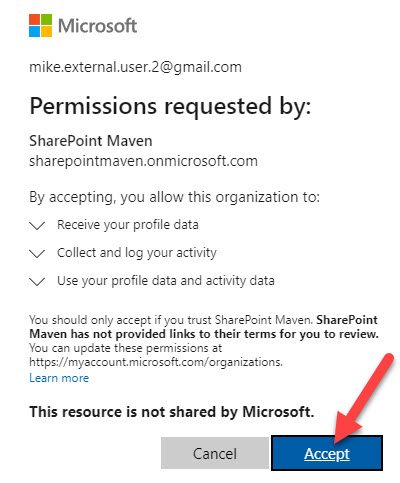
- User accepts Terms & Conditions
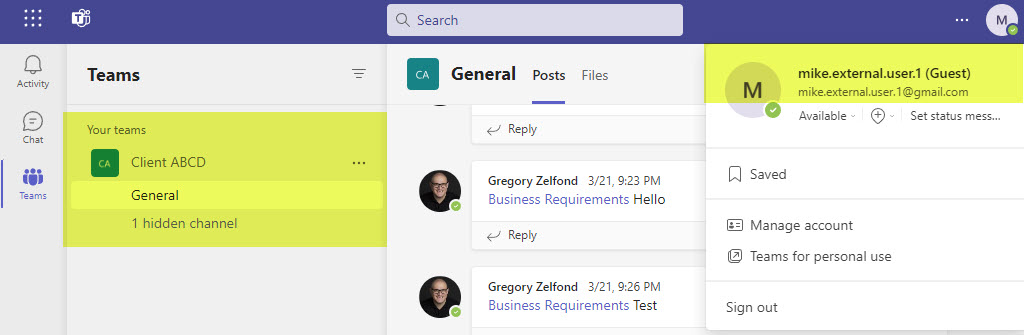
- The user then gets access to a shared Team in Microsoft Teams
What happens behind the scenes
Let’s see what happens when the user accepts the invite to join your Team. The user’s email is actually added to your Active Directory!
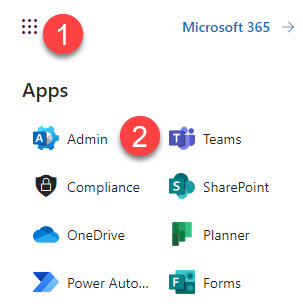
- Click on Admin from the Microsoft 365 App Launcher
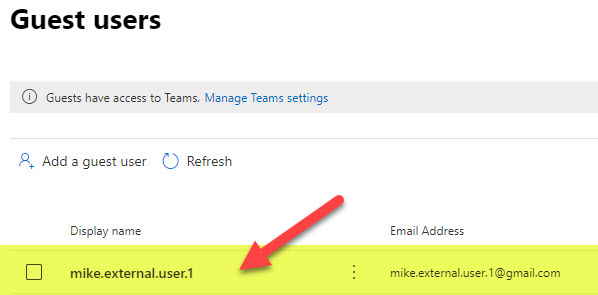
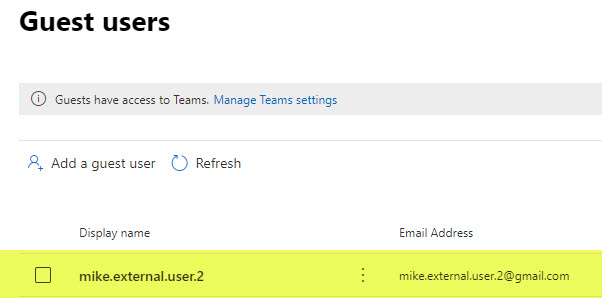
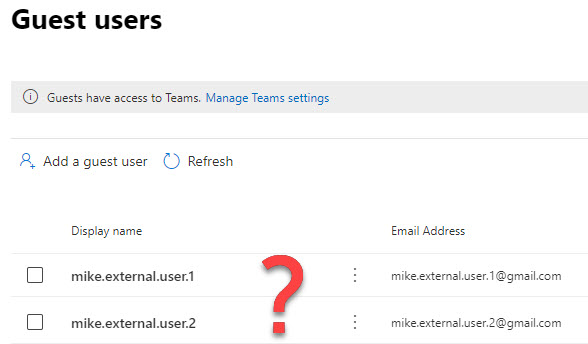
- Click on Users > Guest Users
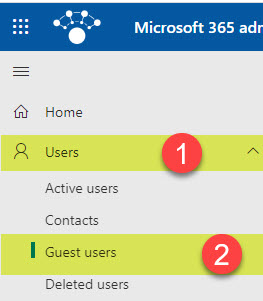
- The user will appear in a list of guest users
Accessing a shared Team again
Since the recipient does not utilize Teams (since there is no Microsoft 365 in the organization), the user would need to navigate to a Teams URL to be able to access the shared Team again.
- User navigates to https://teams.microsoft.com/
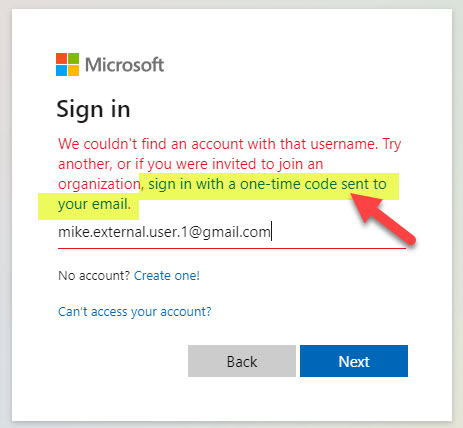
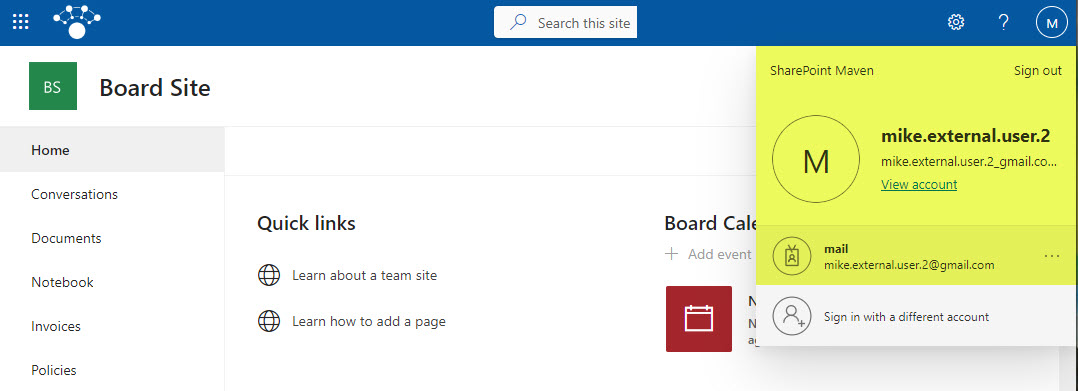
- The user enters an email address (Non-Microsoft account). Since the is no formal account with a password here, the user would need to click on sign-in with a one-time code sent to your email option.
- The user will then have access to Team in Teams again
Scenario # 2: Inviting External Non-Microsoft Account User to the SharePoint Site
How to share a SharePoint Site with a Non-Microsoft Account
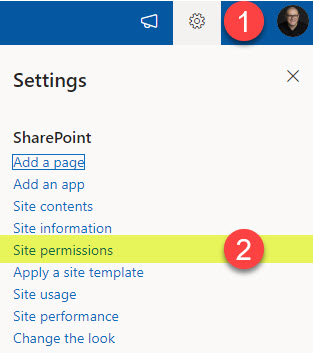
- From the site you would like to share, click Gear Icon > Site permissions
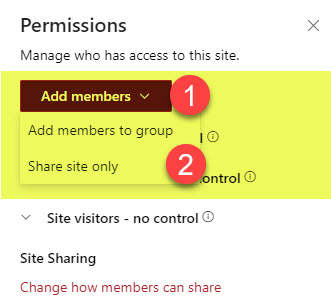
- Click Add members > Share site only. This is important since we are not inviting users to the whole Microsoft 365 Group but to the SharePoint site itself.
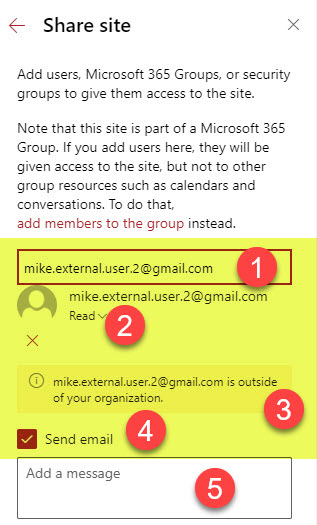
- Type the external user’s email address, select the appropriate permission level you want to give them (i.e., Read), and click Send email.
Experience for the Recipient
- Once the invite is sent, the external user receives an email like the one below. The user just clicks on a link shared.

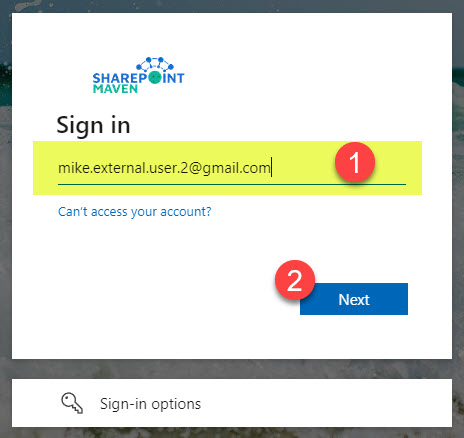
- The user will need to enter an email address, then Next.
- Just like with sharing a Team, the user would need to authenticate via a temporary passcode.
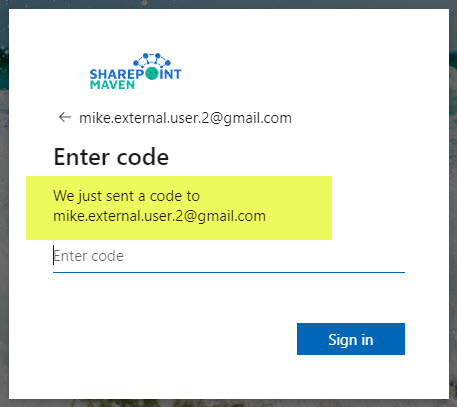
- The user gets another email and copies the code.
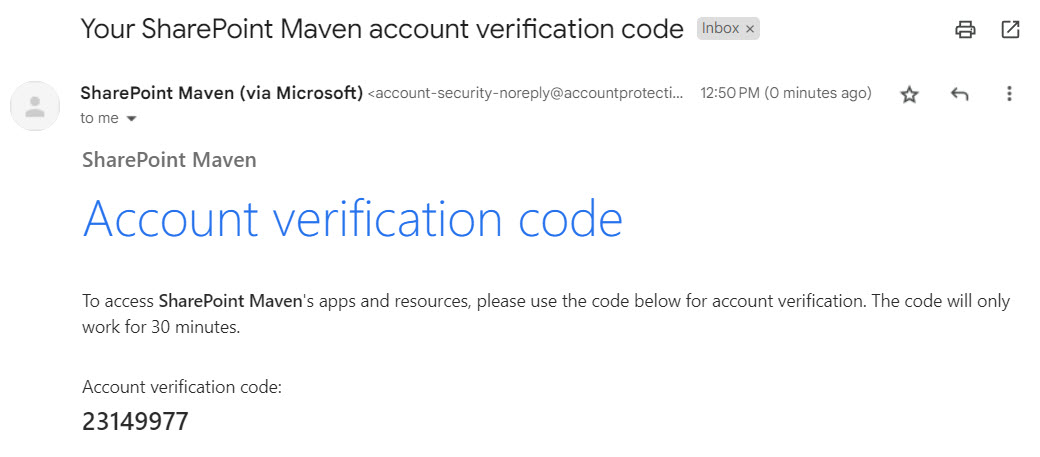
- The user types in the code and clicks Sign-in
- The user will need to Accept Terms & Conditions
- And finally, the user gets access to the site!
What happens behind the scenes
Just like with Teams sharing, when you invite the user to the SharePoint site, they become part of your Active Directory.
Accessing a shared SharePoint Site again
If the external user needs to access the same SharePoint site again, they would need to navigate to the site’s URL, enter their email address, and receive and enter a new temporary passcode. This would need to be done every single time the user wants to access the shared SharePoint Site!
Scenario # 3: Inviting External Non-Microsoft Account User to a File or Folder
How to share a file or folder with a Non-Microsoft Account
Sharing a file or folder externally has not changed at all recently in terms of user experience, but I will still document it below.
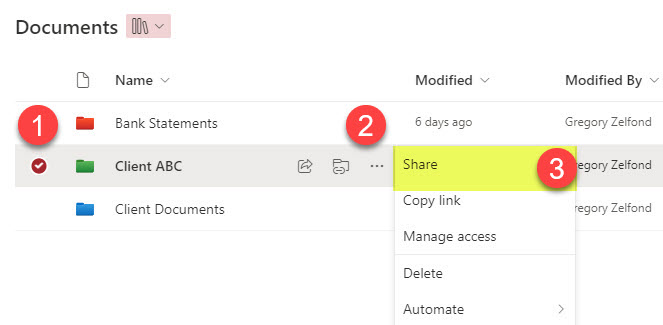
- Click three dots next to a file or folder you want to share, then choose Share.
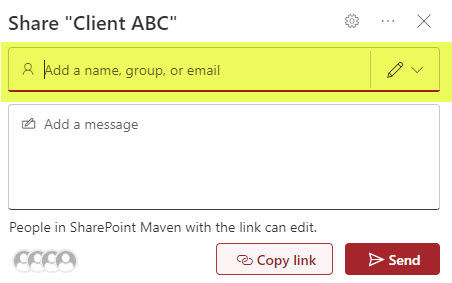
- On the pop-up, type the external user’s email address.
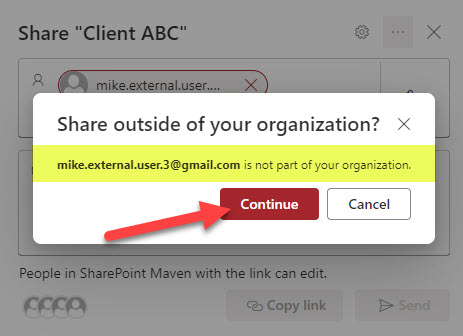
- The system will recognize the fact that the user is outside the organization and will display a warning. Click Continue.
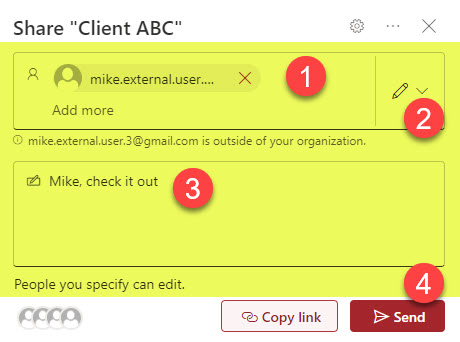
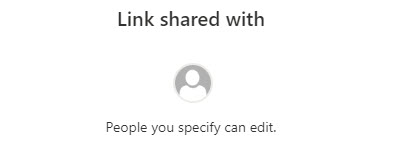
- You can then specify the access level to a given file or folder (View Only or Edit), type the optional message, and click Send.
- You then get confirmation that a link to a file or folder has been shared.
Experience for the Recipient
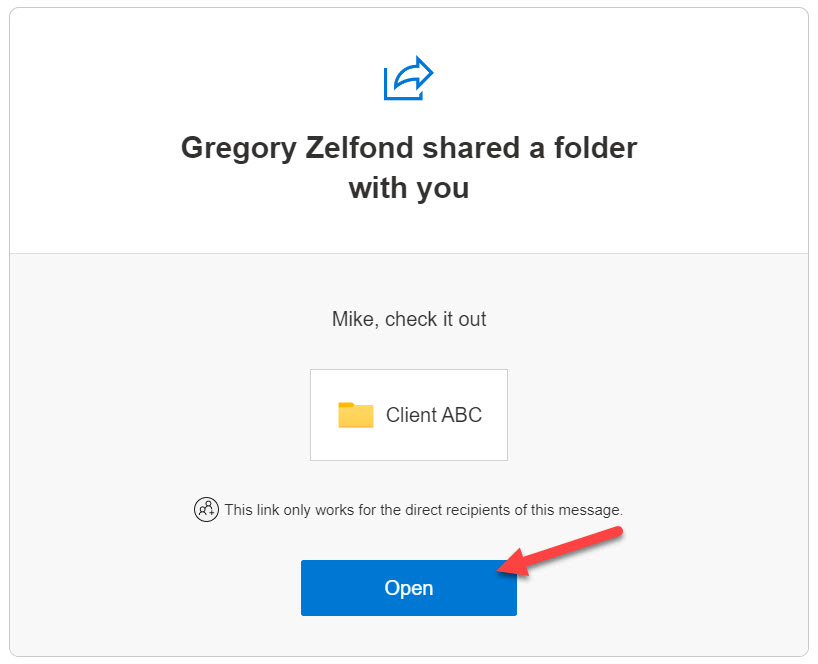
- The recipient receives an email and clicks Open.
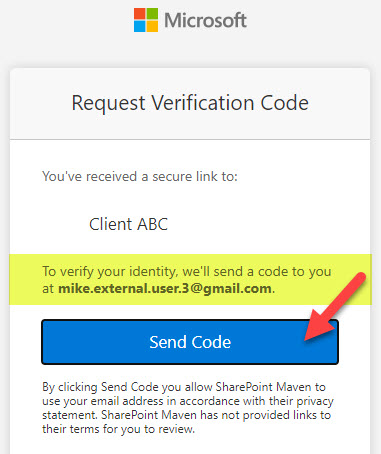
- Again, the user needs to request a temporary code.
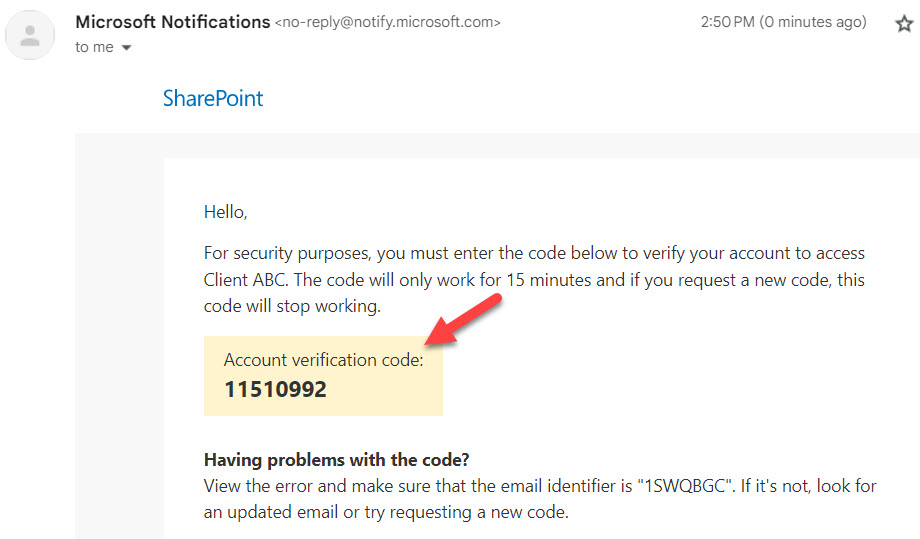
- The recipient receives another email with the code, and copies it.
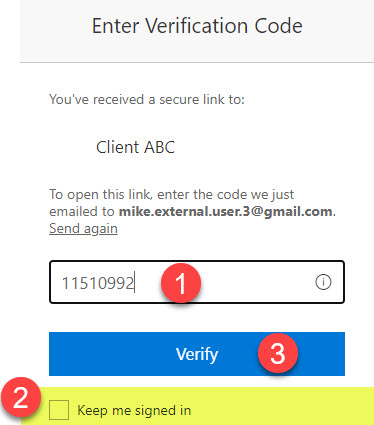
- The external user then pastes the code and clicks Verify. There is a checkbox that the user can check that will keep them signed in for a period of time (to avoid constant entry of passcodes).
- And that is it. The user will be granted access to the shared file or folder.

- Depending on the access role given, the user might only be able to view or edit contents.
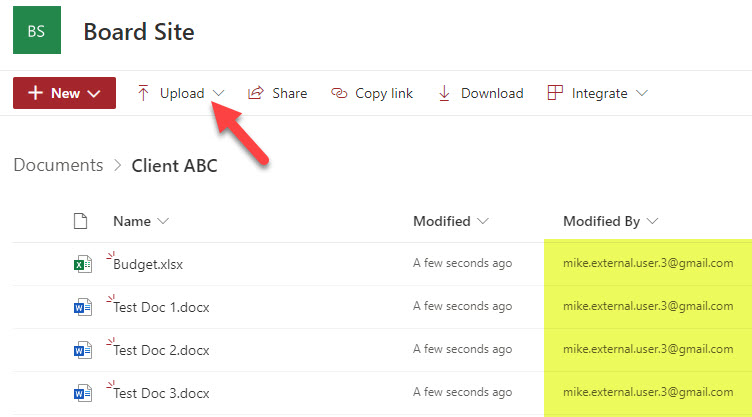
- The user cannot access anything else on a site – just the shared file or folder.
What happens behind the scenes
Nothing! Unlike the previous two scenarios, where the external user ended up in the Active Directory when you just share files or folders externally (not SharePoint Sites, Microsoft 365 Groups, or Teams), the external users do not end up in the Active Directory!
Accessing a shared file or folder again
This is where it is a bit of a pain. Since the external user was invited to a specific file or folder, the user would need to locate that email with an initial invitation to access the shared file or folder again! And then, of course, go through the verification code authentication as well! This process is much smoother for those with Microsoft 365 accounts, as shared files and folders appear in the User’s OneDrive Shared section. But Non-Microsoft 365 accounts like Gmail and others do not have such a luxury since there is no Microsoft 365/OneDrive in the first place!

Share Article