< All Articles
How to import CSV file to a list in SharePoint
In one of my earlier articles, I explained how you can create a custom list in SharePoint by importing an Excel document. However, that required you to configure an Excel document upfront in Table format. If you happen to have the data in CSV (Comma-Separated Values) format, you can import that, too, and the process is much easier. Let me show you how you can easily import a CSV file to a list in SharePoint.
- I happen to have this simple CSV file that contains a Contact List for an organization

- First, we need to create a list. To do so, click on New from any SharePoint site and choose List

- From all the available options, choose From CSV

- Upload the file by clicking the Upload file button

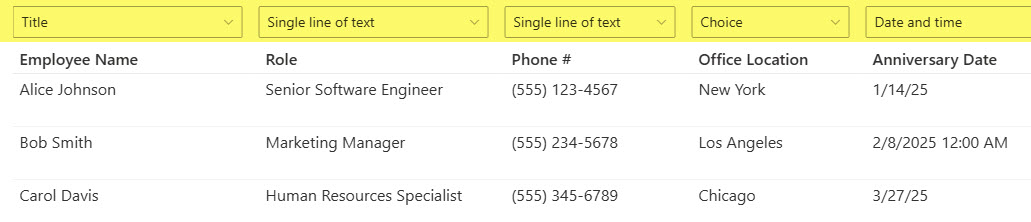
- On the next screen, we must match each column of information to a given type of column in SharePoint. If you want to learn more about all the available types of columns, read this article. The screenshot below shows the selection process.
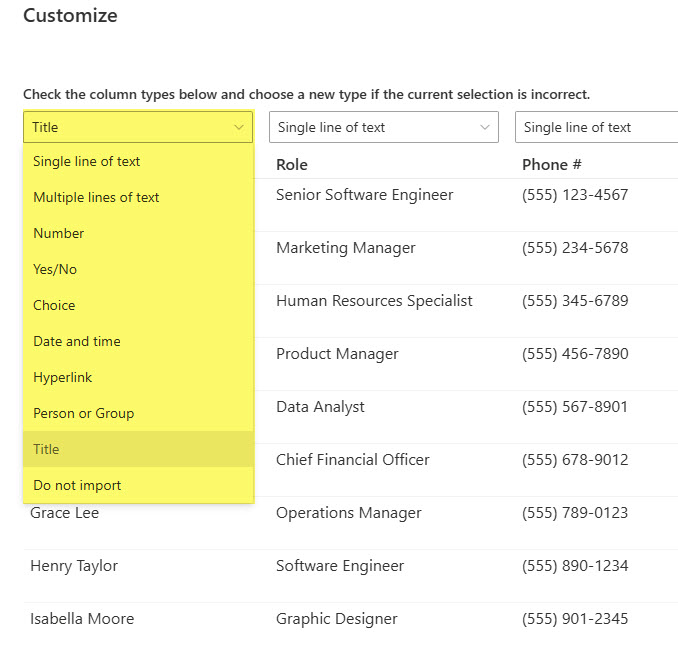
- So, go ahead and choose the relevant column type for each column of data. This is what it looks like for my contact list data set. Click Next.
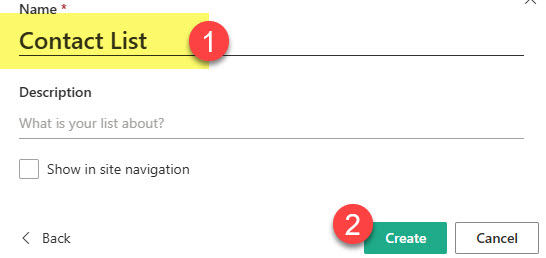
- On the next screen, give the list a Name and click Create.
- You will now see the list being created…

- And then the list would be created
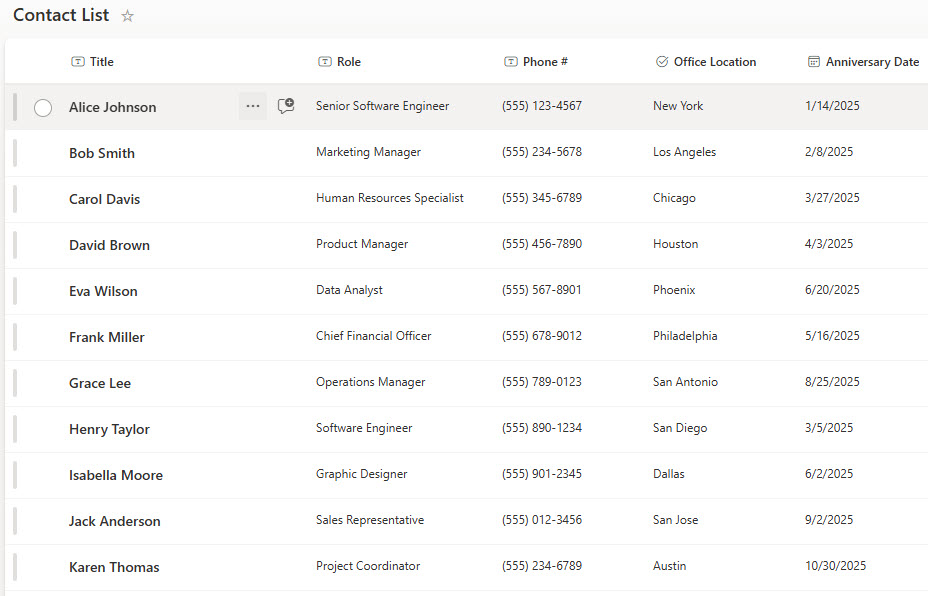
- At this point, you can refine the columns, add new ones, use color code, format the views, etc.
Nuances about CSV file to List import
- Since the Title field is mandatory on a List, you must match one of the imported columns with that type of a column

- If you do not want a specific column imported to a List, you can ignore it by choosing the Do not import option

- If there is a mismatch between data in a table and list column type, it will give you an error message. For example, if you are importing a column with employee names and chose Person or Group Column type and the import utility has trouble reconciling the employee names with the list in your Entra ID (Active Directory)


Share Article