How to add images to your SharePoint page using the Image Gallery Web Part
Since SharePoint sites in modern SharePoint are pretty visual, one of the common requirements on employee-facing sites and Intranet Homesites is to add graphics and images. There are a few options available in SharePoint Online, and one of my favorite ones I want to highlight is the ability to add an Image Gallery Web Part. So in this article, I would like to explain how it works.
What is Image Gallery Web Part?
Image Gallery Web Part is a web part that allows you to add multiple images to your page. Moreover, it allows you to change the display options of those images as well.

How to add images to your SharePoint page using the Image Gallery Web Part
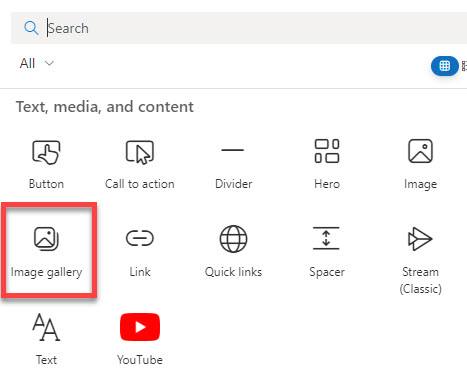
- Edit the Page, then find a web part called Image gallery, from the list of available out-of-the-box web parts
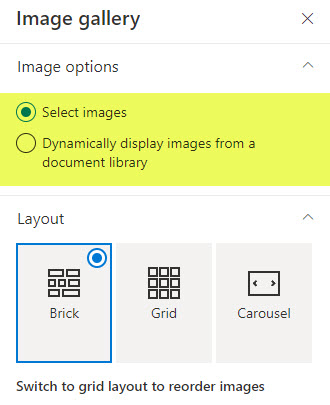
- Once you add it to the page, you will notice a side panel where you can configure the settings of the Image gallery web part. You can either upload any images or source them from the document library on your site.
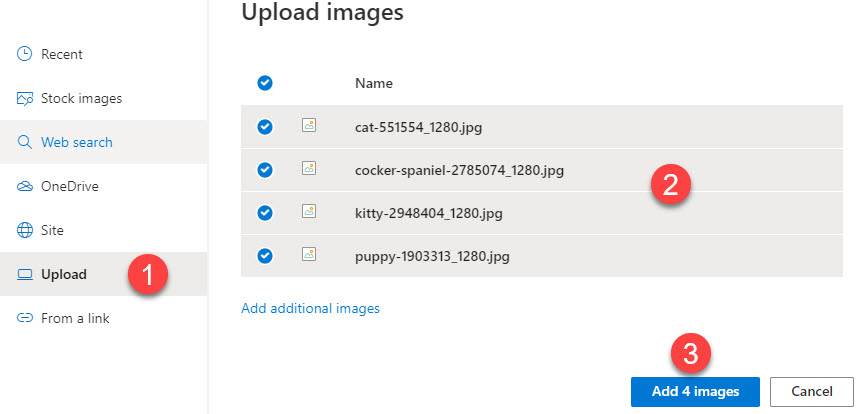
- In case you oped to add images on the fly, you click the Add images button

- Then, upload the images from your PC or any other location
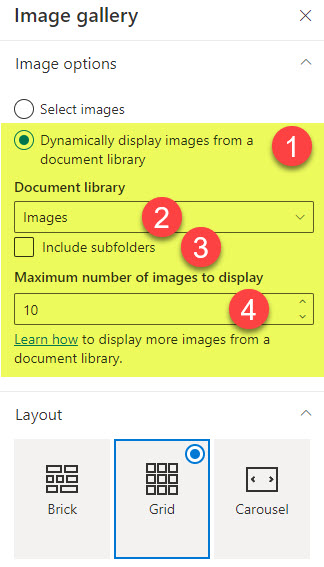
- You can also display the images from a document library on your site. This allows you to put all the images into that library, and this web part will draw them from there and display them on your page. You can optionally click the Include subfolders checkbox to include images from the folders within a document library. You can also specify how many images will be displayed on a page at a given time.
- Finally, you can also choose from one of the three available layouts (Brick, Grid, and Carousel). If you choose Carousel, users must manually cycle through the images on your page.
