External Access in Project for the Web
One of the core capabilities of Project for the Web is that it allows project managers to invite users outside of organizations to collaborate on project schedules and tasks. So in this article, I would like to explain how external sharing works for Project for the Web application.
What is Project for the Web
I have written several articles covering Project for the Web and its capabilities. Project for the Web is a web-based application that allows organizations to manage projects in a bit more sophisticated way than the Planner tool. With Planner, you can’t control resources or task dependencies. Project for the Web allows you to do this. Check out this article about this wonderful application.
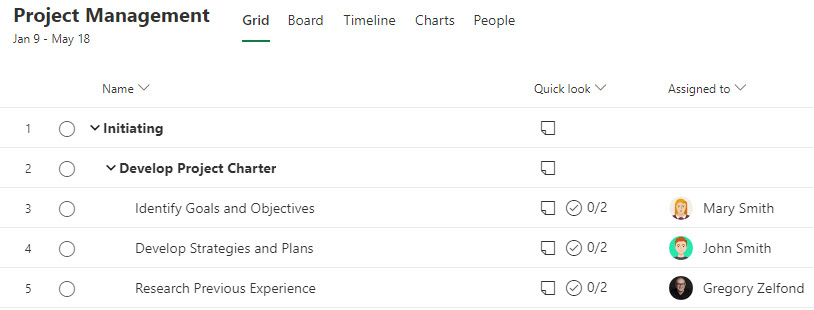
Project for the Web is part of a Microsoft 365 Group
To understand how external sharing works for Project for the Web, we must first understand that Project for the Web is tied to Microsoft 365 Group. Like Teams and Planner, Project for the Web does not exist in space by itself. So when you create one and want to manage tasks and resources, you need to associate the schedule with the Microsoft 365 Group, or create a new one.
How to invite external users/guests to Project for the Web
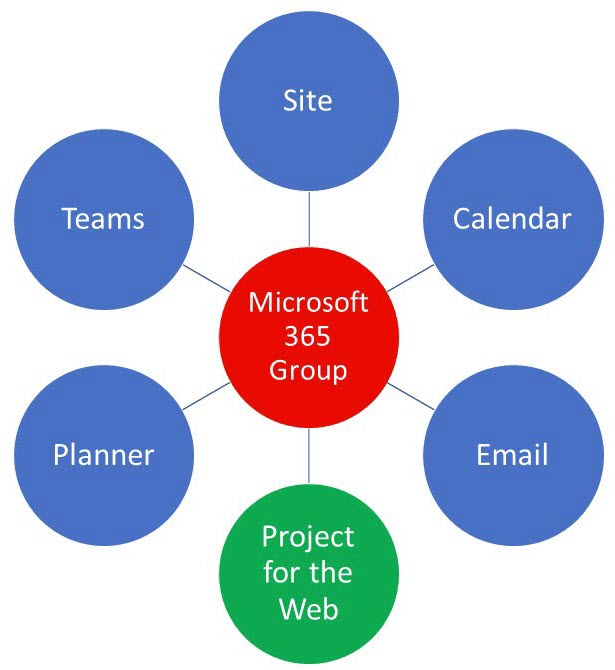
This brings us to the actual method of external sharing in Project for the Web. Unlike a SharePoint Site, Project for the Web does not have its own security mechanism. It relies on a Microsoft 365 Group for both internal and external access. So that means that when we invite external users to Project for the Web, they need to be invited to the associated Microsoft 365 Group. And that means that external guests will also have access to the other assets of a Microsoft 365 Group, like Teams, Planner, and a SharePoint site.
I have written a detailed post on inviting external users to a Microsoft 365 Group. You can check it out here.
As stated in the article above, you can invite external users via the Teams application or the Outlook group (if the Microsoft 365 Group was created outside of Microsoft Teams (i.e., from Outlook, Planner, or SharePoint).
In the example below, I invited an external user from the MS Teams application.
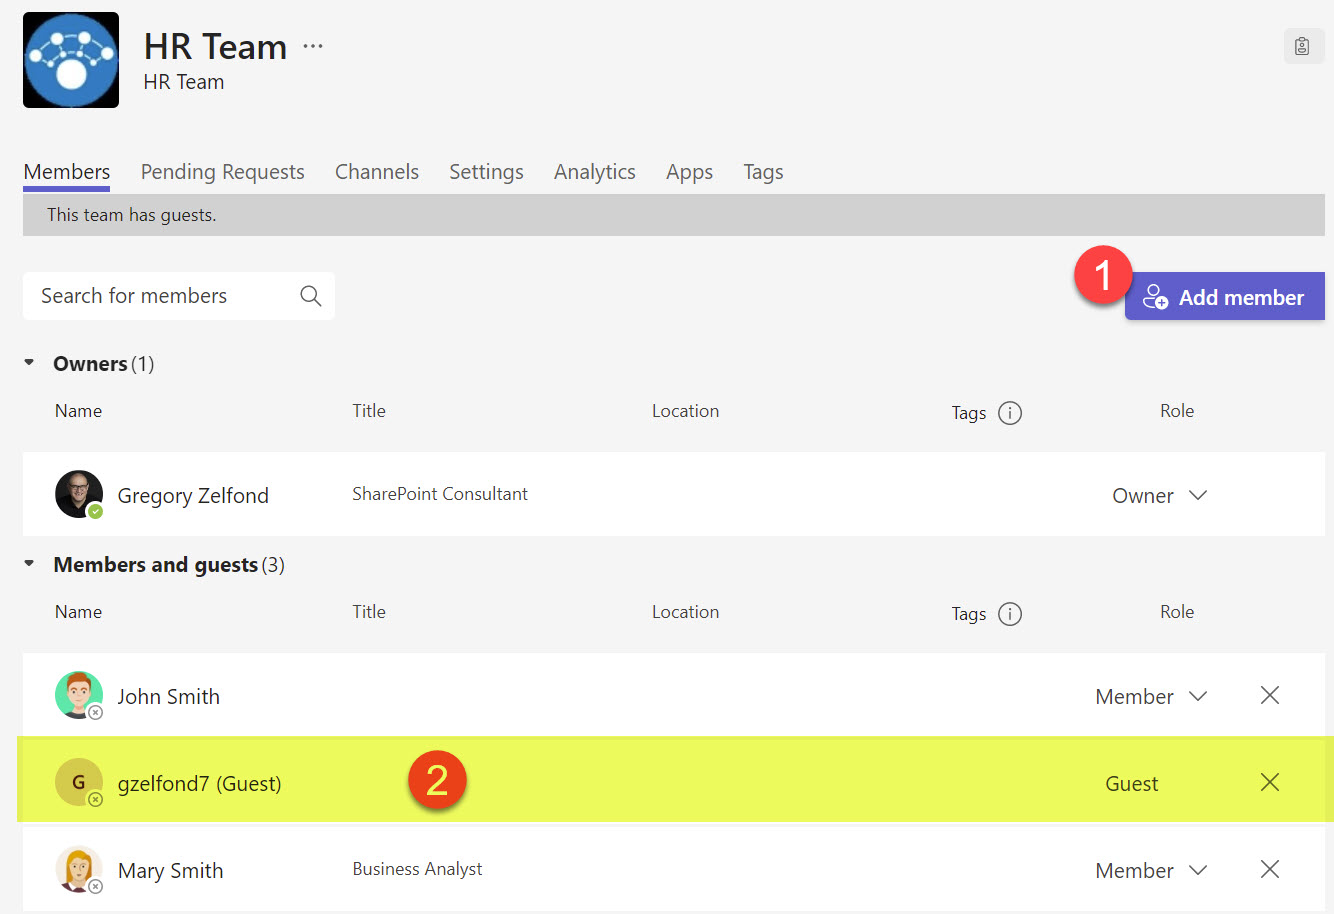
Once you invite an external user, and they accept the invite and authenticate into your tenant, just copy the URL of the Project Schedule and share it with them via Outlook or Teams.
External User experience
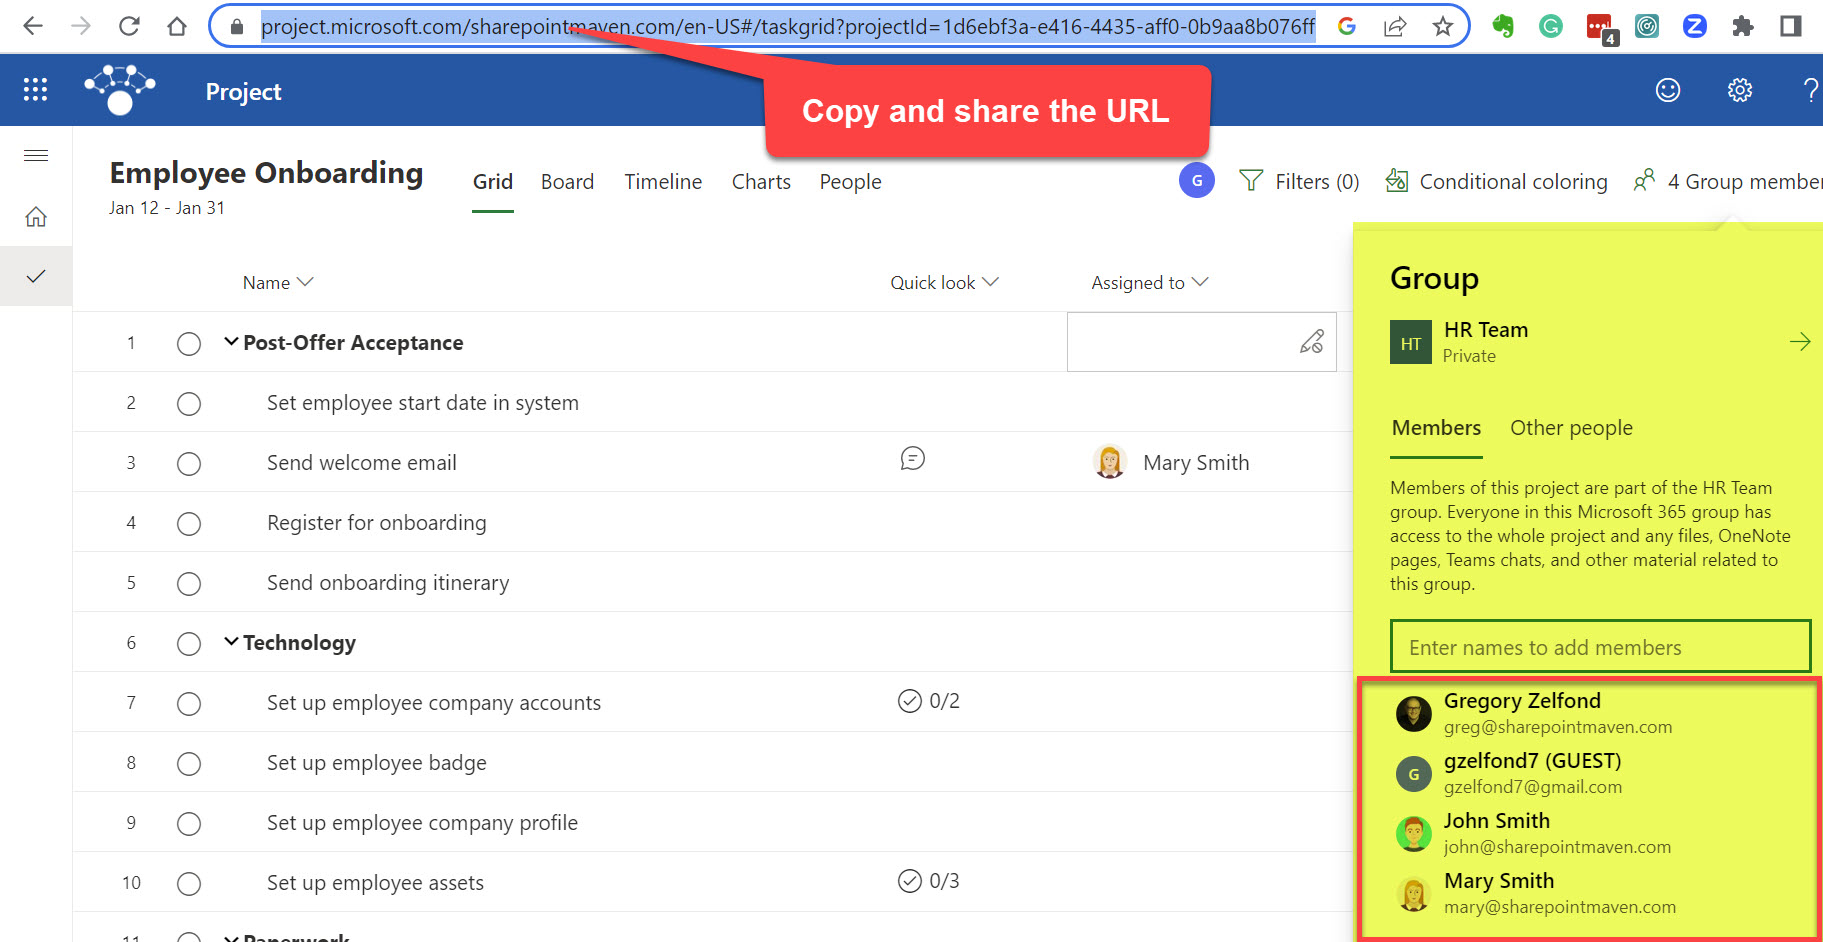
Once the external user accesses the Project for the Web Schedule, this will be the experience.

Limitations
It is important to note that external users will have the following limitations when accessing the schedule.
- The schedule will be read-only. That means users can access the tasks and information but won’t be able to edit the tasks, complete them or create new ones.
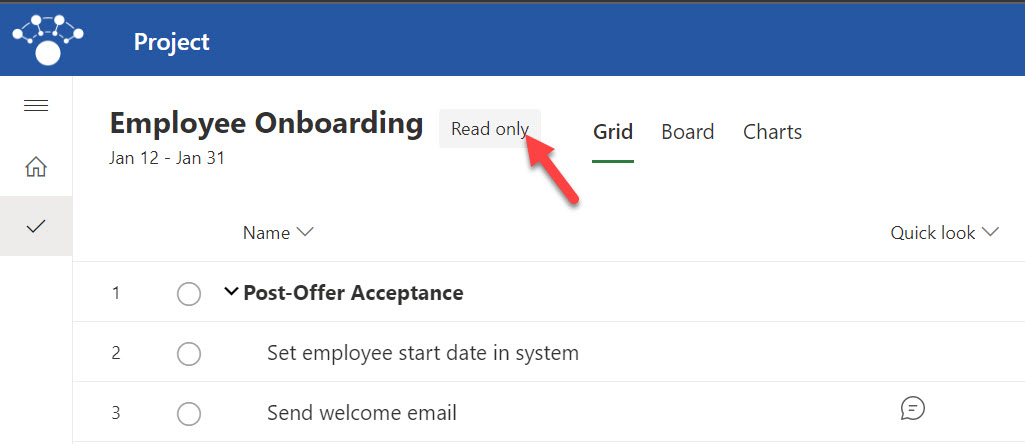
- Only three will be available out of 5 available views (Grid, Board, Charts). Timeline and People views will not be available to guest users at all!

It is important to note that guests will experience the above limitations because they do not have a Project for the Web license assigned to their ID. That said, if you would like guests to be able to edit schedules, and tasks, and create new projects, you would need to assign them a license. Check out this Microsoft article for additional information about this.


